Login using Fulfiller Role
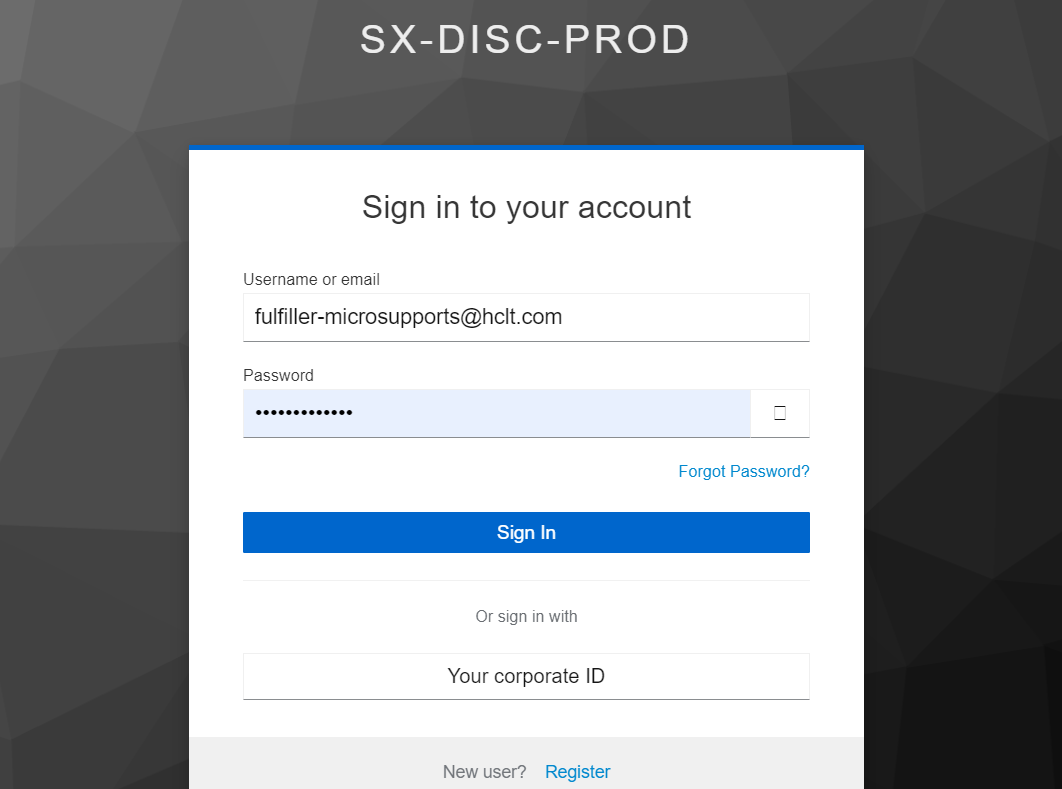
Use the fulfiller role credentials to log into the instance.
- Click on Sign In upon entering the credentials.
Landing Page - Left Navigation Pane
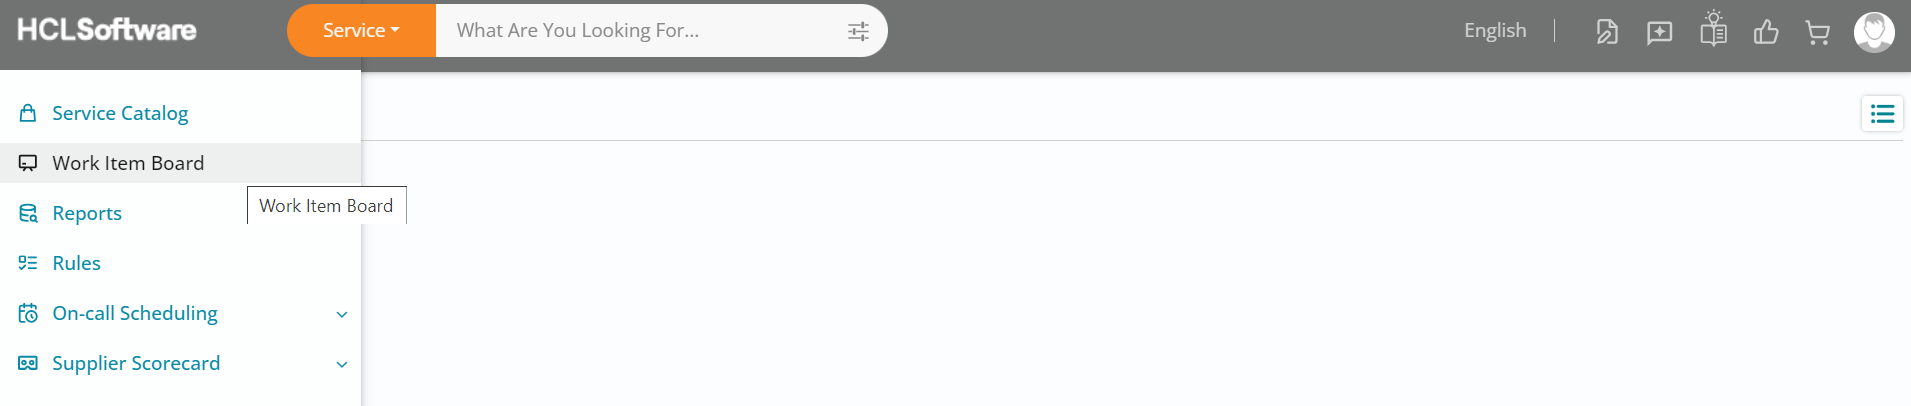
- Upon landing on the homepage, navigate to the left top of your screen and click on Application Menu.
- The reason you see No Data Found on the homepage is because, for the purpose of this
trial, there are no offerings available for consumption by the fulfiller role.

- Click on Work Item Board from the left navigation pane.
Work Item Board - List View
- The work item board of HCL BigFix Service Management provides a fulfiller with the list view of different types of tickets.
- In this case, by default, you will land on Assigned to me sub-section under Task section.
- You can view all the tasks - be it fulfillment tasks, incident tasks, problem tasks and
change tasks in this list view.
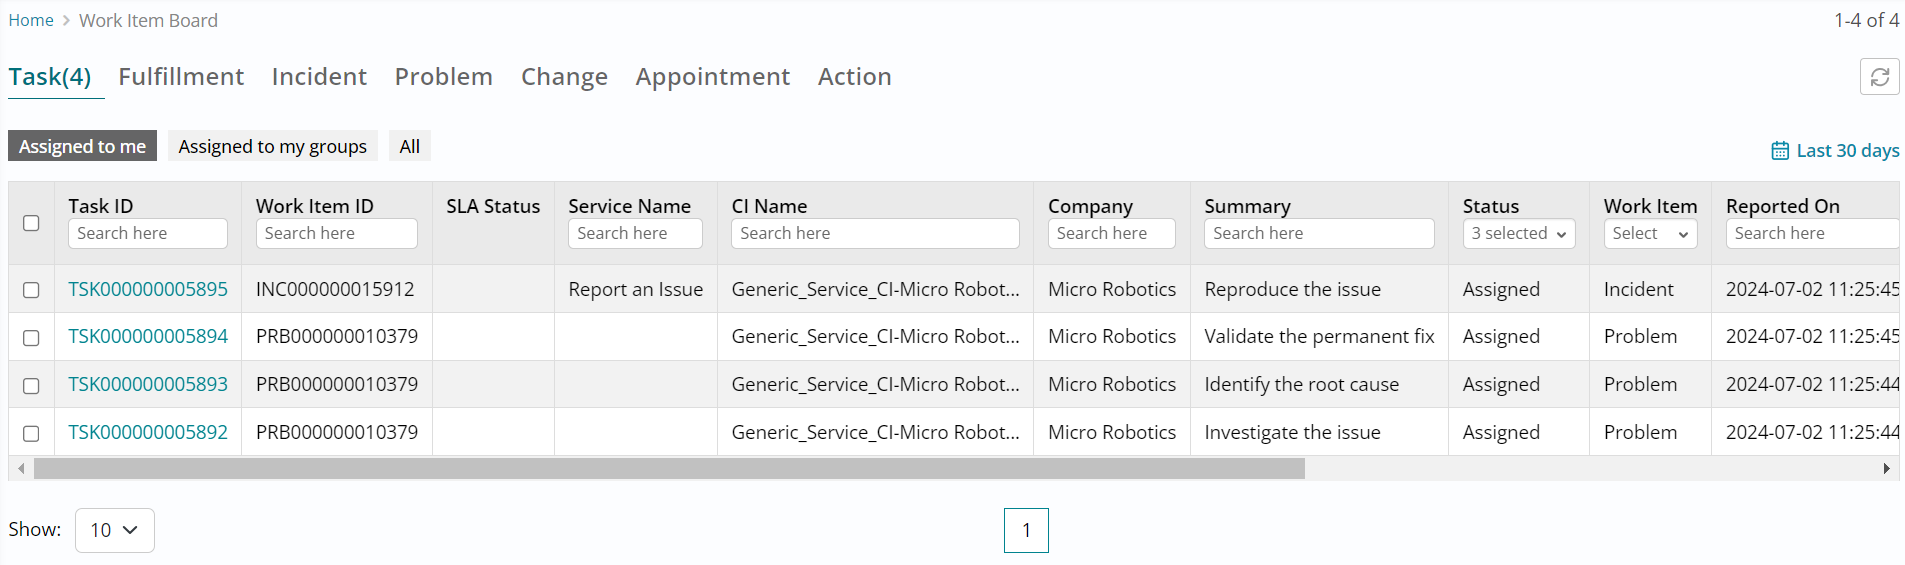
Since we are looking to fulfill a request here,
- Click on Fulfillment section followed by Assigned to my groups sub-section to view all the fulfillment tickets that are assigned to your group.
- The filters are set to show tickets generated in the last 30 days and for certain status
values by default, with the option to apply filters as required.
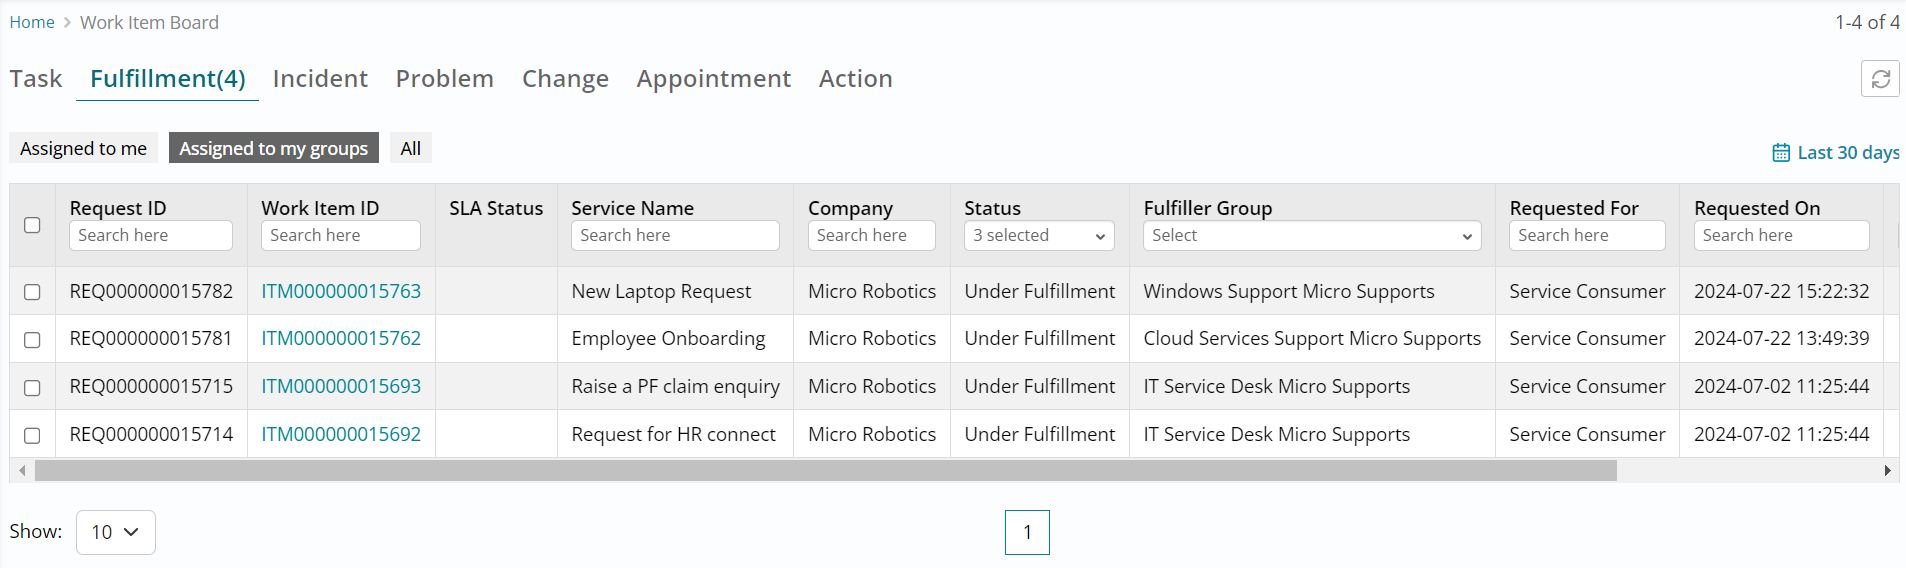
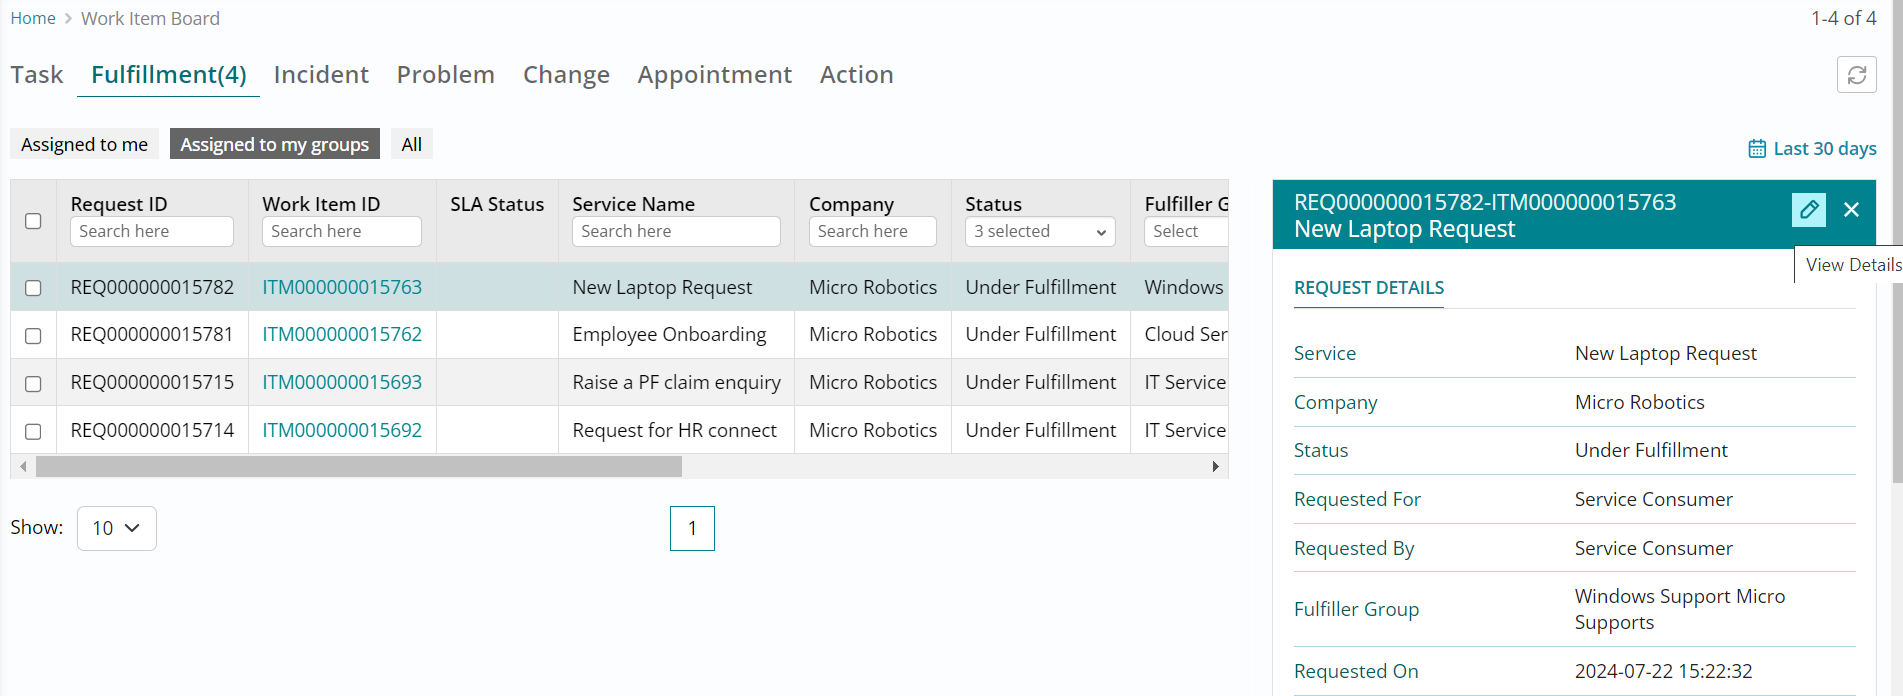
- Click on the ticket you approved and is pending fulfillment, and the request details section will open towards the right.
- Click on the View Details button available towards the right to open the fulfillment
ticket form and view its details.
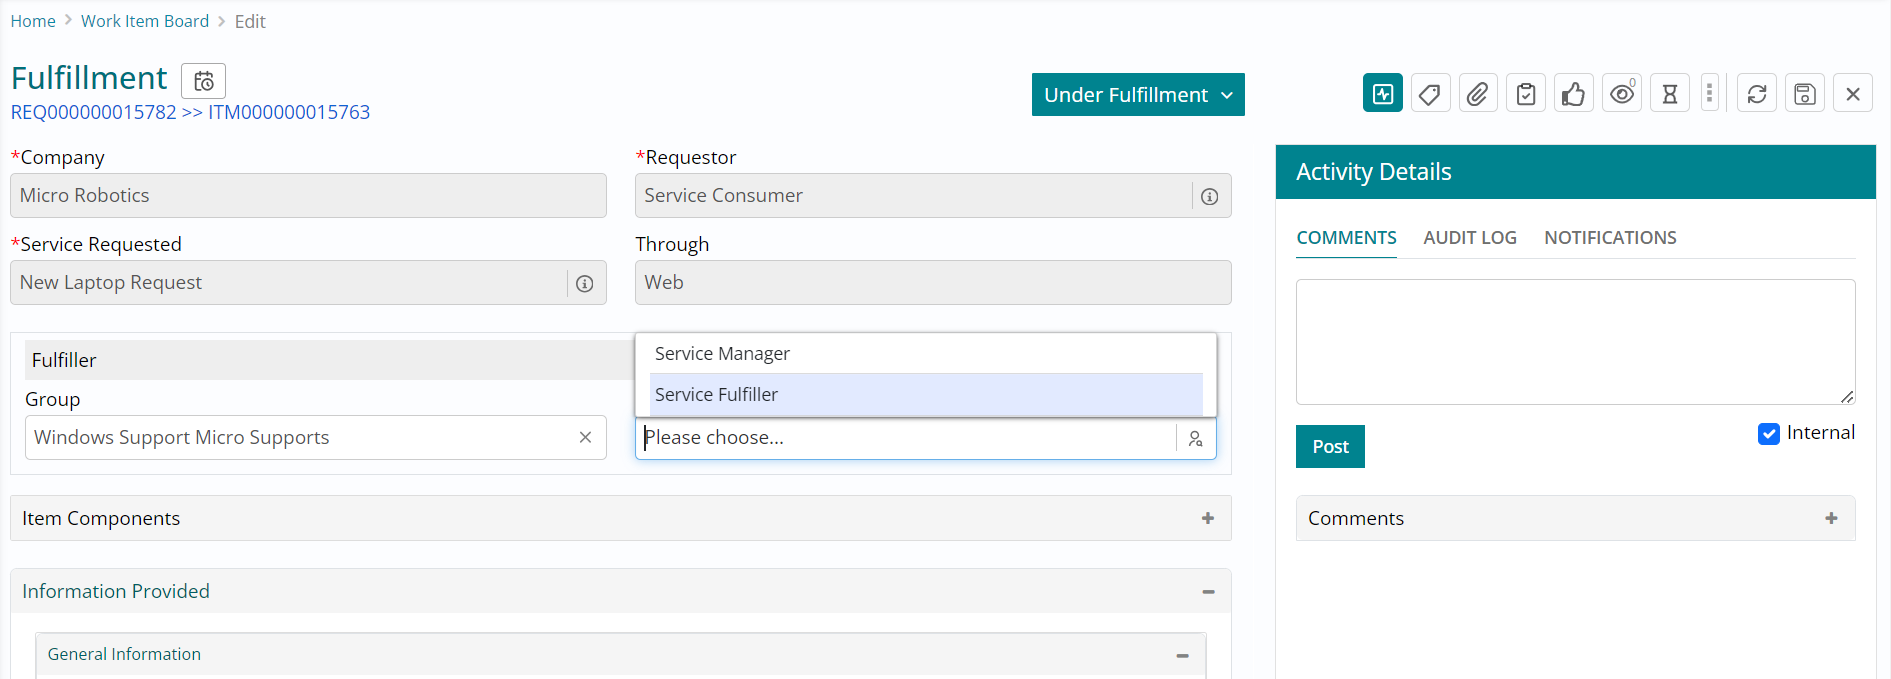
Fulfillment - Individual Assignment
- This is the fulfillment ticket form. You can browse through its details to begin with.
- Next, click on the Individual button and select Service Fulfiller (the role you are
logged in with) to assign the ticket to yourself.
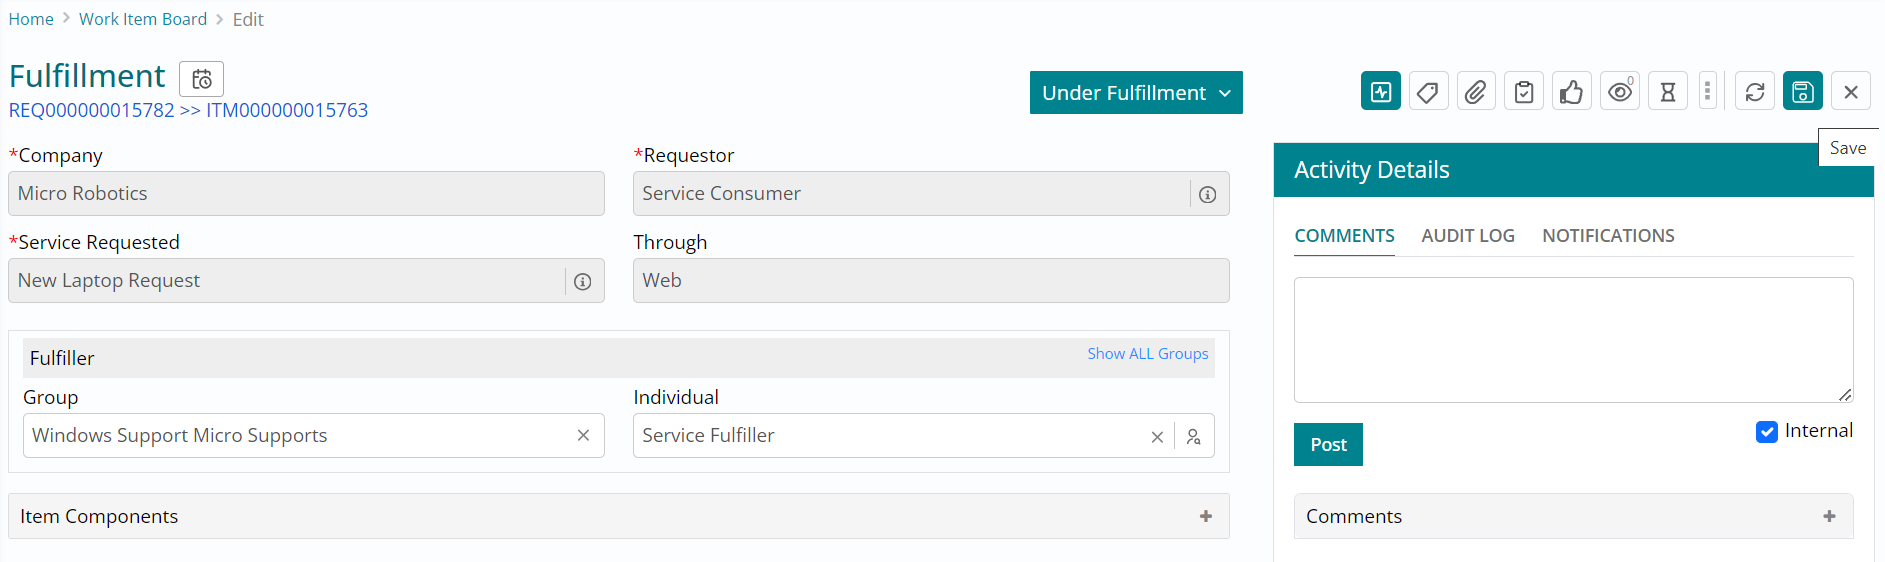
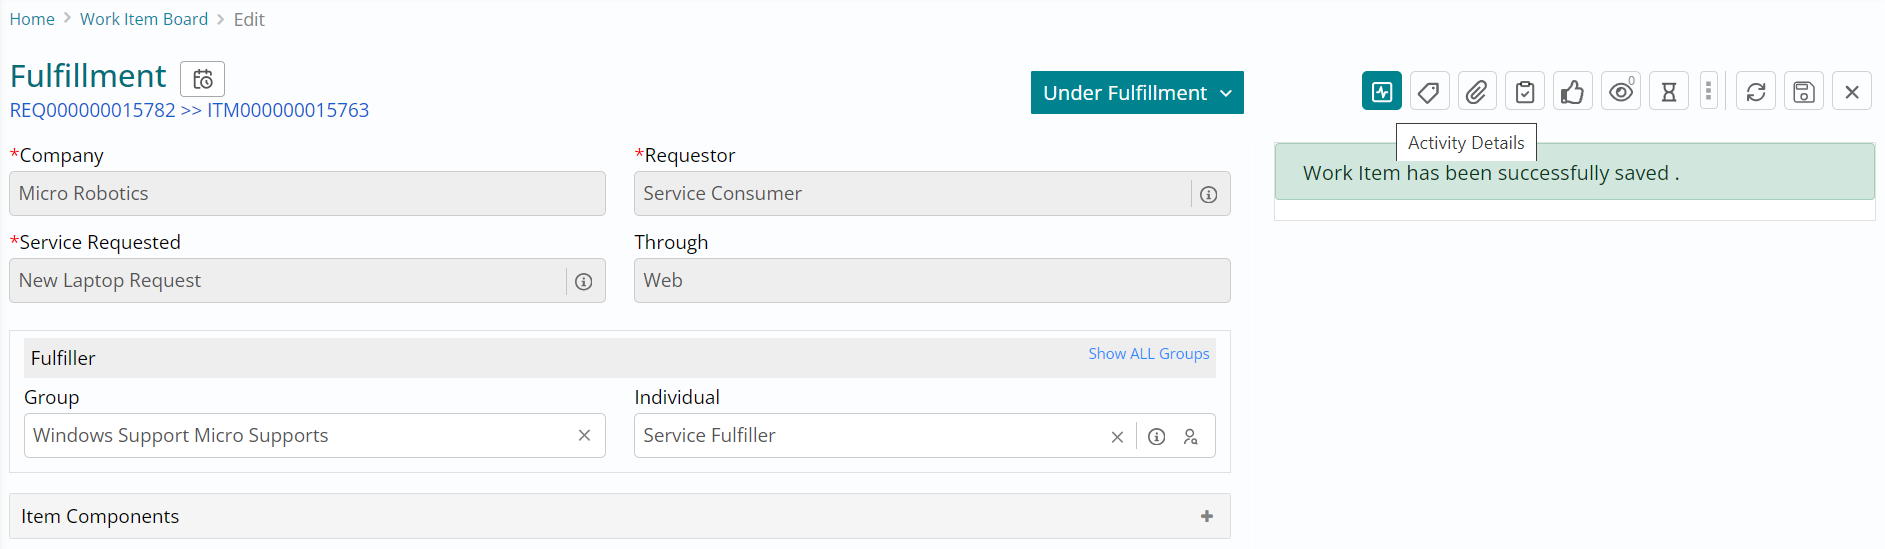
- Click on Save button available towards the top right of the fulfillment ticket form to save the individual details you just selected.
- This will ensure that you are able to make changes to this ticket, since it is now assigned to your name.
- Save button ensures that all the changes made on the form are saved.
- You will receive a success message stating that the work item has been successfully saved.
- Work item in this case refers to the fulfillment ticket being worked upon.
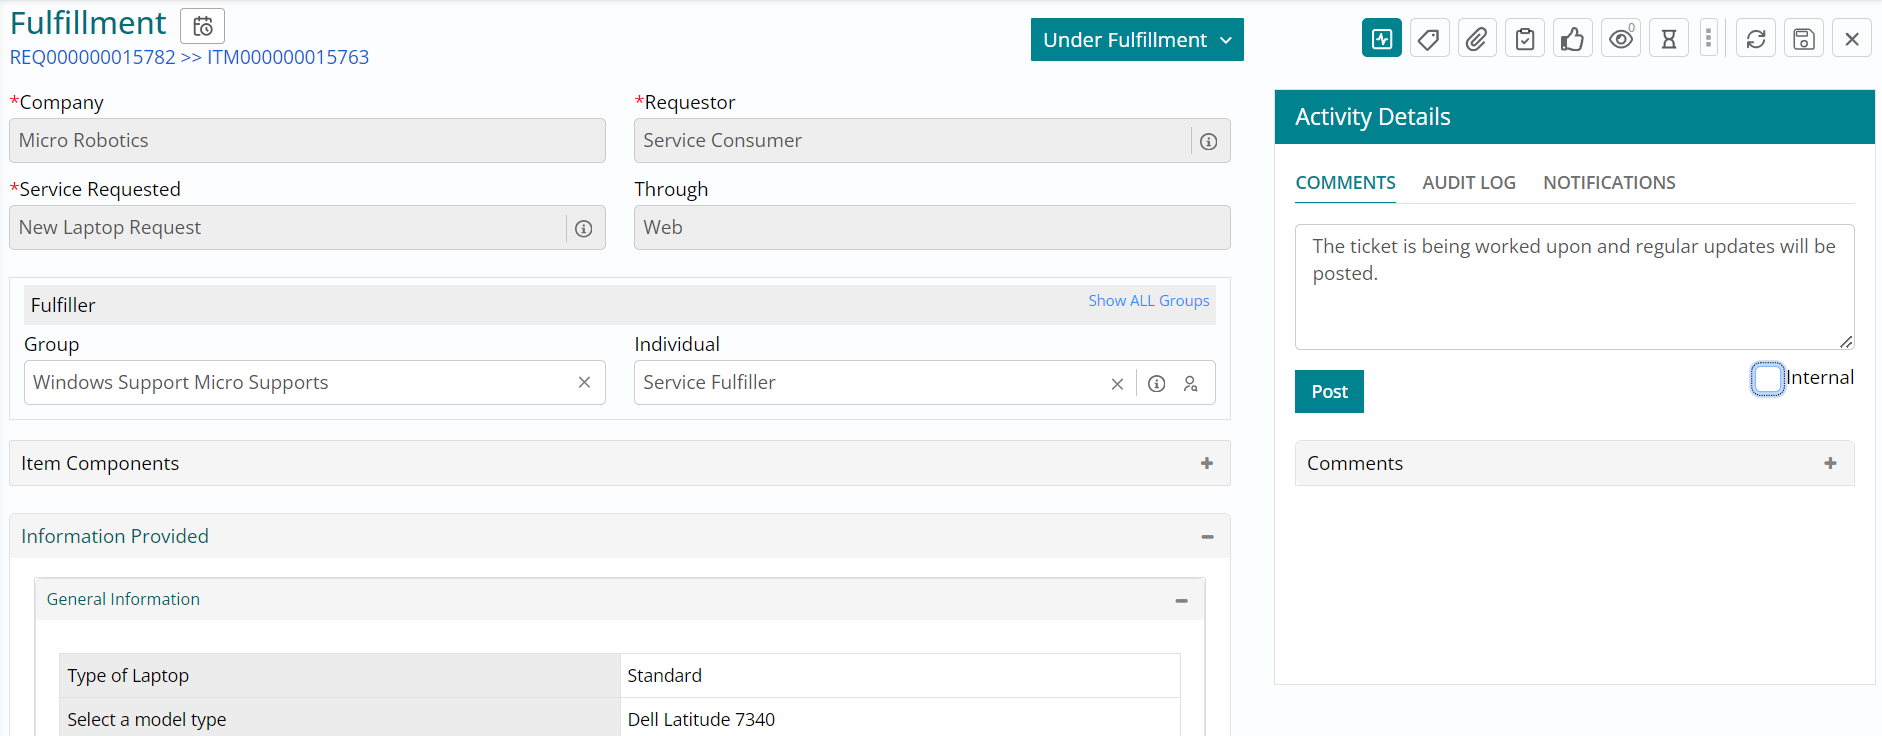
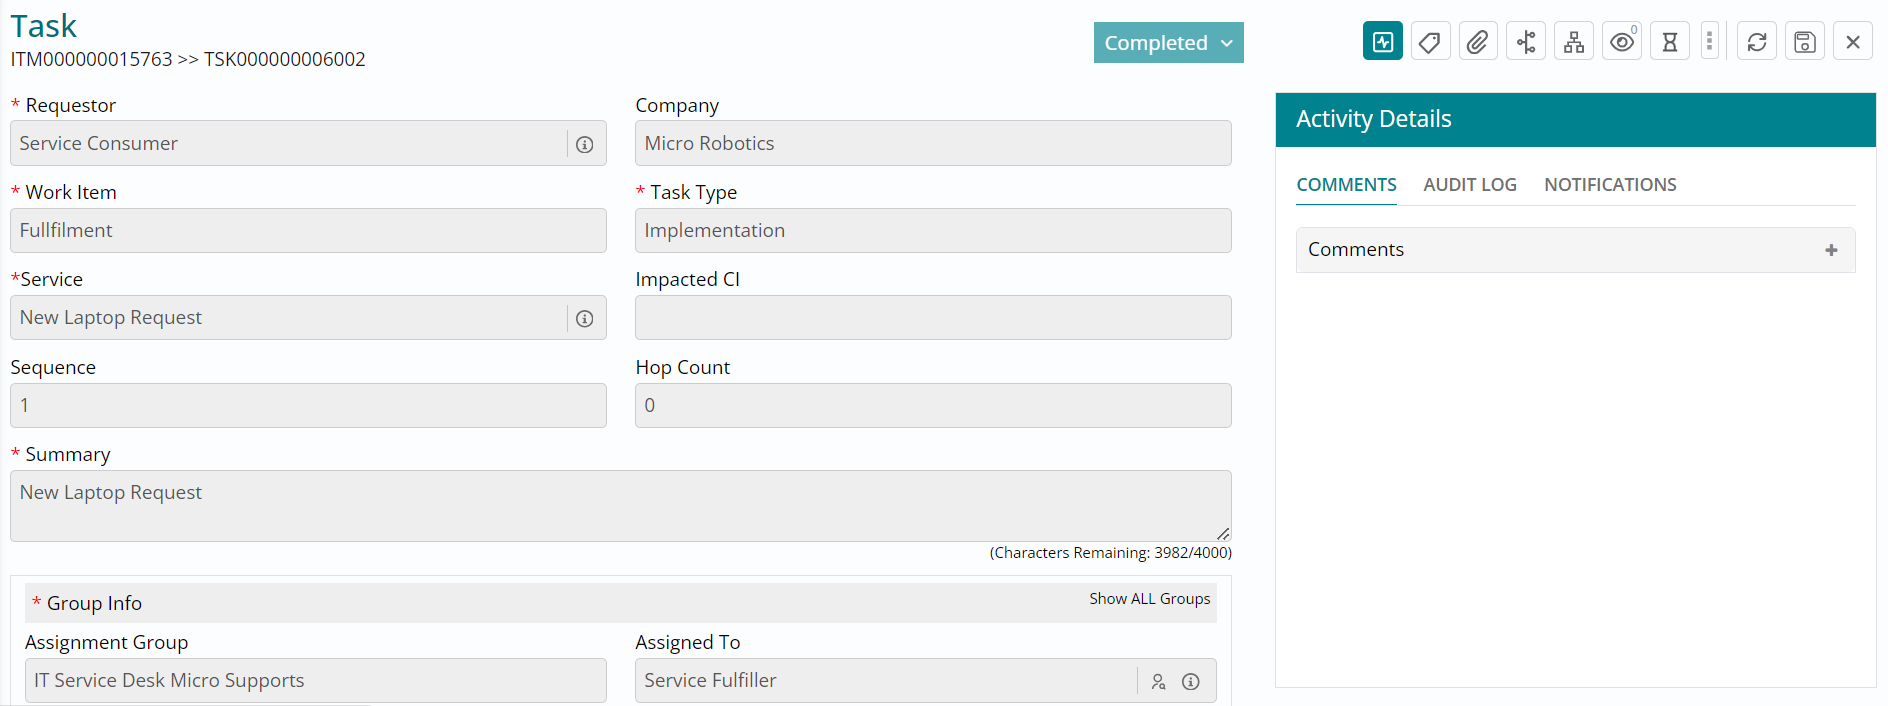
- Click on Activity Details button to navigate and update / view the comments and
activity log of this ticket.
- Type in a comment stating that the ticket is being worked upon and ensure that you have unchecked the Internal button before clicking on Post.
- Internal button is checked by default to avoid information overload for the
requesters. In case, you would like the requestor to view the comment you have posted,
uncheck the Internal button and then post the comment.
A fulfillment request might require multiple tasks to be performed by different teams prior to fulfillment.
- Click on Task button to navigate and view / create task(s) against this fulfillment
ticket.
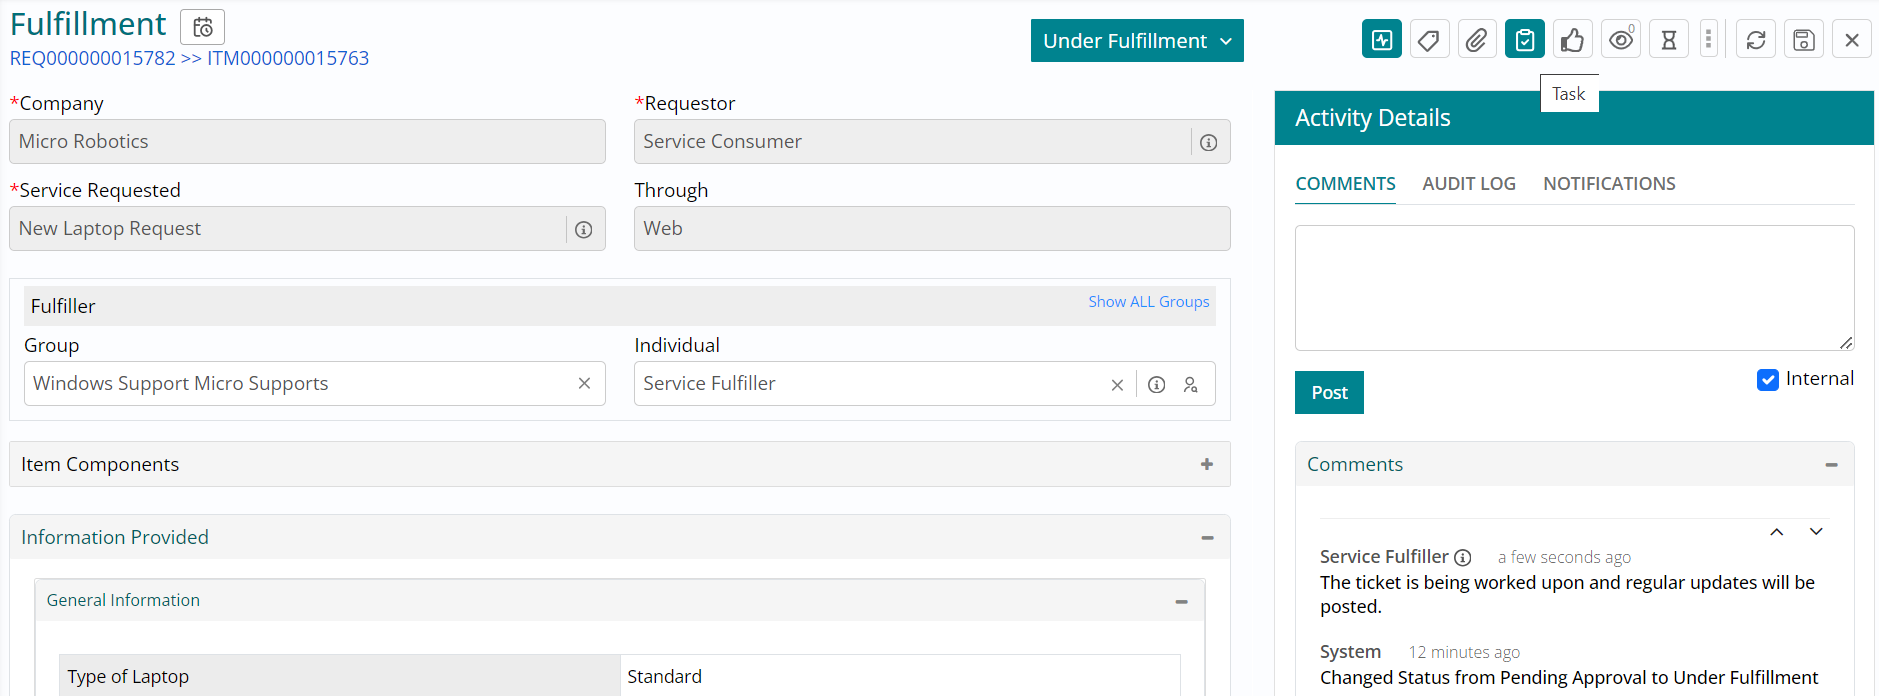
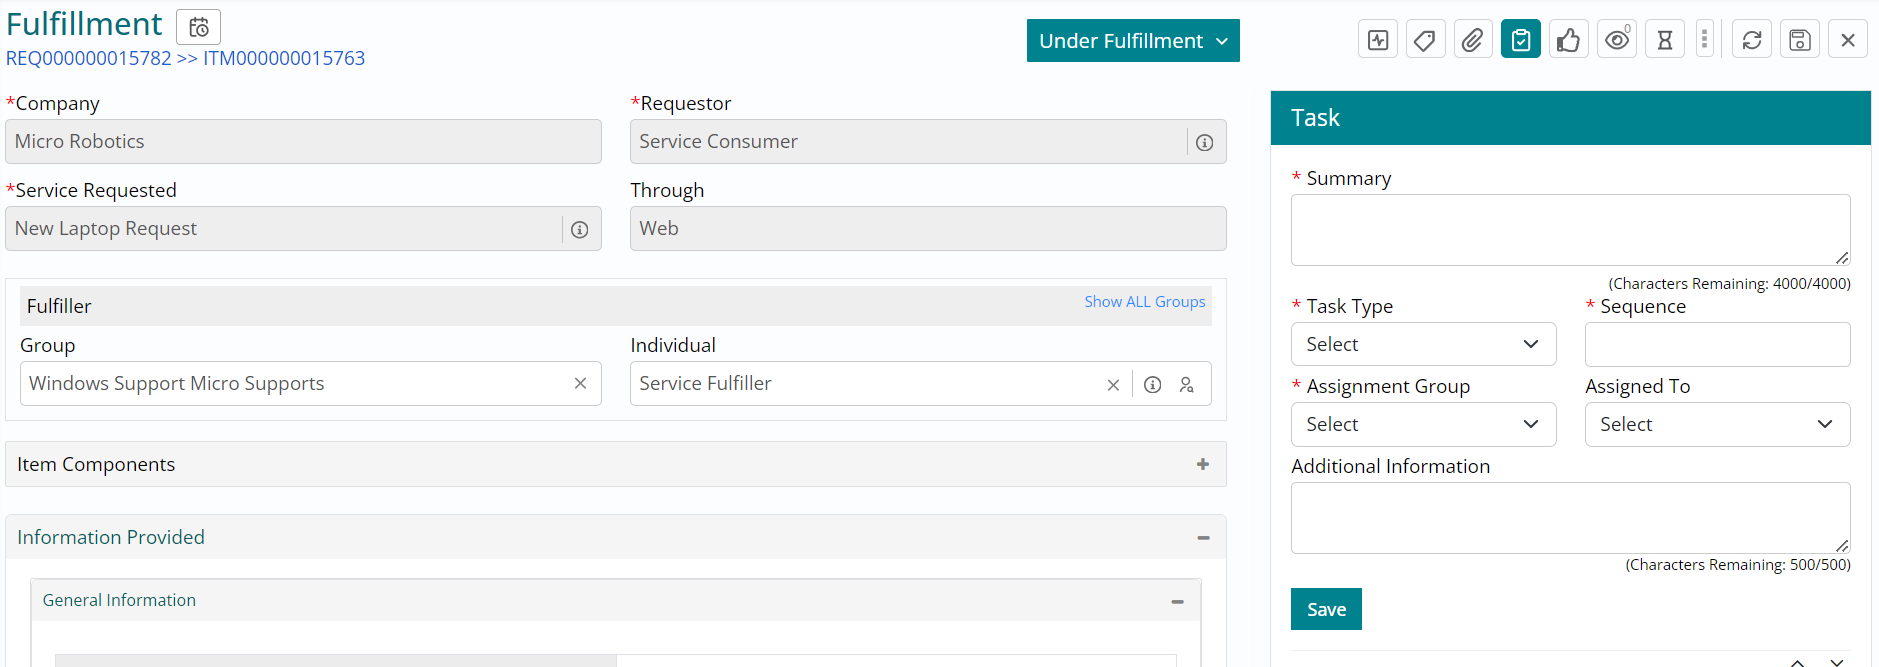
- The task form that you see towards the right of your screen can be used to create an ad-hoc task to seek involvement of a team to perform a specific task. You can try this out for a different request at a later point during your trial.
- For now, you can ignore this and scroll down using the right scroll bar, to view some
pre-defined fulfillment tasks.
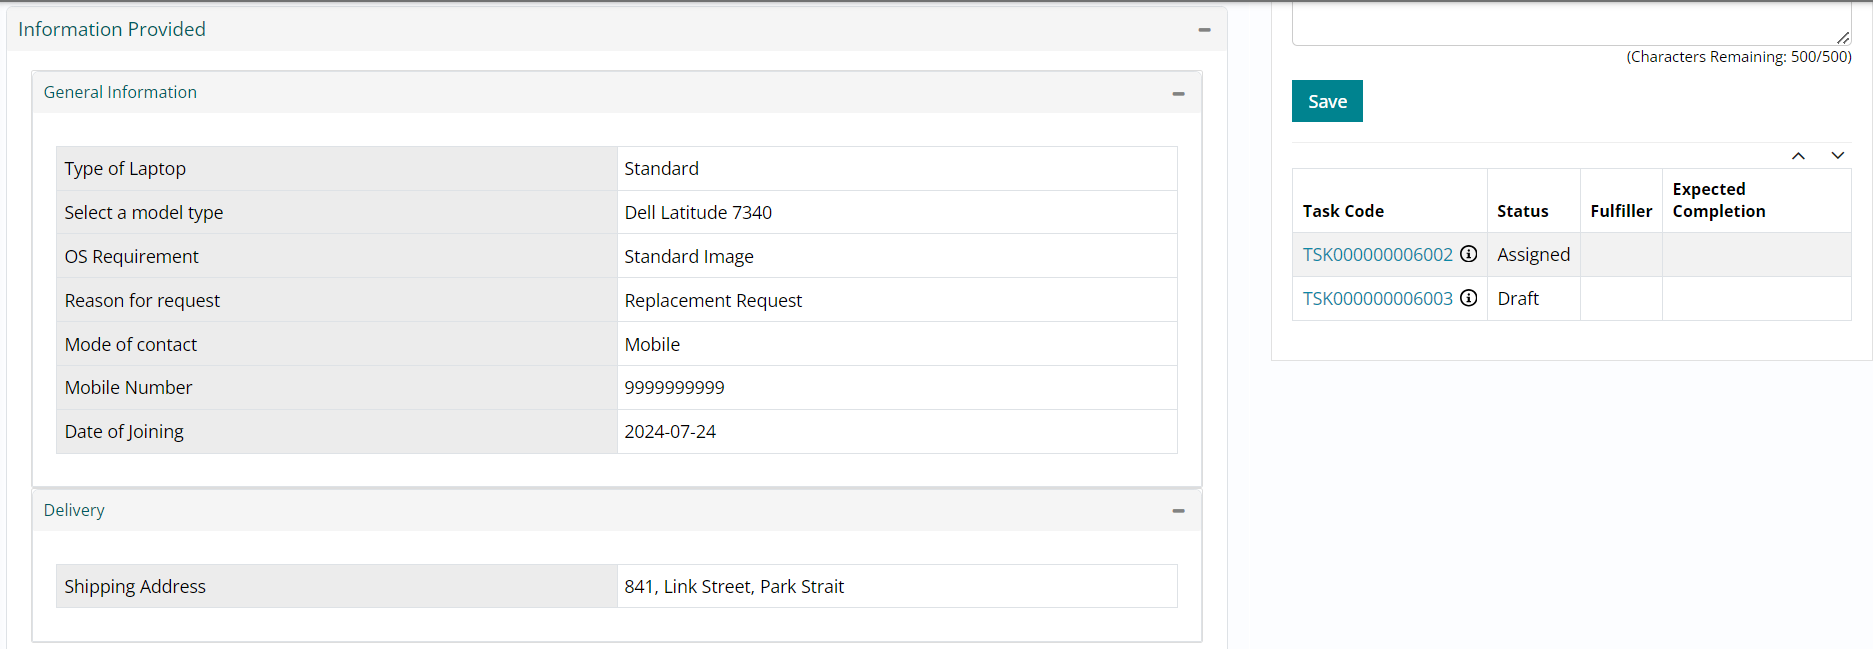
- Upon scrolling down, you will see that there are two tasks that were configured by the catalog manager for this specific offering and therefore they need to be completed / cancelled as a part of fulfilling this request.
- The first task you see is in Assigned status whereas the second one below it is in Draft status indicating that they are sequential tasks, and the second one will be triggered upon completion of the first one. If these tasks were configured to run in parallel, both would have appeared to be in Assigned status upfront.
- Click on the first Task Code to open and view the task form.
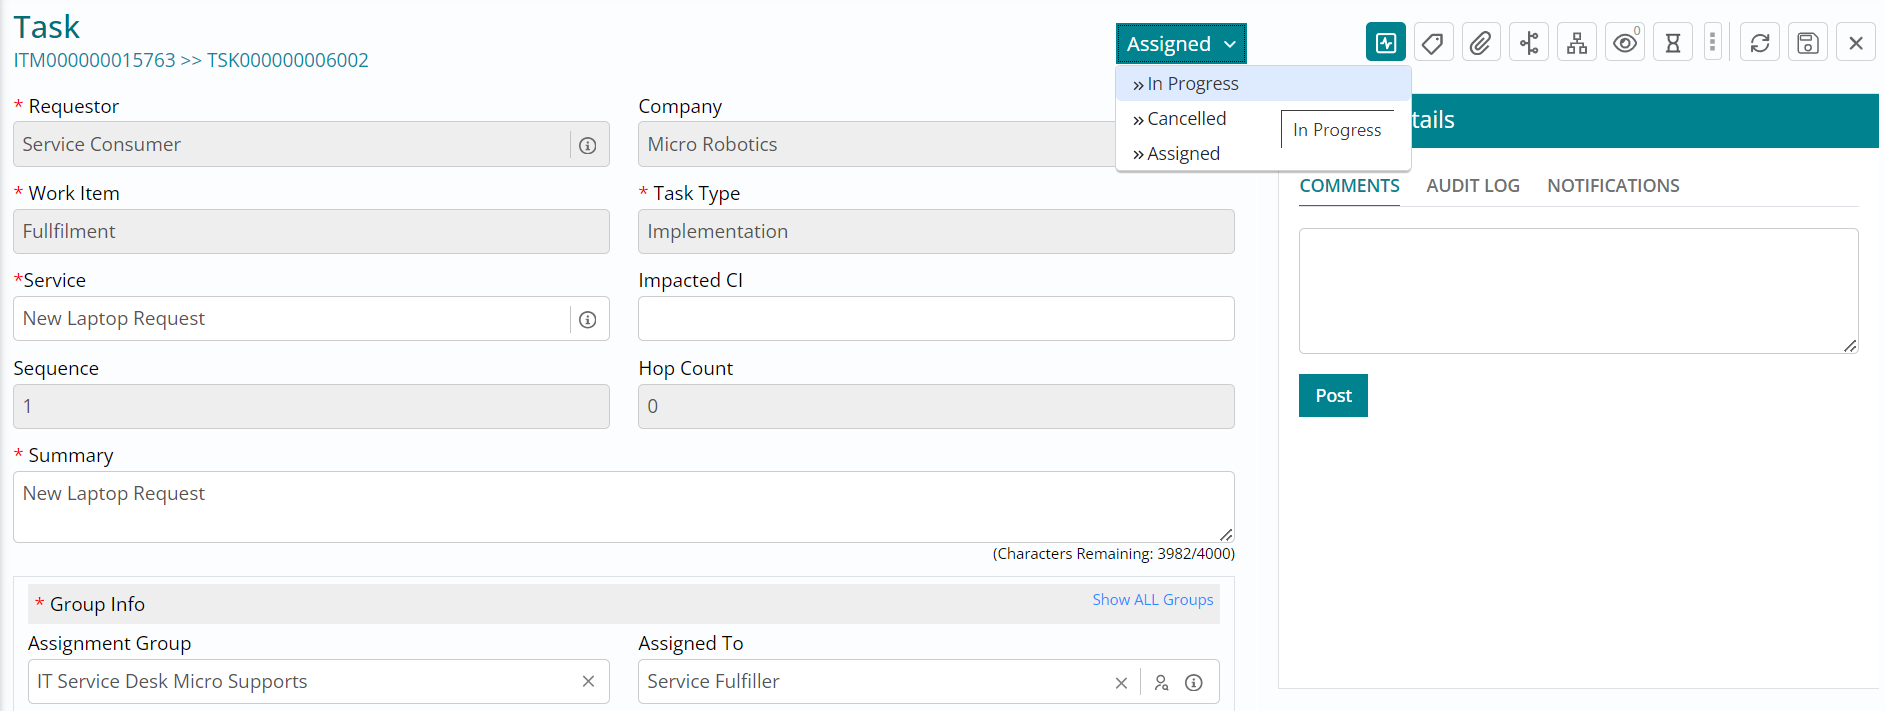
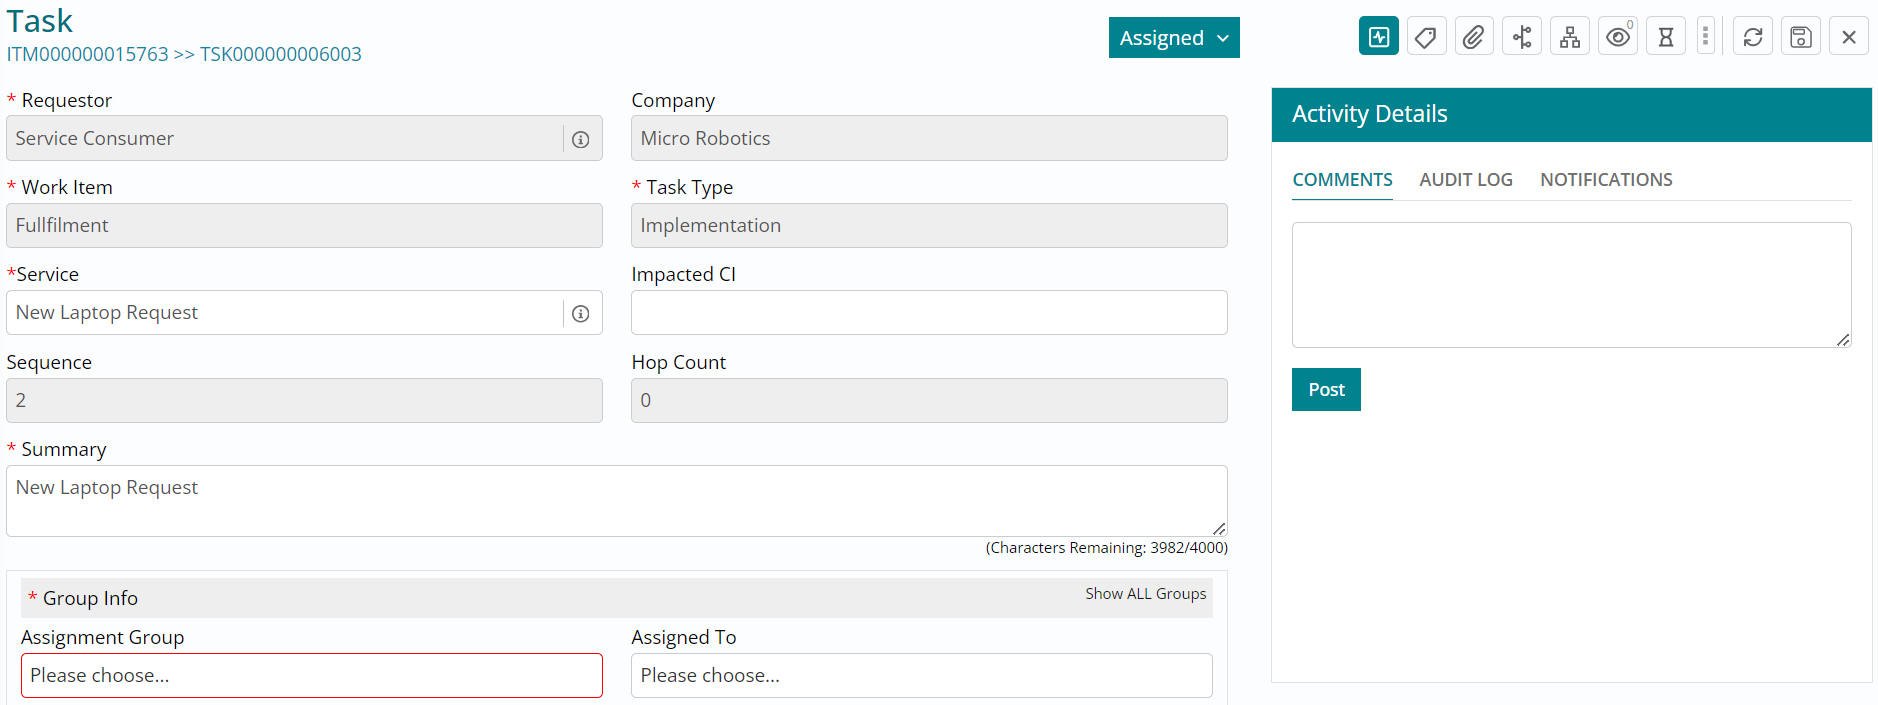
This is the task form. You can browse through its details to begin with.
- Next, click on the Individual button and select Service Fulfiller (the role you are logged in with) to assign the ticket to yourself.
- Click on Save button to ensure that the individual is saved.

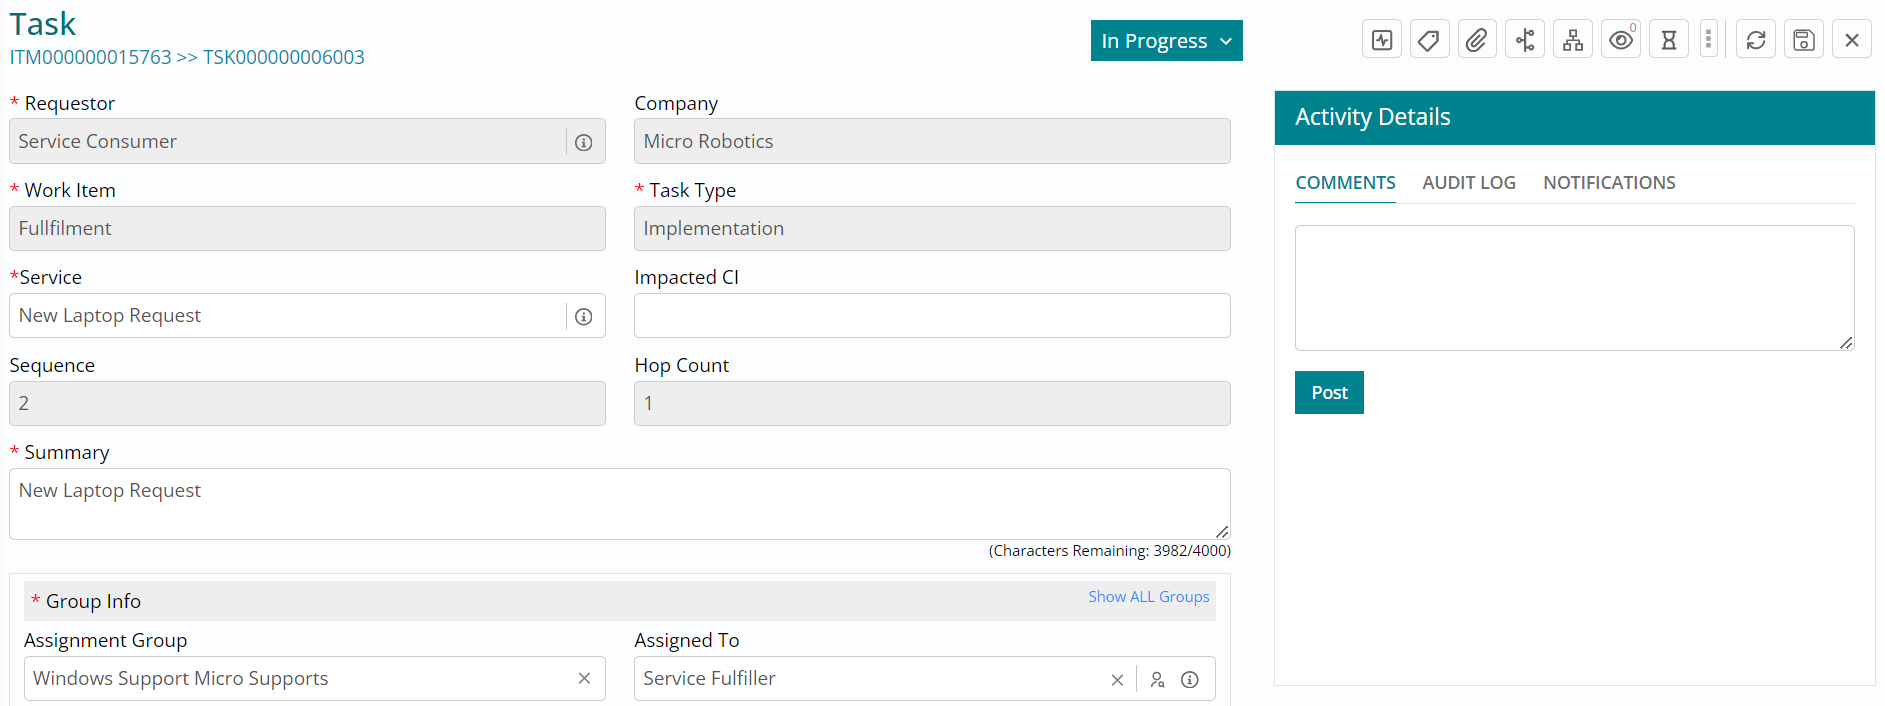
- Click on the status drop down and change the status of the task to In Progress, indicating that you are working on the ticket.
- Click on the Save button to record the status change.
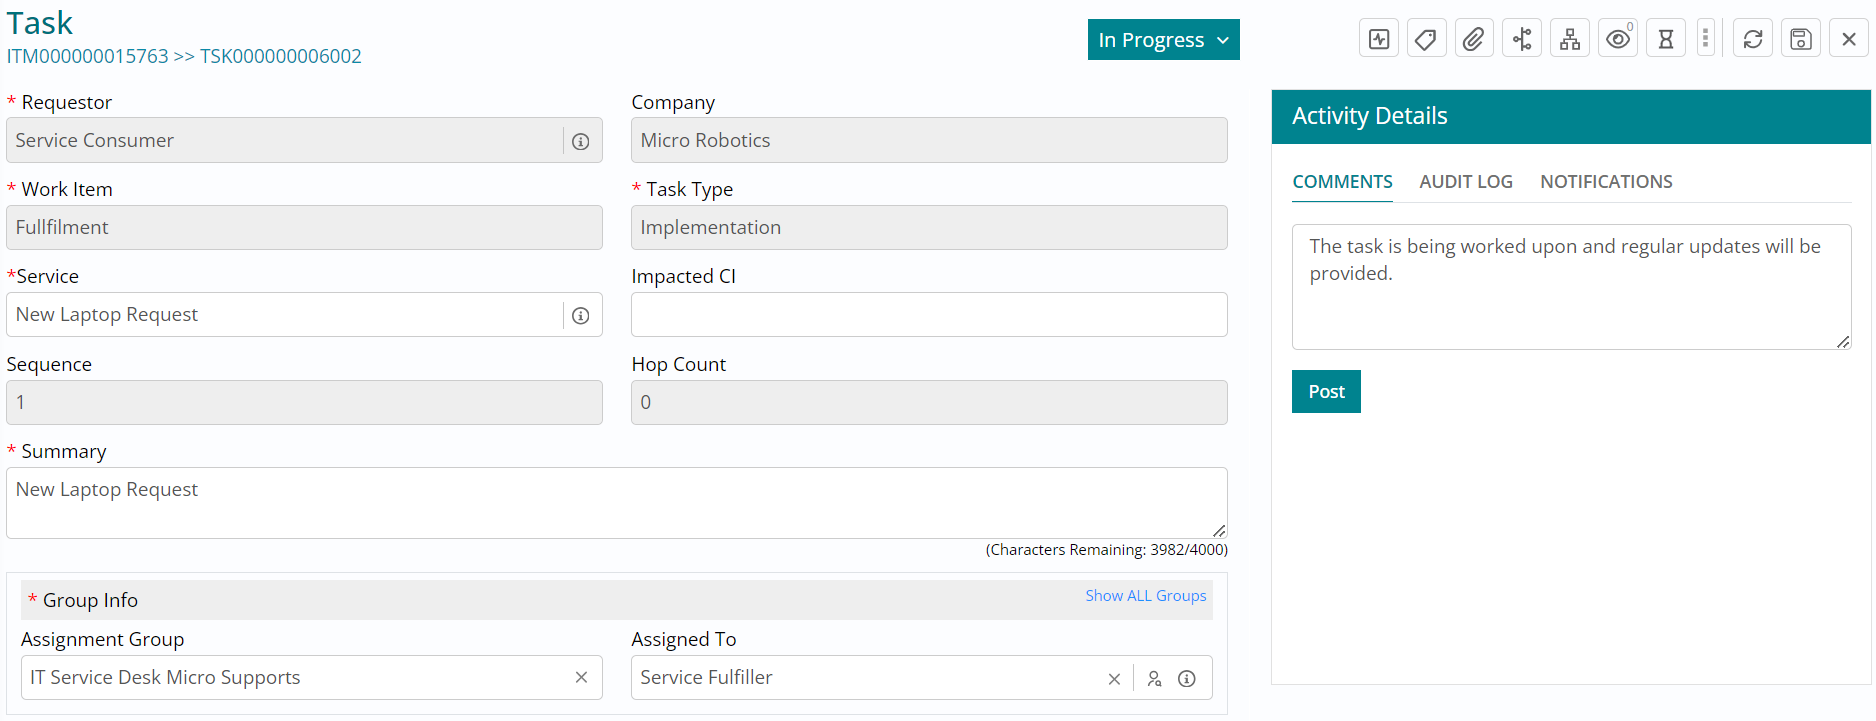
- Type in a comment stating that the ticket is being worked upon followed by clicking on
Post to keep the requestor informed.
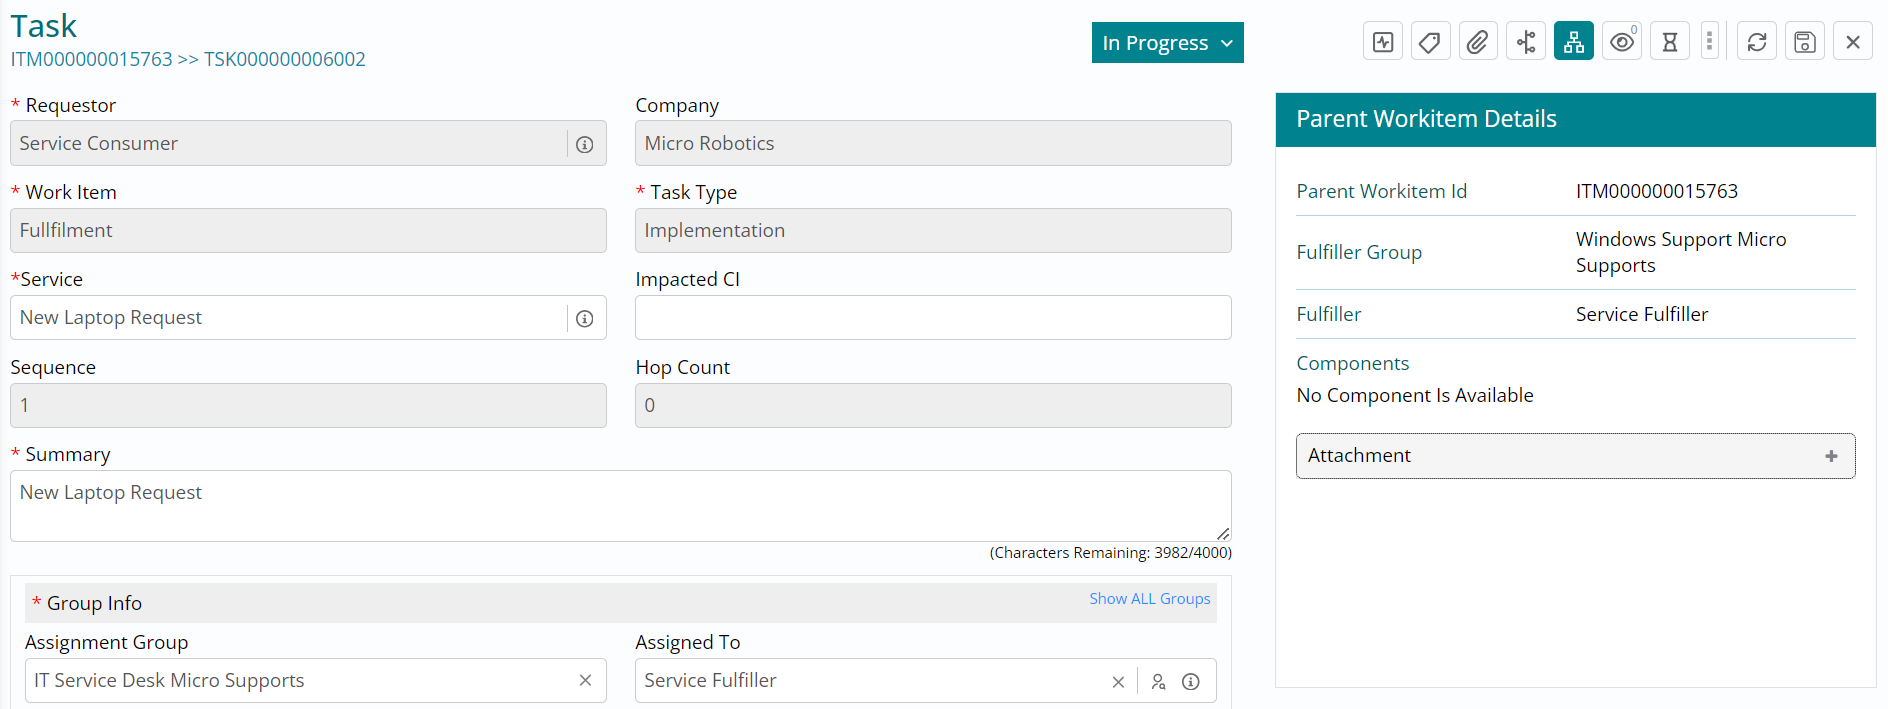
- If at any point in time, you would like to view or get a glimpse of the parent ticket (in this case fulfillment work item) details, you can click on the parent work item details button available towards the right of your screen.
- Alternatively, if you have the access to view the parent ticket form, then the
hyperlink towards the top left of the task form with the ITM ID can be used to navigate
to the parent ticket form.
- In case you chose to navigate to the fulfillment ticket form, navigate back to the task form to try your hands on reassigning a ticket from one assignment group to another.
- Click on the cross button against the Assignment Group field under Group Info section of the task form, to clear the current assignment group selected.
- Click on Show ALL Groups in the same section to ensure that the Assignment Group
section shows all groups available.

- Click on the Assignment Group field and from the list of groups available, reassign the ticket to IT Service Desk group by selecting that group.
- Click on Save button to ensure that the reassignment change has been recorded.
- Click on the Individual button and select Service Fulfiller (the role you are logged in with) to assign the ticket to yourself.
- Click on Save button to ensure that the individual is saved.

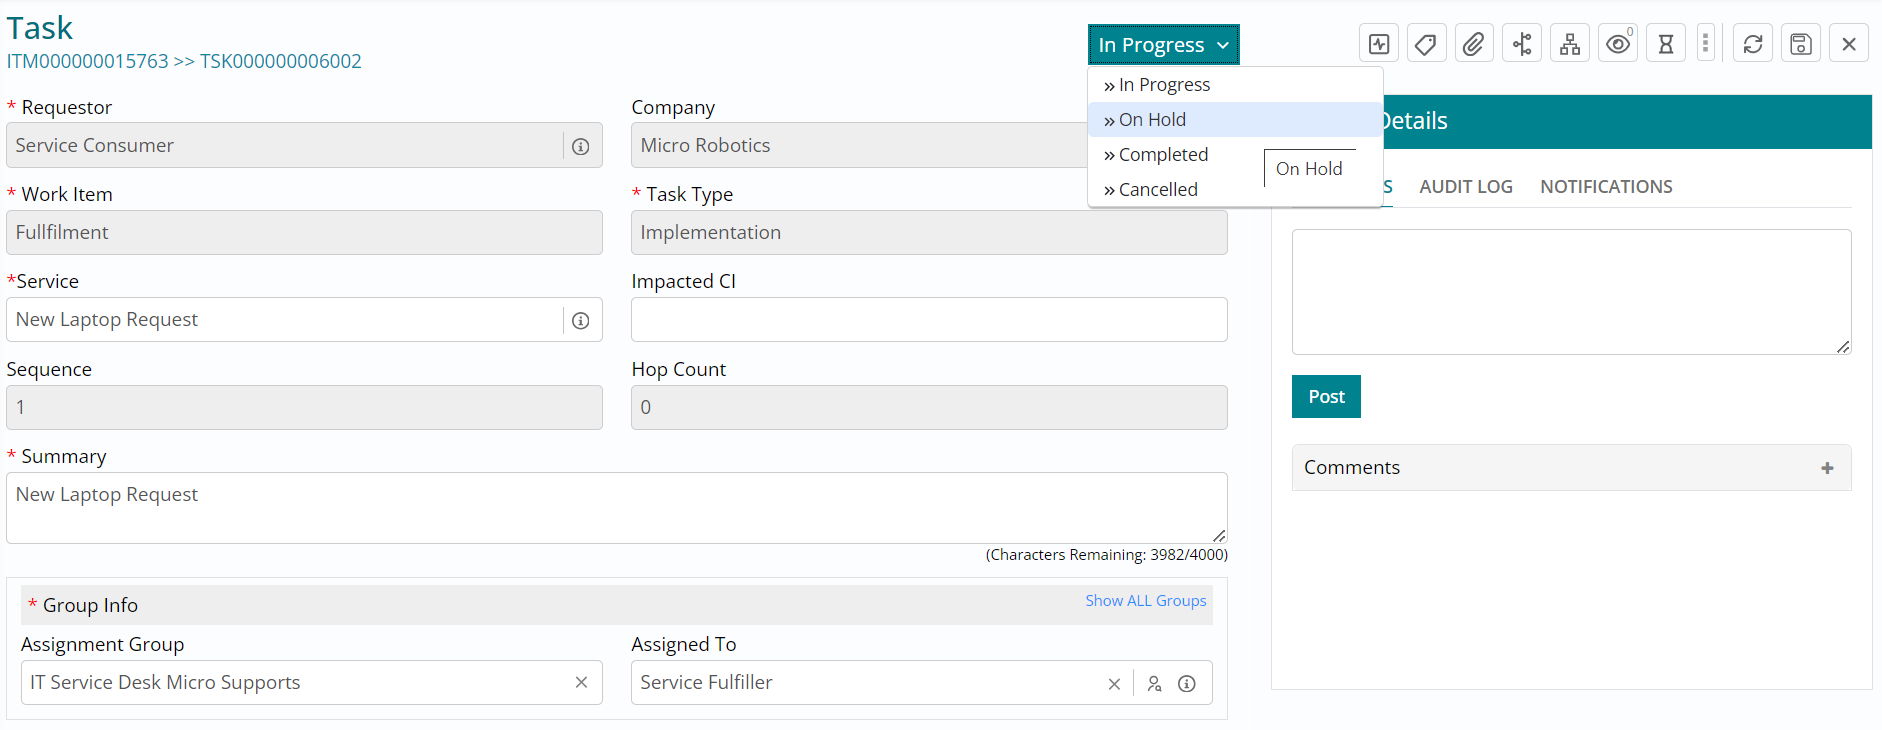
- Click on the status drop down and change the status of the task to On Hold indicating that you are awaiting details or action from someone else to continue working on this task.
- If there is any service level configured against this task in the system, then this
will ensure that its measurement is paused.
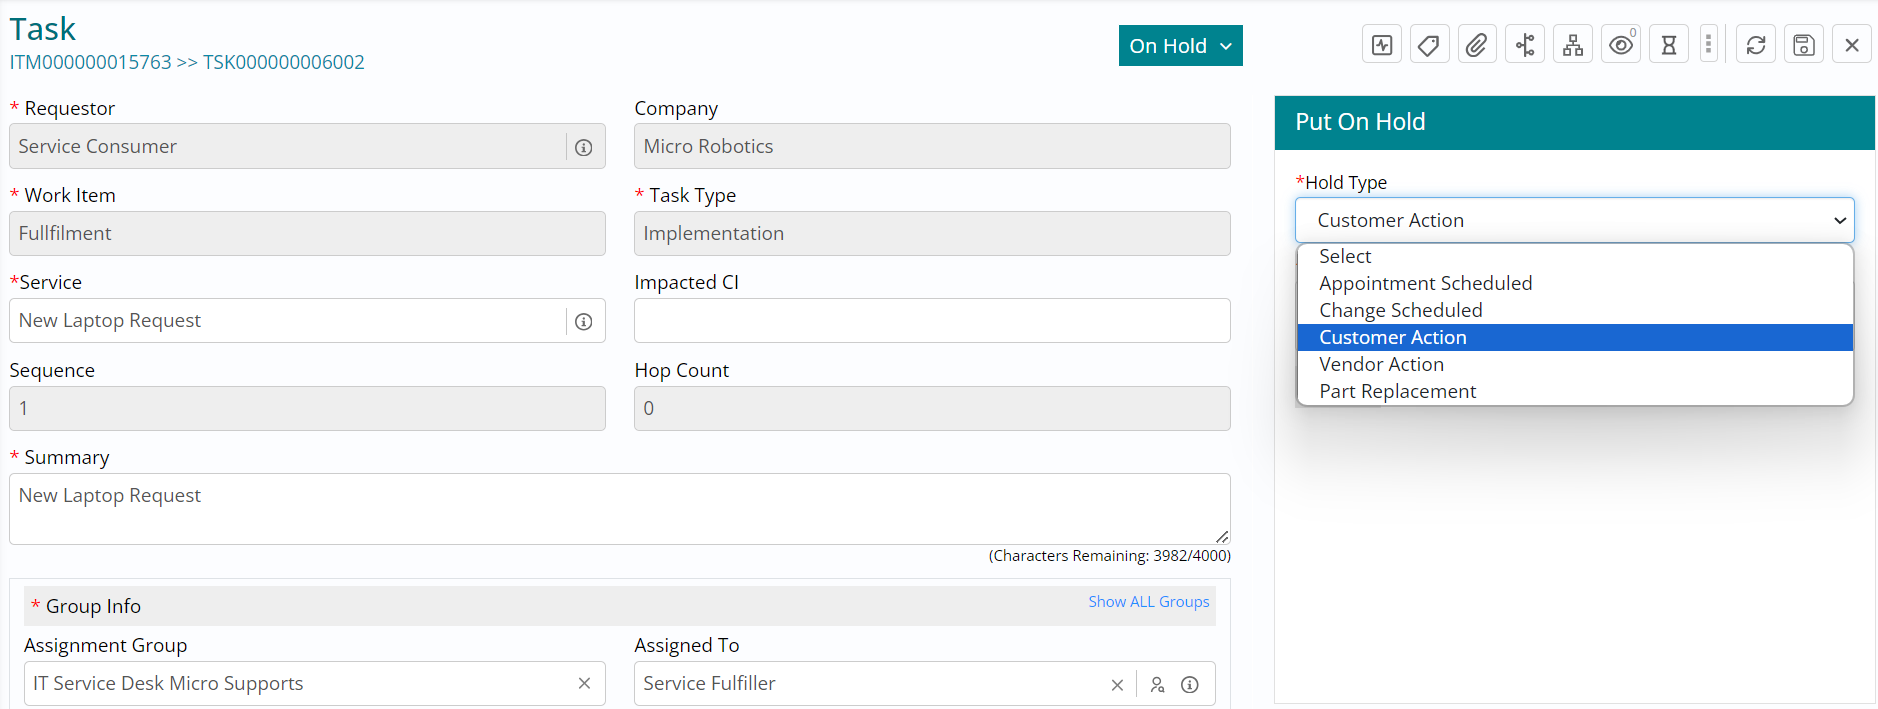
- Click on the Hold Type drop down field and select one amongst the available options.
- In this case, we are selecting Customer Action indicating that you require some
details from the customer / requestor to continue working on this task.
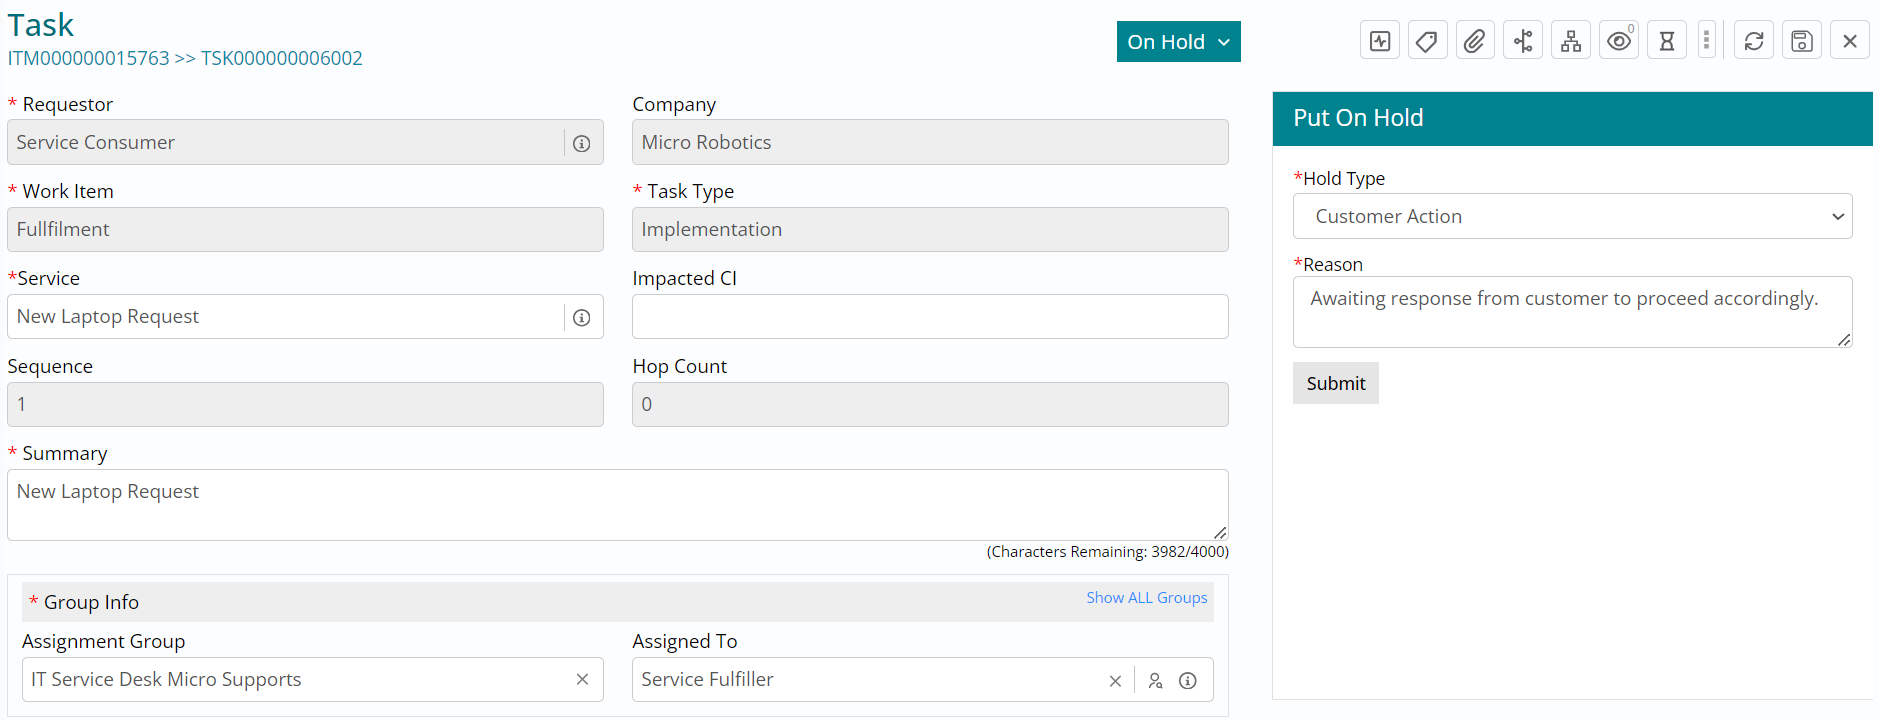
- Type in the reason for placing the ticket on hold as a comment followed by clicking on Submit.
- The requestor will automatically be notified that the task has been placed on hold
since there is customer action awaited.
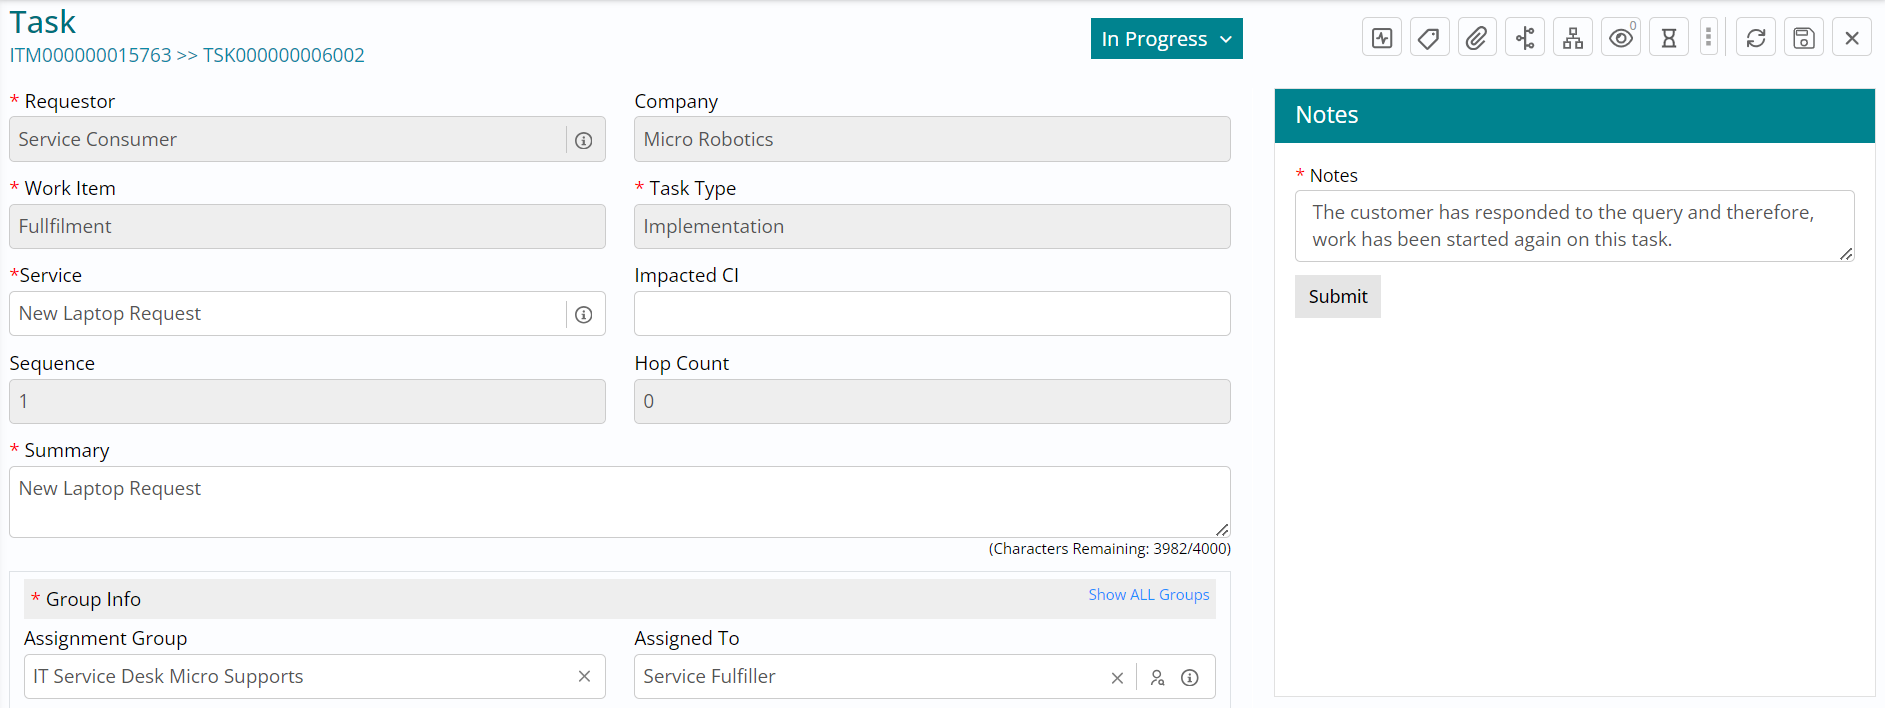
- Click on the status drop down and change the status of the task to In Progress indicating that you are working on the ticket.
- Type in comments in the Notes field followed by clicking on Submit, to record the
status change and the comments entered.
Click on the status drop down and change the
status of the task to Completed, indicating that you have completed working on the ticket.

Type in comments in the Notes field followed
by clicking on Submit, to record the status change and the comments entered. 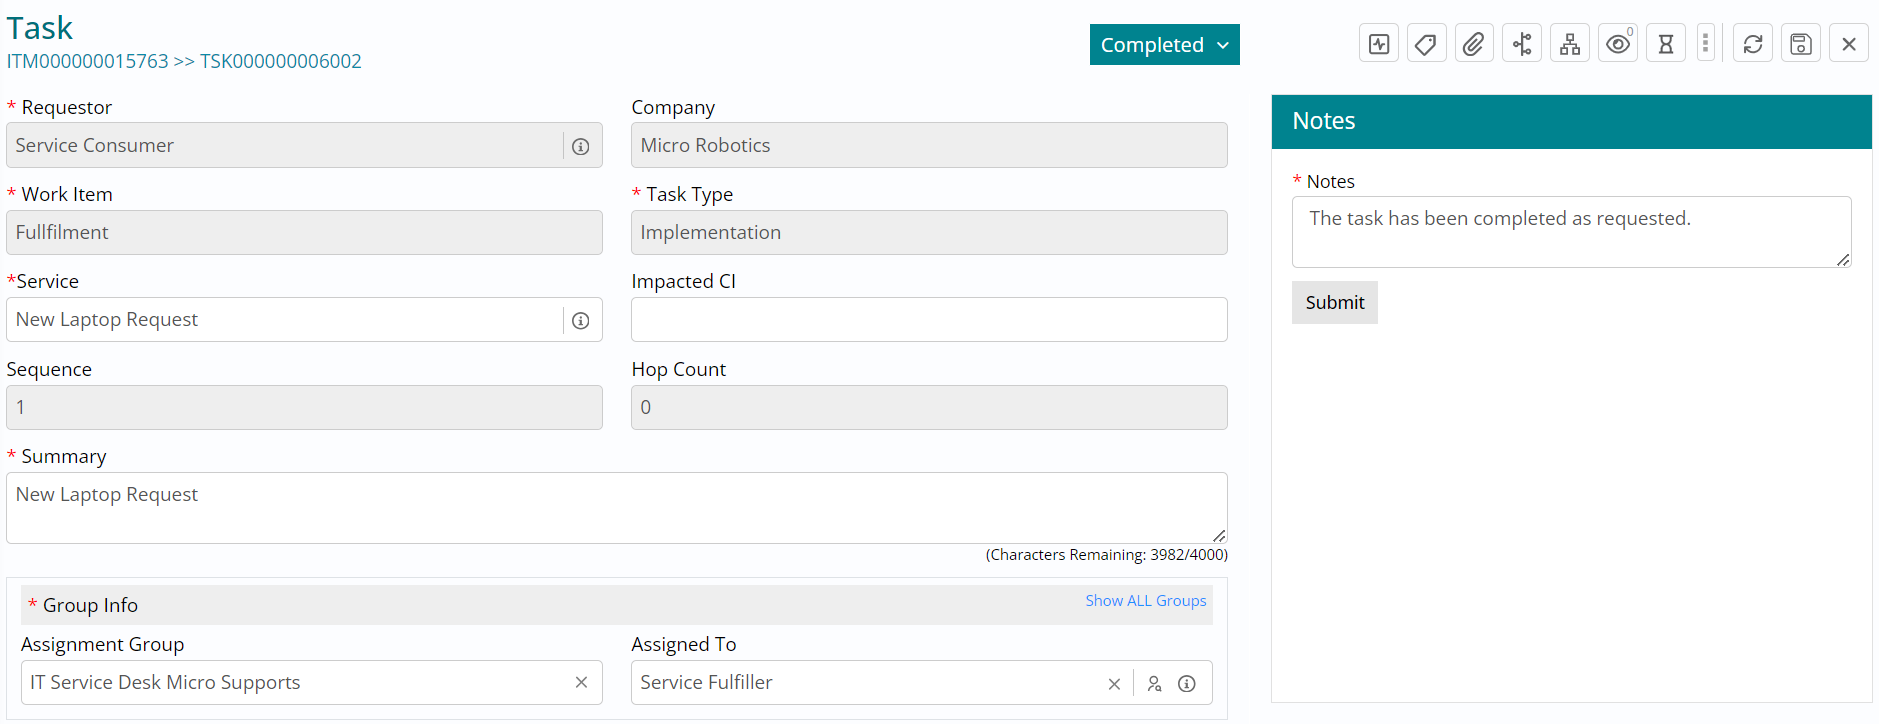
- This task is now completed, and you can notice this from the fading out of the Status button.
- Next, since you have access to view the parent ticket form, click on the hyperlink
towards the top left of the task form with the ITM number, to navigate to the parent
ticket form.
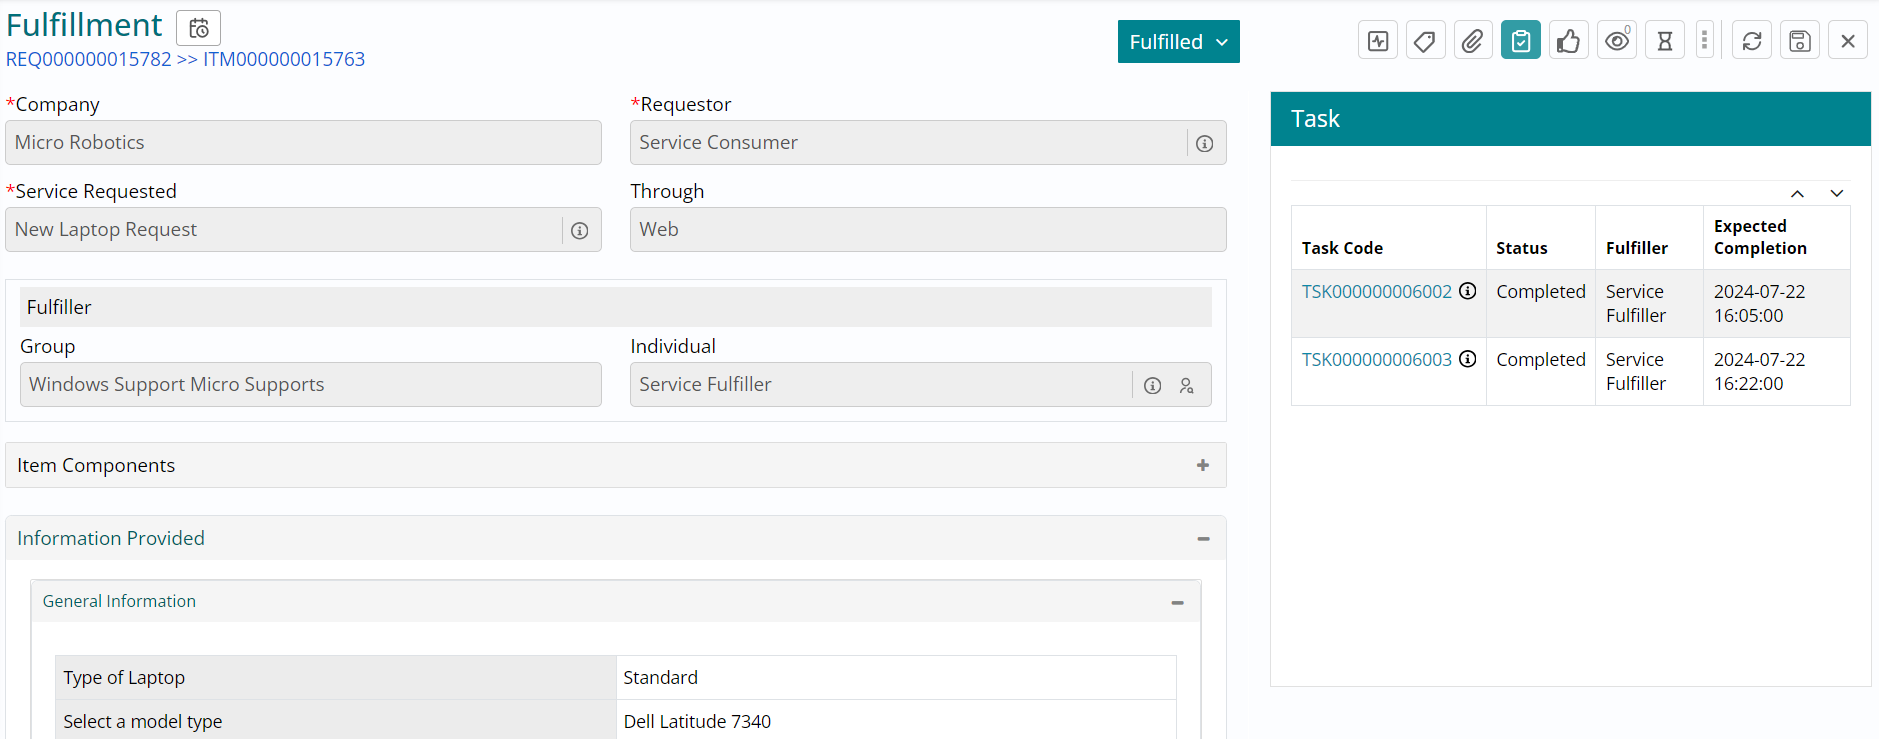
- You have now landed on the parent ticket / fulfillment ticket form.
- Click on Task button towards the top right, to move to view the next task against this
ticket.
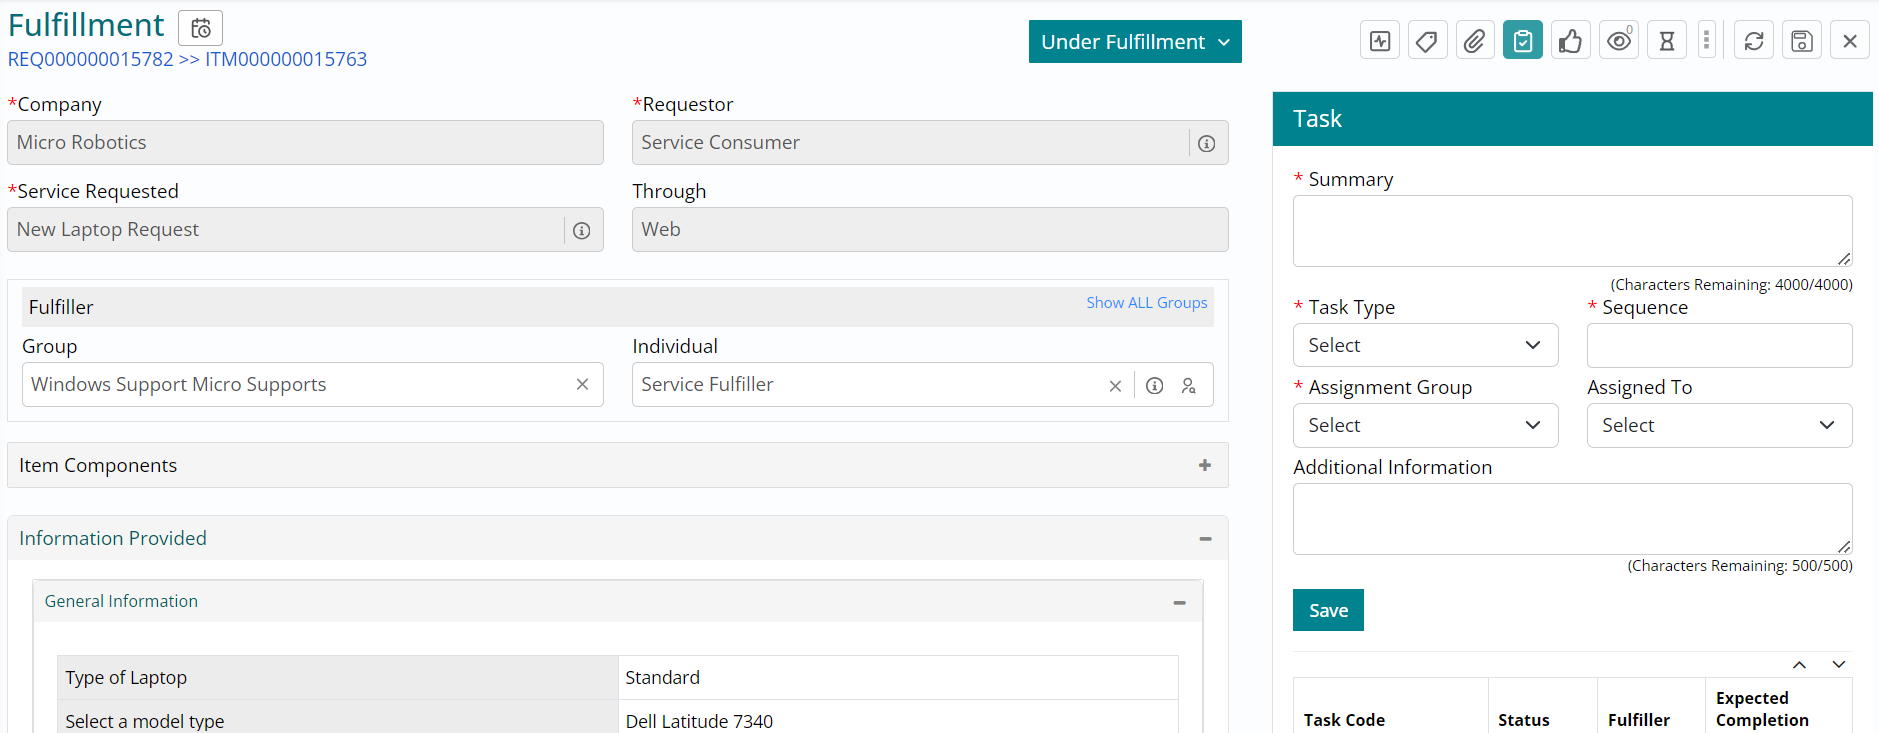
Fulfillment – Task
- Upon scrolling down, you can see that the second task which was earlier in Draft status, has automatically moved to Assigned and is ready to be worked upon, since the first task was completed by you.
- Click on the second Task Code to open and view the task form.

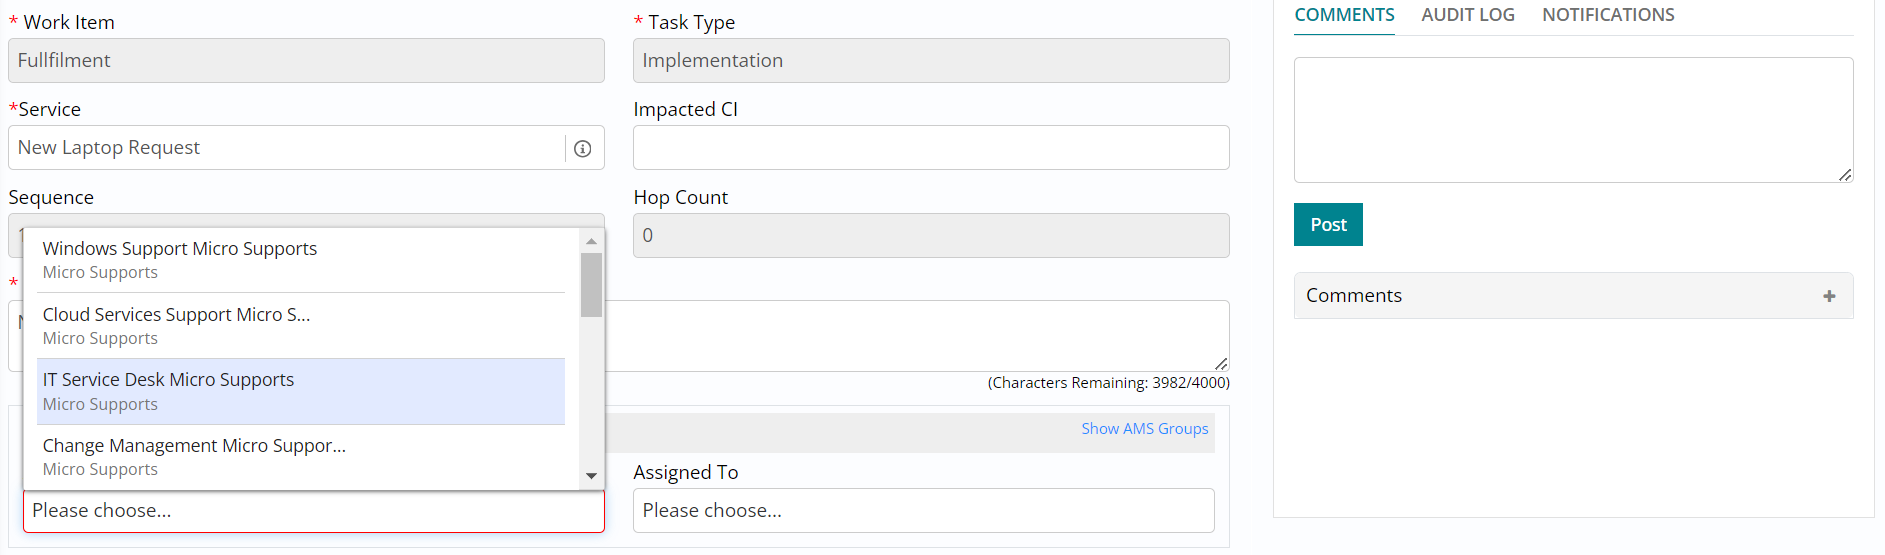
- Click on the cross button against the Assignment Group field under Group Info section of the task form, to clear the current assignment group selected.
- Click on Show ALL Groups in the same section, to ensure that the Assignment Group
section shows all groups available.
- Click on the Assignment Group field and from the list of groups available, reassign the ticket to Windows Support group by selecting the group.
- Next, click on the Individual button and select Service Fulfiller (the role you are logged in with) to assign the ticket to yourself.
- Click on Save button to ensure that the reassigned group and individual details are
saved.

- Click on the status drop down and change the status of the task to In Progress indicating that you are working on the ticket.
- Click on the Save button to record the status change.
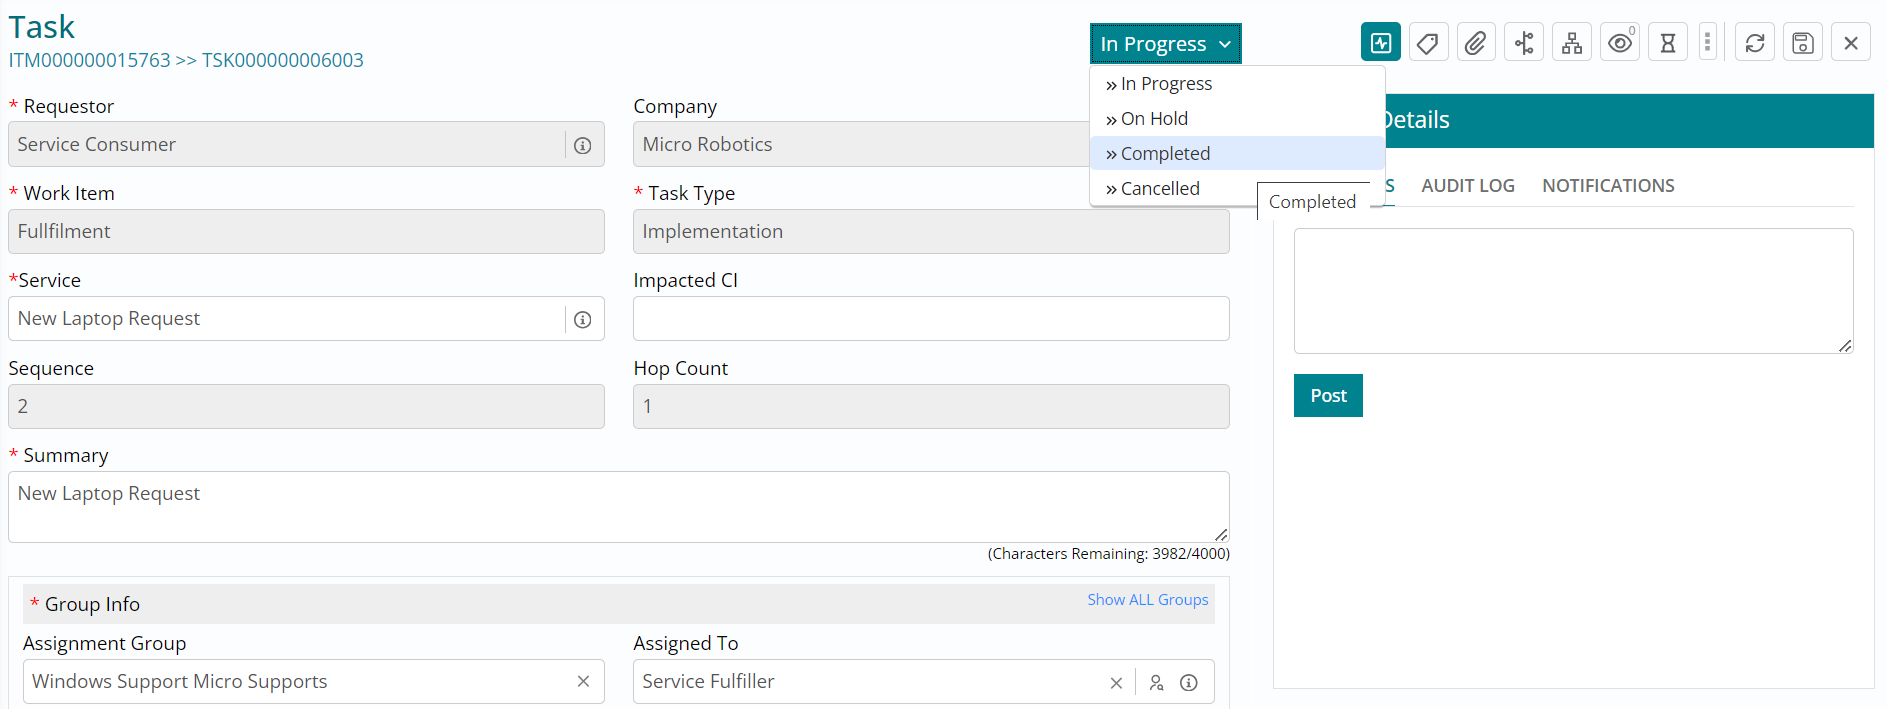
Click on the status drop down and change the
status of the task to Completed, indicating that you have completed working on the ticket.
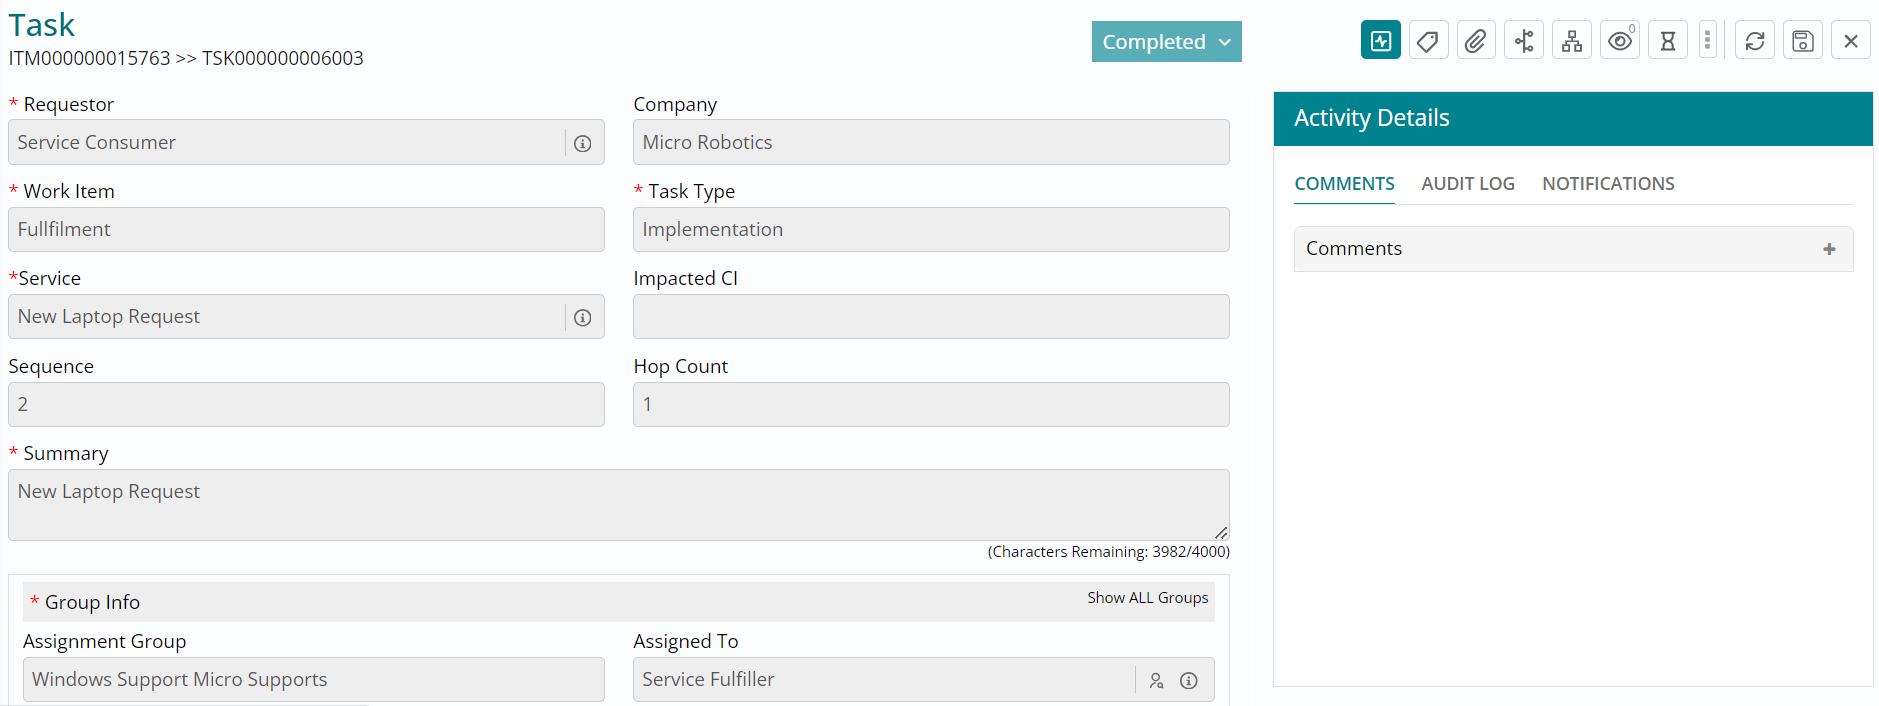
Type in comments in the Notes field followed
by clicking on Submit, to record the status change and the comments entered. 
- This task is now completed, and you can notice this from the fading out of the Status button.
- Next, since you have access to view the parent ticket form, click on the hyperlink towards the top left of the task form with the ITM number, to navigate to the parent ticket form.
- You have now landed on the parent ticket / fulfillment ticket form.
- Click on Task button towards the top right and you can see that both the tasks required to fulfill this parent workitem were completed. and therefore, the status of the parent ticket has automatically moved to Fulfilled.
- Click on the cross button towards the top right to close the ticket and navigate to
the work item board.
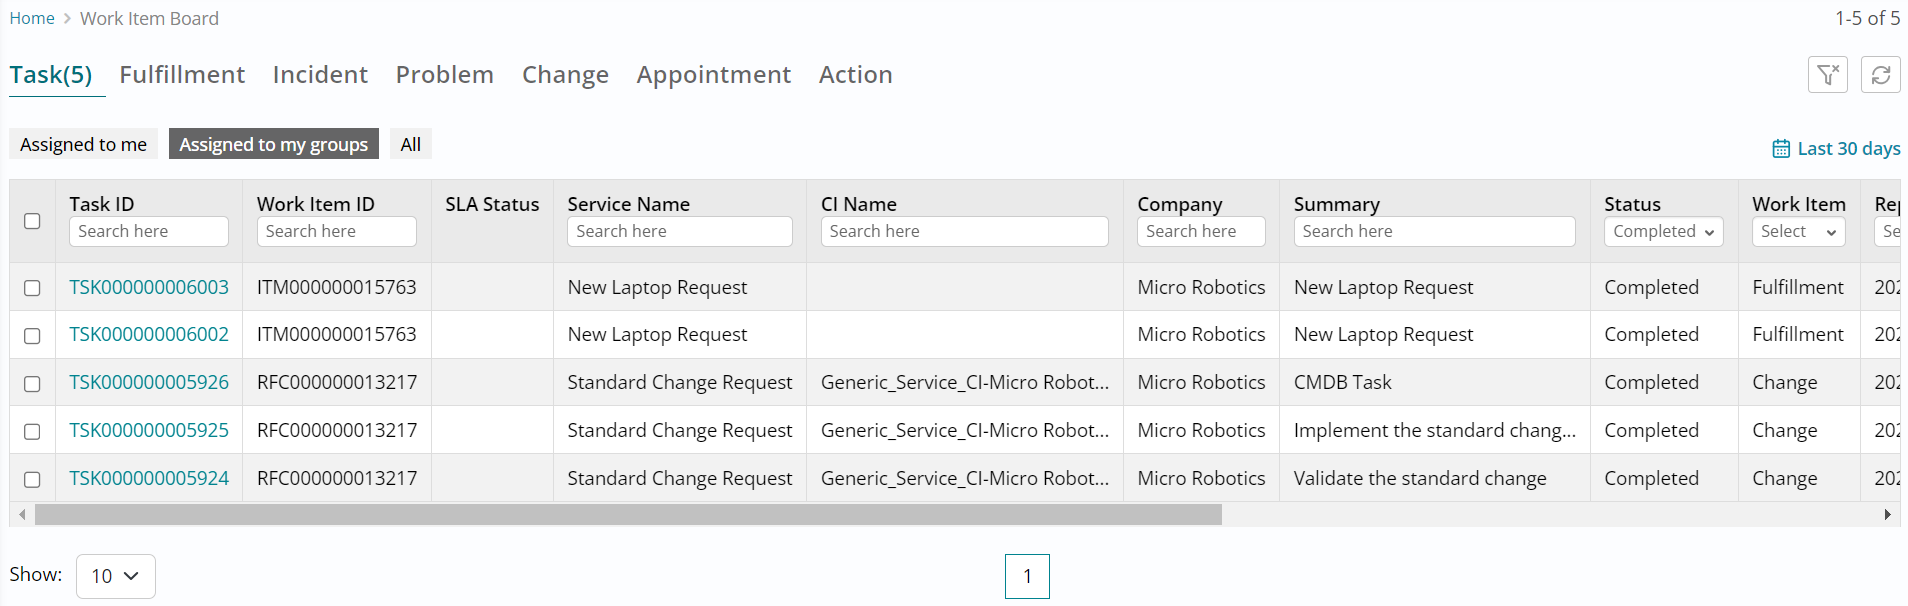
- Under Fulfillment section and Assigned to my groups sub-section, use the status filter to show Fulfilled tickets and you will be able to view the ticket you just fulfilled.
- You can also choose to explore other filters available on this page.

- Similarly, to view the completed tasks, click on Task section and Assigned to my groups sub-section followed by using the status filter to show Completed tasks.
- You can choose to explore other filters available on this page as well.
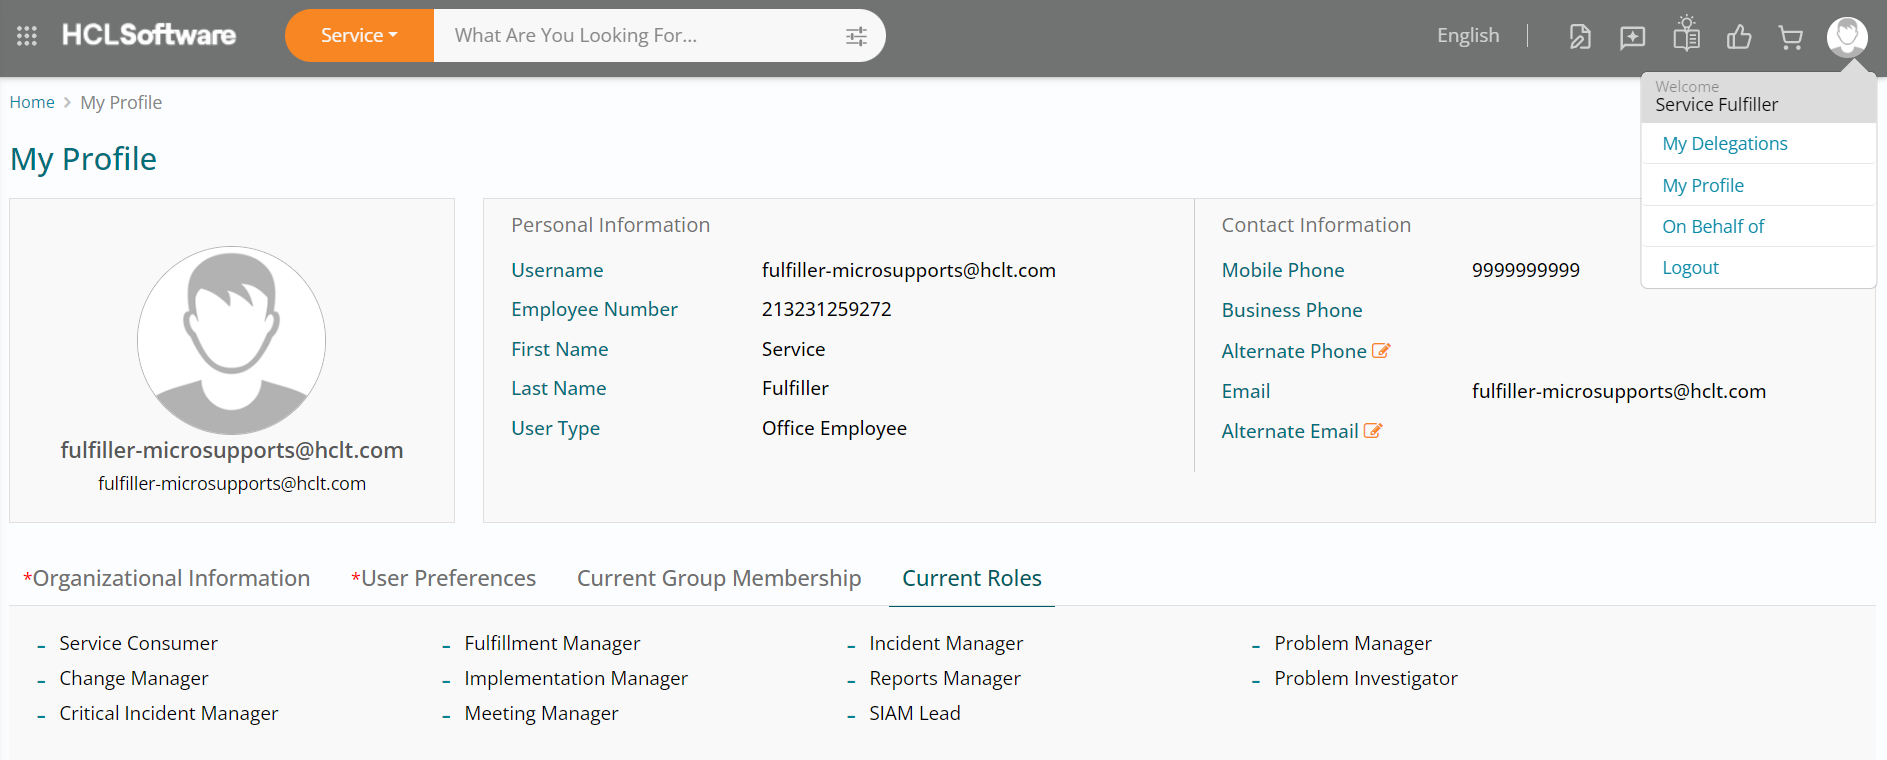
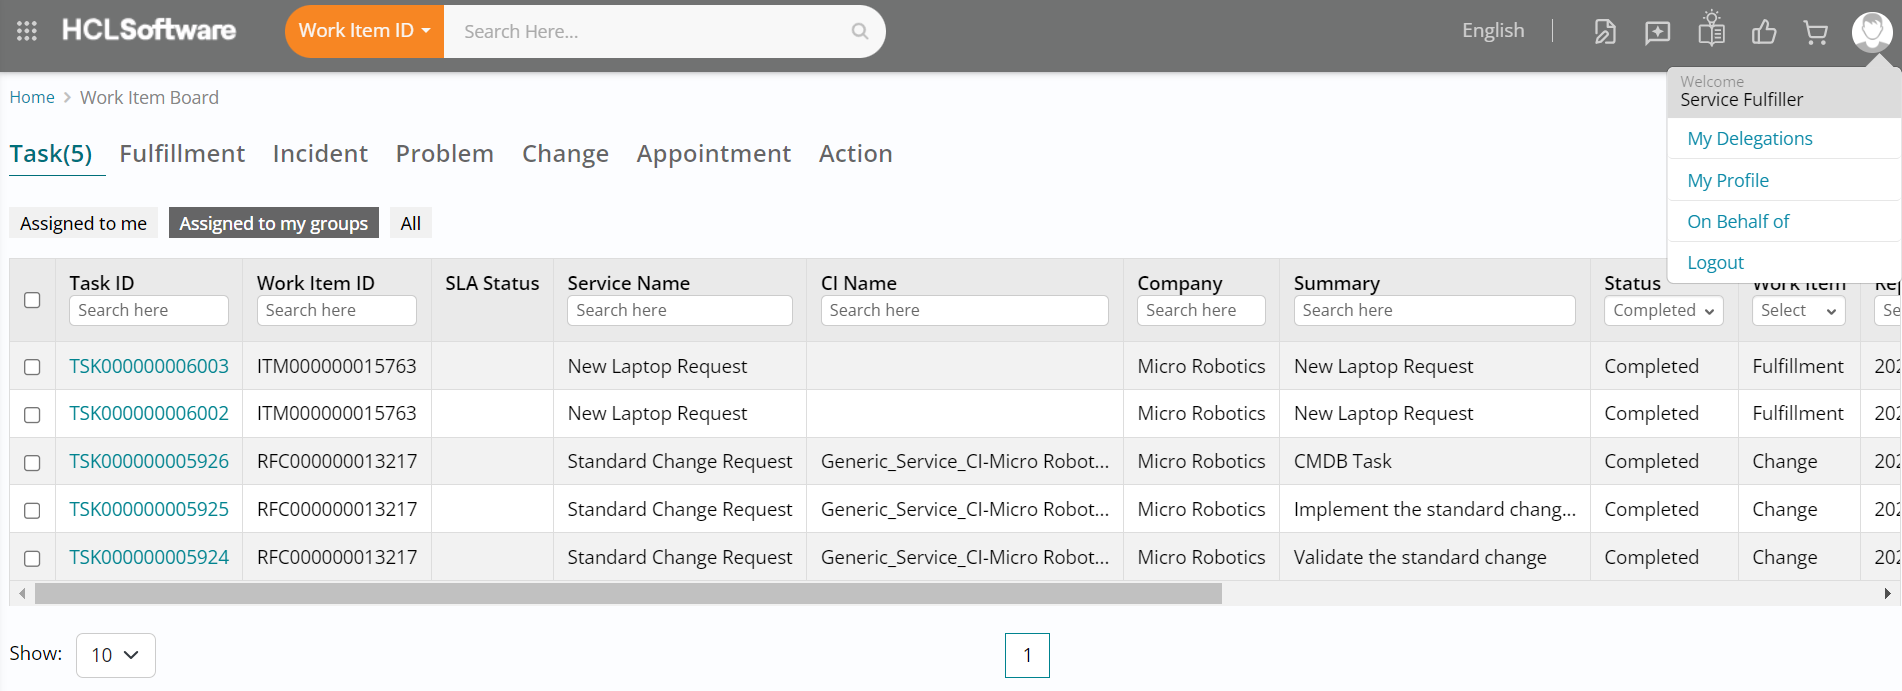
- Click on the My Account button (User icon) on the top right of your screen followed by
clicking on My Profile.
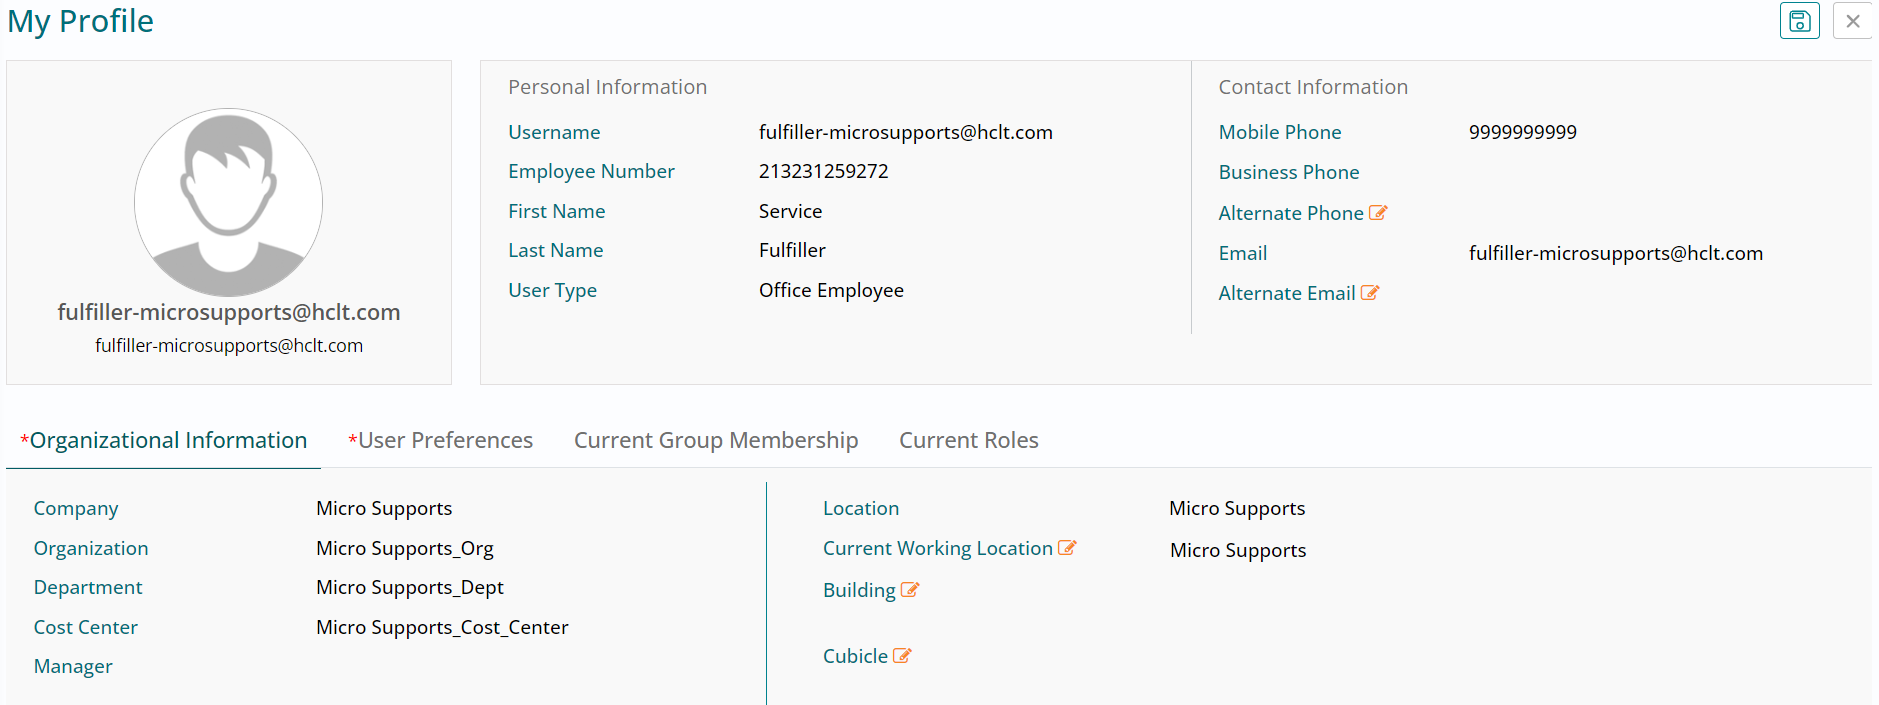
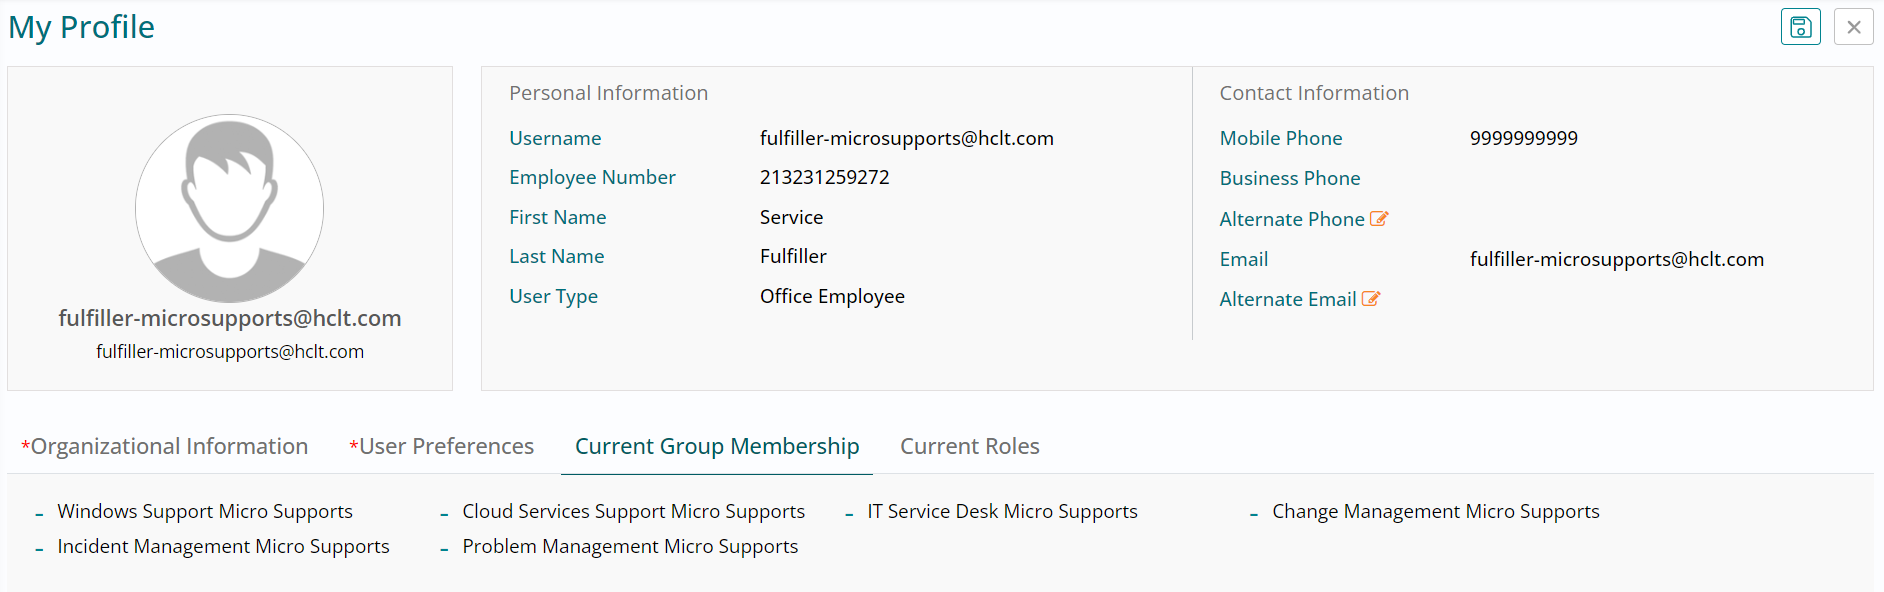
- You will land on the Organizational Information section, wherein you can view user organization details, personal and contact information. You also have the option of editing and updating a few details if needed.
- Click on Current Group Membership section next.
My Profile - Fulfiller - Current Group Membership
- In the Current Group Membership section, you can view all the groups that you are currently a part of.
- Click on Current Roles section next.
- You can view the roles assigned to the Service Fulfiller user in this section.
- Click on the My Account button (User icon) on the top right of your screen, followed by clicking on Logout. This will log you out of the Service Fulfiller role you are currently logged in with.
- We can proceed to using the consumer role next to respond to the fulfilled request’s
survey.