Creating a Deployment Task in a BigFix Software Distribution Package
Use the Add Task wizard in the BigFix UI to create deployment tasks — install,
uninstall, repair, upgrade, or configuration — within a Package, defining the installation
command, advanced options, Self Service Application settings, and the relevance expression
that controls when the task applies to endpoints.
Before you begin
Files must be uploaded to the Package before creating tasks
that reference them. See Adding Files to a
Package. You can create a task with zero files for uninstallation or
configuration tasks that do not require downloading files to the endpoint.
About this task
The deployment task creation wizard follows a three-step
flow: Files → Behaviour → Conditions. It mirrors the workflow available in the
legacy BigFix Console, with additional options for Self Service Application (SSA)
integration. A single Package can have multiple tasks — for example, separate Install,
Remove, and Repair tasks, each referencing different subsets of the Package's
files.
Procedure
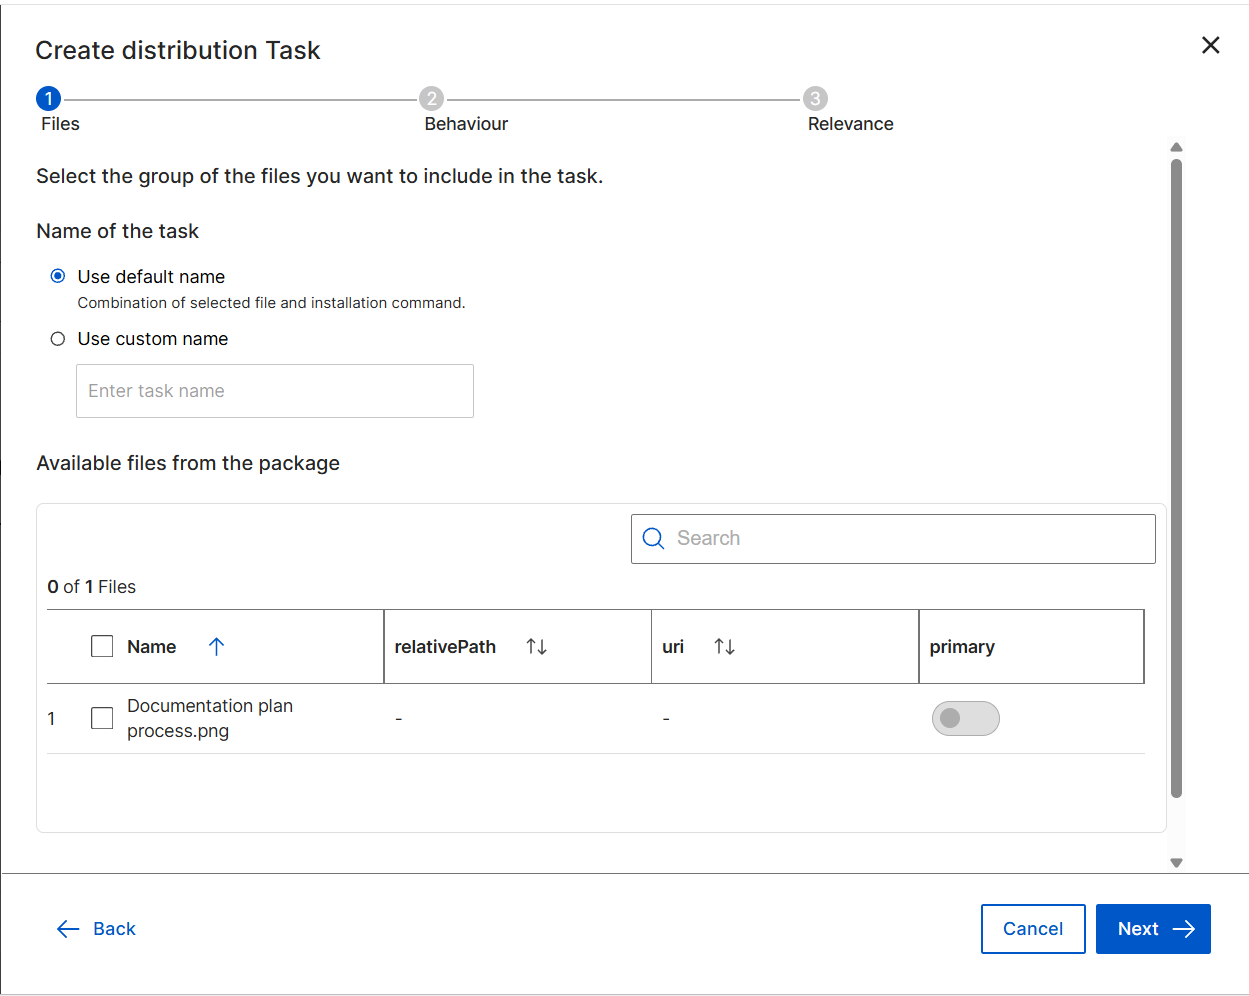
Navigate to Explore > Software and open the target Software entry.
From the Package details > Tasks tab, click + Add task.
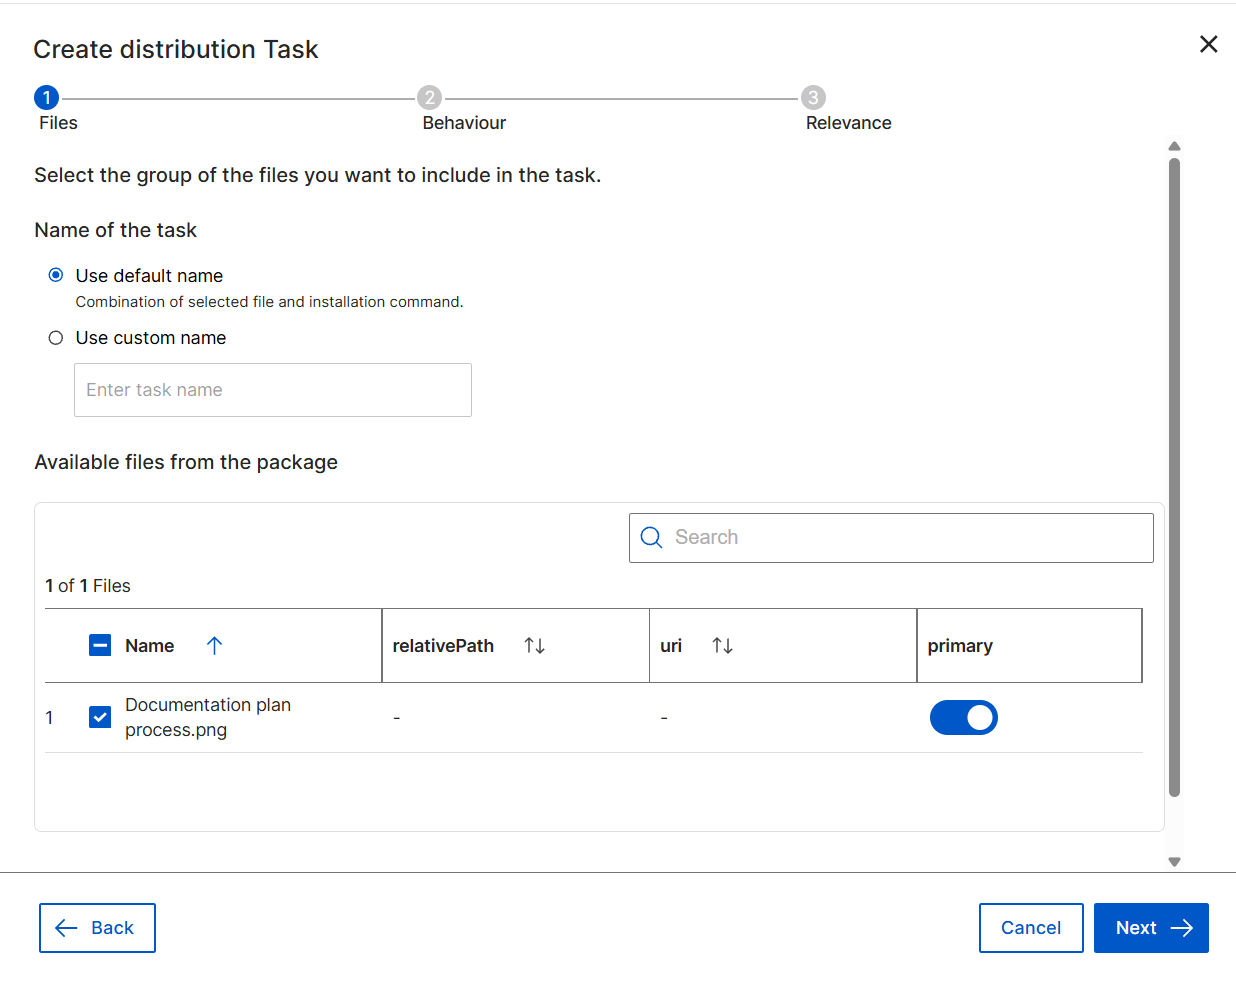
The Create distribution task wizard opens at the
Files step.
On the Files step, select either the Use
default name or Use custom name
option.
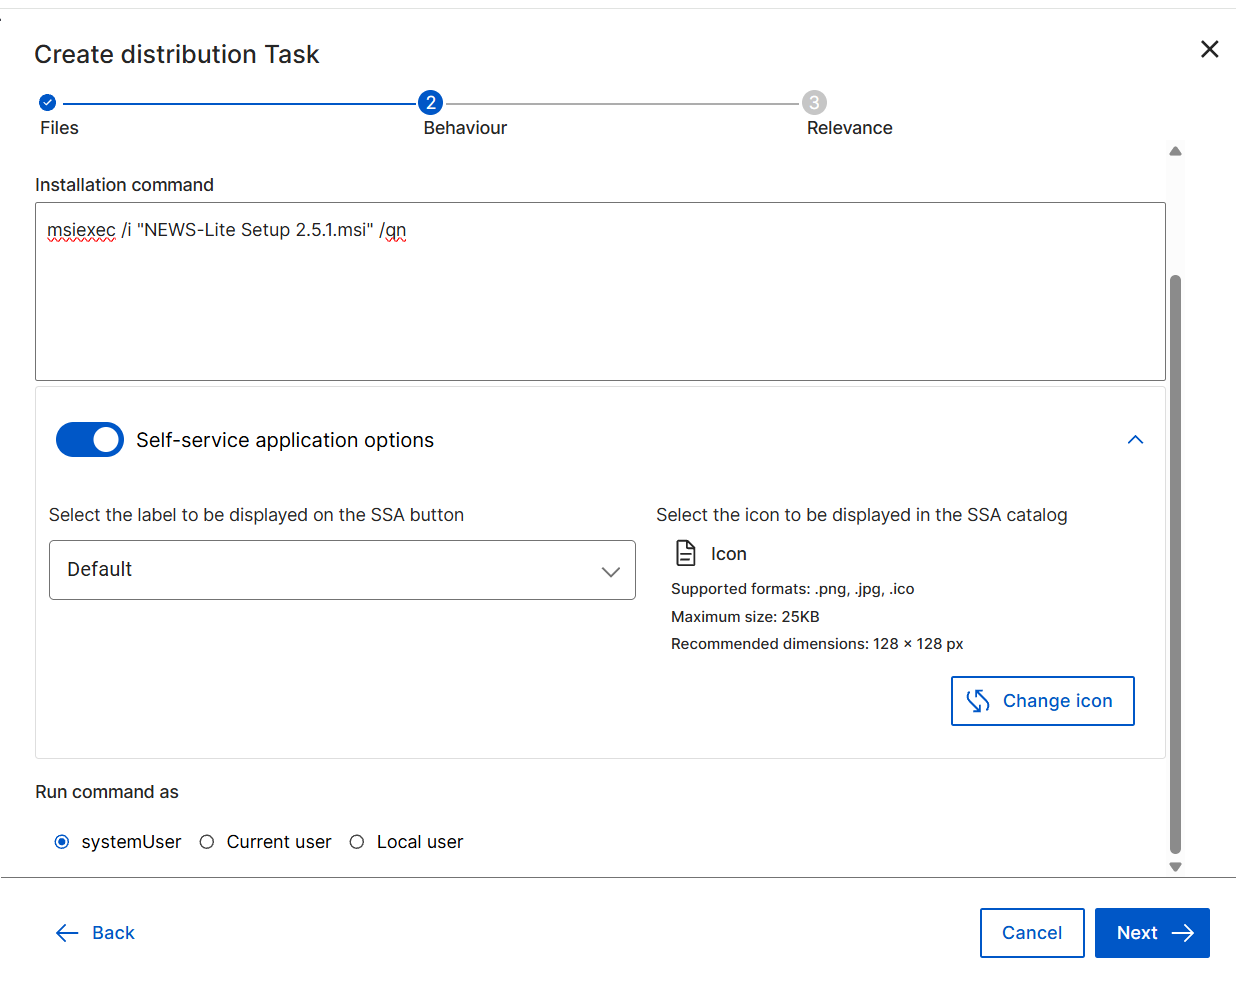
Enter the Installation command (required) — the command executed on
the endpoint when this task is deployed. Example:
msiexec /i "Firefox Setup 150.0.1.msi" /qn
(Optional) Expand Self-service application
options to configure how this task appears to end users
in the SSA:
Table 1. Self Service Application (SSA) Task Options
Field
Description
Select the label to be displayed on
the SSA button
The action button label in the SSA Offer and
Action Requests pages. Supported values:
Install, Remove,
Repair, Upgrade,
Get, Run,
Default.
Select the icon to be displayed in the
SSA catalog
The icon displayed in the SSA catalog for this
task. Supported formats: PNG, JPG, ICO. Maximum
size: 2 MB. Recommended dimensions: 120×120
px.
Select the Run command as user context for
command execution on the endpoint:
Table 2. Run Command As — User Context Options
Option
Description
System user
Runs the command under the system account.
Recommended for machine-wide installations that do
not require a logged-in user.
Current user (Windows only)
Runs the command as the currently logged-in user.
Use for per-user installations or tasks requiring
user-context permissions.
Local user (Windows only)
Runs the command as a specified local user
account.
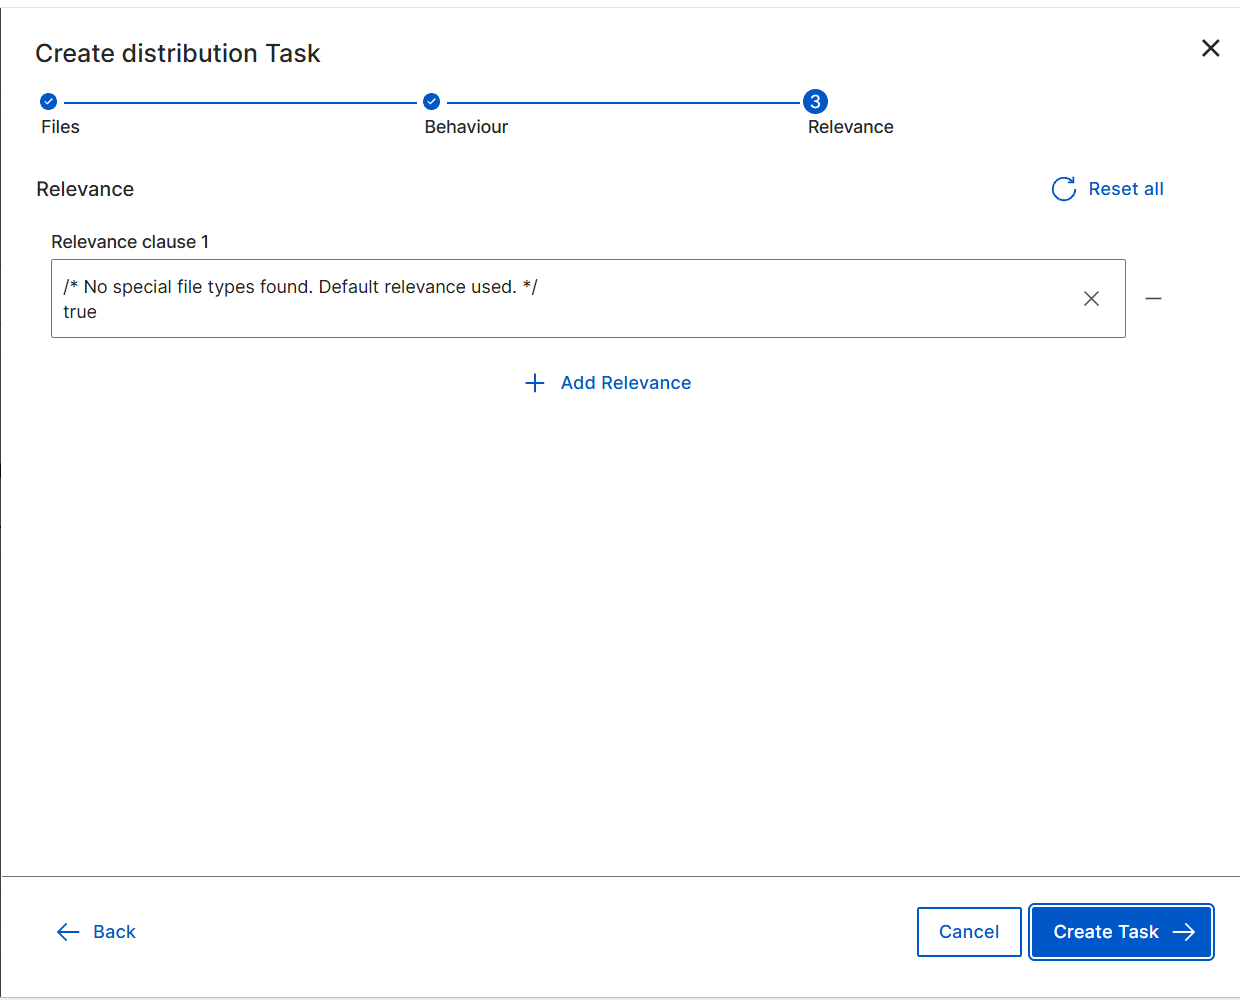
On the Conditions step, define the Relevance
expression for this task.
Figure 4. Add Task Wizard — Conditions Step: Relevance Expression The relevance expression controls when the task is applicable. An endpoint
must satisfy the condition for the task to appear as a deployment candidate or
be visible to the device owner in the SSA. Use BigFix relevance language to
target specific OS versions, installed software states, disk space, or other
endpoint properties.
Review the task configuration and click Create task → to
save it in the BigFix Platform.
Results
The new deployment task appears in the Package's Tasks list
and is immediately available for deployment to endpoints. If SSA options were
configured, the task is also visible to device owners in the Self Service
Application when its relevance condition is met on their device.
What to do next
To make the task visible and request able through the Self Service Application,
configure the SSA on your endpoints. See Configuring the Self Service Application.