Solution
- Open iAutomate Web URL and login with Organization Admin credentials.
- Go to Configuration and click Manage Proxy.
Figure 1. Manage Proxy 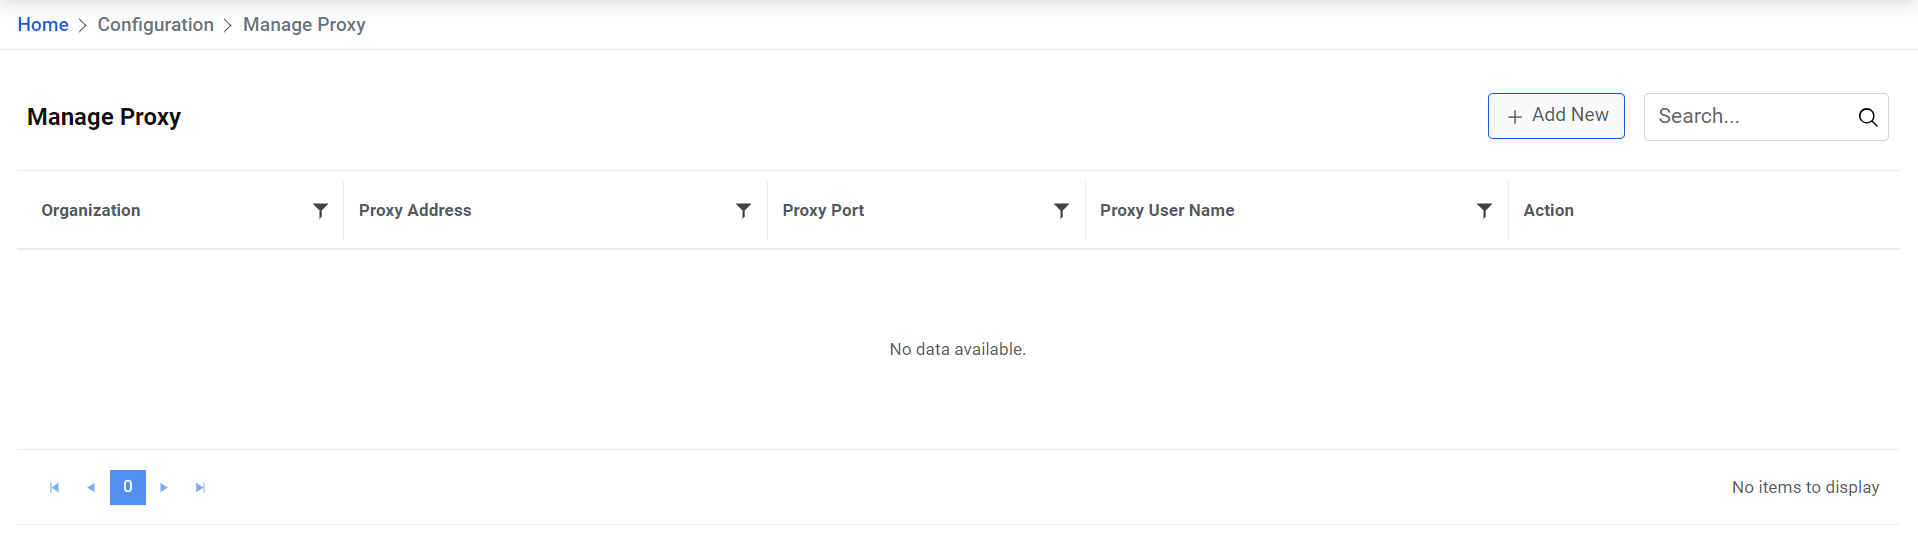
- Select the Organization from the dropdown. Type in the relevant
information in Proxy IP Address, Proxy Port, Proxy UserName, and Proxy Password.
Figure 2. Manage Proxy (Cont.) 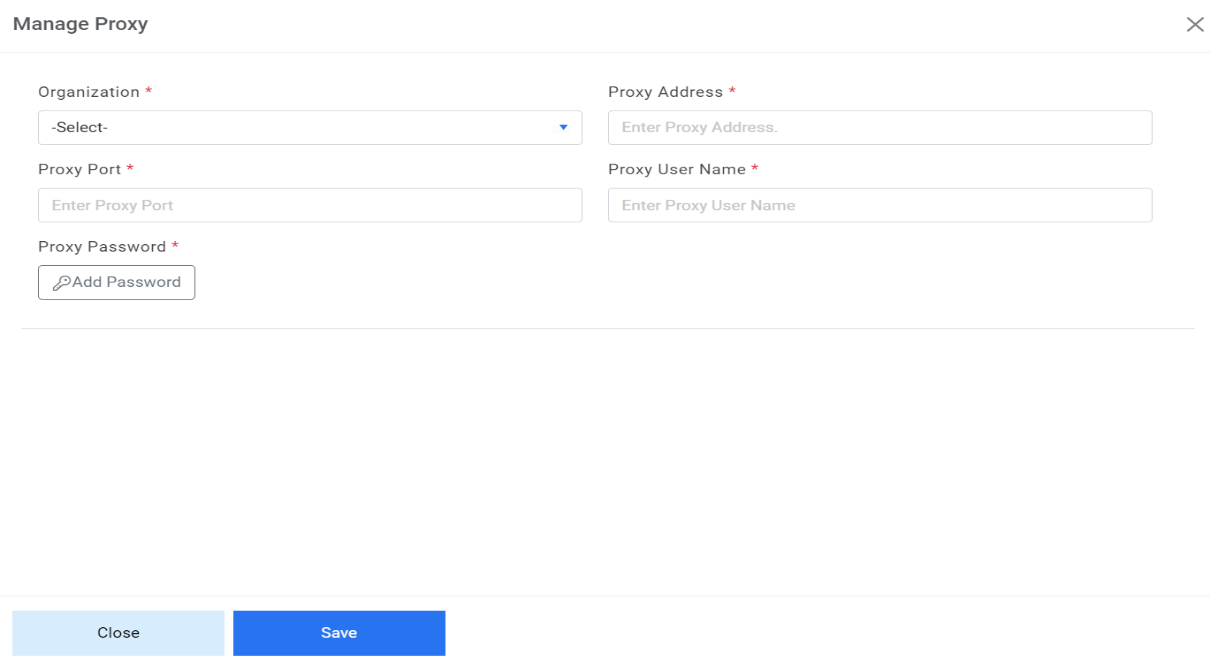
- Password- For password, click on icon next to it. If the password is available in
plaintext, then select Input type as Input Text and enter the password in Value field. Else
if it is available in Azure Key Vault then select Input Type as Azure Key Vault and then
select any of the configured details from the value field. Else if it is available in any
Key Vault such as CyberArk then select Input Type as CyberArk and then select any of the
configured details from the value field. Else if it is available in Internal Secret Manager
then select Input Type as Internal Secret Manager and then select any of the configured
details from the value field.
Figure 3. Password in Plaintext .jpg)
Figure 4. Password from Key Vault (CyberArk) .png)
Figure 5. Password from Internal Secret Manager 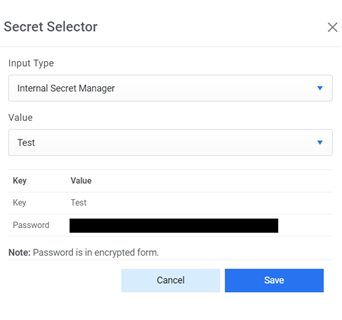
Figure 6. Password from Azure Key Vault .png)
Figure 6. View 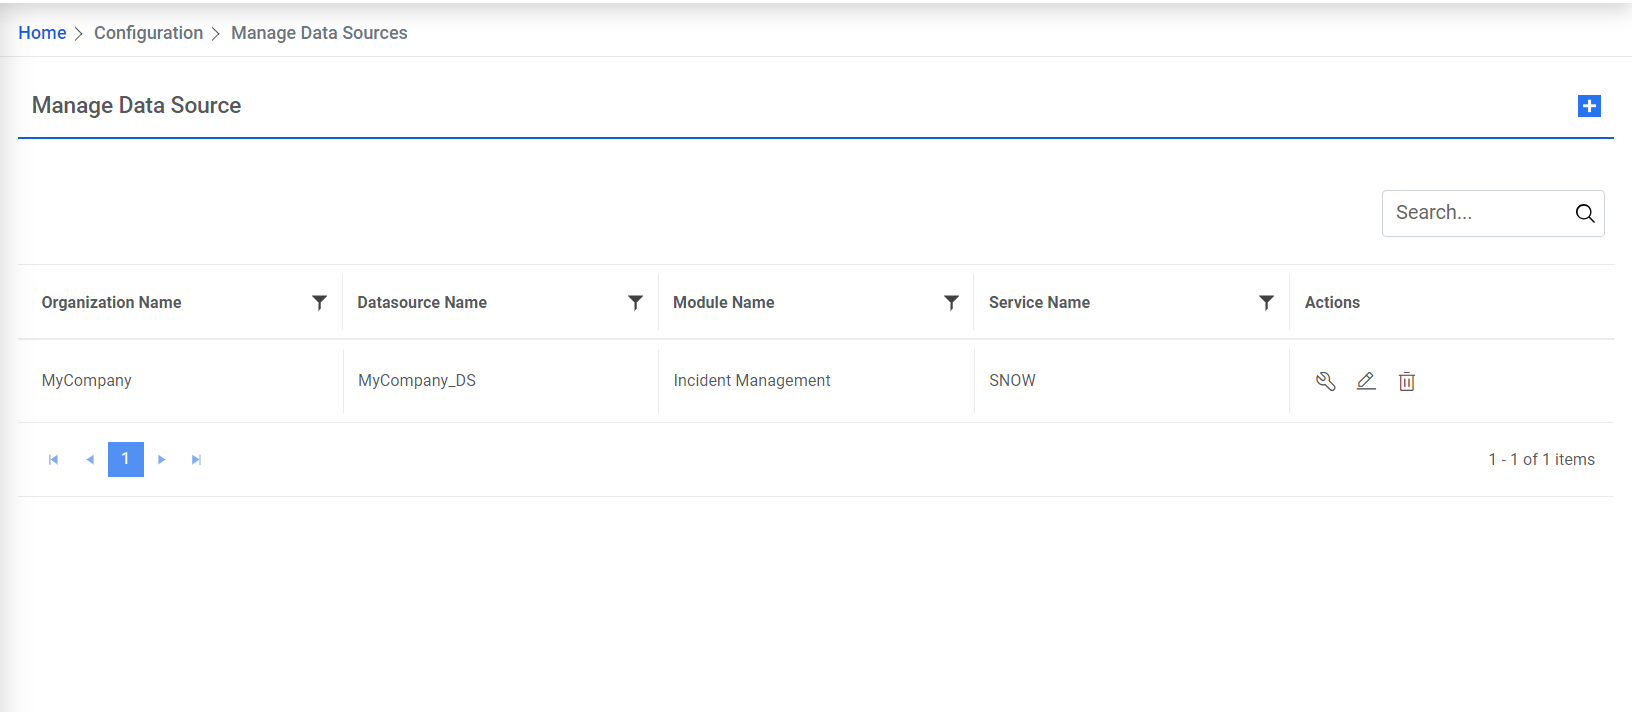
- After adding proxy details in previous step, go to Configuration and click Manage Data Sources.
- Click Edit and go to Fetch Data Configuration.
Figure 8. Edit Data Source .png)
- Select checkbox against Proxy Required.
Figure 9. Data Source: Proxy Required 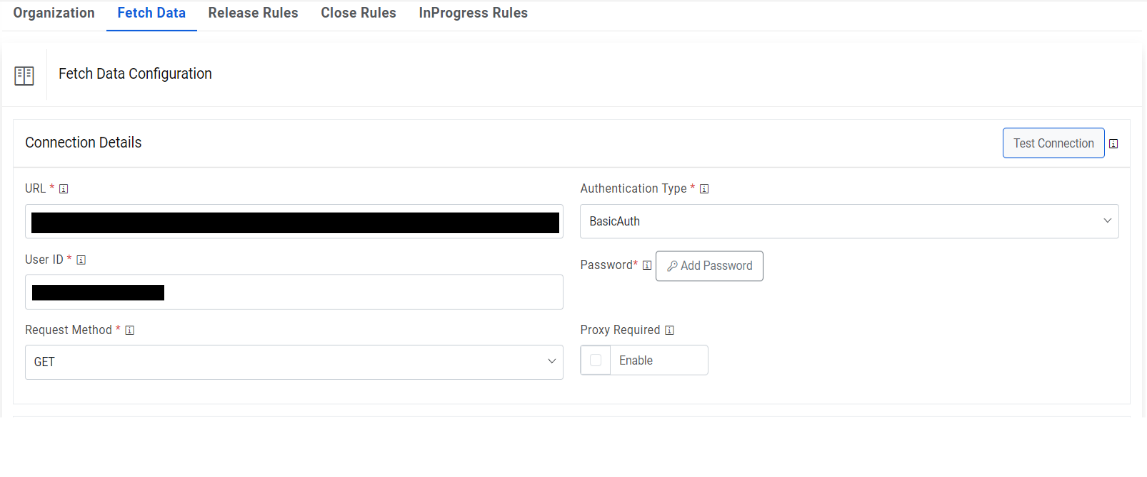
- Click Next and save Submit.
- Go to Actions then Runbooks and click Manage Runbook Tool.
Figure 10. Manage Runbook Tool 
- Click Edit.
Figure 11. Manage Runbook Tool (Cont.) 
- Select checkbox against Is Proxy Required.
Figure 12. Manage Runbook Tool (Cont.) 
- Click Update.