Inventory
Inventory management feature enables User to manage Patching Inventory, Groups and Create Ad Hoc execution as well as View Inventory Logs for the list of devices.
Patching Inventory
This screen allows users to manage patching inventory data for a change number. To upload a patching, a change number must be associated with it.
- To upload patching data:
- click on the +Create button.
Figure 1. Patching Inventory 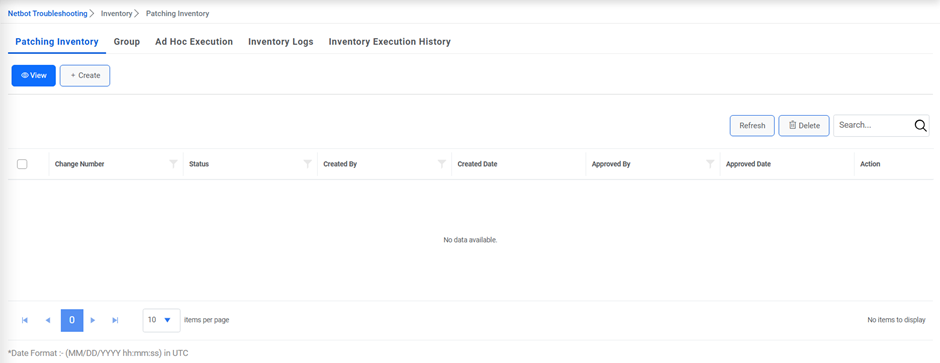
- Provide the change number and select the file.
Figure 2. Figure Patching Inventory (Cont.) 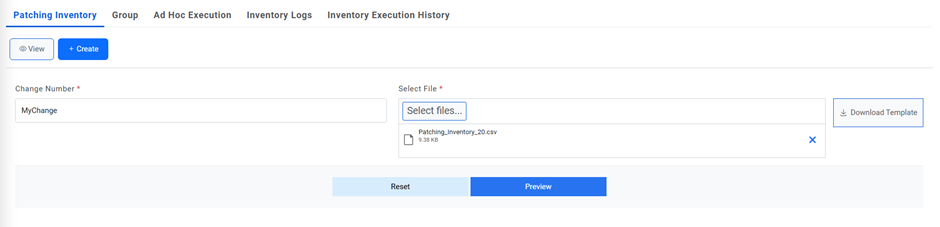
- Click on Preview.
Figure 3. Patching Inventory (Cont.) 
- It will show 2 sections:
-
New Records: It will show all new/updated records which are there in
uploaded Patching template but not there in Master Inventory. The records which
are there in the master inventory as well as in uploaded data but have different
value in any field are displayed in different colour. The following operations can
be performed on this tab:
- Discard: User can select single or multiple records from Grid to Discard inventory from uploaded list.
- Add/Update: User can select single or multiple records from Grid to Add/Update in Master Inventory list.
- Existing Records: It will show all the records which are there in the Master Inventory as well as in Uploaded Inventory.
-
New Records: It will show all new/updated records which are there in
uploaded Patching template but not there in Master Inventory. The records which
are there in the master inventory as well as in uploaded data but have different
value in any field are displayed in different colour. The following operations can
be performed on this tab:
- Click on the “Upload” button to upload Inventory list. The data will now appear
under the View tab.
Figure 4. Patching Inventory (Cont.) 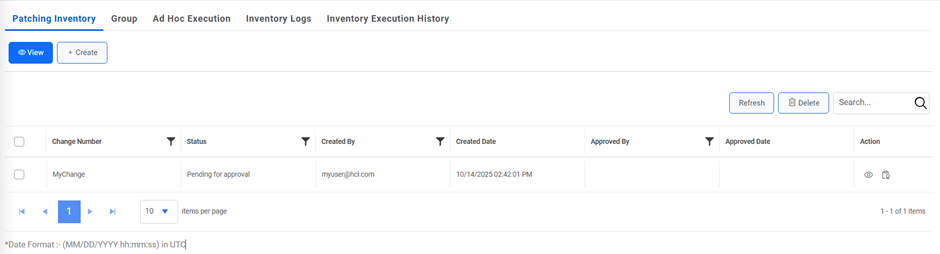
- To view the uploaded data, click on
 under Actions column.
Figure 5. Patching Inventory (Cont.) 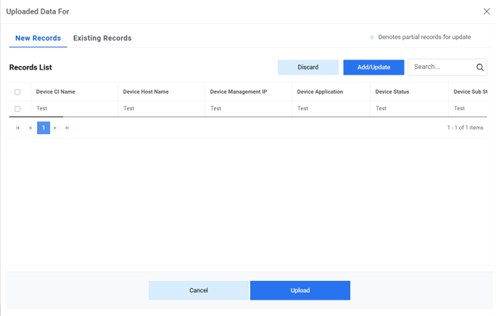
- Click on the Approve button to approve the uploaded inventory. Another way to
approve the uploaded data is to click on
 under Actions column. A confirmation box is generated.
Figure 6. Patching Inventory (Cont.) 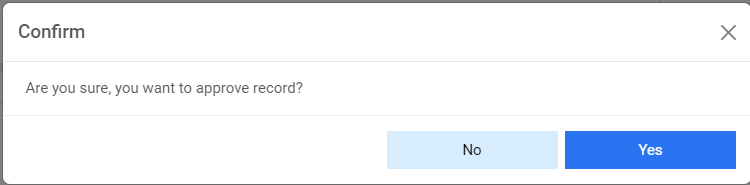
- Click on yes. An alert will be generated.
Figure 7. Patching Inventory (Cont.) 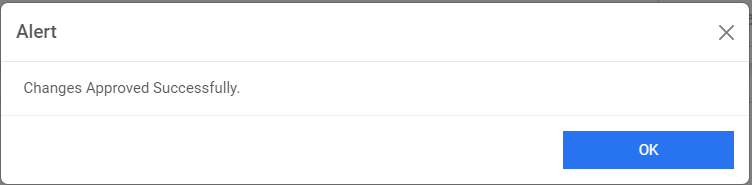
- To delete the records, select the change and click on the Delete button. A
confirmation box is generated.
Figure 8. Patching Inventory (Cont.) 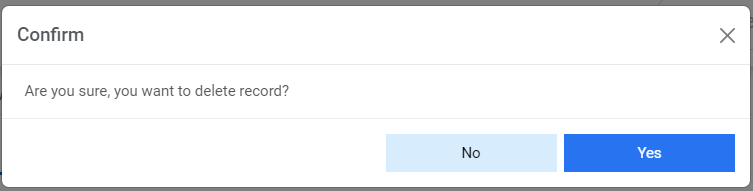
- Click on yes. An alert will be generated.
Figure 9. Patching Inventory (Cont.) 
Note:Netbot approver can only approve the changes uploaded by users. Netbot admin can both upload and approve the data changes. Netbot users can only upload the change data. - click on the +Create button.
Group
This screen allows users to manage groups. Groups are used for the grouping of devices in the data uploaded corresponding to a change in patching inventory based on the already created filters.

- To create a group:
- select a change number.
Figure 11. Group (Cont.) 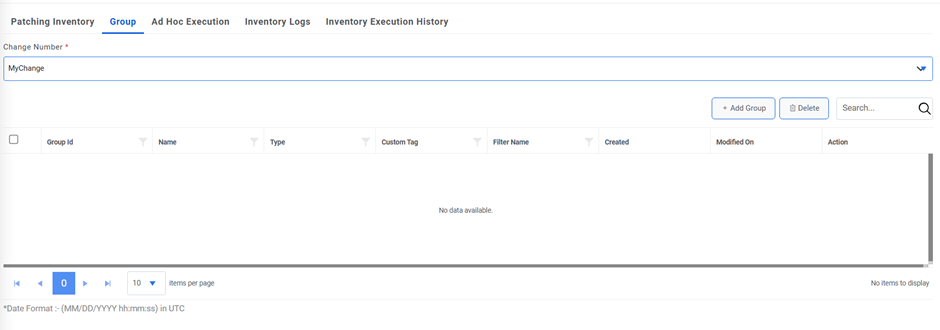
- Click on the Add Group button. And populate mandatory fields.
Figure 12. Group (Cont.) 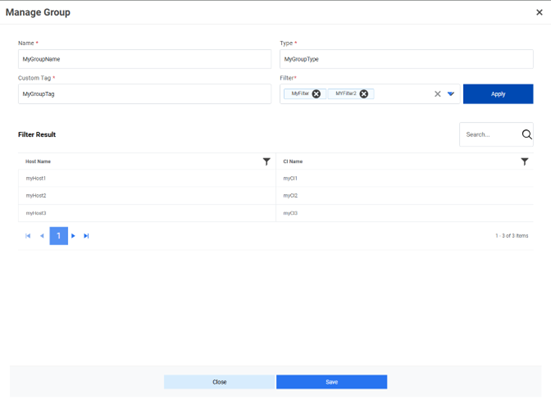
- Select the filter and click Apply. The condition under selected filter gets applied
on the devices uploaded under selected change number and in the filter result all
those devices are listed on which condition gets satisfied. Click on Save. Below alert
is generated.
Figure 13. Group (Cont.) 
- The record gets listed in the grid.
Figure 14. Group (Cont.) 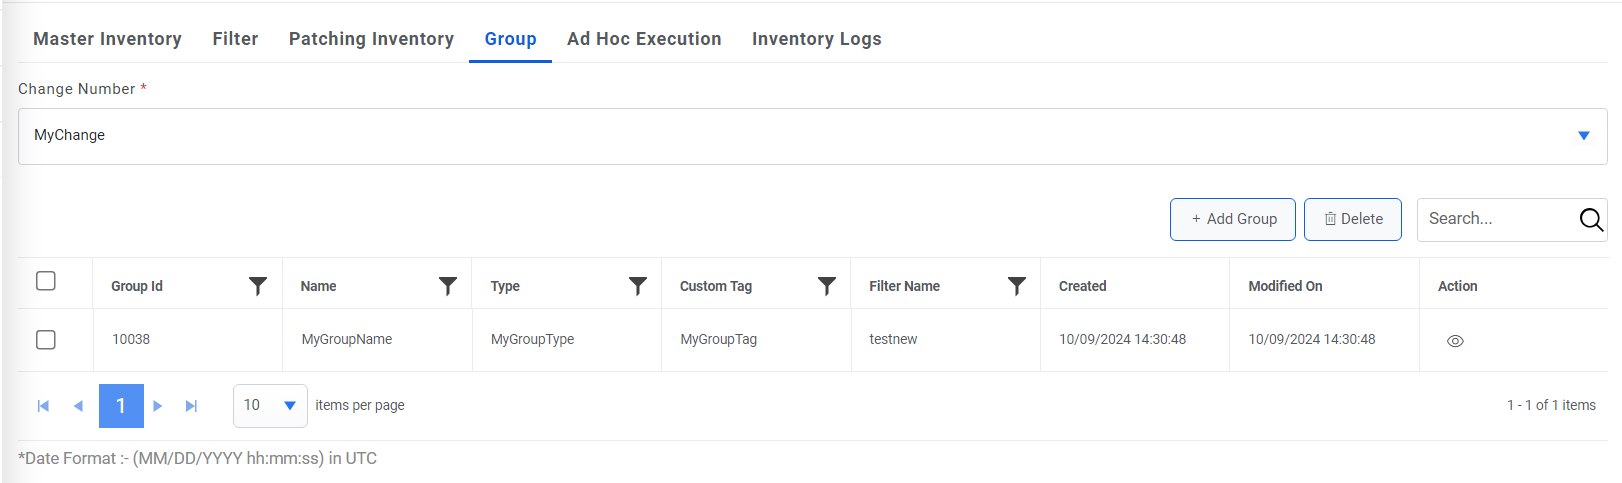
- To view the group and what all devices are falling under that group, click on
 under Action column. To delete
any record, select the record and click on Delete button. Below confirmation box
generates.
under Action column. To delete
any record, select the record and click on Delete button. Below confirmation box
generates.Figure 15. Group (Cont.) 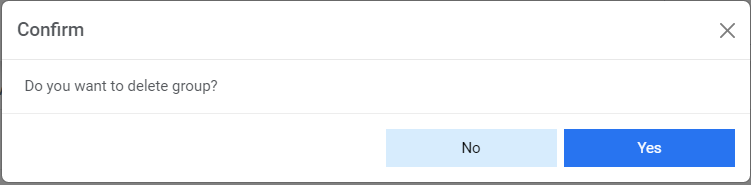
- Click on yes to delete the record. An alert is generated.
Figure 16. Group (Cont.) 
- select a change number.
Ad Hoc Execution
This screen allows users to execute the ansible tower playbook on any change number. All the runbooks available under Ansible Tower/AWX playbook mapped with organization and change request task module will be available for ad hoc execution.
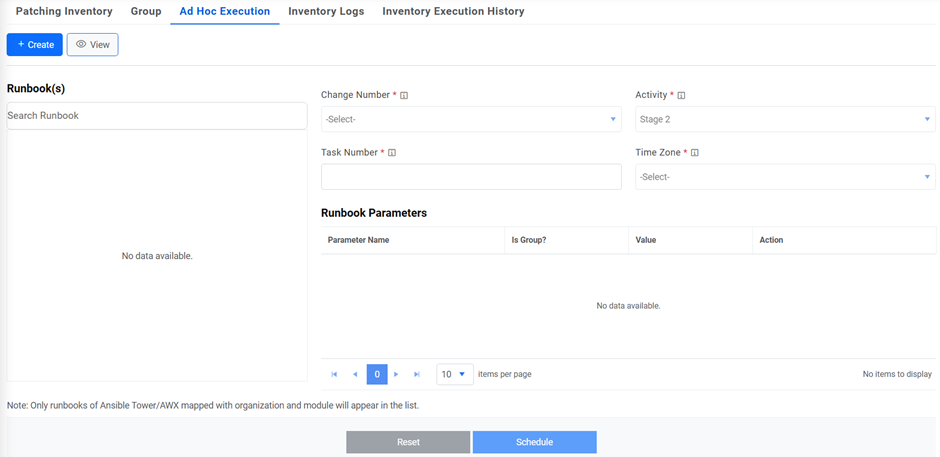
- Select any playbook to execute. Select the change number on which the playbook
will be executed, select the activity either Post/Pre. Provide the task number. Select the
Time Zone and based on it, select the Start Time at which the playbook will be
executed.
Figure 18. Ad Hoc Execution (Cont.) 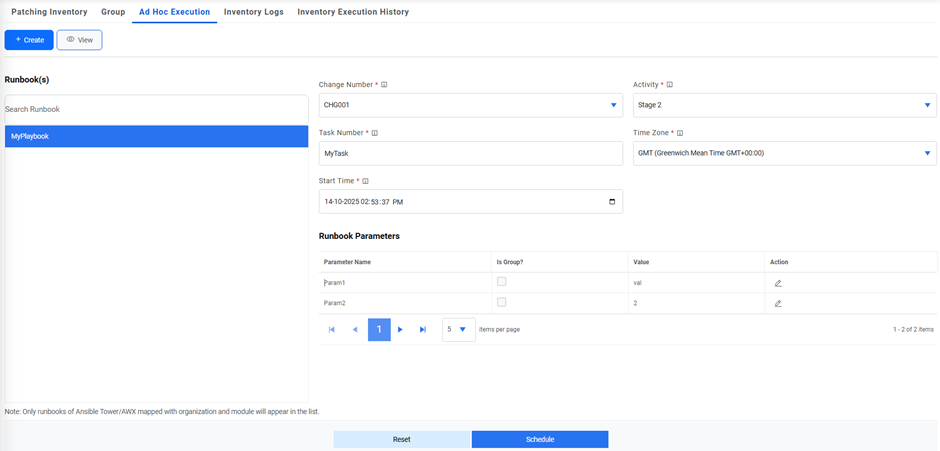
- To trigger the execution, it is mandatory to have at least one parameter of playbook as
a group parameter. For that, edit the parameter and tick the Is Group checkbox and under
Value column, select the group so that the playbook will be executed on all the devices
that fall under that group.
Figure 19. Ad Hoc Execution (Cont.) 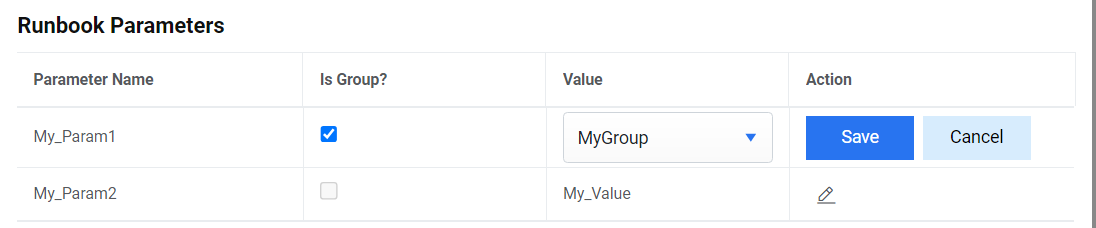
- Ater all fields have been entered, click on Schedule. An alert will be generated.
Figure 20. Ad Hoc Execution (Cont.) 
- User is redirected to the View tab of the page which lists all the ad hoc execution that
have been scheduled.
Figure 21. Ad Hoc Execution (Cont.) 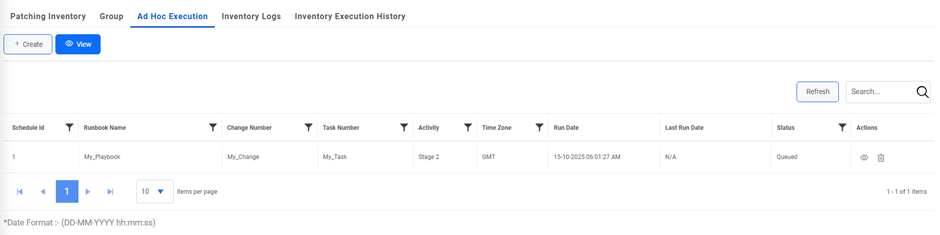
- To view the parameters of the scheduled ad hoc, click on
 under Actions column.
Figure 22. Ad Hoc Execution (Cont.) 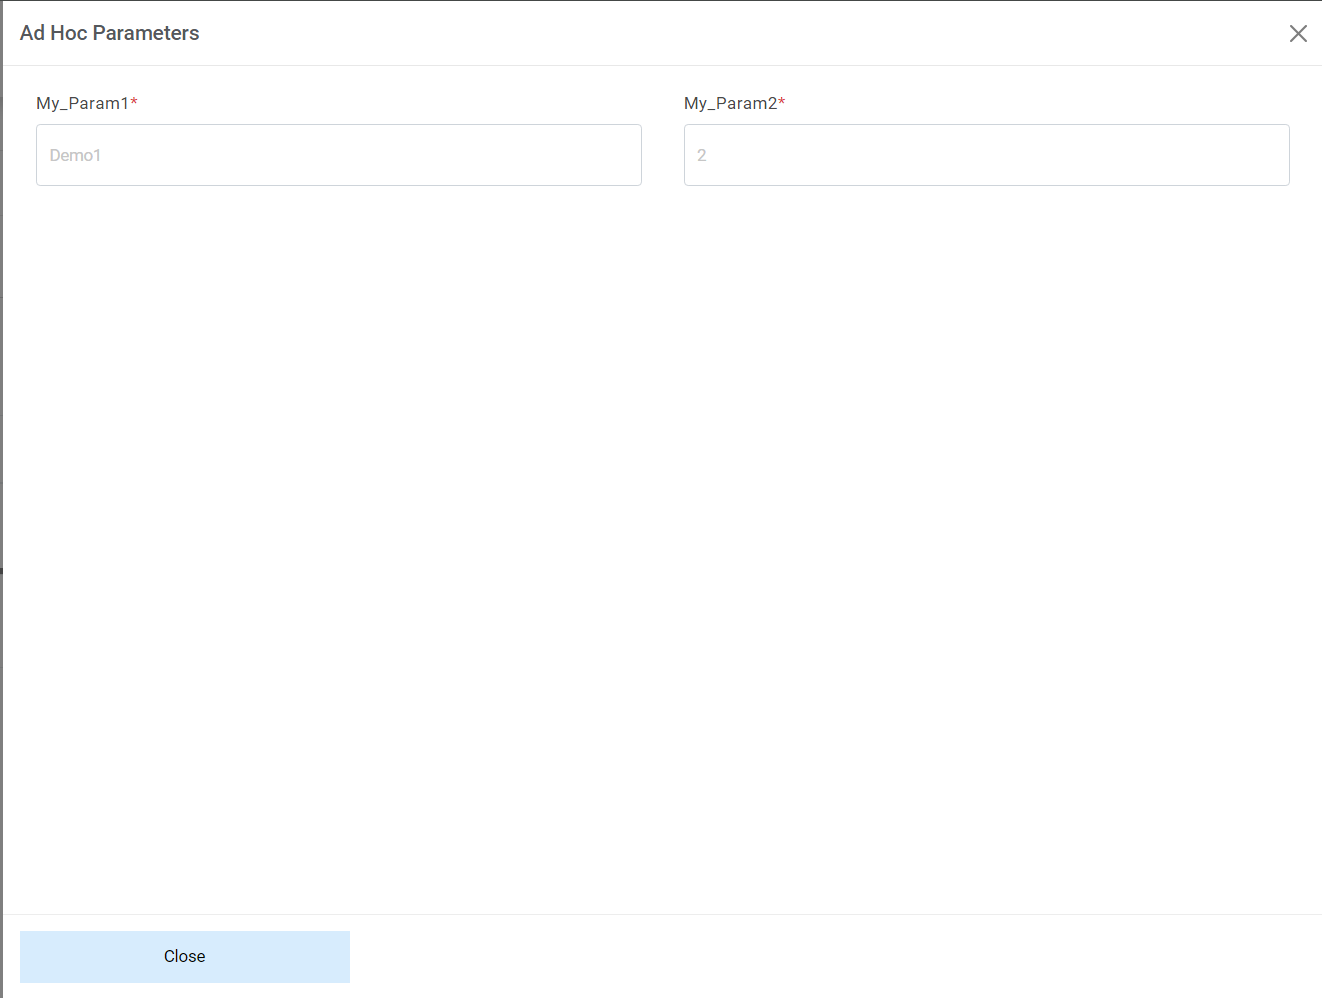
- Click on the refresh button to see the status update on any ad hoc scheduled.
- Users can delete any ad hoc scheduled if it’s in queued state. For that click on
 under Actions column.
A confirmation box will be generated.
Figure 23. Ad Hoc Execution (Cont.) 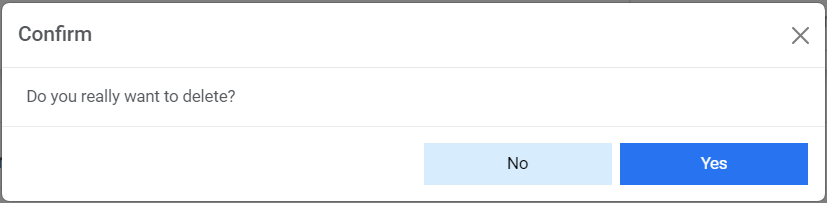
- Click on yes and the following alert will be generated.
Figure 24. Ad Hoc Execution (Cont.) 
Inventory Logs
This screen allows users to see all CI (Hostname) wise execution logs. The download button will be available once work starts, and log file gets created.
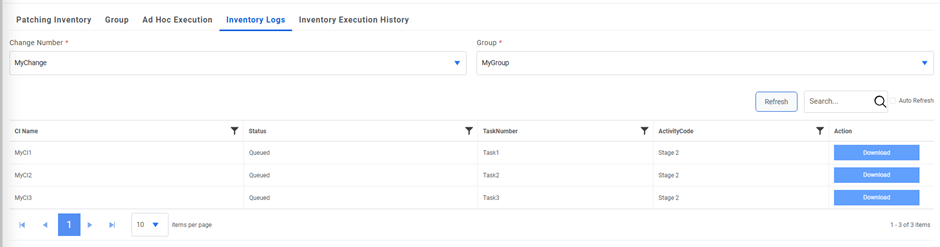
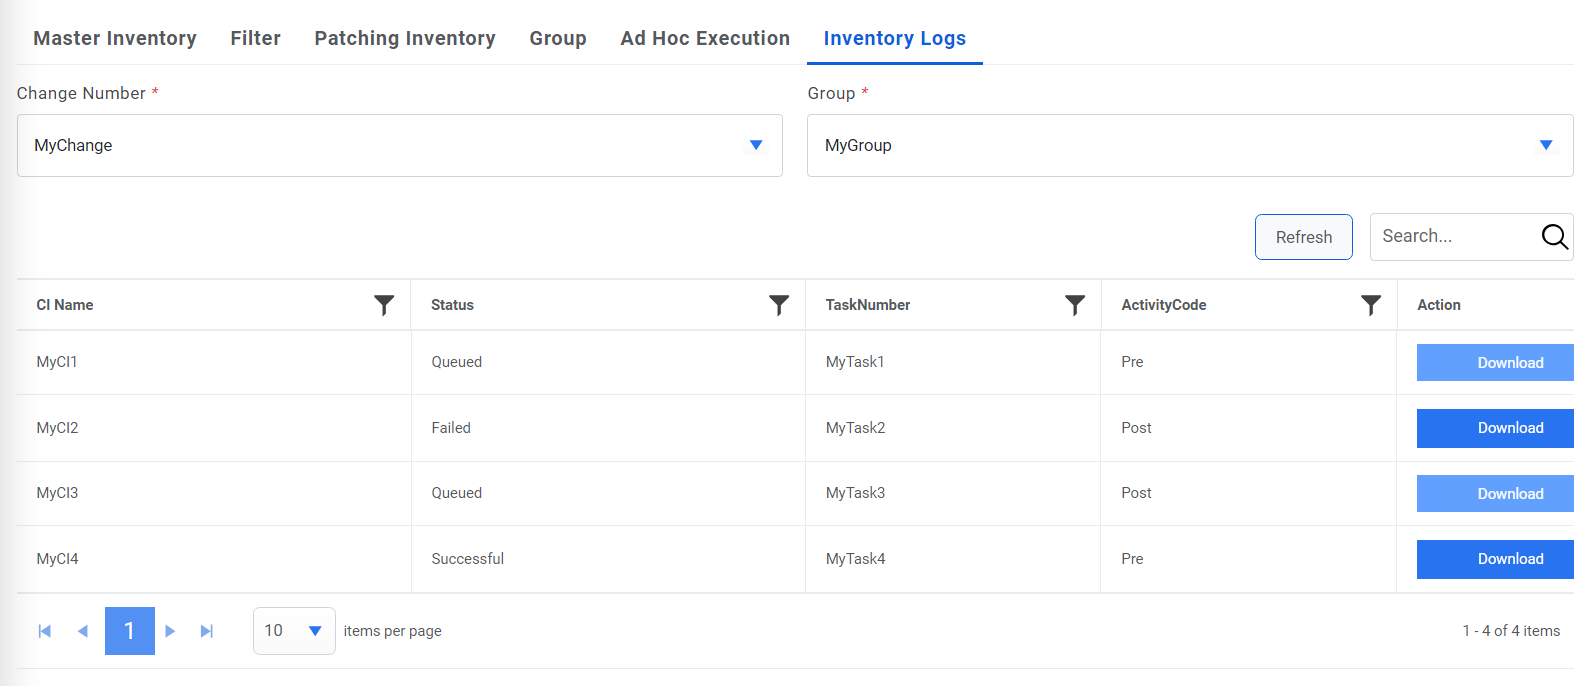
To view the logs on any CI, click on Download button, a file with all the available logs will be downloaded.
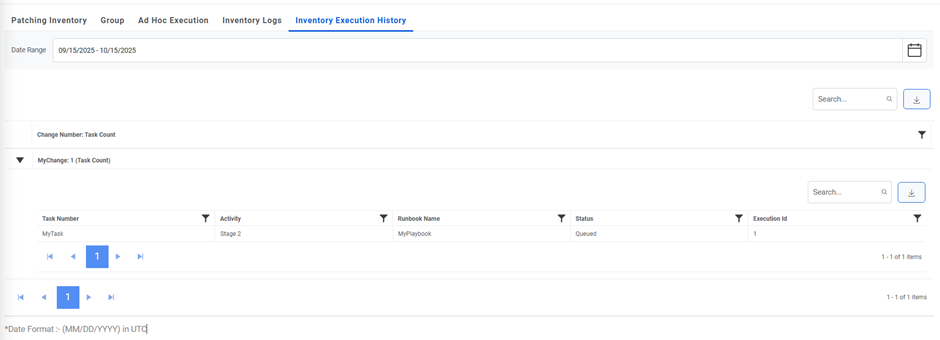
Inventory Execution History
This screen enables tracking all change requests, tasks history, including reference of execution.
For a specified duration, the user can see the statuses of all the executed changes and their corresponding task.