
IP Reserve/Release
This section details out the steps to release IPs which remained unutilized in private cloud environment. To release IP, provider user needs to follow the below steps:
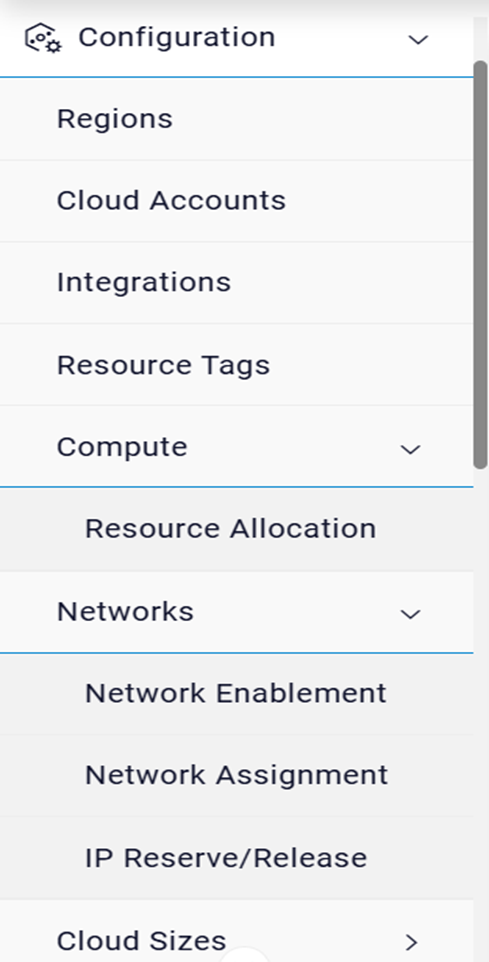
- On the IP Reserve/Release screen fill the below information:
- Select Organization, Platform and Cloud Account.
- Lastly, select Cluster and Network.
Figure 2. IP Reserve/Release 
Figure 3. IP Reserve/Release 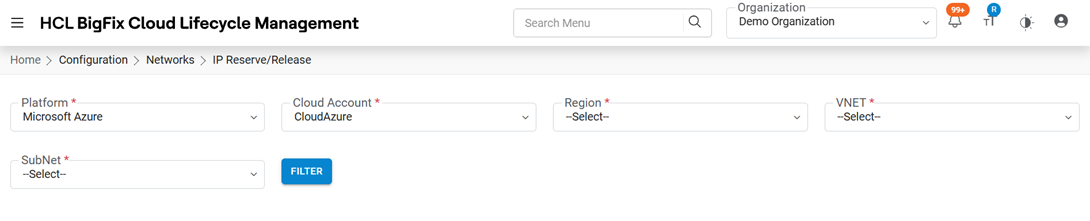
Figure 4. IP Reserve/Release Home Screen for Cisco Intersight 
- Refer the below table to understand the fields mentioned in the above figure:
Table 1. IP Reserve/Release Table Field Description Organization Name of the Organization (Business Units/Divisions in Organizations) Platform Name of the cloud service providers Cloud Account The cloud endpoints that have been created in HCL BigFix CLM Cluster It lists the clusters associate with cloud platform. Network It lists the network associate with cloud platform Network Type It is the network type applicable for Cisco Intersight, possible values could be distributed switch or distributed network Distributed Switch Name It lists the distributed switch name for Cisco Intersight Distributed Network Name It lists the distributed network name for Cisco Intersight Note:All fields marked with (*) are required.
- Click Filter.
Figure 5. IP Reserve/Release Details 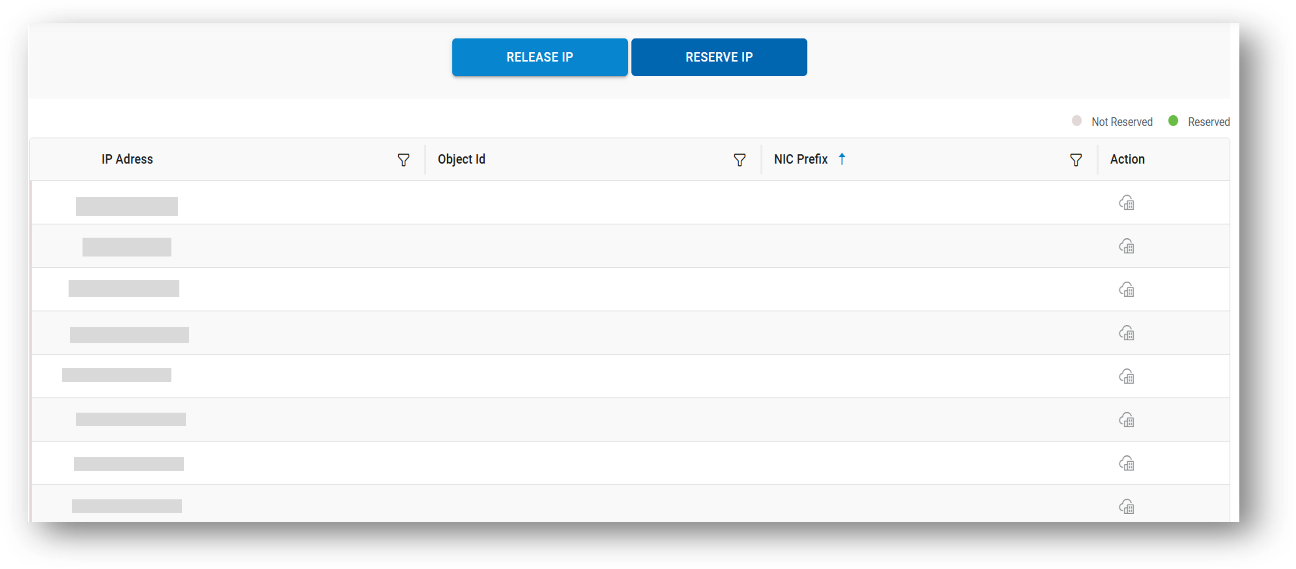
- Refer the below table to understand the fields mentioned in the above figure:
Table 2. IP Reserve/Release Details Field Description IP List of IP Is Used Whether IP is in use or not Active Whether IP is in active state Action To release the allocated IP, release IP action is available. And to reserve the released IP, reserve IP action is available. Select To select multiple IP address for bulk IP release - Select checkbox from the IP list.
- Click Release
 .
. - A confirmation message appears as below.
Figure 6. Confirmation of Release IP 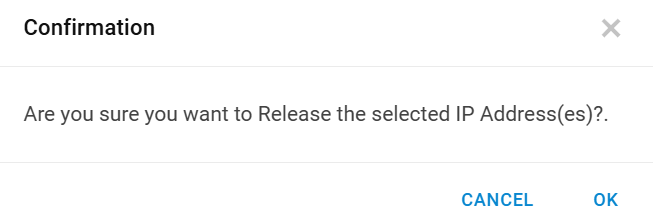
- Click Ok to Release or Cancel to Discard the action.
- Click OK.
- A success message box appears as below.
Figure 7. Success Message 
- Click Reserve (
 ).
). - A popup box appears as below.
Figure 8. Popup Box for IP Reserve/Release 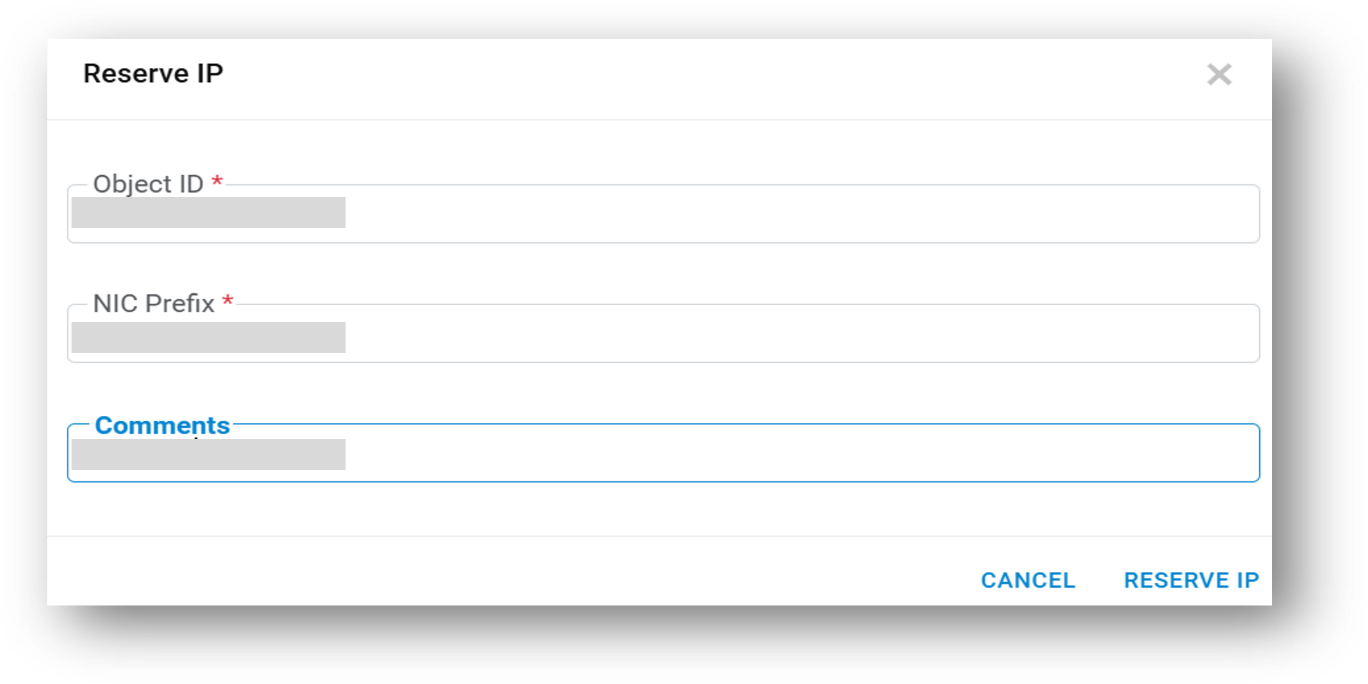
- Enter Object ID, NIC Prefix, and Comments.
- Click Reserve to Reserve the IP or Close to close the popup.
- On clicking Reserve, a confirmation message appears as below:
Figure 9. Confirmation for Reserve IP 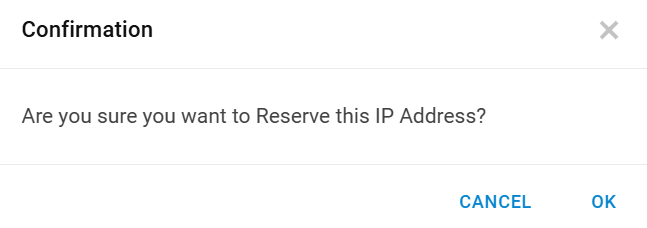
- Click Ok to reserve or Cancel to discard the action.
- Click OK.
- A success message box appears as below.
Figure 10. Success Message for Reserve IP 
- Select multiple IP addresses for bulk IP release.
Figure 11. Success Message for Bulk IP Reserve/Release 
- Click on Release IP button.
- On clicking Release IP, a confirmation message appears.
- Click Ok to reserve or Cancel to discard the action:
- A success message box appears as below:
.png)