SFTP Integration
Secure File Transfer Protocol (SFTP) is a secure method for transferring and managing large volumes of confidential data. It ensures encrypted data exchange between systems and is a reliable source configuration option in HCL CDP.
Configuring SFTP as Source
To set up SFTP as data source, follow the steps below:
- On the left pane, navigate to Data Pipeline > Sources.
- Click + Create New Source.
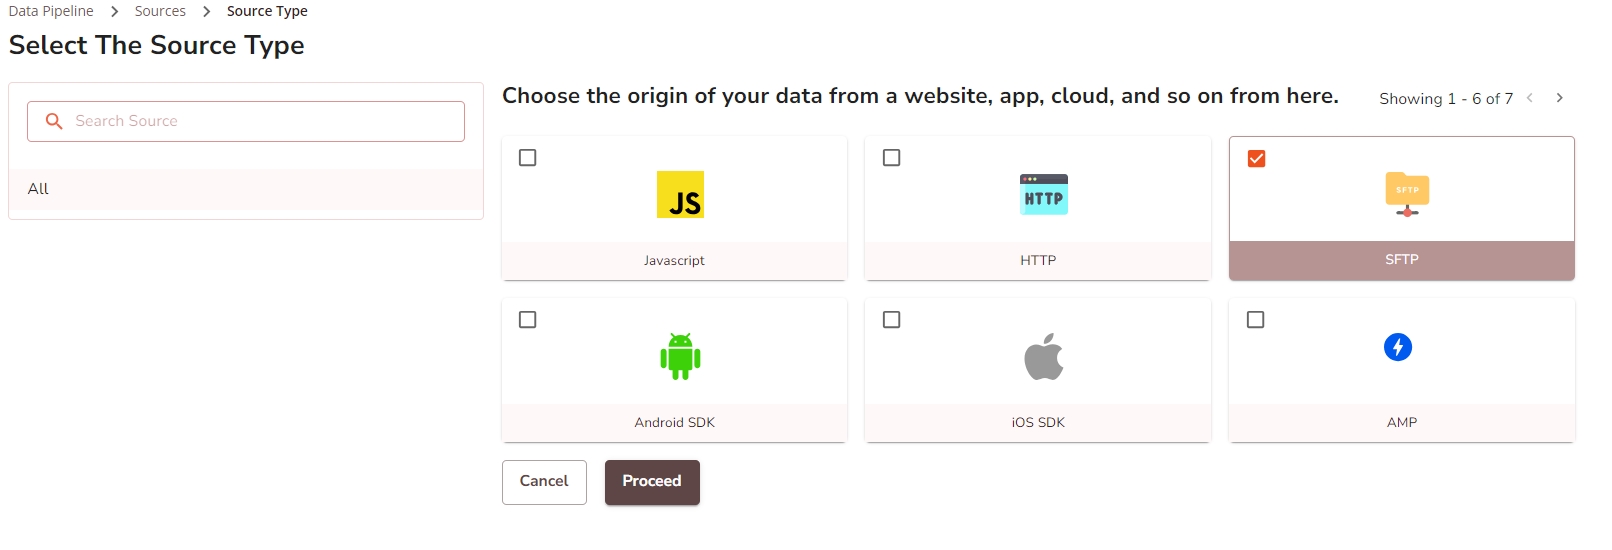
- In the source type screen, select source type as SFTP, and click
Proceed
- On the Source Setup page, in the Source Name field, add a unique name to the source, and in the Authentication drop-down, select Basic Authentication or SSH Public Key based option, and click Create Source.
Encrypting SFTP file with GPG2 Encryption
To ensure secure data transfer, encrypt files using GPG2 encryption before uploading them to the SFTP server.

- Download the Public Key provided in the SFTP source setup. The key will
have a
.keyextension and resemble the following format:-----BEGIN PGP PUBLIC KEY BLOCK----- <public key contents here> -----END PGP PUBLIC KEY BLOCK----- - Open a terminal and list the available public keys:
gpg2
                    --list-public-keys
. - As a result, the expected output is as shown
below.
gpg: directory `/home/ubuntu/.gnupg' created gpg: new configuration file `/home/ubuntu/.gnupg/gpg.conf' created gpg: WARNING: options in `/home/ubuntu/.gnupg/gpg.conf' are not yet active during this run gpg: keyring `/home/ubuntu/.gnupg/pubring.gpg' created gpg: /home/ubuntu/.gnupg/trustdb.gpg: trustdb created - Import the downloaded public key (replace
hclcdp_public_key.keywith the actual filename):gpg2 --import hclcdp_public_key.key. - As a result, the expected output is shown below:
gpg: keyring `/home/ubuntu/.gnupg/secring.gpg' created gpg: key 4E1CC4EA: public key "HCL CDP <infra@hcl.com>" imported gpg: Total number processed: 1 gpg: imported: 1 (RSA: 1) - Prepare the file for encryption (e.g.,
content.tsv). - Use the following command to encrypt the file:
gpg2 --encrypt --recipient infra@hcl.com --output content-<date>.gpg2 content.tsv
Note: Replace<date>with the current date or timestamp (e.g.,content-3Jan2024.gpg2) to avoid overwriting files. - As a result, the expected output will be as shown
below:
gpg: ADAA0048: There is no assurance this key belongs to the named user pub 3072R/ADAA0048 2024-01-03 HCL CDP <infra@hcl.com> Primary key fingerprint: F2BE 5CE4 BF4A 896A 1CA8 0968 8E48 F843 4E1C C4EA Subkey fingerprint: E211 899C 75D7 1DA5 9EED 7B5E D943 F469 ADAA 0048 It is NOT certain that the key belongs to the person named in the user ID. If you *really* know what you are doing, you may answer the next question with yes. Use this key anyway? (y/N) - Type
yand press Enter to confirm encryption. - Place the encrypted file (
content-3Jan2024.gpg2) in the SFTP folder shared with you.
Important Notes
- Ensure that all files uploaded to SFTP are encrypted with the provided public key.
- Use unique filenames with timestamps or dates to prevent overwriting existing files.
- Contact your HCL CDP support team if you encounter issues during setup or encryption.