Lesson 2: Create a Web UI test by recording user actions
In this lesson, you will learn how to record a Web UI test by capturing screens and user actions on the web pages.
Before you begin
Ensure that you have completed the previous lessons in this tutorial.
About this task
Procedure
-
In the Test Editor page, perform any one of the
following actions to record a test:
-
Click the Action menu icon in the Navigator panel to open the menu and click the Test option.
-
Click the Create Test icon on the Details tab.
-
Click on the Test Editor page.
-
Right-click the created application in the Navigator panel, select .
The Create Test dialog is displayed.
In the Details tab, ensure that the correct application is selected and the location is set.
-
- Enter the test asset name in the Asset Name field. For example, HRM_add_employee_test.
-
Click Next.
The Source tab is displayed.
- Select the By recording option in the Select source drop-down list to record a test.
-
In the Agent section, select the installer package for
your operating system.
The following installer options are available:
- Windows (64-bit .msi)
- Mac OS (64-bit .zip)
- Debian/Ubuntu (64-bit .deb)
- RHEL/Fedora/OpenSUSE (64-bit .rpm)
- Click Download.
- Click the downloaded agent file to install the agent.
-
Click Proceed to accept the download of the proprietary
certificate if prompted.
For detailed installation and upgrade steps depending on the installation status of the agent, refer to the agent installation table.
- Click Verify to confirm the agent installation.
- Select a browser from the Browser drop-down list.
-
Click Record to launch the browser and start recording
the test.
A new browser window is displayed, and the application that you selected for recording is opened.
-
Perform user actions on the Login and Add Employee page of the HRM application.
For example, interacting with the user name field, password field, and login
button.
You must allow a delay of a few seconds between user actions.
-
Close the browser to stop the recording.
The following message is displayed in the Create Asset dialog.
The asset is now ready for your
                        review
. -
Click Done.
The HRM_add_employee_test test asset is created, and the recorded steps are displayed in the Test Editor.The test is displayed in the Visual view, which is the default view. You can switch to the Code view to view all the step details.
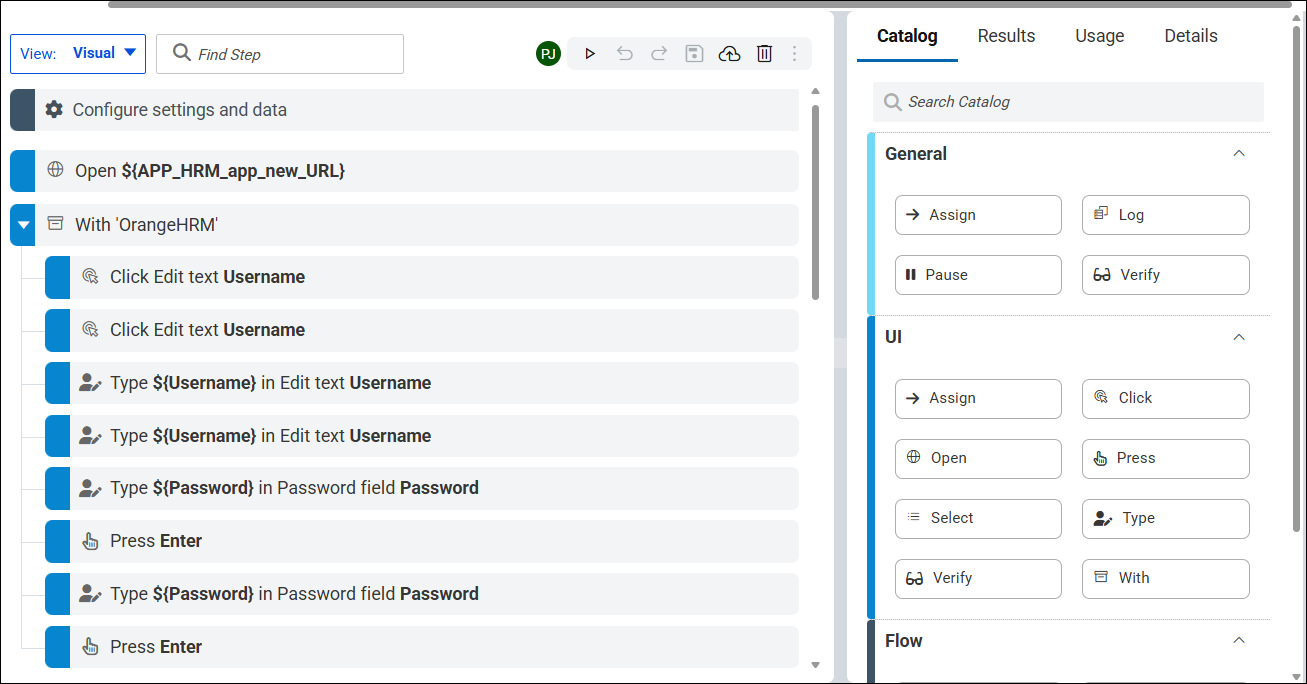
The test captured interactions with the following fields and controls:
-
First Name
-
Middle Name
-
Last Name
-
Employee ID
-
Create Login Details toggle
-
Username
-
Status (Enabled)
-
Password
-
Confirm Password
-
Save button
-
Results
You have successfully recorded the user actions for the HRM application and created a test asset.
You have completed Lesson 2.