Solution
- Open iAutomate Web URL and login with Organization Admin credentials.
- Go to Actions and click Manage Jobs.
Figure 1. Manage Jobs .png)
- Select the jobs mentioned in the list below and click Enable Jobs.
Job Types
Job Description CollectIncidentsMyCompany Responsible for collecting Incidents from ITSM RunRecommendationMyCompany Responsible for Recommendation activity RunParsingMyCompany Responsible for Parsing activity ProcessAutoMyCompany Responsible for deciding if execution will happen in Auto or manual mode. ExecuteRunbookMyCompany Responsible for triggering Runbook into RBA layer ReleaseTicketsMyCompany Responsible for releasing Ticket from iAutomate console. - All jobs are suffixed with MyCompany where MyCompany is your Organization Name.
Figure 2. Manage Jobs (Cont.) .png)
- Logout and login with your Organizational Admin User ID.
- To see the tickets landing in iAutomate, first we need to create a ticket in ServiceNow. Usually this is done automatically in production environments where ServiceNow is integrated with Monitoring / Event Management tools and auto-ticketing is enabled. For this lab, we will create the tickets manually in ServiceNow.
- Open ServiceNow URL. Enter the Username and Password. Please seek the URL information and access credentials from the Instructor / ITSM team if you do not have it already.
- Click Login.
Figure 3. HCL Service Integration and Management System Login Page 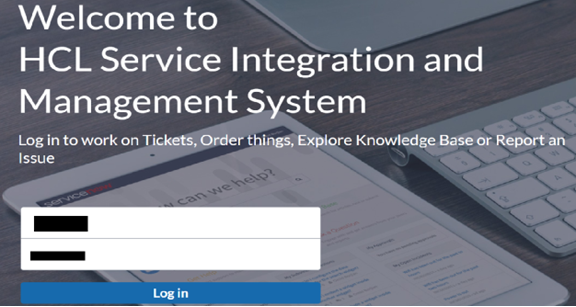
- You will be redirected to the Home Page.
Figure 4. HCL Service Integration and Management System Home Page 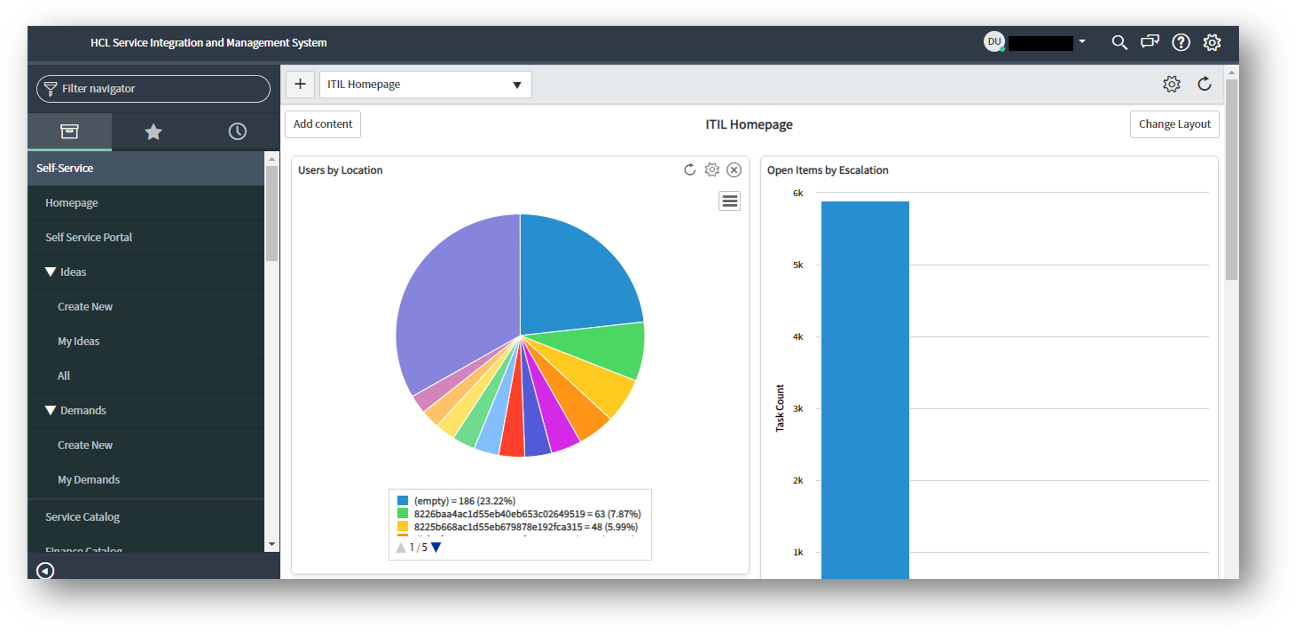
- Search for Incident in the Filter navigator tab on top left of the page.
- The Incidents screen appears.
Figure 5. Incident Screen 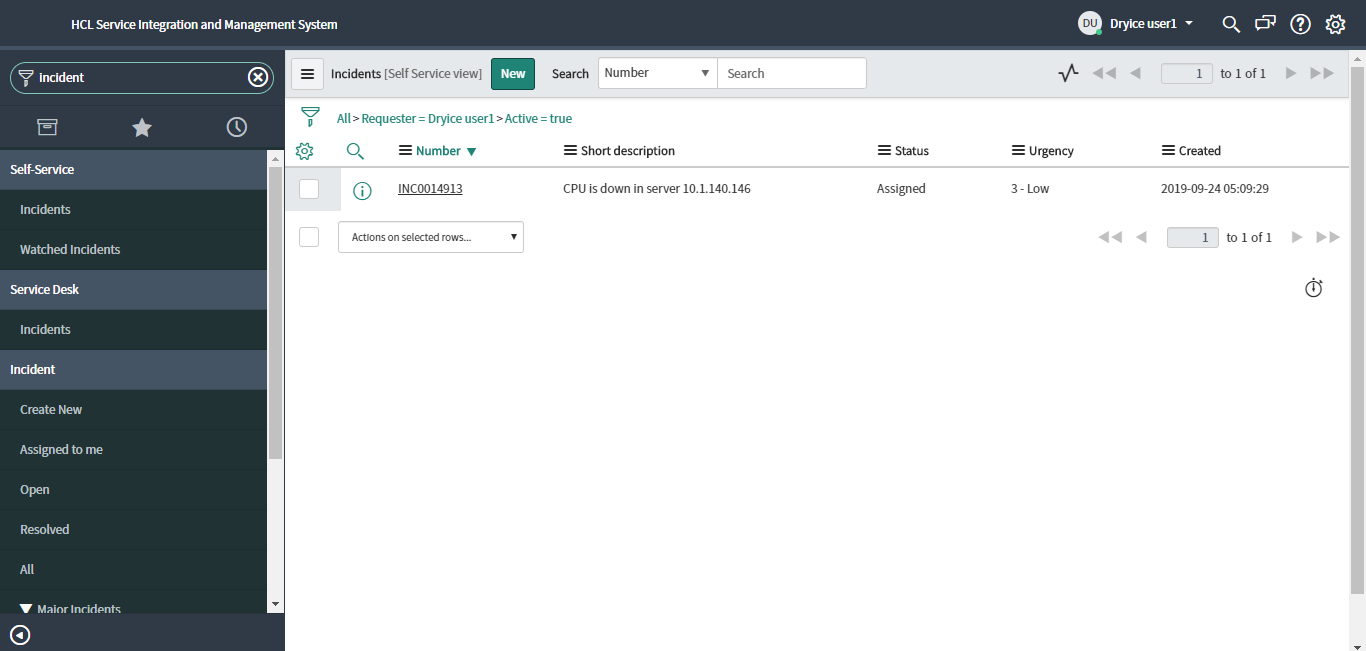
- Click the New button to create a new incident.
- The Incident New Record screen appears and allows you to provide the below information:
- Select the source of information about incident from the Source pull-down list
- Enter the Requester
- Enter the Contact Number
- Enter the Category of the Incident
- Enter the Sub-Category of the incident
- Enter the Assignment Group
- Enter the user to which this incident will be assigned in the Assigned To field.
- Enter the CI details in the Affected CI.
- Enter the Short Description of the ticket
- Enter the detailed Description of the ticket
Figure 6. Incident New Record Screen 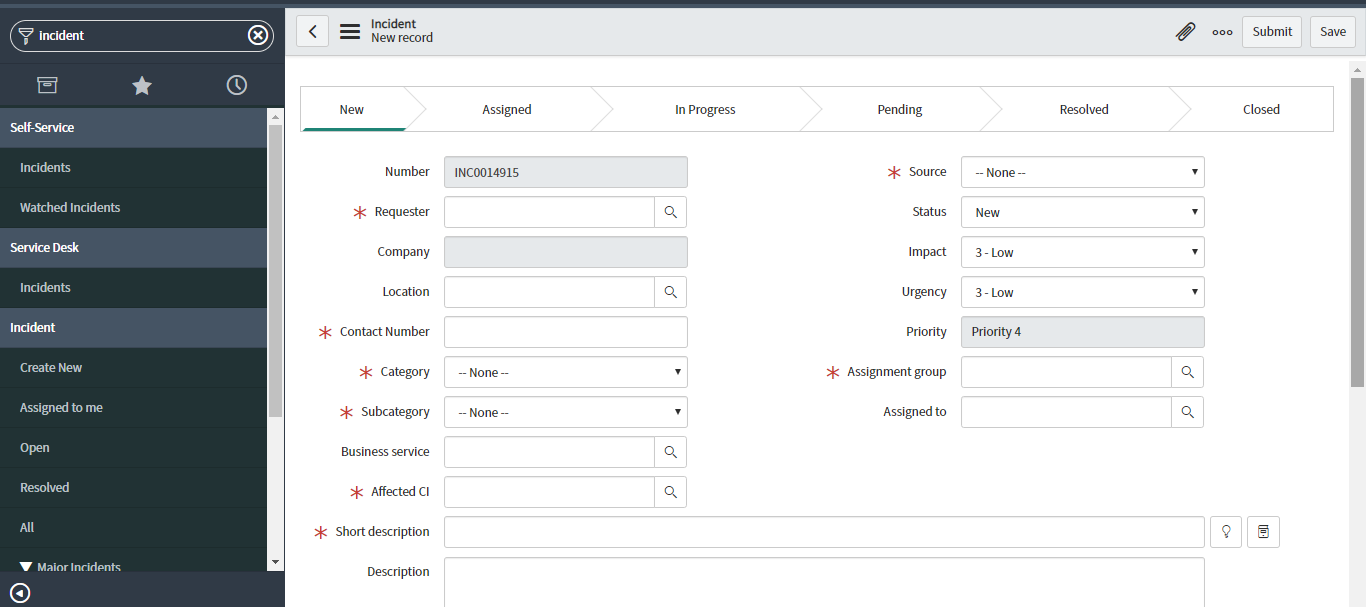 Note:
Note:Please refer to the information sheet provided by the instructor which includes all the above information for the various use cases covered in this training.
- Click Submit.
Figure 7. Incident New Record Screen 
-
The incident is created as shown in the image below.
Figure 8. Incident List 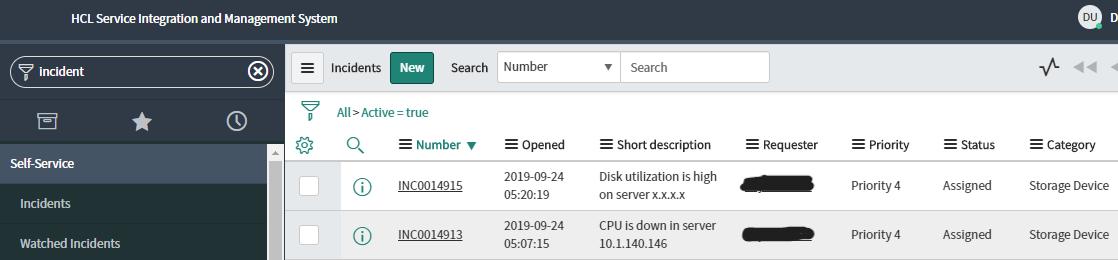
- Once the ticket is created, login into iAutomate using the Org Admin/Operational User credentials to see the tickets.
- Go to Actions ->Tickets.
Figure 9. Tickets 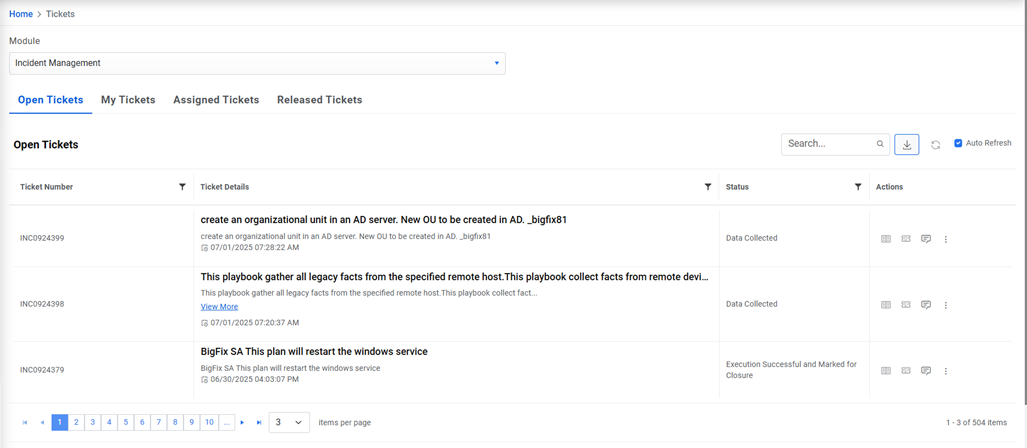
- Open Tickets tab appears.
- In this section, you will see all the tickets satisfying the criteria mentioned in the
Entry criteria as part of Configuration.
Figure 10. Tickets (Cont.) 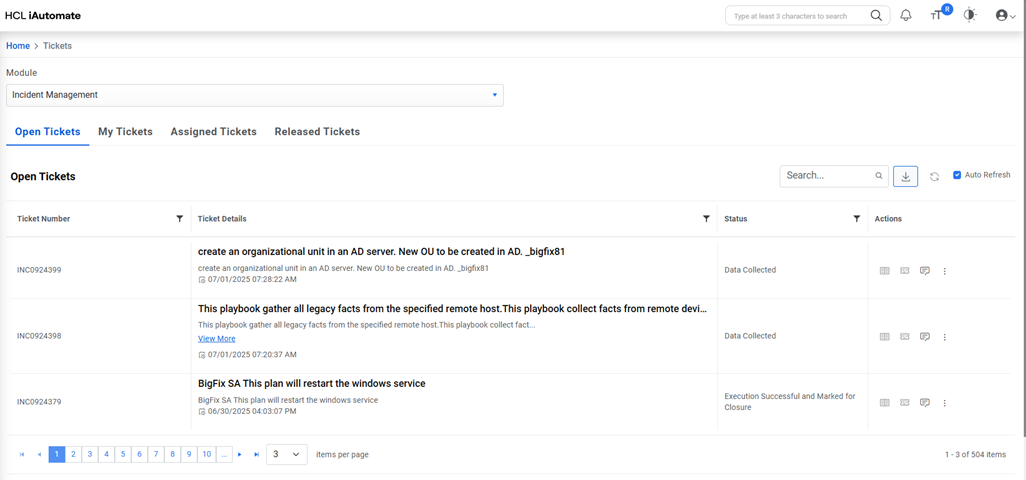
- Click Release for any of the tickets in the All Tickets tab, if you want to move the ticket from your queue to business defined resolver group defined in the Manage Release Rules section of Configuration.
- Click Select Runbook for any ticket in All Tickets tab if you want to trigger the
automated resolution. It will launch a popup window as shown below:
Figure 11. Pop-Up of Automated Solution 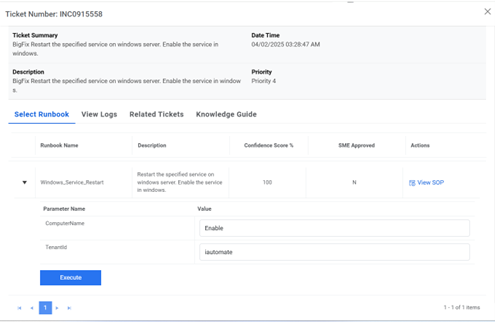
You will see the recommended list of runbooks.
- Click the down arrow on any of the runbooks which you think is relevant and all the parameters will be automatically populated post parsing. You can go ahead and edit the parameters, if required.
- After ensuring that the parsed and extracted parameters are correct, click the Execute button to execute the runbook. The ticket for which execution is in progress will appear in My Tickets tab.
- Go to Tickets and click My Tickets tab.
Figure 12. My Tickets 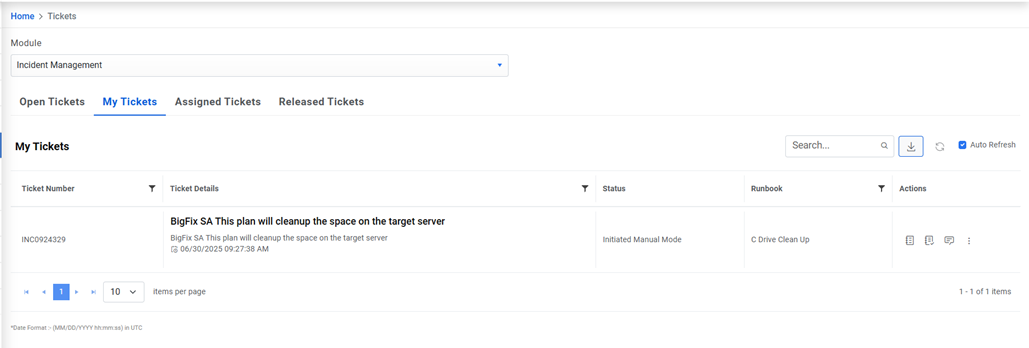
- Users can view the tickets which are being executed automatically on
the screen below.
Figure 13. My Tickets (Cont.) 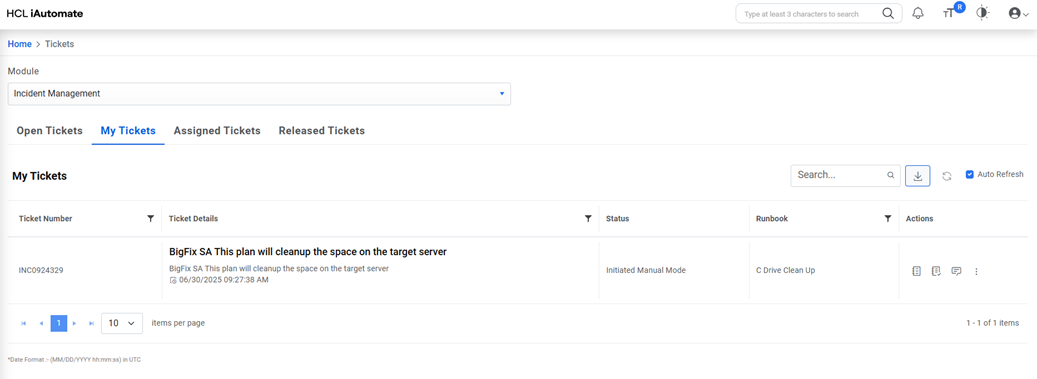
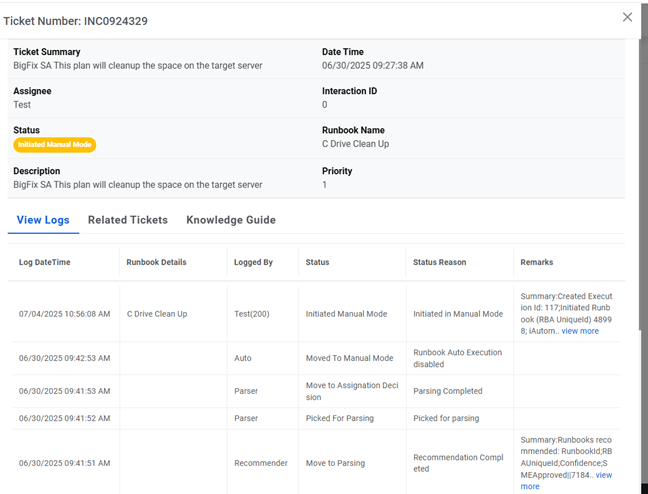
- The ticket execution status can be viewed in the Logs section
available at the bottom.
Figure 14. Ticket Logs