SOLR as a Service
This section describes the procedure for enabling Solr as a service.
Please follow the following steps:
- Download nssm-2.24.zip file from the path mentioned in the source field of Apache SOLR Requirements and unzip it.
- Copy nssm.exe from nssm-2.24\win64 to SOLR_HOME\bin.
- Go to the SOLR_HOME\bin. Open the Command Prompt as Administrator.
- Execute the command
below:
nssm install solrserviceThe following window appears:
Figure 1. Enabling Solr as Windows Service 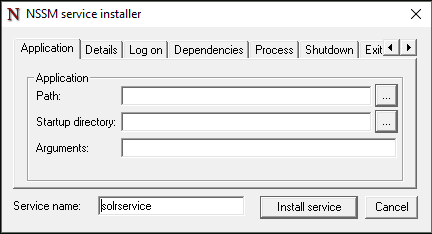
- Click Application tab and enter the information as mentioned below:
- Path: C:\solr-9.7.0\bin\solr.cmd
-
Startup directory: C:\solr-9.7.0\bin
-
Arguments: <As mentioned below>
start -cloud -s <SOLR_HOME\server\solr> --host <SOLR_IP> -f -p <SOLR_PORT> -z <ZOOKEEPER_IP>:<CLIENT_PORT>
E.g.
start -cloud -s "C:\solr-9.7.0\server\solr" --host 1x.xx.xx.x1 -f -p 8983 -z "1x.xx.xx.x2:2181,1x.xx.xx.x3:2181,1x.xx.xx.x4:2181"
Figure 2. Enabling Solr as Windows Service (cont.) 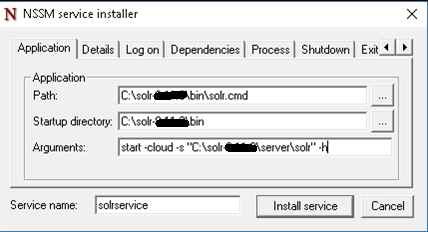
- Click Details tab and enter the information below:
Figure 3. Enabling Solr as Windows Service (cont.) 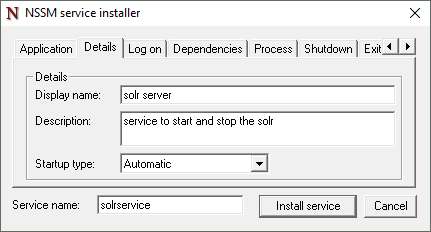
- Click Install Service.
Upon successful installation, the following message will appear.
Figure 4. Enabling Solr as Windows Service (cont.) 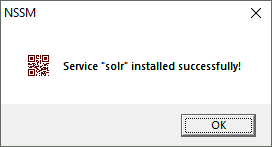
- Press Win+R, type services.msc and press Enter.
Figure 5. Enabling Solr as Windows Service (cont.) .png)
- Search for Solr Server service.
- Click on Solr Server service and then click Start the
service on the left panel to start the service.
Figure 6. Enabling Solr as Windows Service (cont.) 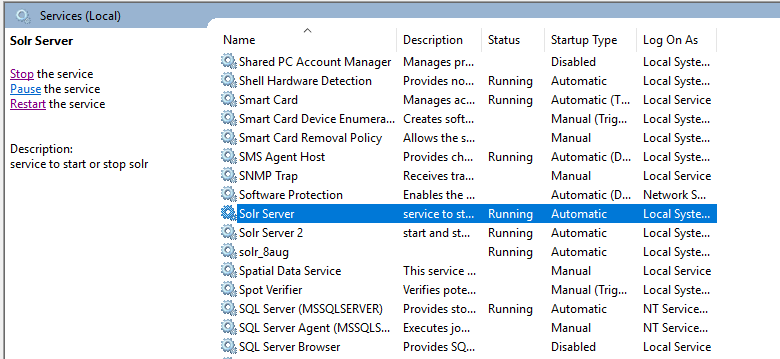
- Check the URL below in browser:
http://<SOLR IP>:<SOLRPORT>/solr
- Enter the username and password on Solr Portal Login Page.
- Create collection named as ‘ScriptKnowledgeData’ in Solr for Basic Knowledge and
iScrape using the below
URL:
 http://<SOLR_IP>:<SOLR_PORT>/solr/admin/collections?action=CREATE&name=Script
KnowledgeData&router.name=implicit&shards=iScrape,
Knowledge&replicationFactor=1&maxShardsPerNode=4&collection.
configName=ticketschema&router.field=shardType
On successful creation of the collection, the following response is received:
{ "responseHeader”: { "status":0, "QTime":3373, "success”: { "<SOLR_IP>:<SOLR_PORT>_solr”: { "responseHeader":{ "status":0, "QTime":2464}, "core":"ScriptKnowledgeData_iScrape_replica_n1"}, "<IP>:<PORT>_solr":{ "responseHeader":{ "status":0, "QTime":2737}, "core":"ScriptKnowledgeData_Knowledge_replica_n2"}}} - To check the Successful creation of collection in Solr. Navigate to Solr Home Page as
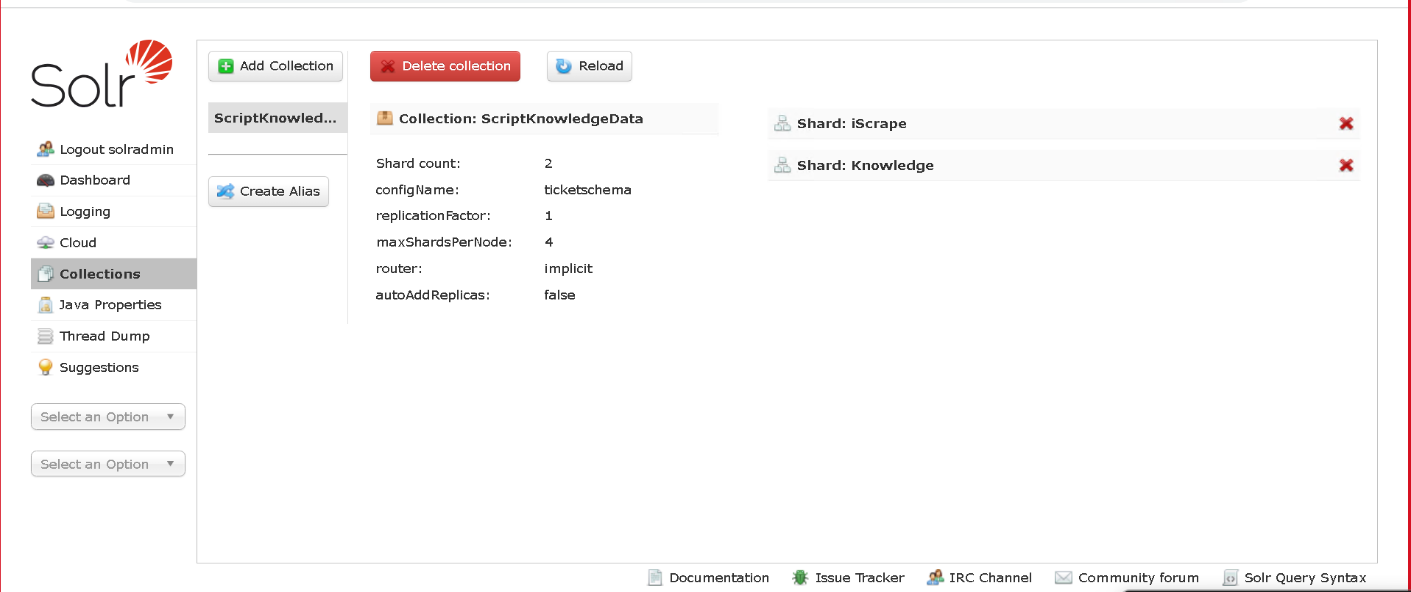
mentioned in below figure
as Windows Service (cont.). On
Left Pane Select “Collections” tab and verify "ScriptKnowledgeData” collection is
present.
Figure 7. Enabling Solr as Windows Service (cont.)