Manage SMTP
If the organization chooses to use mail-based notifications, SMTP specific configurations will be required.
To configure the SMTP details, perform the following steps:
- On the main menu bar, click Configuration and then click Manage SMTP.
- The Manage SMTP page appears.
Figure 1. Manage SMTP 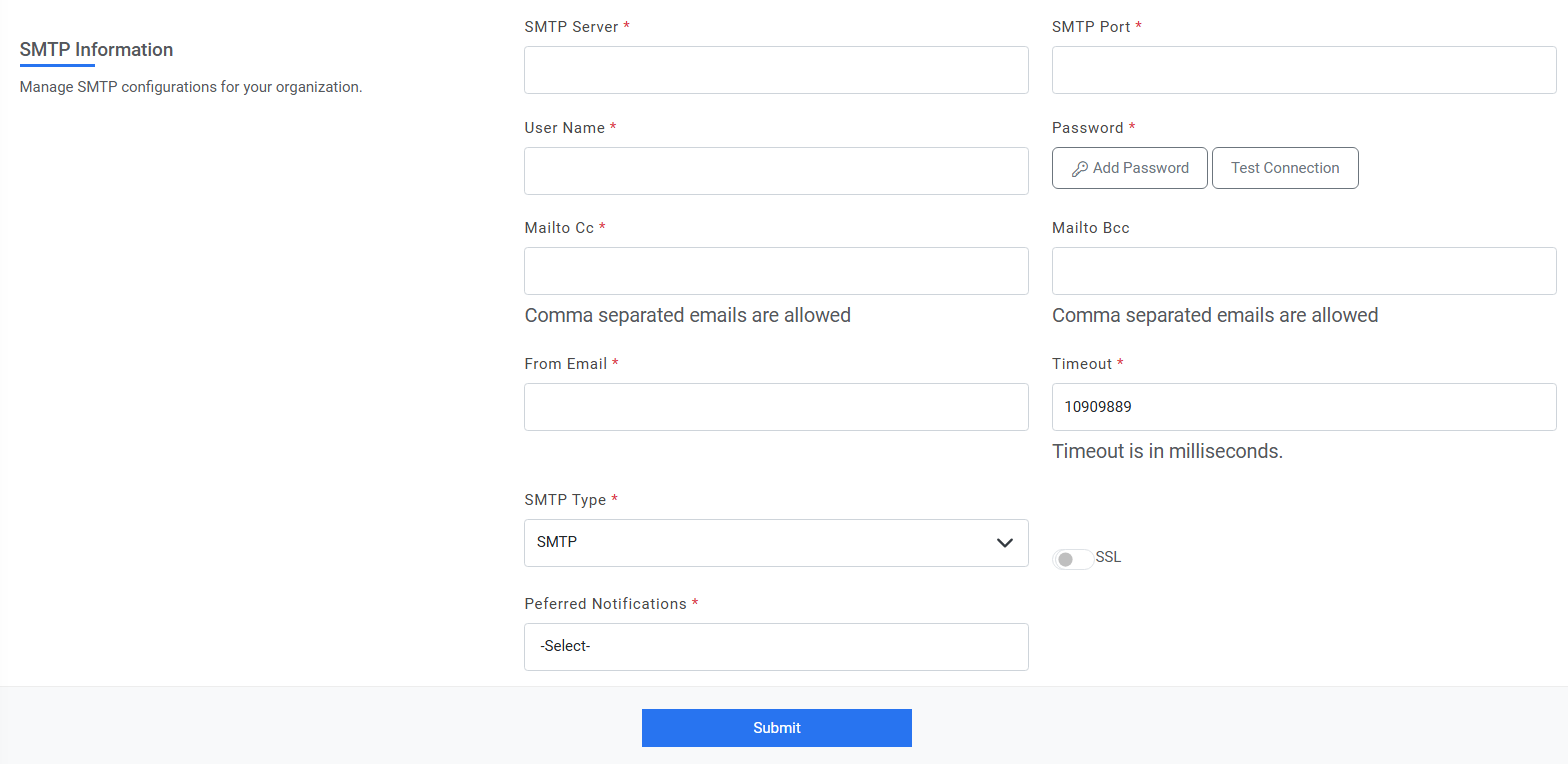
- In the SMTP Server field, type the SMTP Server.
- In the SMTP Port field, type the SMTP port.
- In the SMTP UserName and SMTP Password fields, type the username and password to access the SMTP server.
- For password, click on Add Password button. If the password is available in plaintext,
then select Input type as Input Text and enter the password in Value field. Else if it is
available in Azure Key Vault then select Input Type as Azure Key Vault and then select any
of the configured details from the value field. Else if it is available in any Key Vault
such as CyberArk or Internal Secret manager then select Input Type as CyberArk or Internal
Secret manager respectively and then select any of the configured details from the value
field.
Figure 2. Password in plaintext 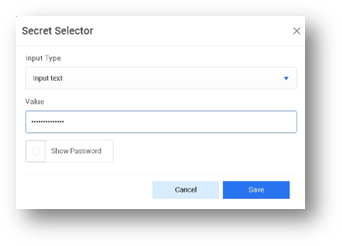
Figure 3. Password from Key Vault (CyberArk) 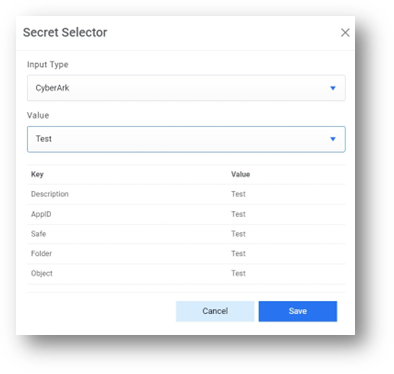
Figure 4. Password from Secret Manager .png)
Figure 5. Password from Azure Key Vault .jpg)
- In the Mailto Cc field, type the email of user, as applicable.
- In the Mailto Bcc field, type the email of user, as applicable.
- Select SMTP Type from the dropdown.
- In the From Email field, type the user's email id for the mail notification.
- The test connection feature allows users to verify their SMTP configuration by sending a
dummy email. Based on the result, the button's color changes to indicate success or
failure.
Figure 6. Test connection 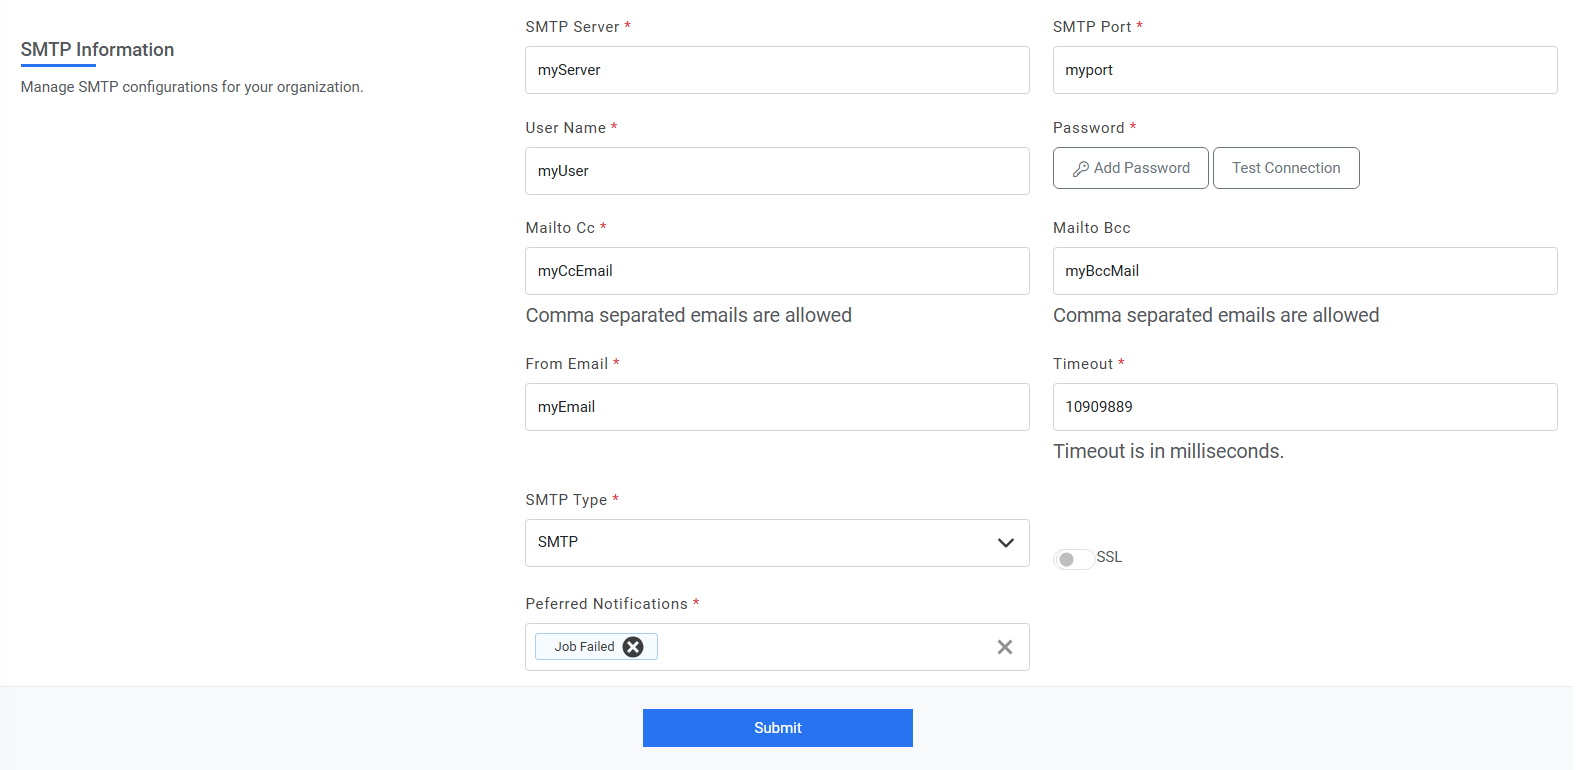
- If the email is sent successfully, the "Test Connection" button's color changes to green,
this visually indicates to the user that the SMTP configuration is correct.
Figure 7. Configuration is Correct 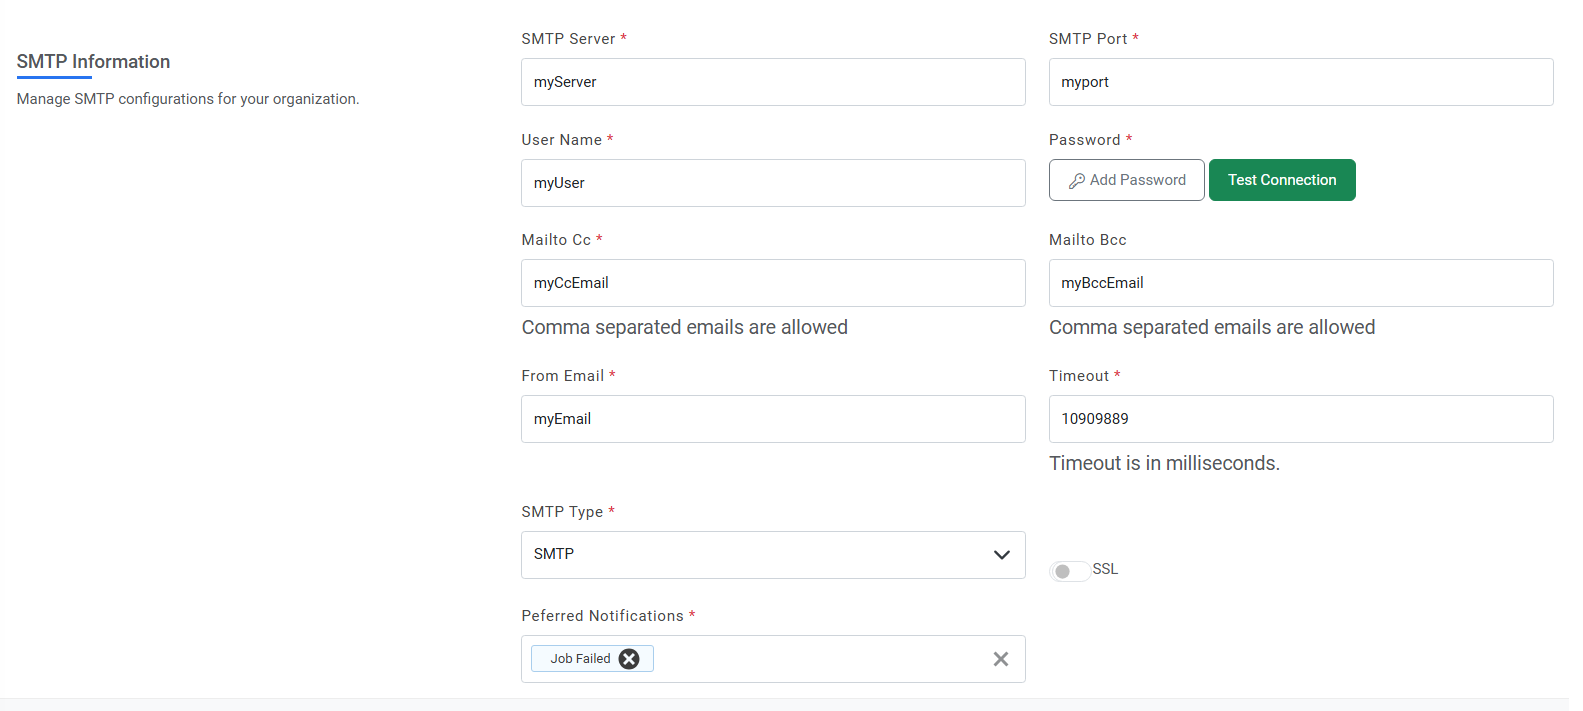
- If there is an error during the email sending process (e.g., incorrect SMTP server, port,
email, password, or network issues), the button's color changes to red, Additionally, an
error message is displayed to provide more details about the failure.
Figure 8. Configuration is not Correct 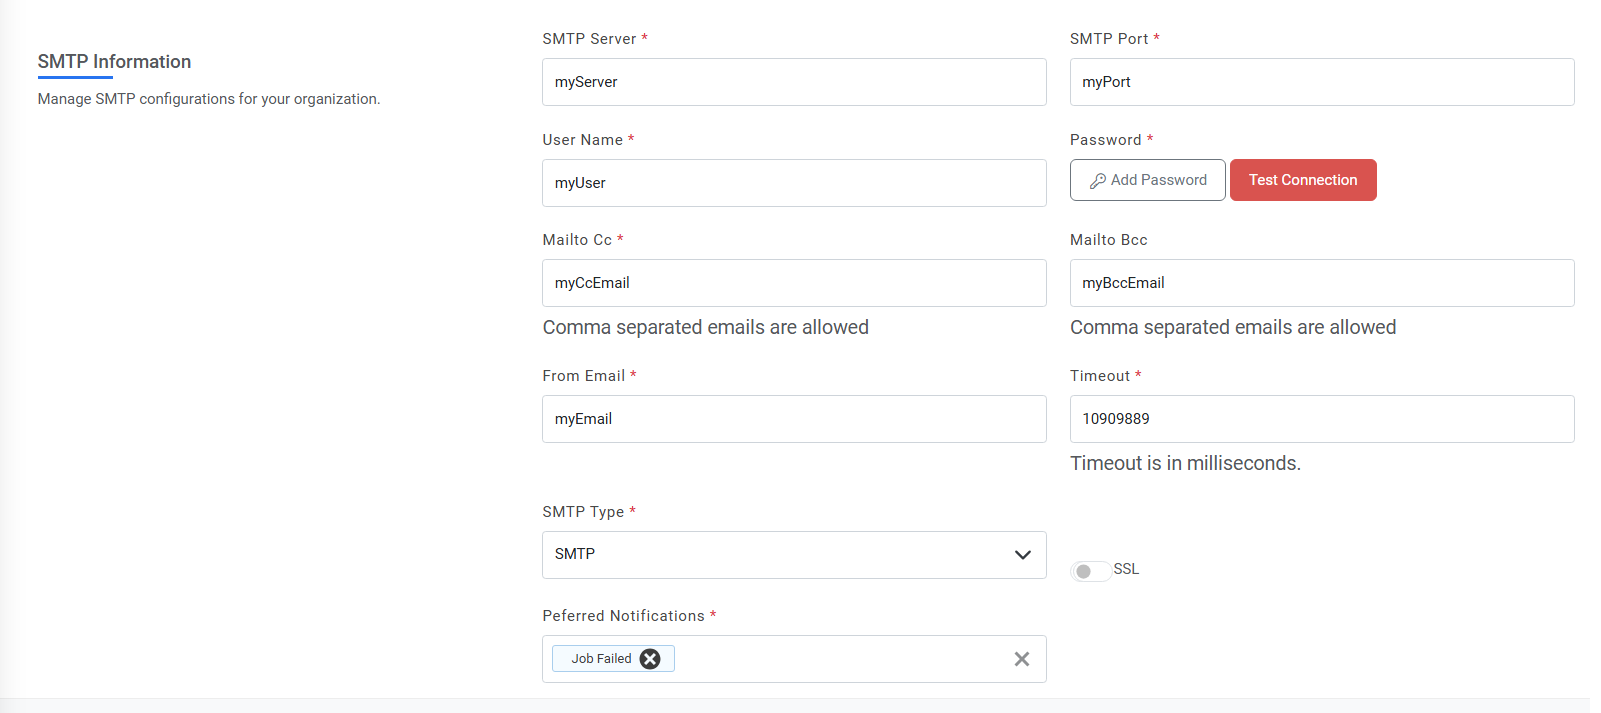
- Select the Preferred Notifications option if for any of the option users in CC and Bcc needs to be notified.
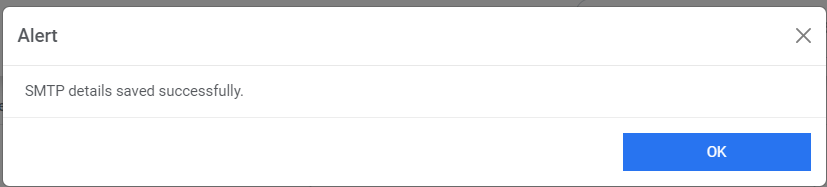
- Click Submit. The confirmation box below appears.
Figure 9. Success Message