Collections
This process checks if a specific application, required for running a solution, exists on the user's device. Each solution is linked to one or more collections. These collections help determine if the necessary application is installed on the user's device; only then will the corresponding solution be displayed to the user.
In collections, there are two sub-modules:
- Category
- Collection
Category
To create a Category, admin must validate whether the specific category is available on the user machine or not. If the validation is successful, a new category can be created.
Admin can perform the following actions:
- Create Category
- Edit Category
- View Category
- Delete Category
- Admin can "Create" a category by clicking on the Create button on the
top right corner of the category page.
Figure 1. Category Page 
- The following screen appears:
Figure 2. Create Category 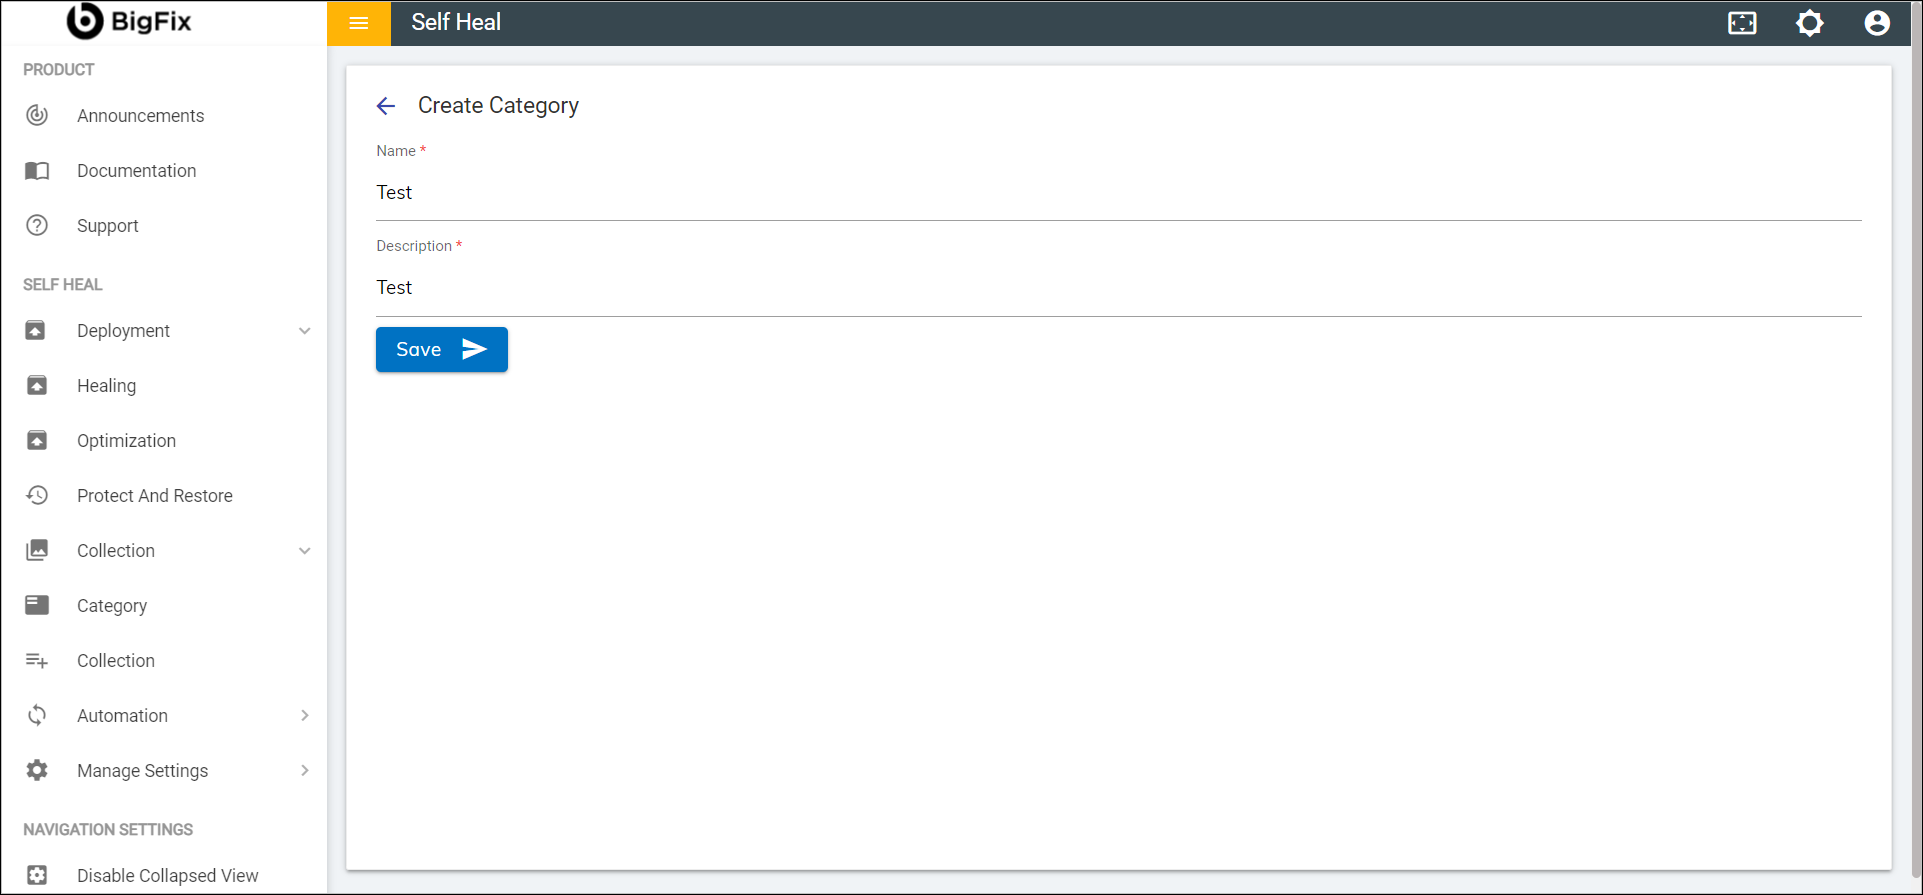
- Populate the following fields:
- Name: Name of a Specific category
- Description: Issue of Specific category
- Click Save. The following success message appears on the screen.
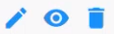
- To edit the details of an existing category, click the edit icon
 corresponding to the category that
you wish to modify.
corresponding to the category that
you wish to modify. Figure 3. Category Page 
- This redirects to the Edit Category page.
Figure 4. Edit Category 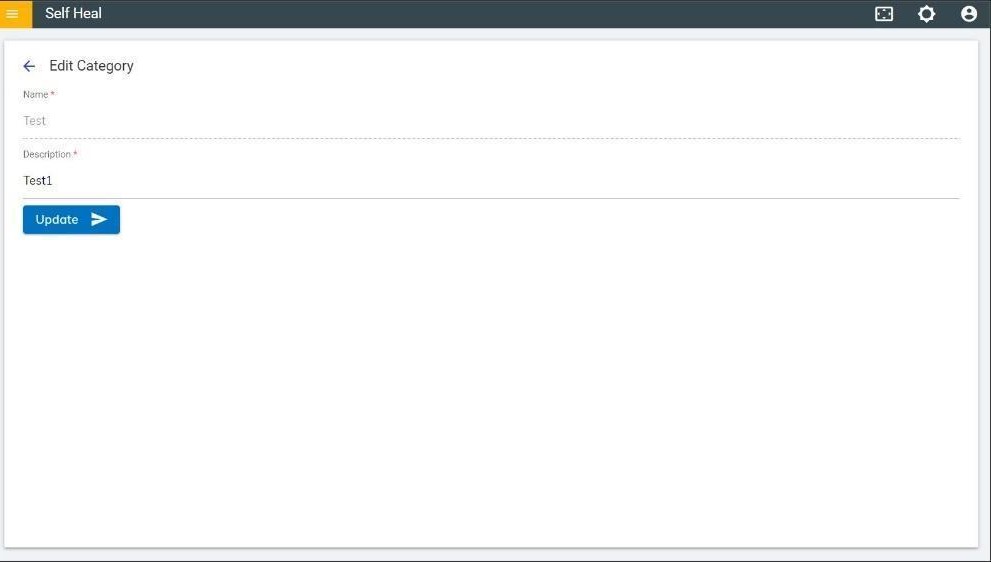
- Modify the details as required and click Update. The following success message appears on the screen.
- To view the details of an existing category, click the view icon
 corresponding to the category that
you wish to view.
corresponding to the category that
you wish to view. - That redirects to the View Category page.
Figure 5. View Category 
- To delete an existing category, click the delete icon
.png) corresponding to the category that you wish to
Delete.
corresponding to the category that you wish to
Delete. Figure 6. Delete Category 
- A confirmation message appears to confirm the delete
action. Click OK to delete or click Cancel to cancel the delete action.
Figure 7. Confirmation Message 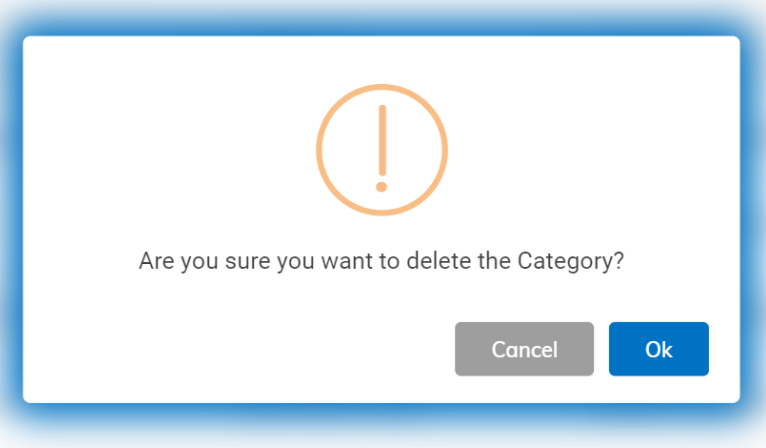
- A success message appears on the screen.
Collection
It validates whether a particular collection is available on the user's machine or not. These collections are used while creating a solution in the automation module.
Admin can perform the following:
- Create Collection
- Edit Collection
- View Collection
- Delete Collection
- To create a collection, click on the Create button on top right corner on the
Collection page.
Figure 8. Collection Page 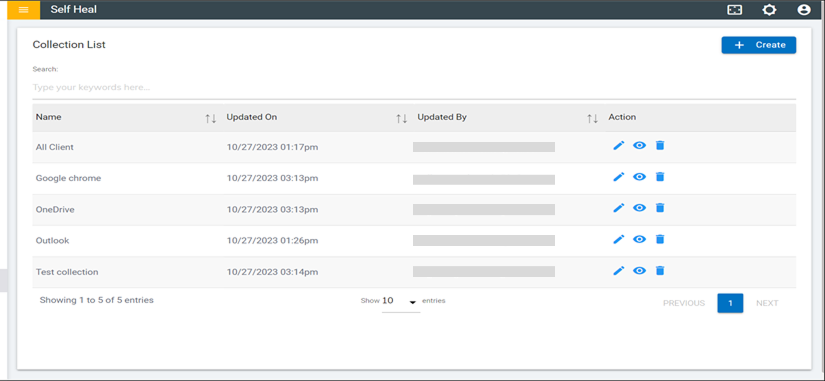
- This redirects to the Create Collection page.
Figure 9. Create Collection Page 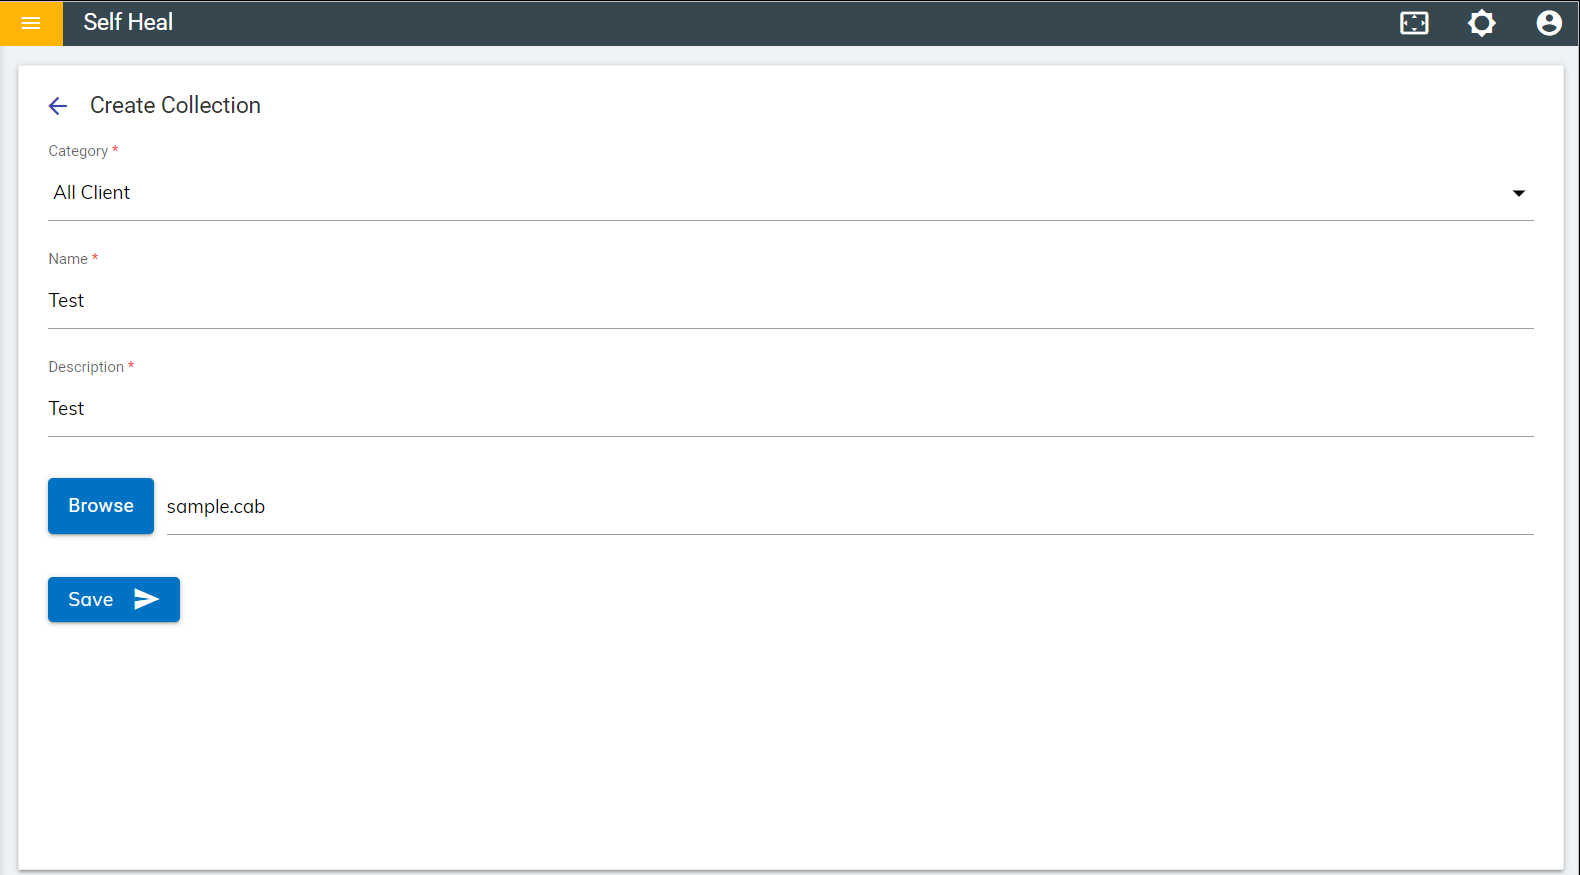
- Fill out the required fields and click Save. The following success message appears on the screen.
- To edit the details of an existing collection, click the edit icon
.png) corresponding to the collection
that you wish to modify.
corresponding to the collection
that you wish to modify.Figure 10. Collection Page 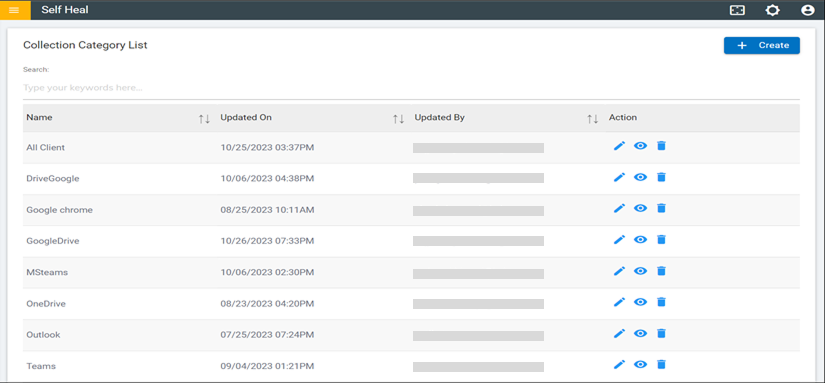
- This redirects to the Edit Collection page.
Figure 11. Edit Collection 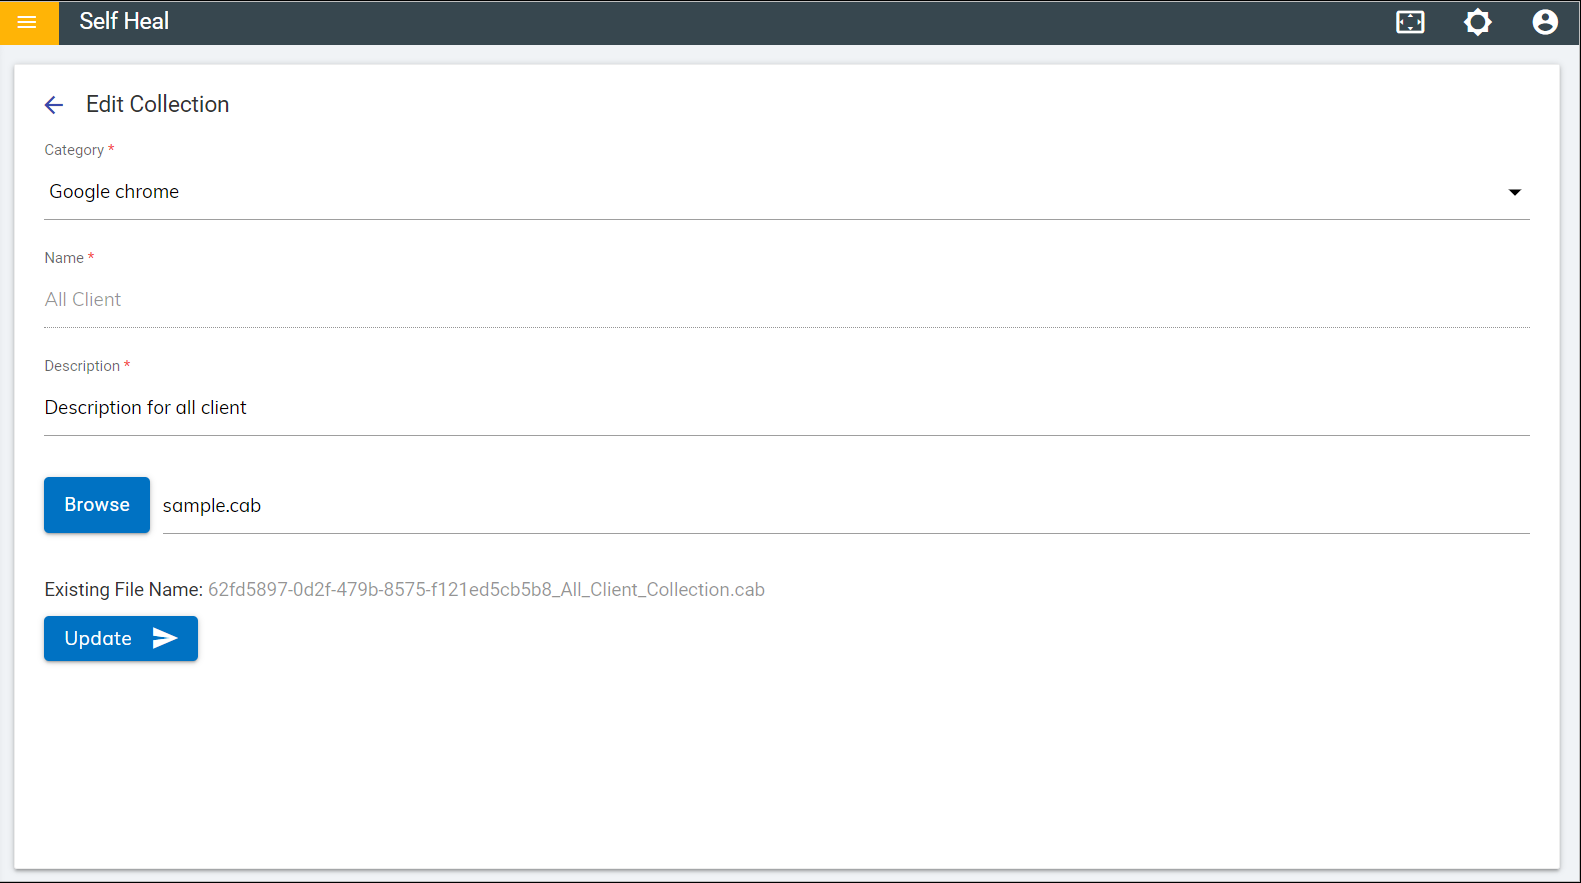
- Modify the details as required and click Update. The following success message appears on the screen.
- To view the details of an existing collection, click the view icon
.png) corresponding to the collection
that you wish to view. That redirects to the View Collection page.
corresponding to the collection
that you wish to view. That redirects to the View Collection page. Figure 12. View Collection 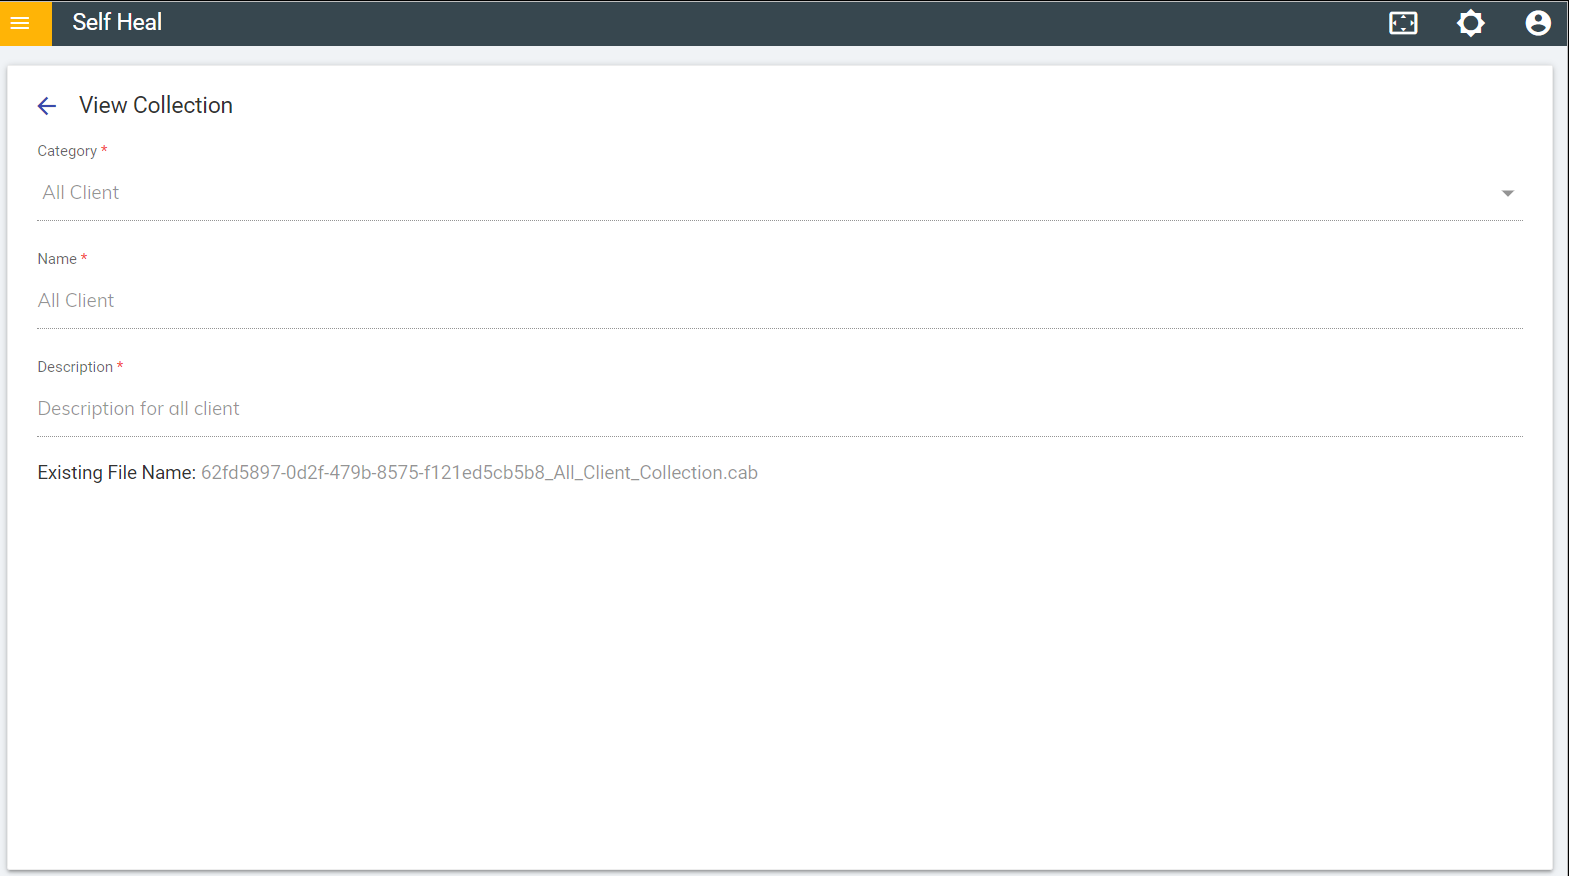
- To delete an existing collection, click the delete icon
.png) corresponding to the collection
that you wish to Delete.
corresponding to the collection
that you wish to Delete.