Automation
The Automation module is used to create automated solutions, which are executed on client machines. There are two sub-modules:
- Category
- Solutions
Category
In this section, admin can upload an image for a particular solution category.
Admin can perform the following:
- Create Category
- Edit Category
- View Category
- Delete Category
Create Category
- Create the category by clicking on the Create button on the top right corner on the
category page.
Figure 1. Category Page 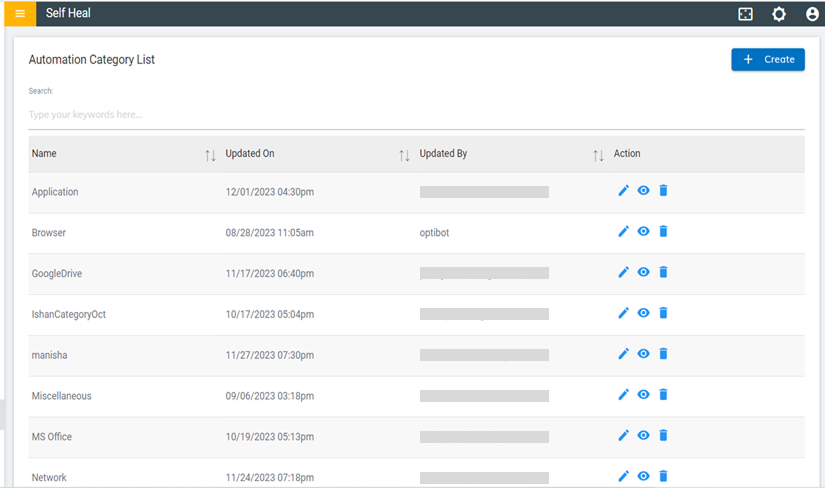
- The following page appears:
Figure 2. Create Category 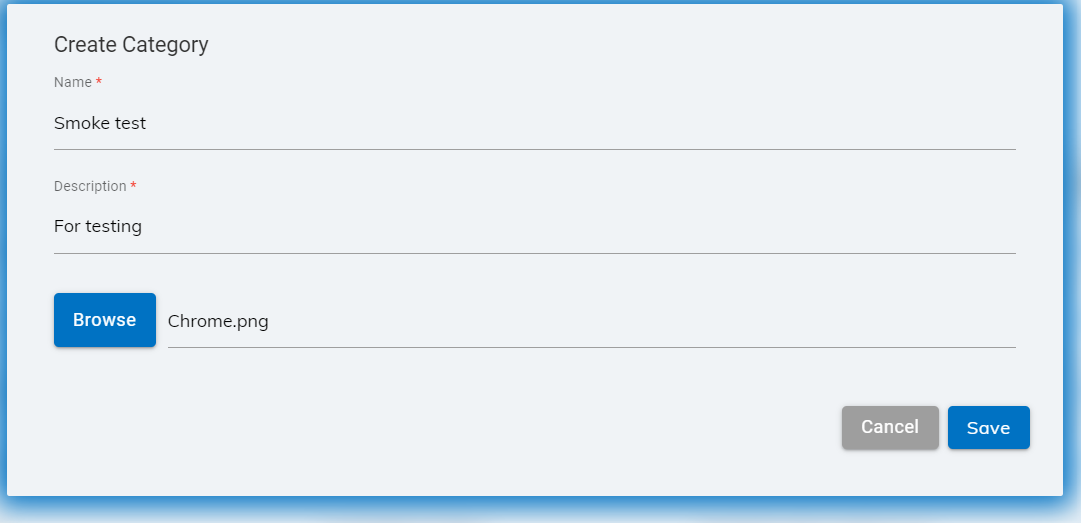
- Fill out the required fields to create a category:
- Category Name
- Category Description
- Upload the image file for a particular solution category.
Note:If the user uploads a file other than an image file, an error message will be displayed as shown in the image below.Figure 3. Error Message 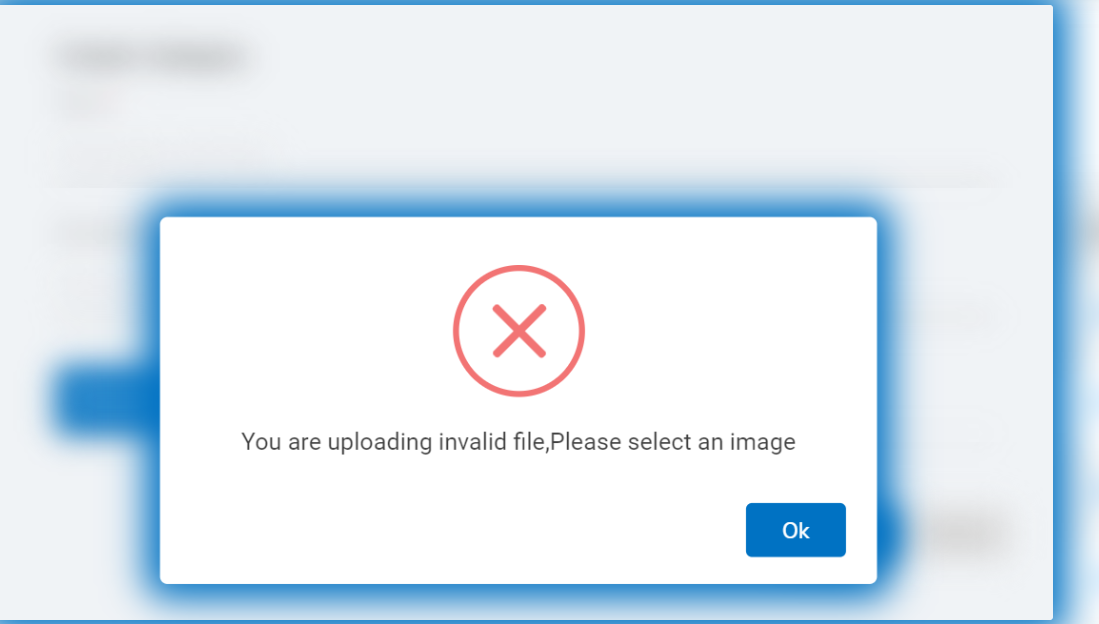
- Click on the Save button. The following success message appears on the screen.
Edit Category
- To edit the details of an existing category, click the edit icon
.png) corresponding to the category that
you wish to modify.
corresponding to the category that
you wish to modify. Figure 4. Category Page 
- This redirects to the Edit Category page.
Figure 5. Solution Category 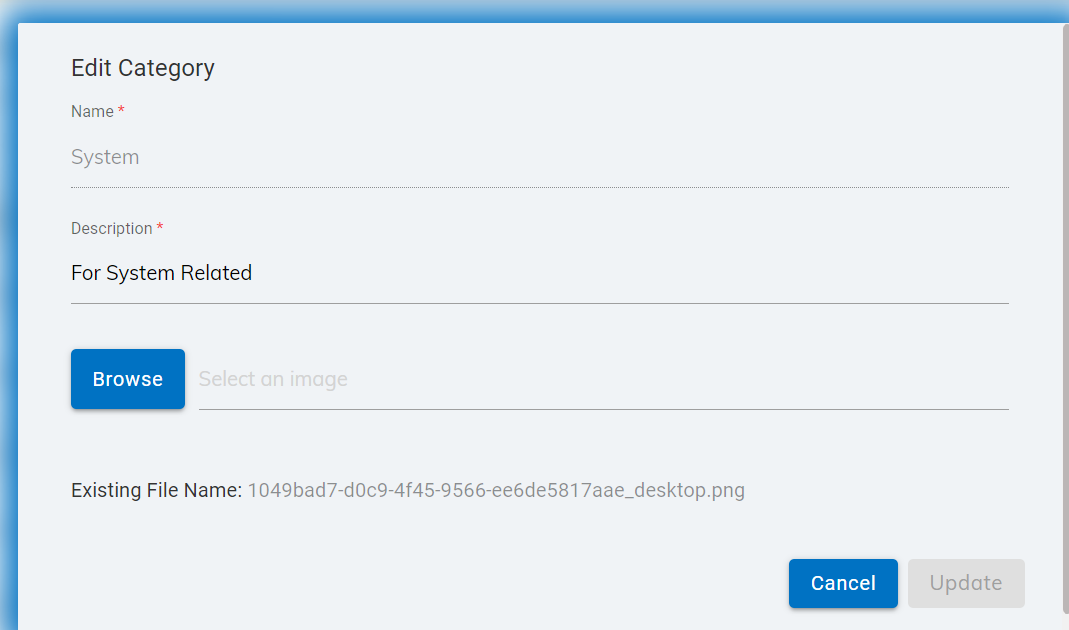
- Modify the details as required and click Update. The following success message appears on the screen.
View Category
- To view the details of an existing category, click the view icon
.png) corresponding to the category that you wish to view. That
redirects to the View Category page.
corresponding to the category that you wish to view. That
redirects to the View Category page.Figure 6. View Category 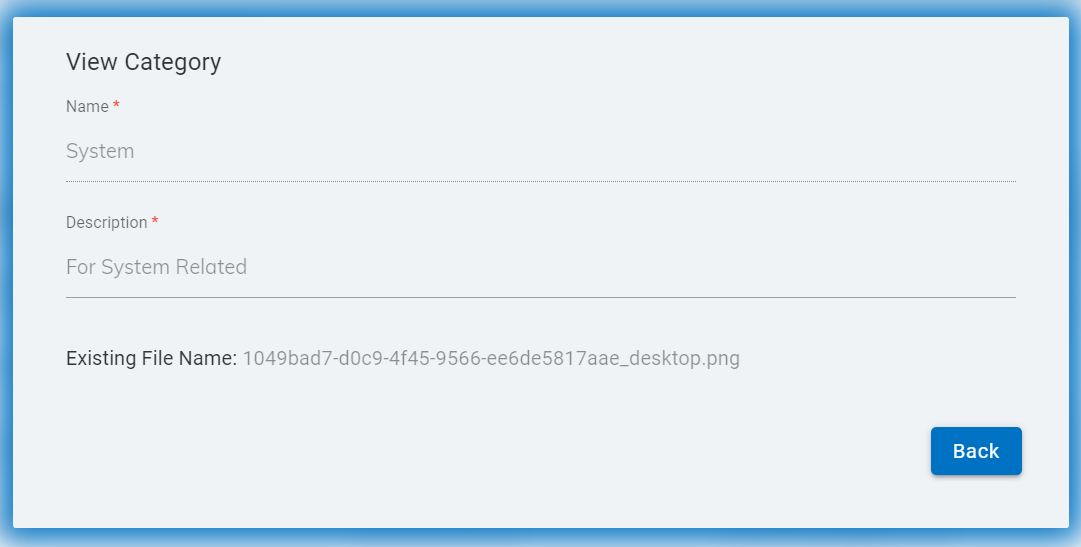
Delete Category
- To delete an existing category, click the delete icon
.png) corresponding to the category that you wish to Delete. The following confirmation
message appears on the screeen.
corresponding to the category that you wish to Delete. The following confirmation
message appears on the screeen. - Click OK to delete or click Cancel to cancel the delete action.
- On clicking OK, the selected category is deleted from the category list, and a success message appears on the screen.
Solutions
The solution module is used to create the automated solutions for a category that consists of different types of solutions and to the category the solution belongs, and it’s related to appropriate collections.
The admin can perform the following actions for an individual solution to the users:
- Create Solution
- Edit Solution
- View Solution
- Delete Solution
- Message
Create Solution
- To create a solution, click on Create New Solution on the Solution page.
Figure 7. Solution Page 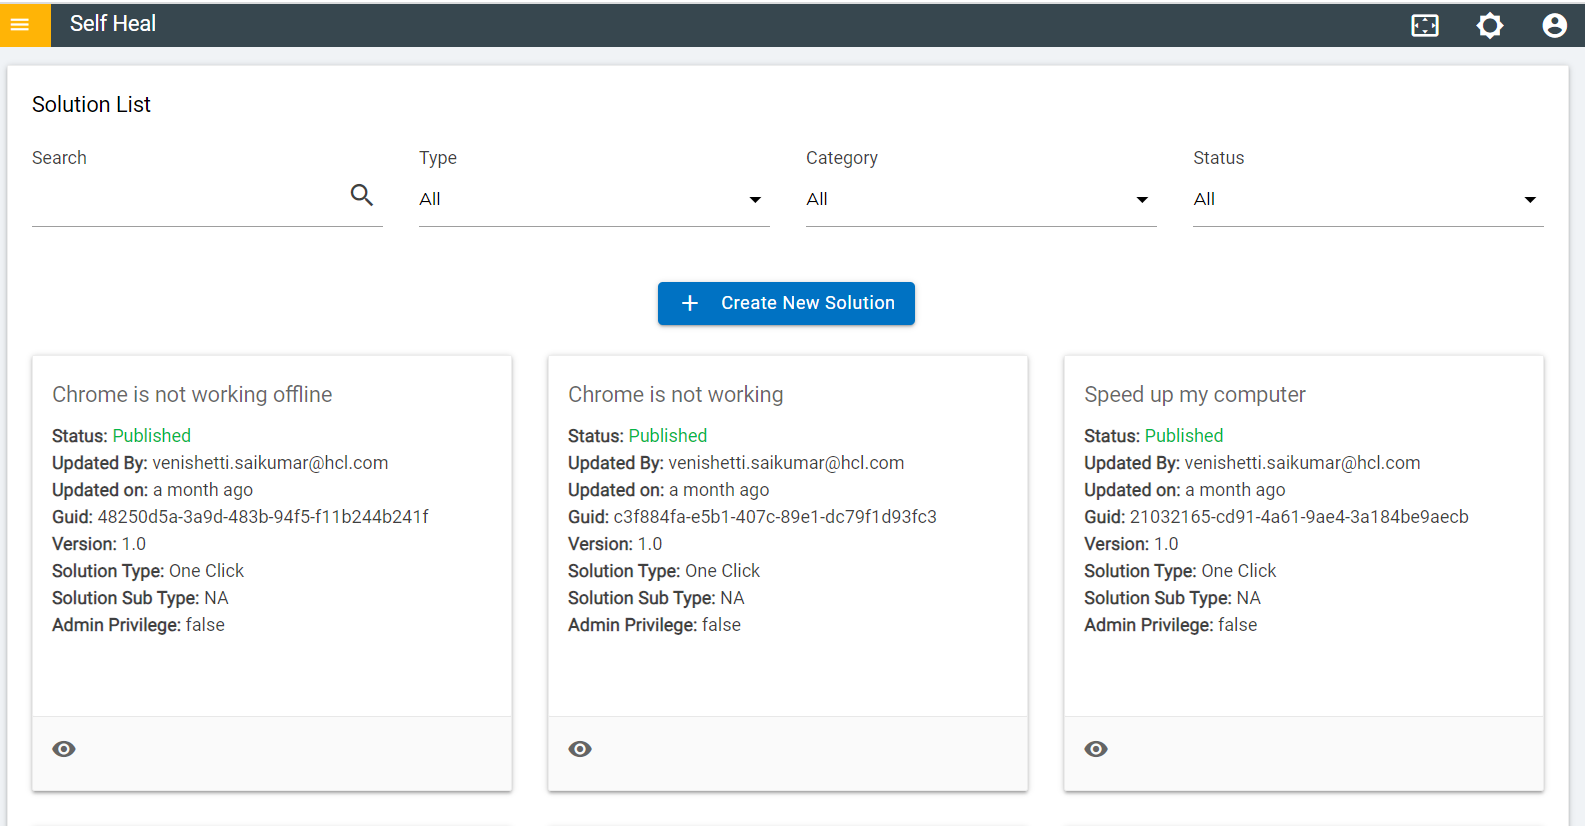
- The Following page appears:
Figure 8. Create New Solution 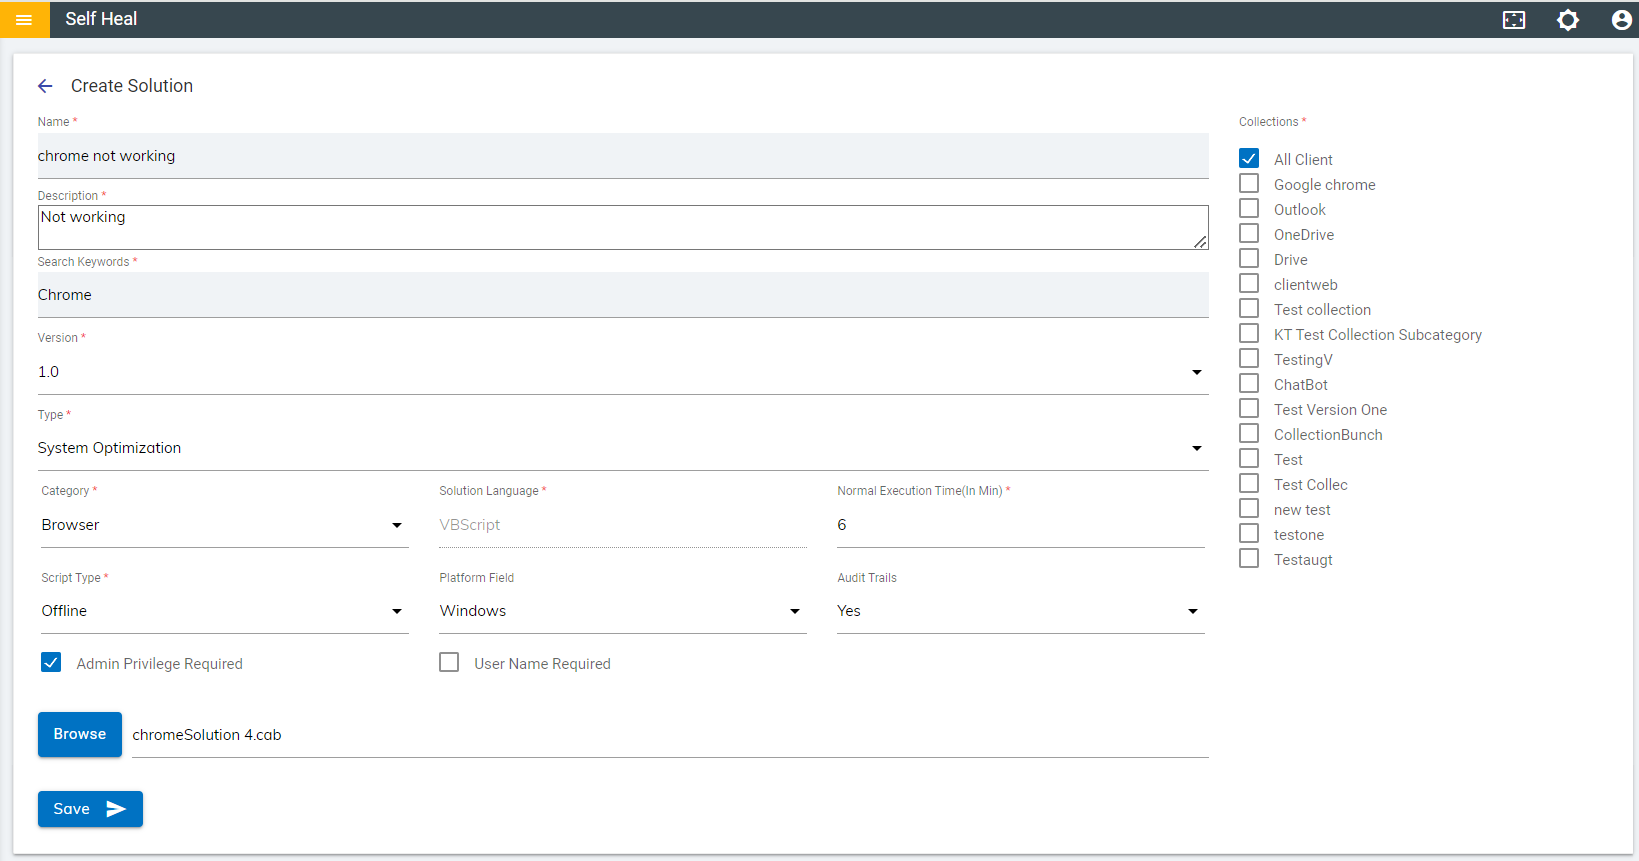
- Click Save. A success message appears on the screen, and a solution is created.
Edit Solution
- An admin can edit the details of a solution by using the edit icon in the Solution page.
- The admin must click the edit icon which corresponds to the solution that he wishes to
modify.
Figure 9. Solution Page 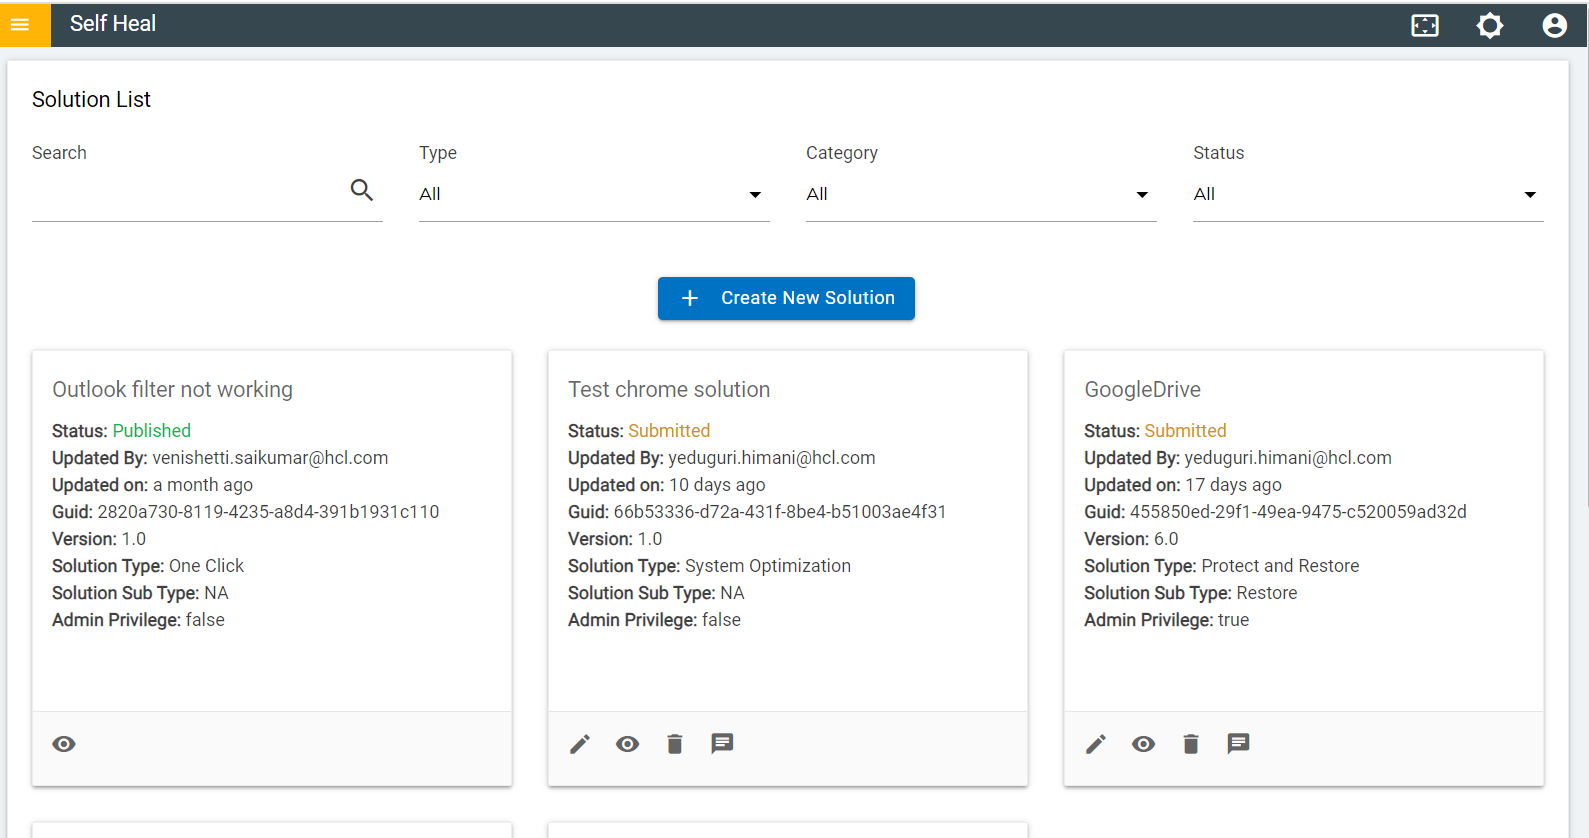
- The Edit Solution page appears on the following screen:
Figure 10. Edit Solution 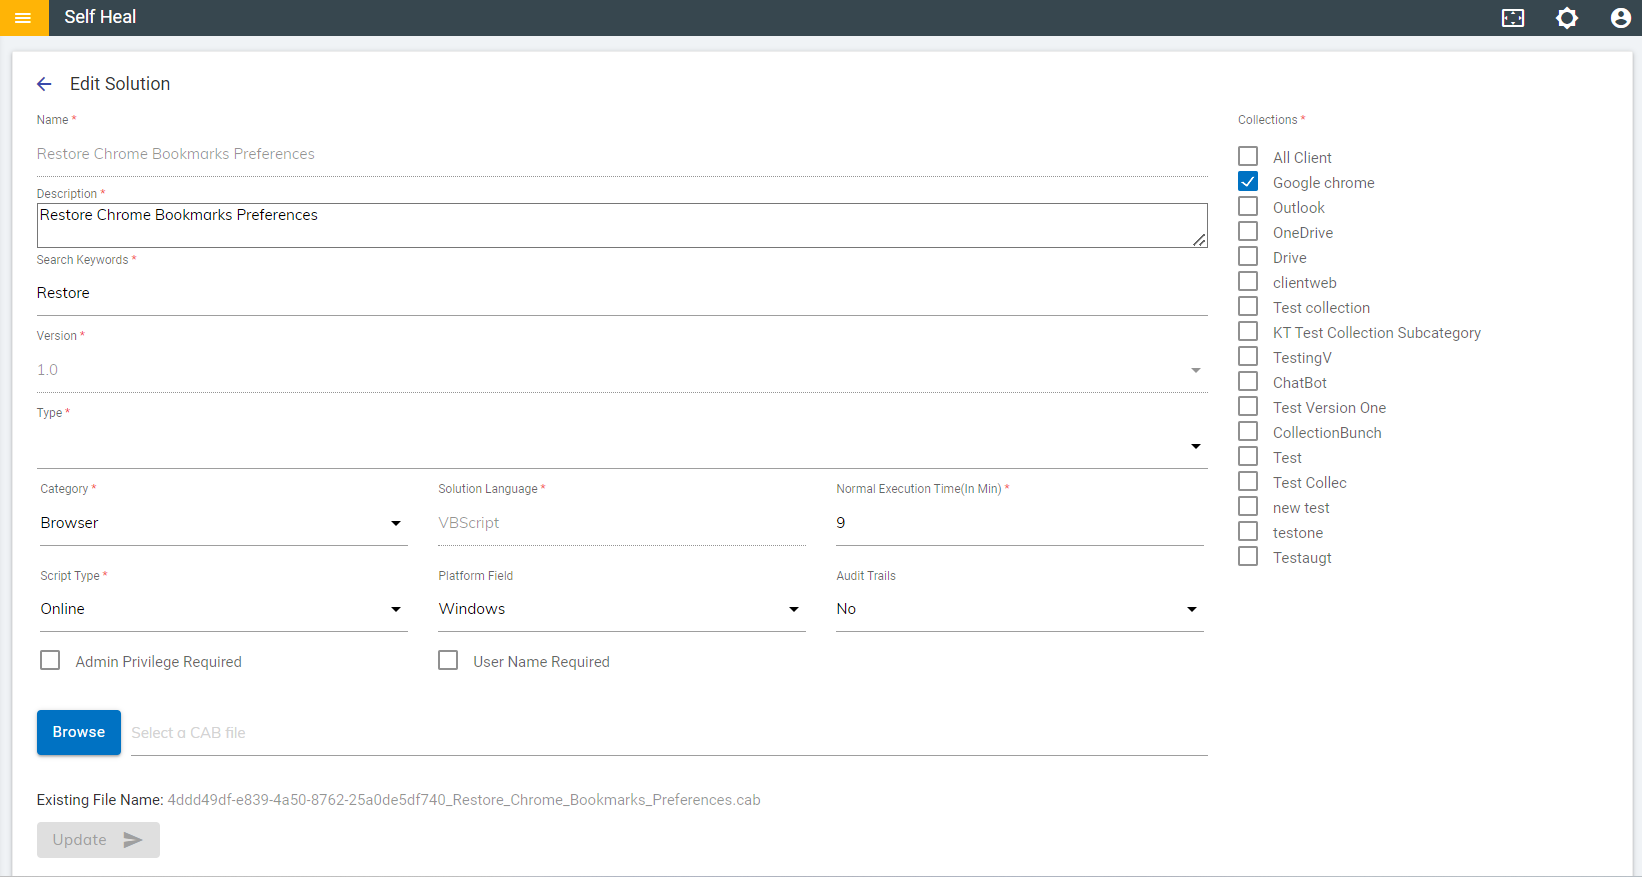
- Modify the details as required and click on Update. The details are updated, and the following success message appears on the screen.
View Solution
- To view a solution, click the corresponding View icon placed on each solution on
the solution page.
Figure 11. Solution Page – View Icon .png)
- This redirects the user to the View Solution page.
Figure 12. View Solution Page 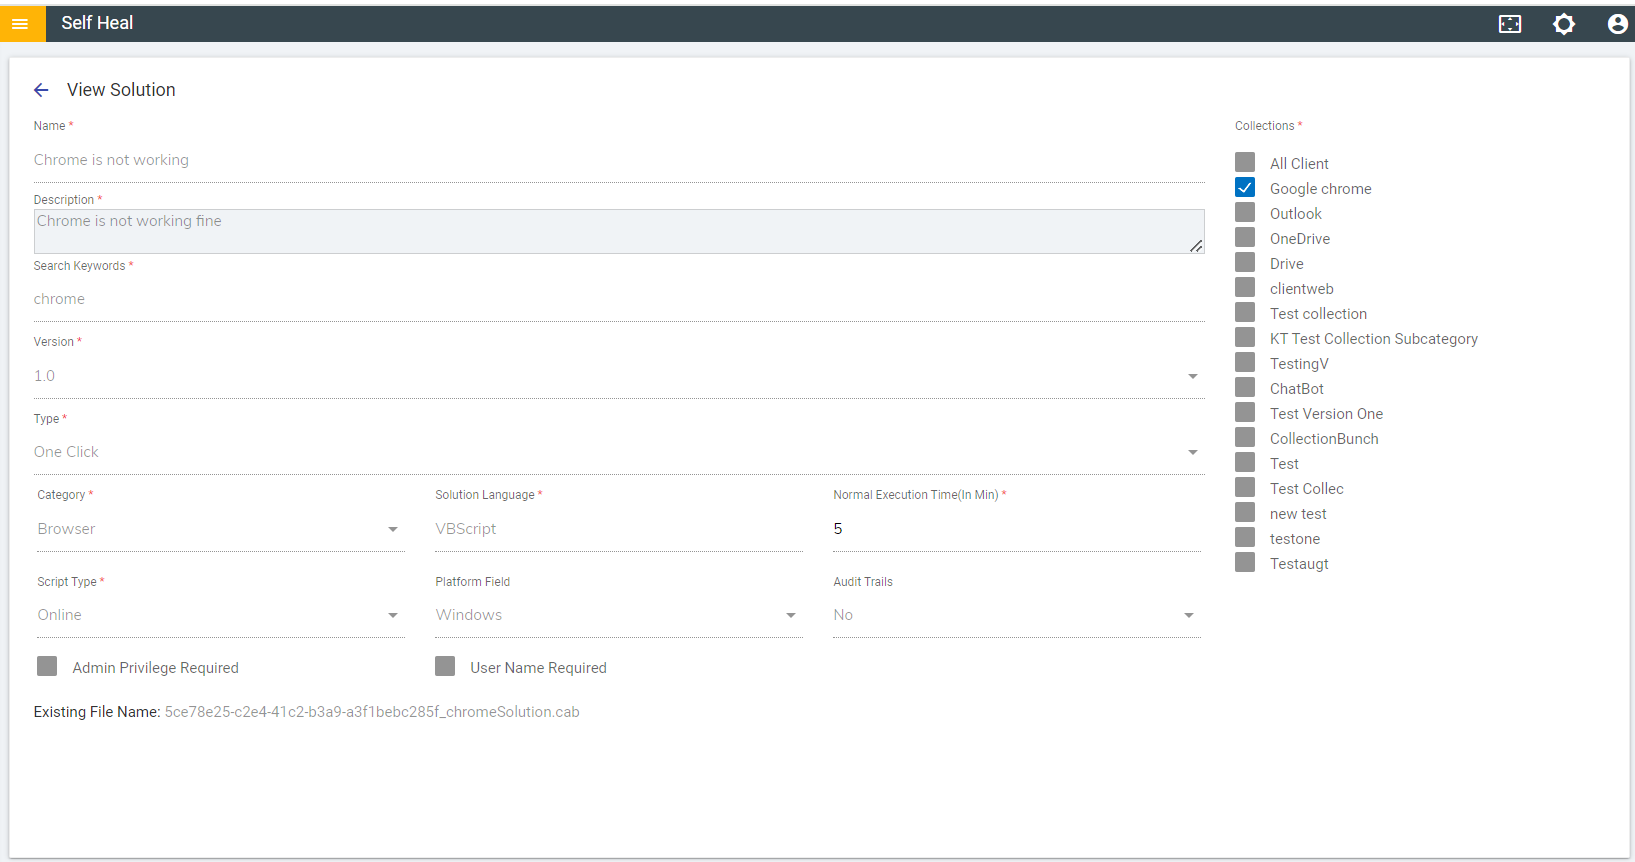
Delete Solution
- An admin can delete a solution by using the delete icon in the Solution page.
- The admin must click the delete icon which corresponds to the solution that he wishes to
delete.
Figure 13. Solution Page .png)
- A confirmation message appears on the screen to confirm the deletion action.
- Click Ok to delete or click Cancel to cancel the delete action. A success message appears on the screen.
Message
- The admin can manage the messages that are displayed in the client app using this section.
- To get into the message page click on the message icon
 placed in the solution page.
 Figure 14. Solution Page .png)
- The following page appears:
Figure 15. Message Page 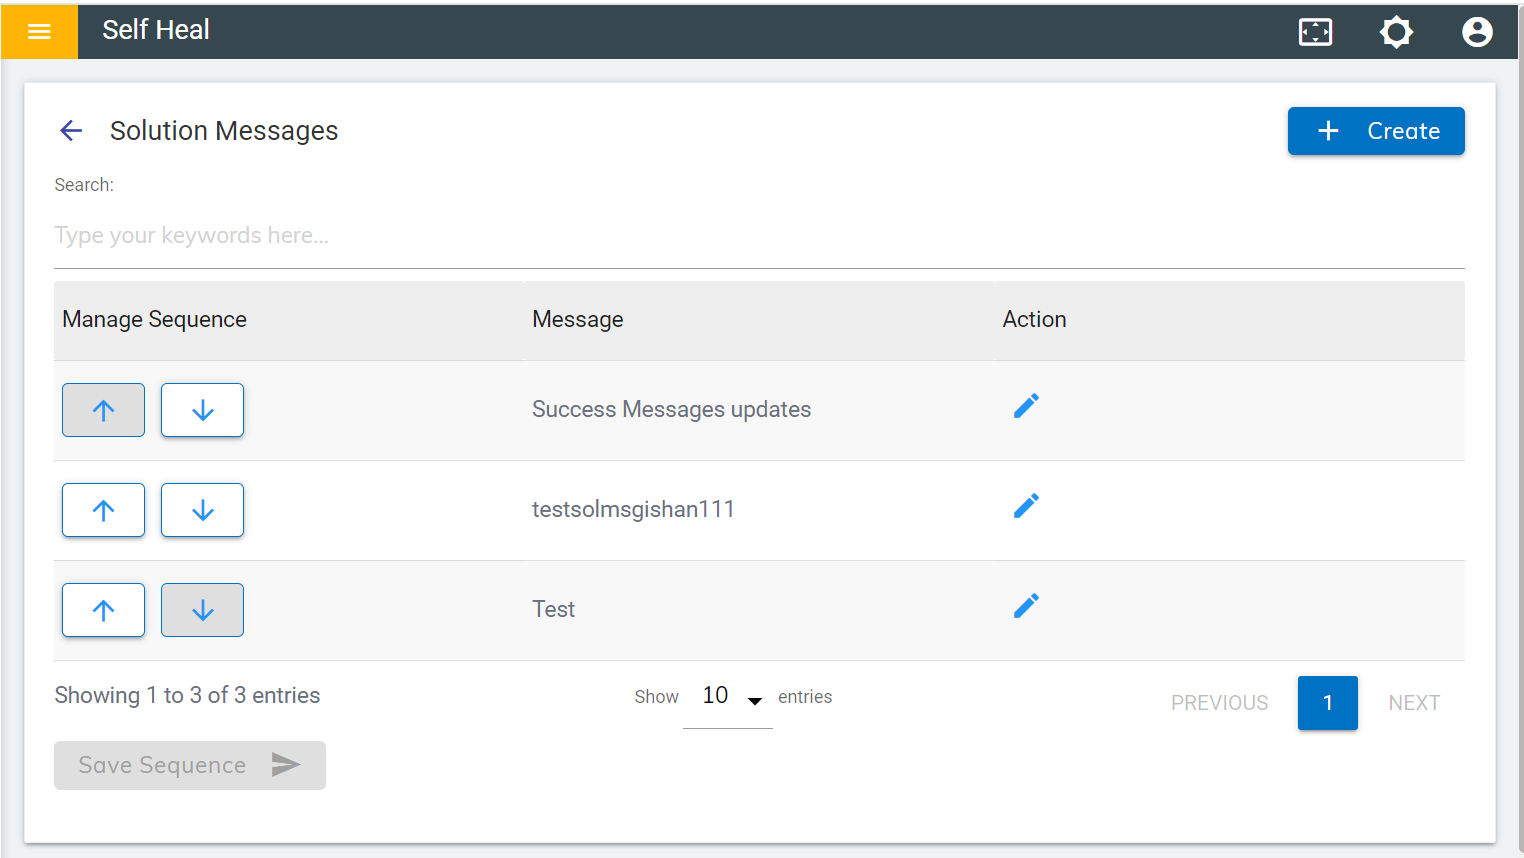
- Create a Message for a solution by clicking on the Create button, on the top right corner
of the Message page.
Figure 16. Message Page .png)
- The following page appears:
Figure 17. Create Solution Message Page 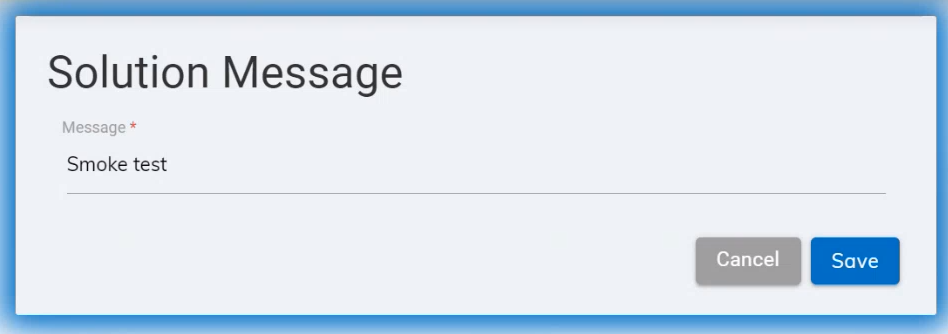
- Populate the Message field with the desired message and click Save.
- A new message is added, and a success message appears on the screen.
- Users can edit a Solution Message by clicking on the edit icon associated with a message on the Message page.
- The following screen appears where the user can update the message:
Figure 18. Edit a Solution Message 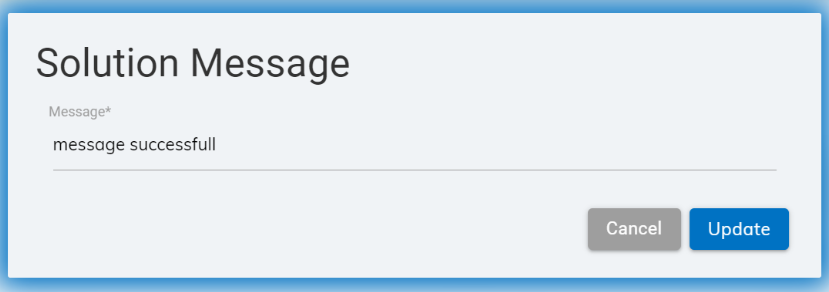
- Modify the message as required and click Update. The following success message appears on the screen.