Configuring HashiCorp Vault
This section provides a step-by-step guide to configure HashiCorp Vault.
After installing the HashiCorp Vault, configuring the Vault is a crucial step to ensure that it integrates effectively within your infrastructure and meets your security requirements. This process involves initializing and unsealing Vault, setting up Kubernetes authentication, creating routes for UI access, and defining user access policies.
Initialize Vault Pod
- Initiate the vault-0 pod for execution in the OpenShift
environment.
oc exec -it vault-0 -- /bin/sh -n vault vault operator init - On successful initializing, the output will be as shown
below:
$ vault operator init
Unseal Key 1: ...
Unseal Key 2: ...
Unseal Key 3: ...
Unseal Key 4: ...
Unseal Key 5: ...

Initial Root Token: hvs.A2kzLVXS8h51JBT

Vault initialized with 5 key shares and a key threshold of 3. Please securely
distribute the key shares printed above. When the Vault is re-sealed,
restarted, or stopped, you must supply at least 3 of these keys to unseal it
before it can start servicing requests.

Vault does not store the generated root key. Without at least 3 keys to
reconstruct the root key, Vault will remain permanently sealed!

It is possible to generate new unseal keys, provided you have a quorum of
existing unseal keys shares. See "vault operator rekey" for more information.
Note: Make sure to store the Unseal keys and Root Token, safely. By default, the Vault is sealed, and to unseal them, three keys out of five are required. You can use the root token to login to Vault either via Vault UI or from inside the pod.
Unseal Vault
After initializing the vault and obtaining the keys and token, you can unseal the Vault from vault-0 pod using the following commands.
- Run the vault operator unseal command thrice with 3 different Unseal keys
retrieved in the previous step. After unsealing the Vault thrice, the vault
status will be changed from Sealed=true to
Sealed=False.
oc exec -it vault-0 -- /bin/sh -n vault vault operator unseal - Now, join the Vault-1 pod with cluster, and unseal the vault-1 using the keys
found during the vault-0
initialization.
vault operator raft join http://vault-0.vault-internal:8200 vault operator unseal - After joining the cluster and Vault-1 pod, login into the vault-0 pod. Login to
the Vault using the root password retrieved during vault-0
initialization.
vault login <root password> # output will be - Success! You are now authenticated. The token information displayed below - Now, enable kubernetes
authentication.
vault auth enable kubernetes - Perform authorization method to use location of kubernetes
host.
vault write auth/kubernetes/config \ kubernetes_host="https://$KUBERNETES_PORT_443_TCP_ADDR:443" - Verify the cluster
setup.
On successful verification, the output will be as shown below.vault operator raft list-peers
Create route to access Vault UI
After unsealing the vault, explore the vault service and create a route to access the Vault UI.
- Check for available services in the
Vault.
oc get svc -n vault #output will be like as shown below vault-cluster-ui LoadBalancer 172.30.229.200 <pending> 8200:30530/TCP - Expose the Vault
service.
oc expose svc vault-cluster-ui -n vault - Now, create a route to access the Vault UI.
oc get routes -n vault - Copy the route HOST/PORT URL and access the Vault UI. To login, use Token as User name, and <root token>, which is received after vault initialization done earlier on vault-0 pod, as password.
Create user for Vault Access
- Using the port URL and credentials, login to the Vault UI. Navigate to Access >
Authentication Method > Authentication Method.
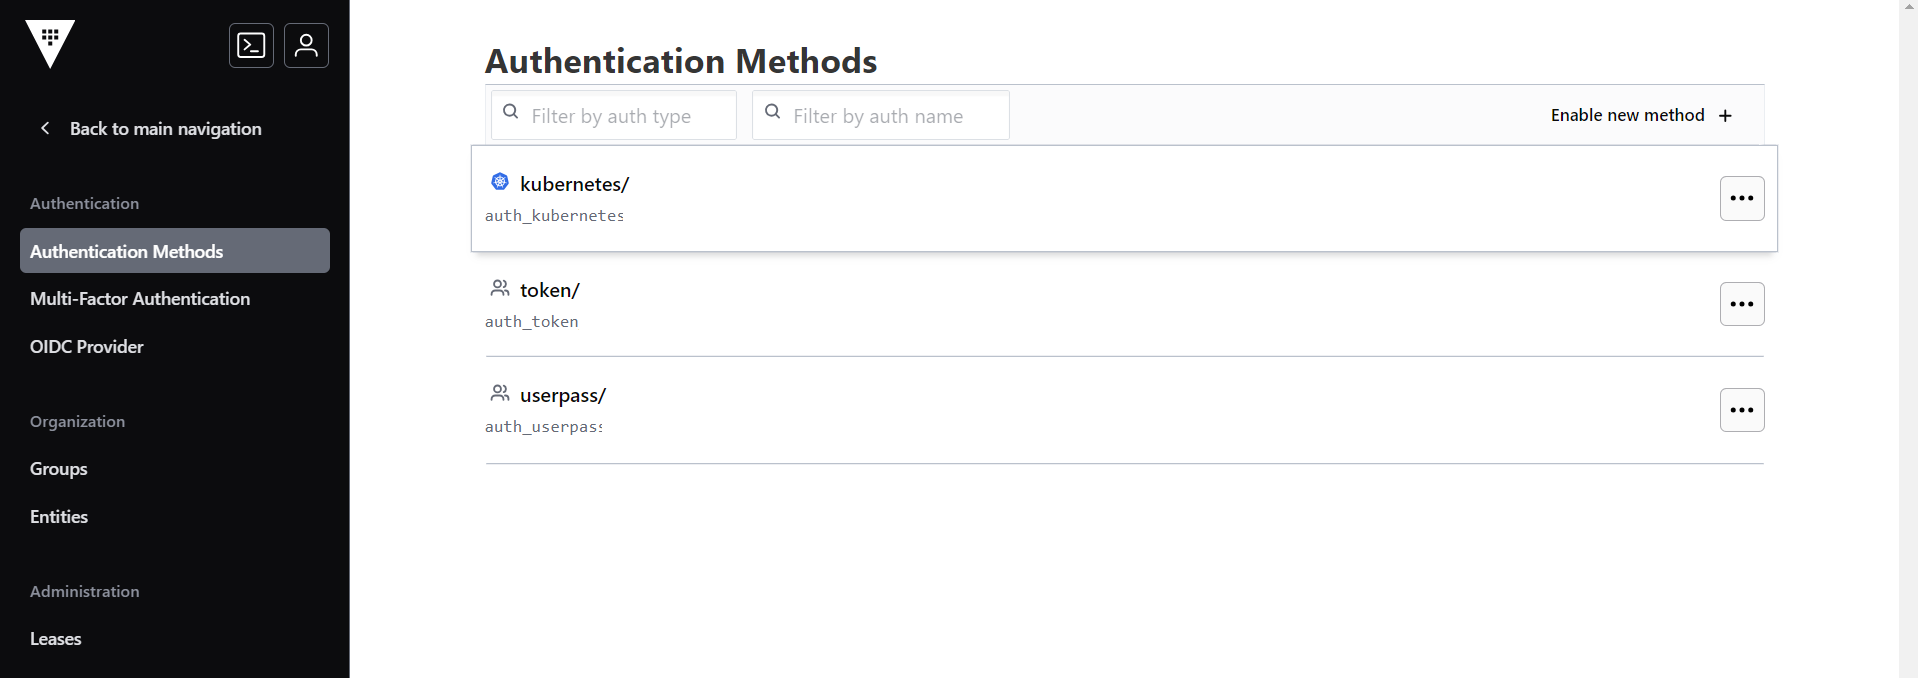
- In the Authentication Method section, click the Enable new method as shown
below.
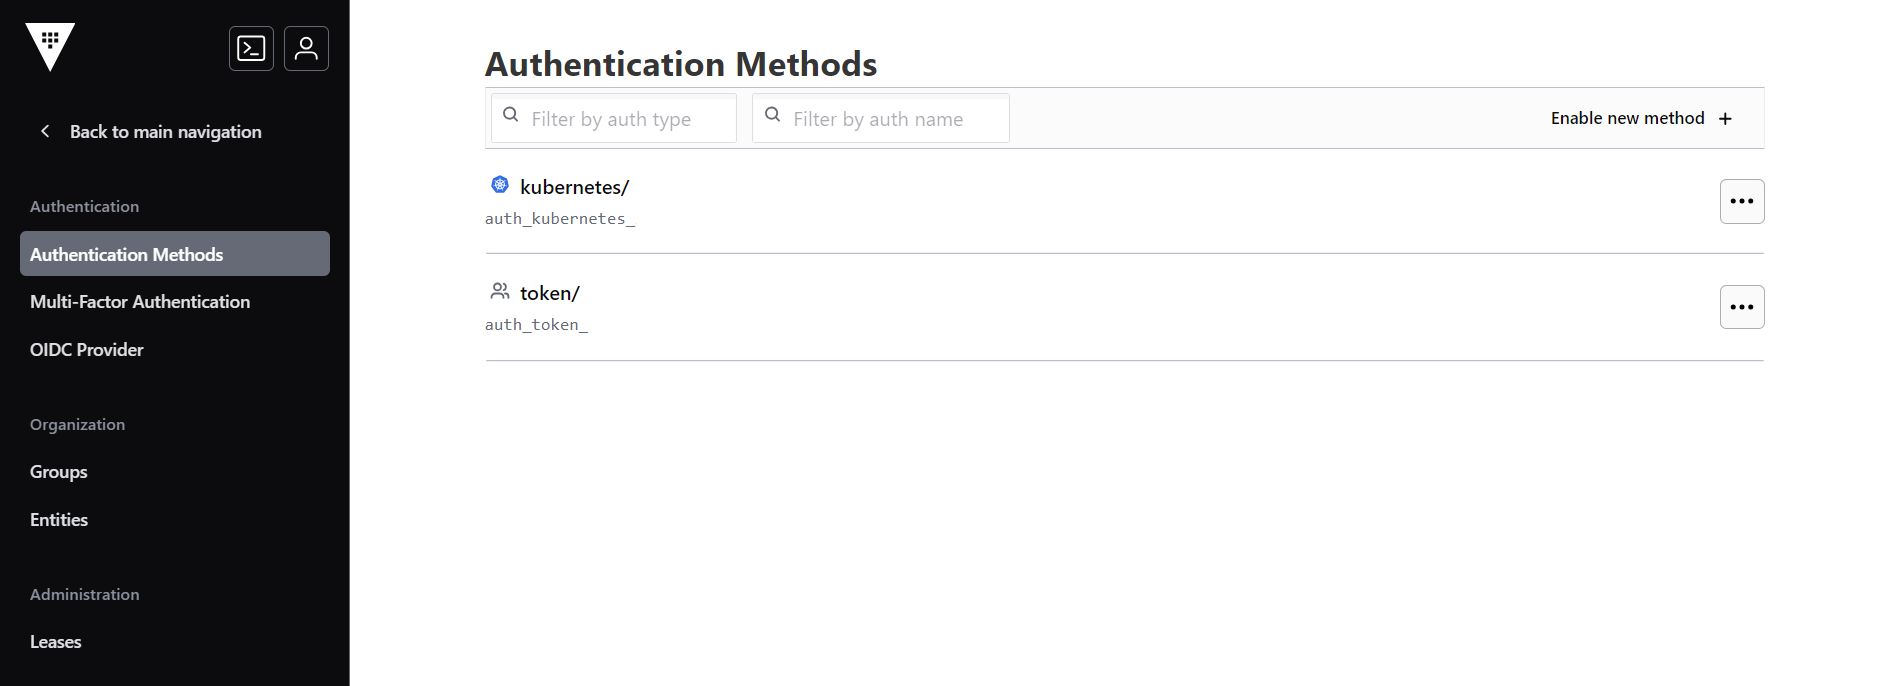
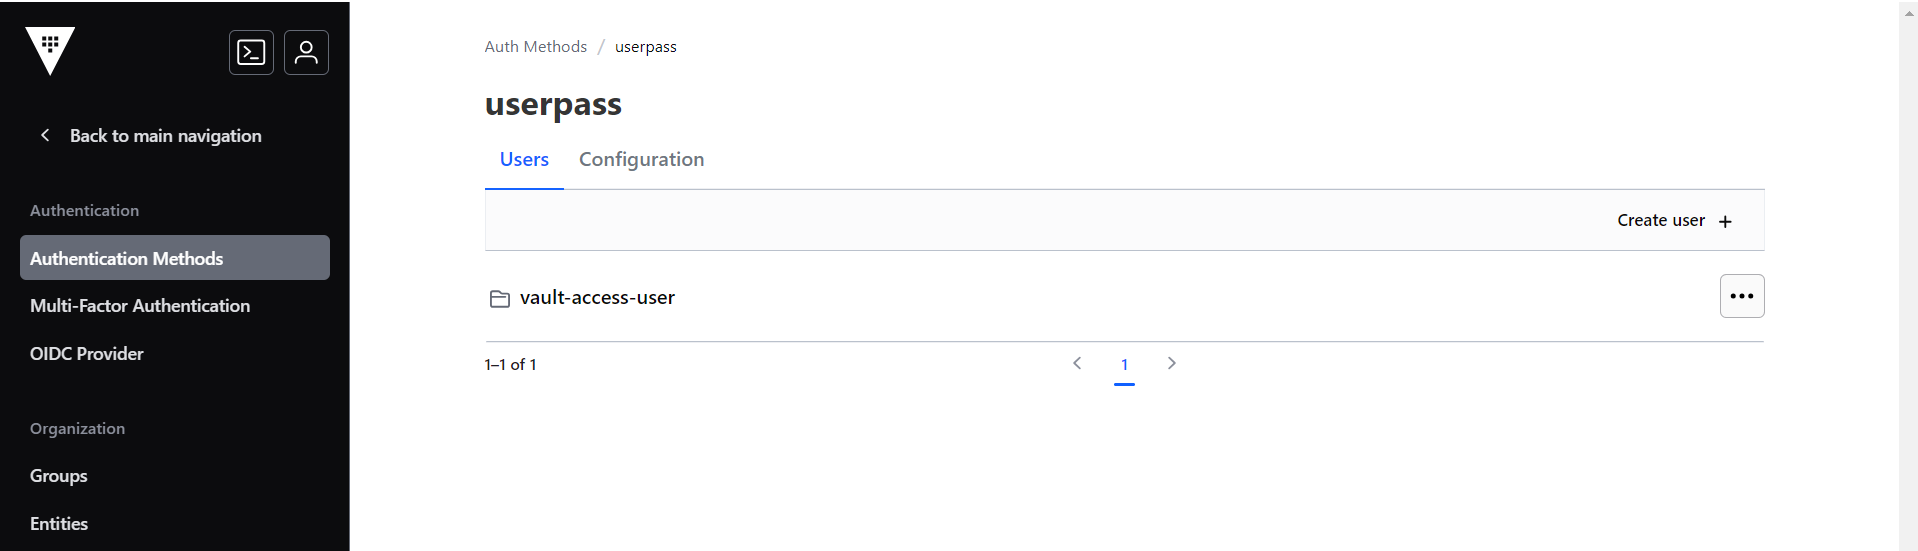
- Click the Username & Password icon, and click Create user.
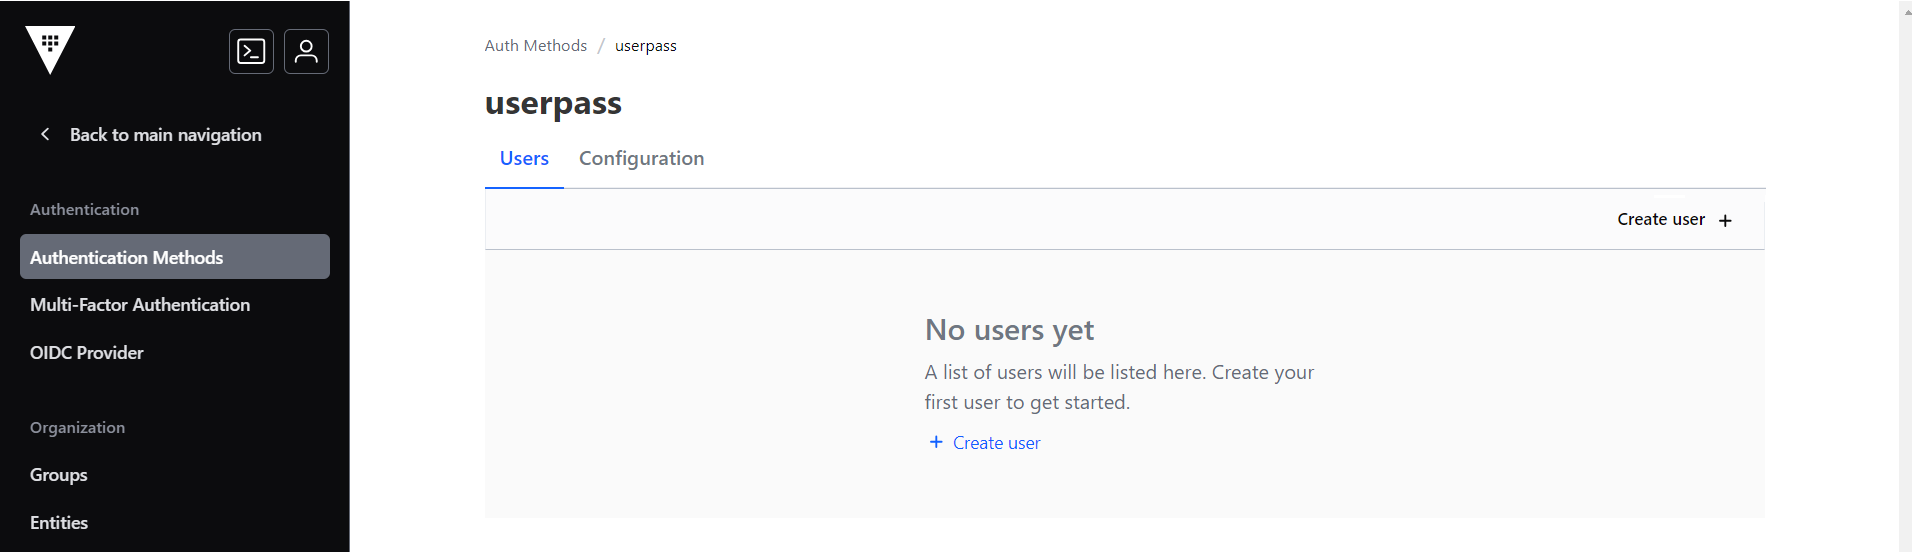
- In the Create user section, enter the username and password. Note: Make sure to use base 64 bit encoded password.
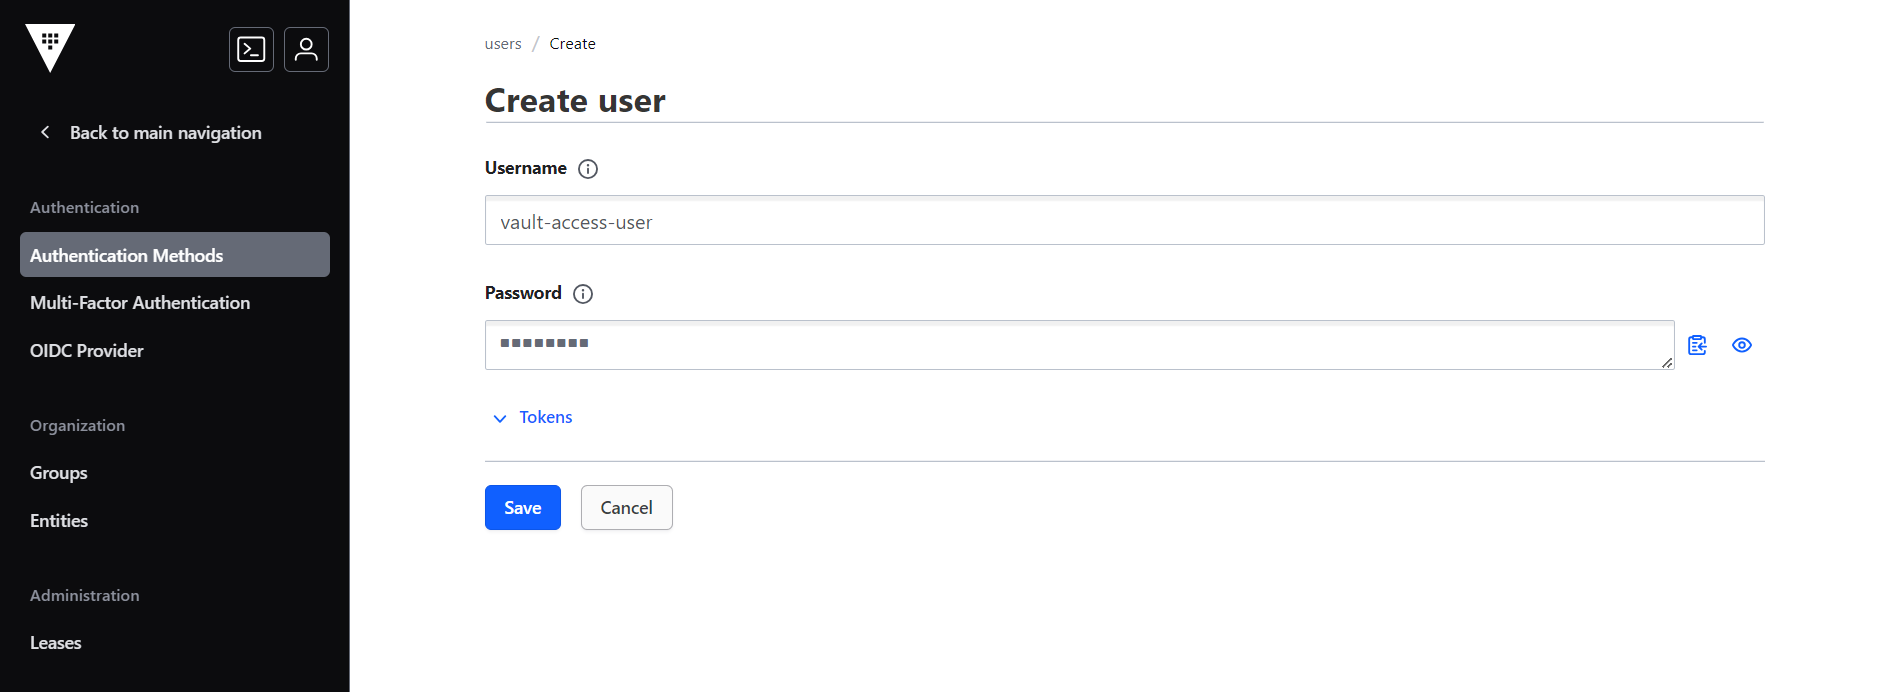
- The new user will be created listed in the userpass section. The new user can
access the vault to retrieve the secrets.
Create Secrets Engine to store secrets in Vault
To create secretes engine, follow the steps below:
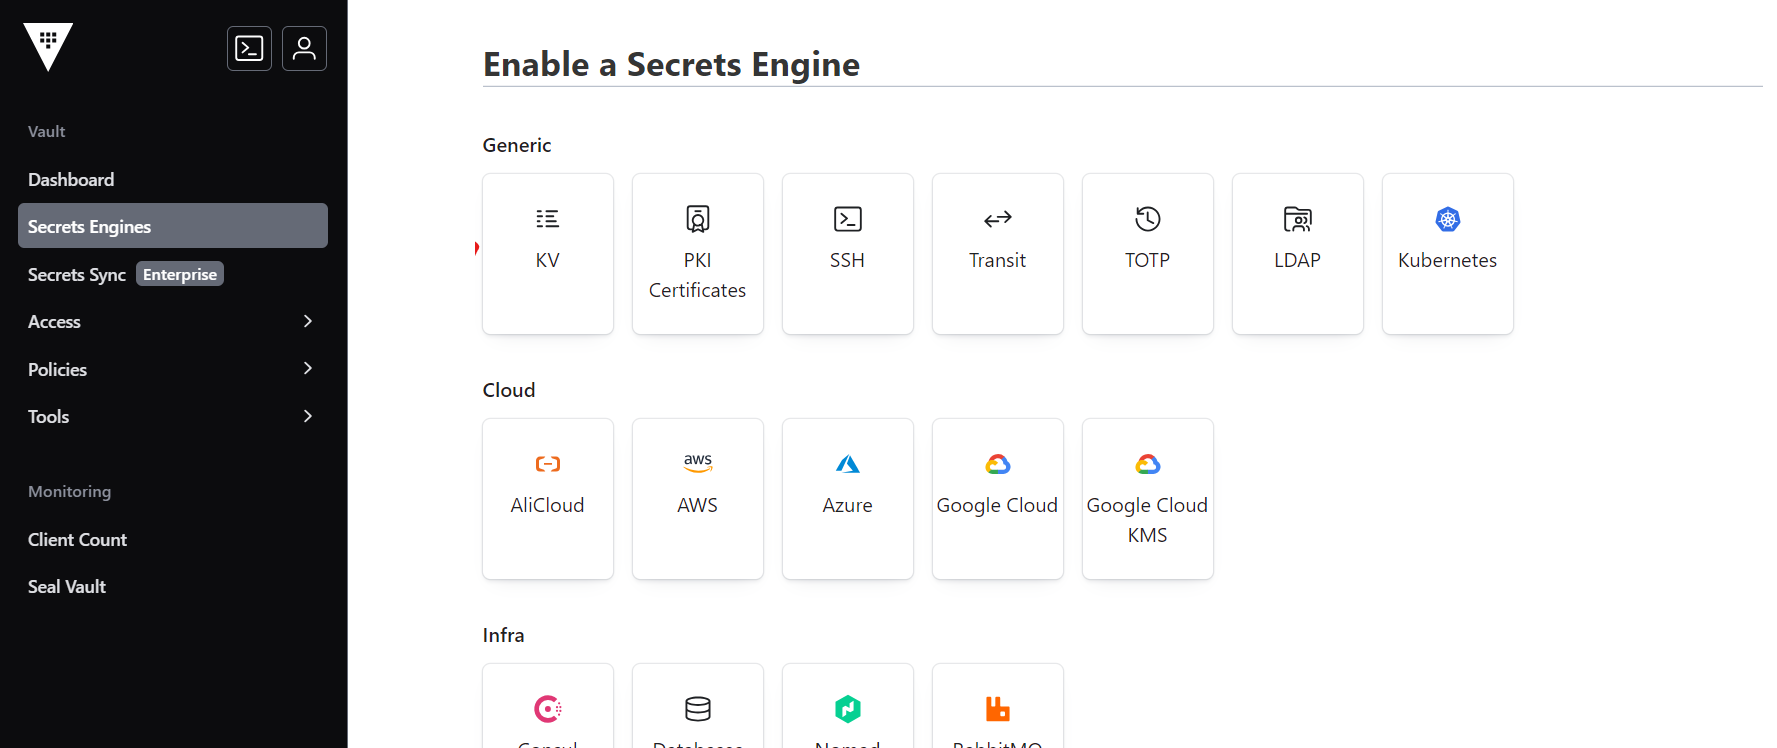
- In the Vault UI, navigate to Secrets Engines > Enable new engine, and click KV
icon.
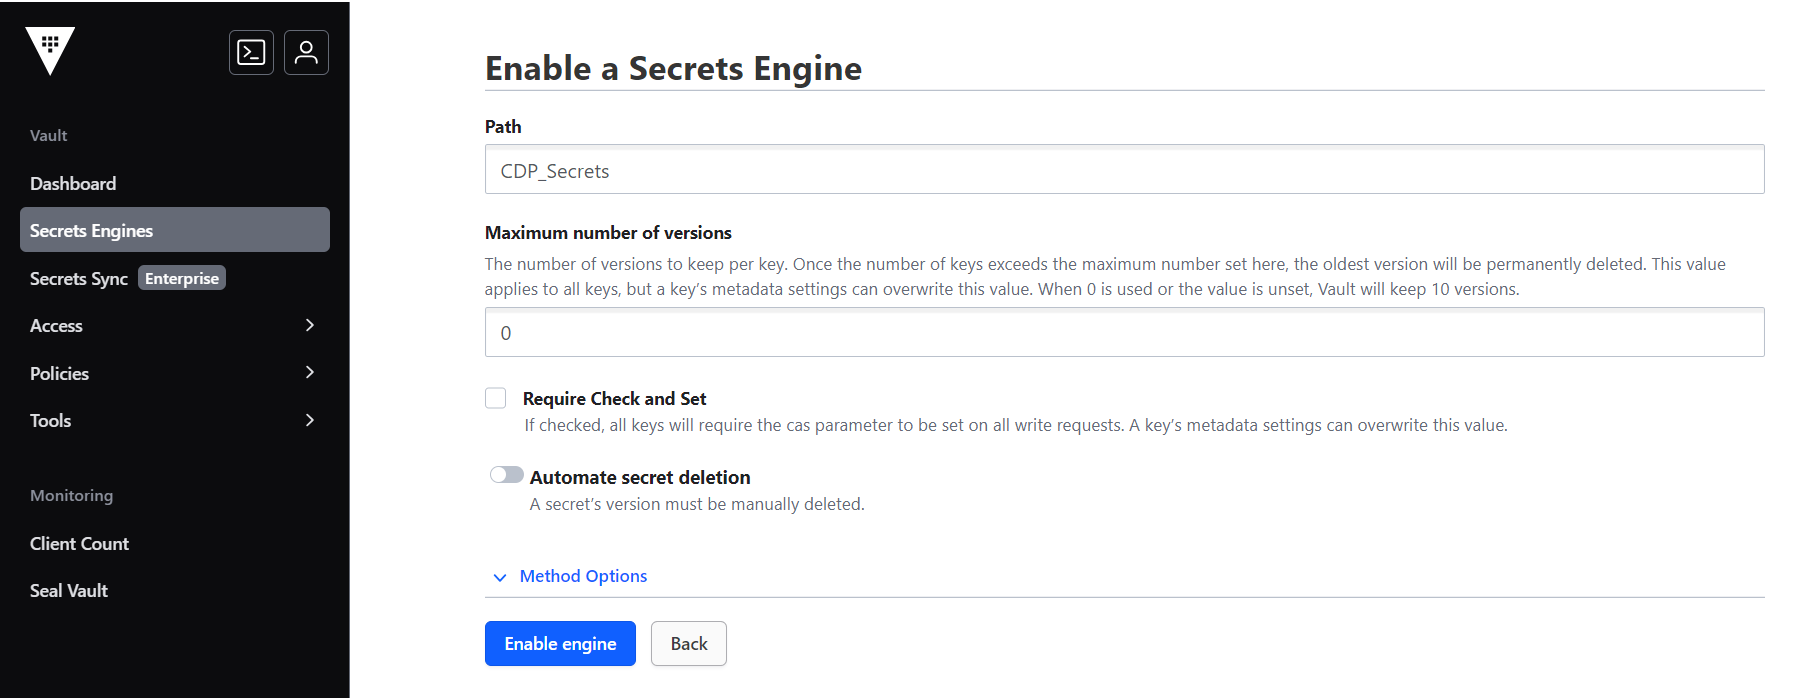
- Enter the name of the KV secret folder, inside which you can create the secrets,
and click Enable engine to create the KV folder.
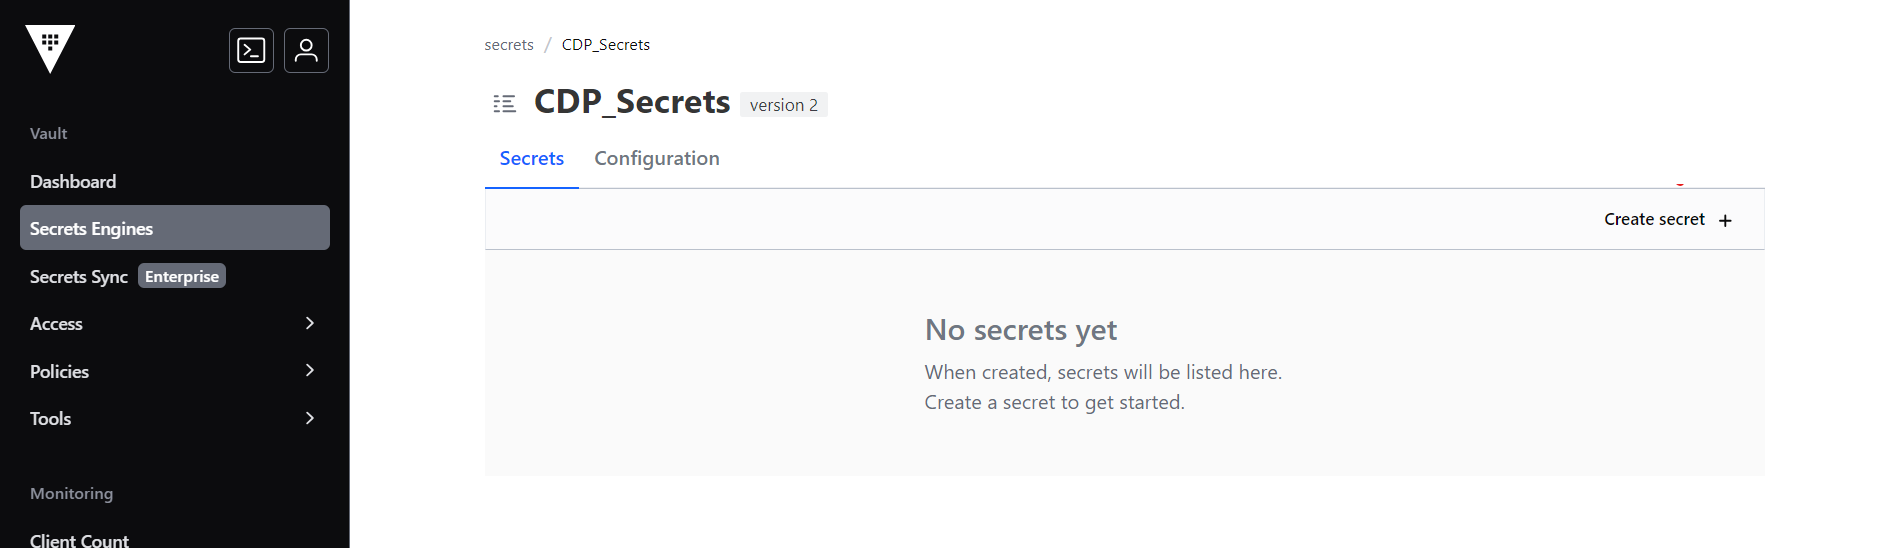
- In the KV Folder section, click Create secret option to create new secrets.
Create User Policy
After creating secret folder, you can create policy to access the secrets from Vault.
- In the Vault UI, click Policies.
- In the ACL Policies section, click Create ACL policy.
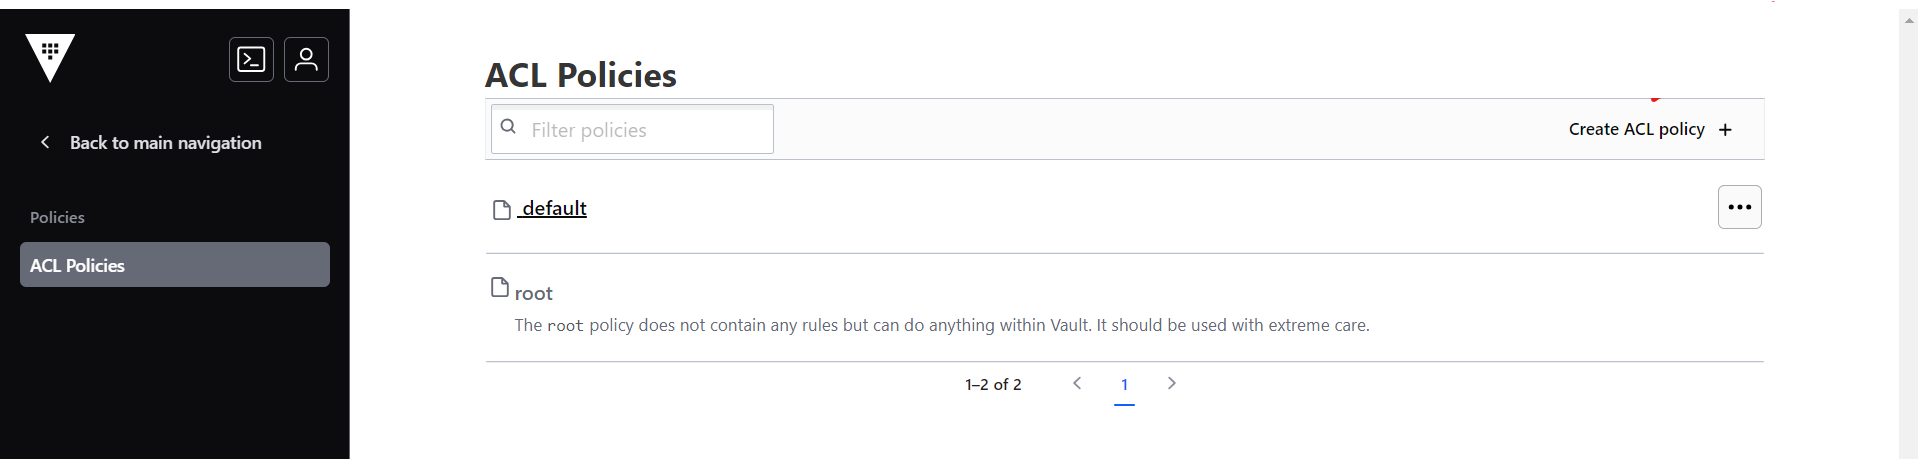
- As a result, the Create ACL Policy section will be displayed. In the Create ACL
Policy section, enter policy name and policy as shown below.
path "CDP_Secrets/data/*"{
capabilities = ["read"]
}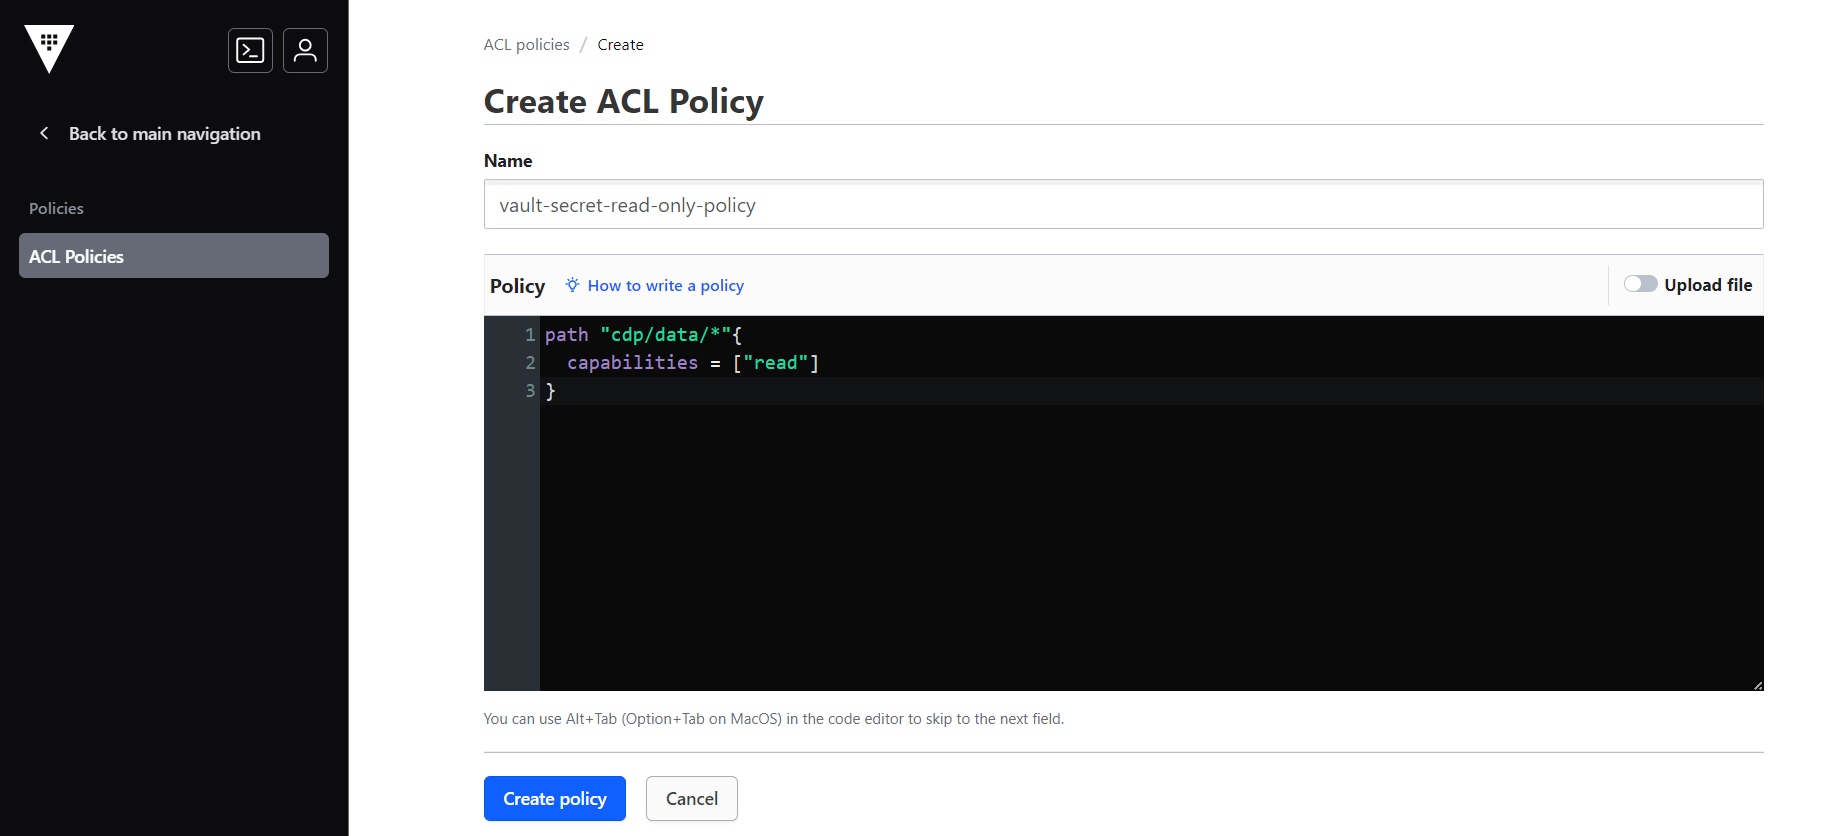
- Click Create policy to create the policy.
- Now, you can add the policy to a vault user account. Run the below command with
the user credentials to add the policy in vault-0.
Example:vault write auth/userpass/users/<your-vault-access-user> password=<your-vault-user-password> policies=<your-vault-access-policy>vault write auth/userpass/users/vault-access-user password=mypassword policies=vault-secret-read-only-policy