Meta Pixel Integration
This page provides an overview of Meta Pixel, its use cases, and the step-by-step process for integrating Meta Pixel as a destination in HCL CDP.
Meta Pixel is a JavaScript snippet that tracks visitor activity and gathers critical metrics for building effective marketing and advertising campaigns. It collects data such as:
- HTTP headers
- Pixel ID
- Meta cookies
- User interactions (e.g., button clicks)
- Conversion values
- Website field names
Use Cases of Meta Pixel
Lookalike Audiences
- Reach new audiences with characteristics similar to your existing customers.
- Based on demographics, interests, and behaviors from your Custom Audience.
Conversion Tracking and Optimization
- Track visitor actions (conversions) for ad performance analysis.
- Use conversions to define custom audiences for ad targeting.
Remarketing
- Create Custom Audiences from website visitors.
- Automatically showcase dynamic ads based on user interactions with your products.
Custom Conversion Rules
- Create rules for tracking specific actions, such as purchases of items within a price range.
- Optimize ad delivery to reach audiences most likely to act.

Connection Modes
| Connection | Web | Mobile |
|---|---|---|
| ���Device Mode | ��� | ���� |
| Cloud Mode | ���� | ���� |
Event Tracking Methods
Meta Pixel supports three key tracking methods:
-
Track Events: Logs standard or custom events using the
fbq('track')function. For example:fbq('track', 'Purchase', {currency: "USD", value: 30.00});
- Identify Events: Logs custom events with customer properties using
fbq('trackCustom'). For example:fbq('trackCustom', 'identify', {name: "John Doe", city: "Mumbai"}); - Page Events: Logs page views using
fbq('track')withPageView. For example:fbq('track', 'PageView', {name: "home", title: "Home Page", path: "/home"});
Standard and Custom Events in Meta Pixel
- Standard Events: Predefined by Meta, used for conversion tracking,
optimization, and audience building. For
example:
fbq('track', 'AddToCart', {content_ids: ['123'], value: 50, currency: "USD"});
To see all the standard event lists and their description you can click here.
- Custom Events: Actions not covered by standard events. Custom names
represent specific actions. For example:
fbq('trackCustom', 'ShareDiscount', {promotion: 'share_discount_10%'});
Custom Data Parameters
Custom parameters allow additional data collection for ad optimization.
Example:
<script>
fbq('track', 'ViewContent', {
  content_name: 'Running Shoes',
  content_category: 'Apparel > Shoes',
  content_ids: ['1234'],
  value: 0.50,
  currency: 'USD'
});
</script>
Tip: For more on Custom data parameters click
here.
Setting up Meta Pixel destination in HCL CDP
To add Meta Pixel as a destination in the HCL CDP, follow the steps below:
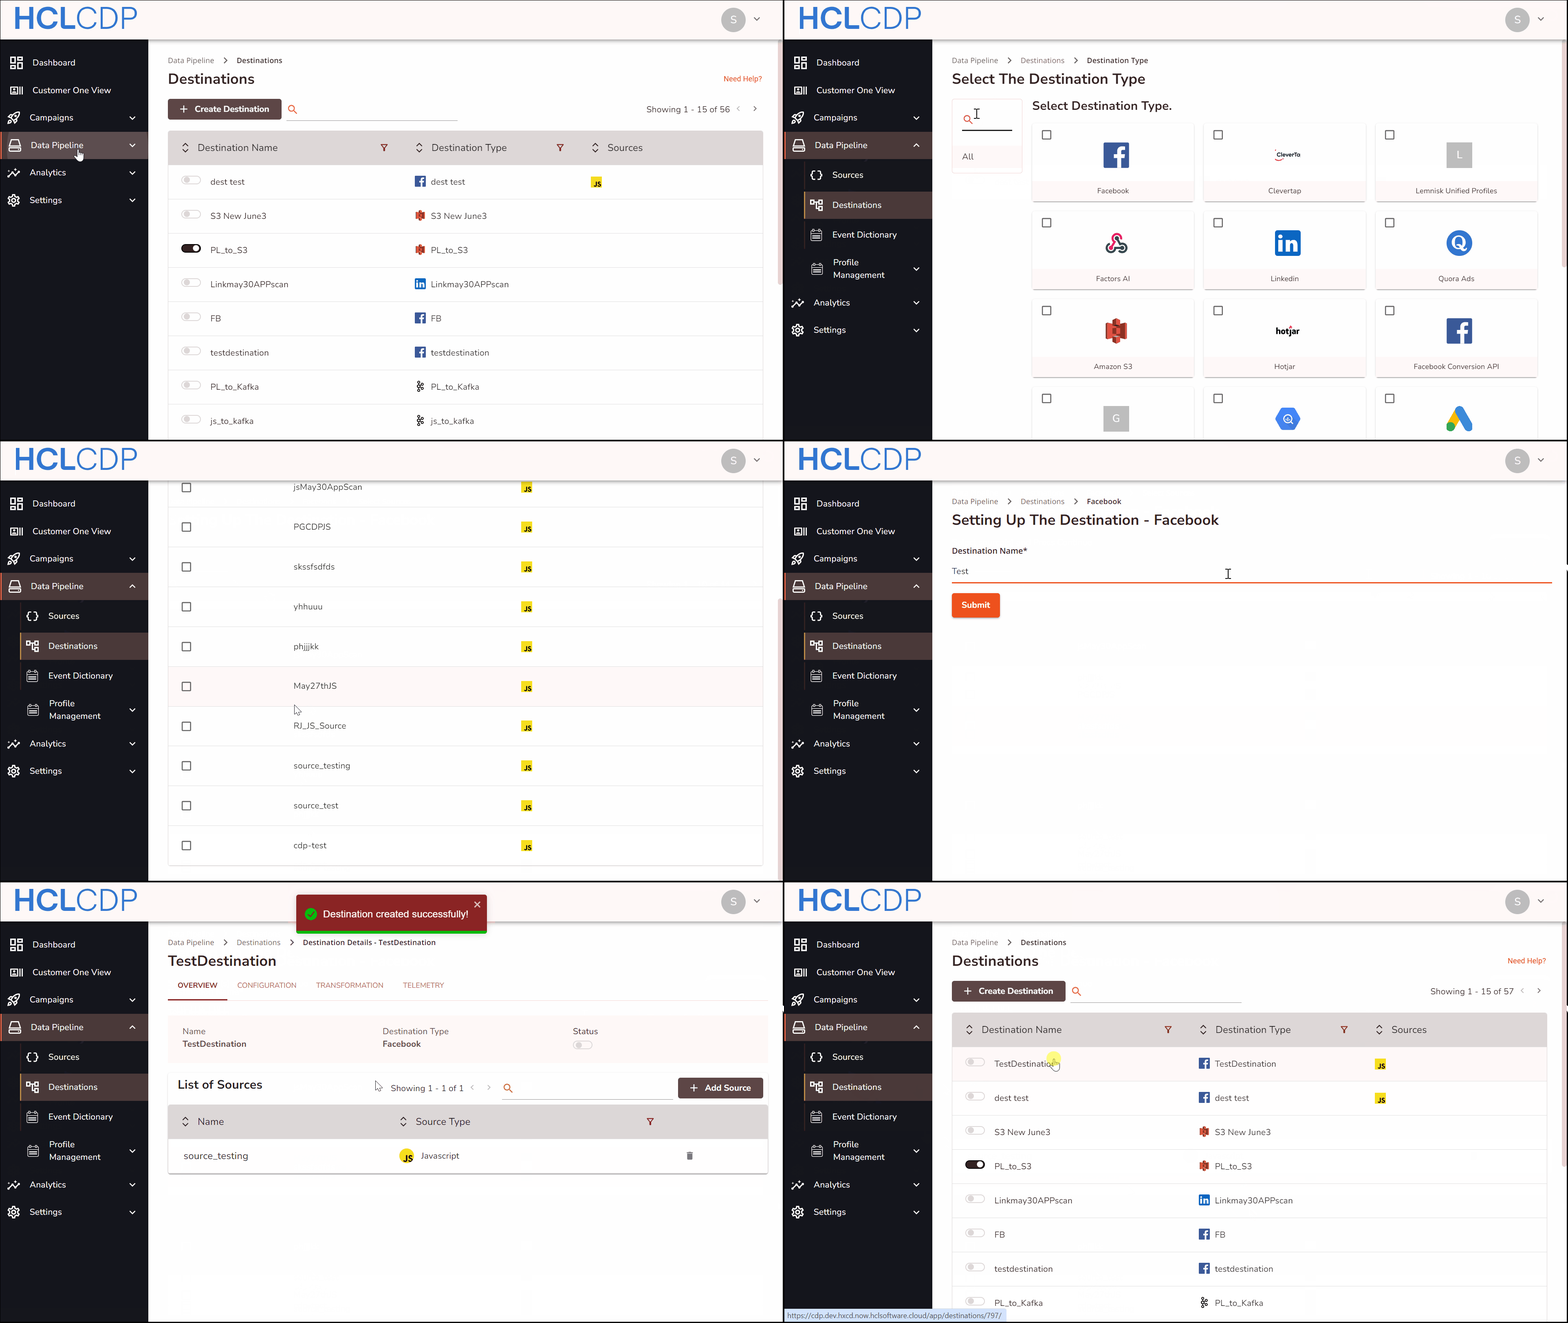
- Navigate to Data Pipeline > Destinations, and click +Create Destination.
- Select Meta Pixel from the catalog, and click Continue.
- Choose a source and click Continue.
- In the Destination Name field, enter a unique name for your destination, and click Submit.
- In the OVERVIEW tab, toggle the Status button to activate, and confirm activation.
- In the Configuration tab, paste the Pixel ID from Meta Pixel���s creation page.
- In the Map Events section, define mappings for your events to Meta Standard Events, and add fields as needed.
- Enable/disable options like Limited Data Use, Advanced Matching, and Send UserId as External ID using toggle buttons.
- Click Update to save settings.

Verify Events in Meta Pixel
To verify events at Meta Pixel, follow the steps below.
- Go to Meta Events Manager.
- Select your Pixel from the left navigation panel.
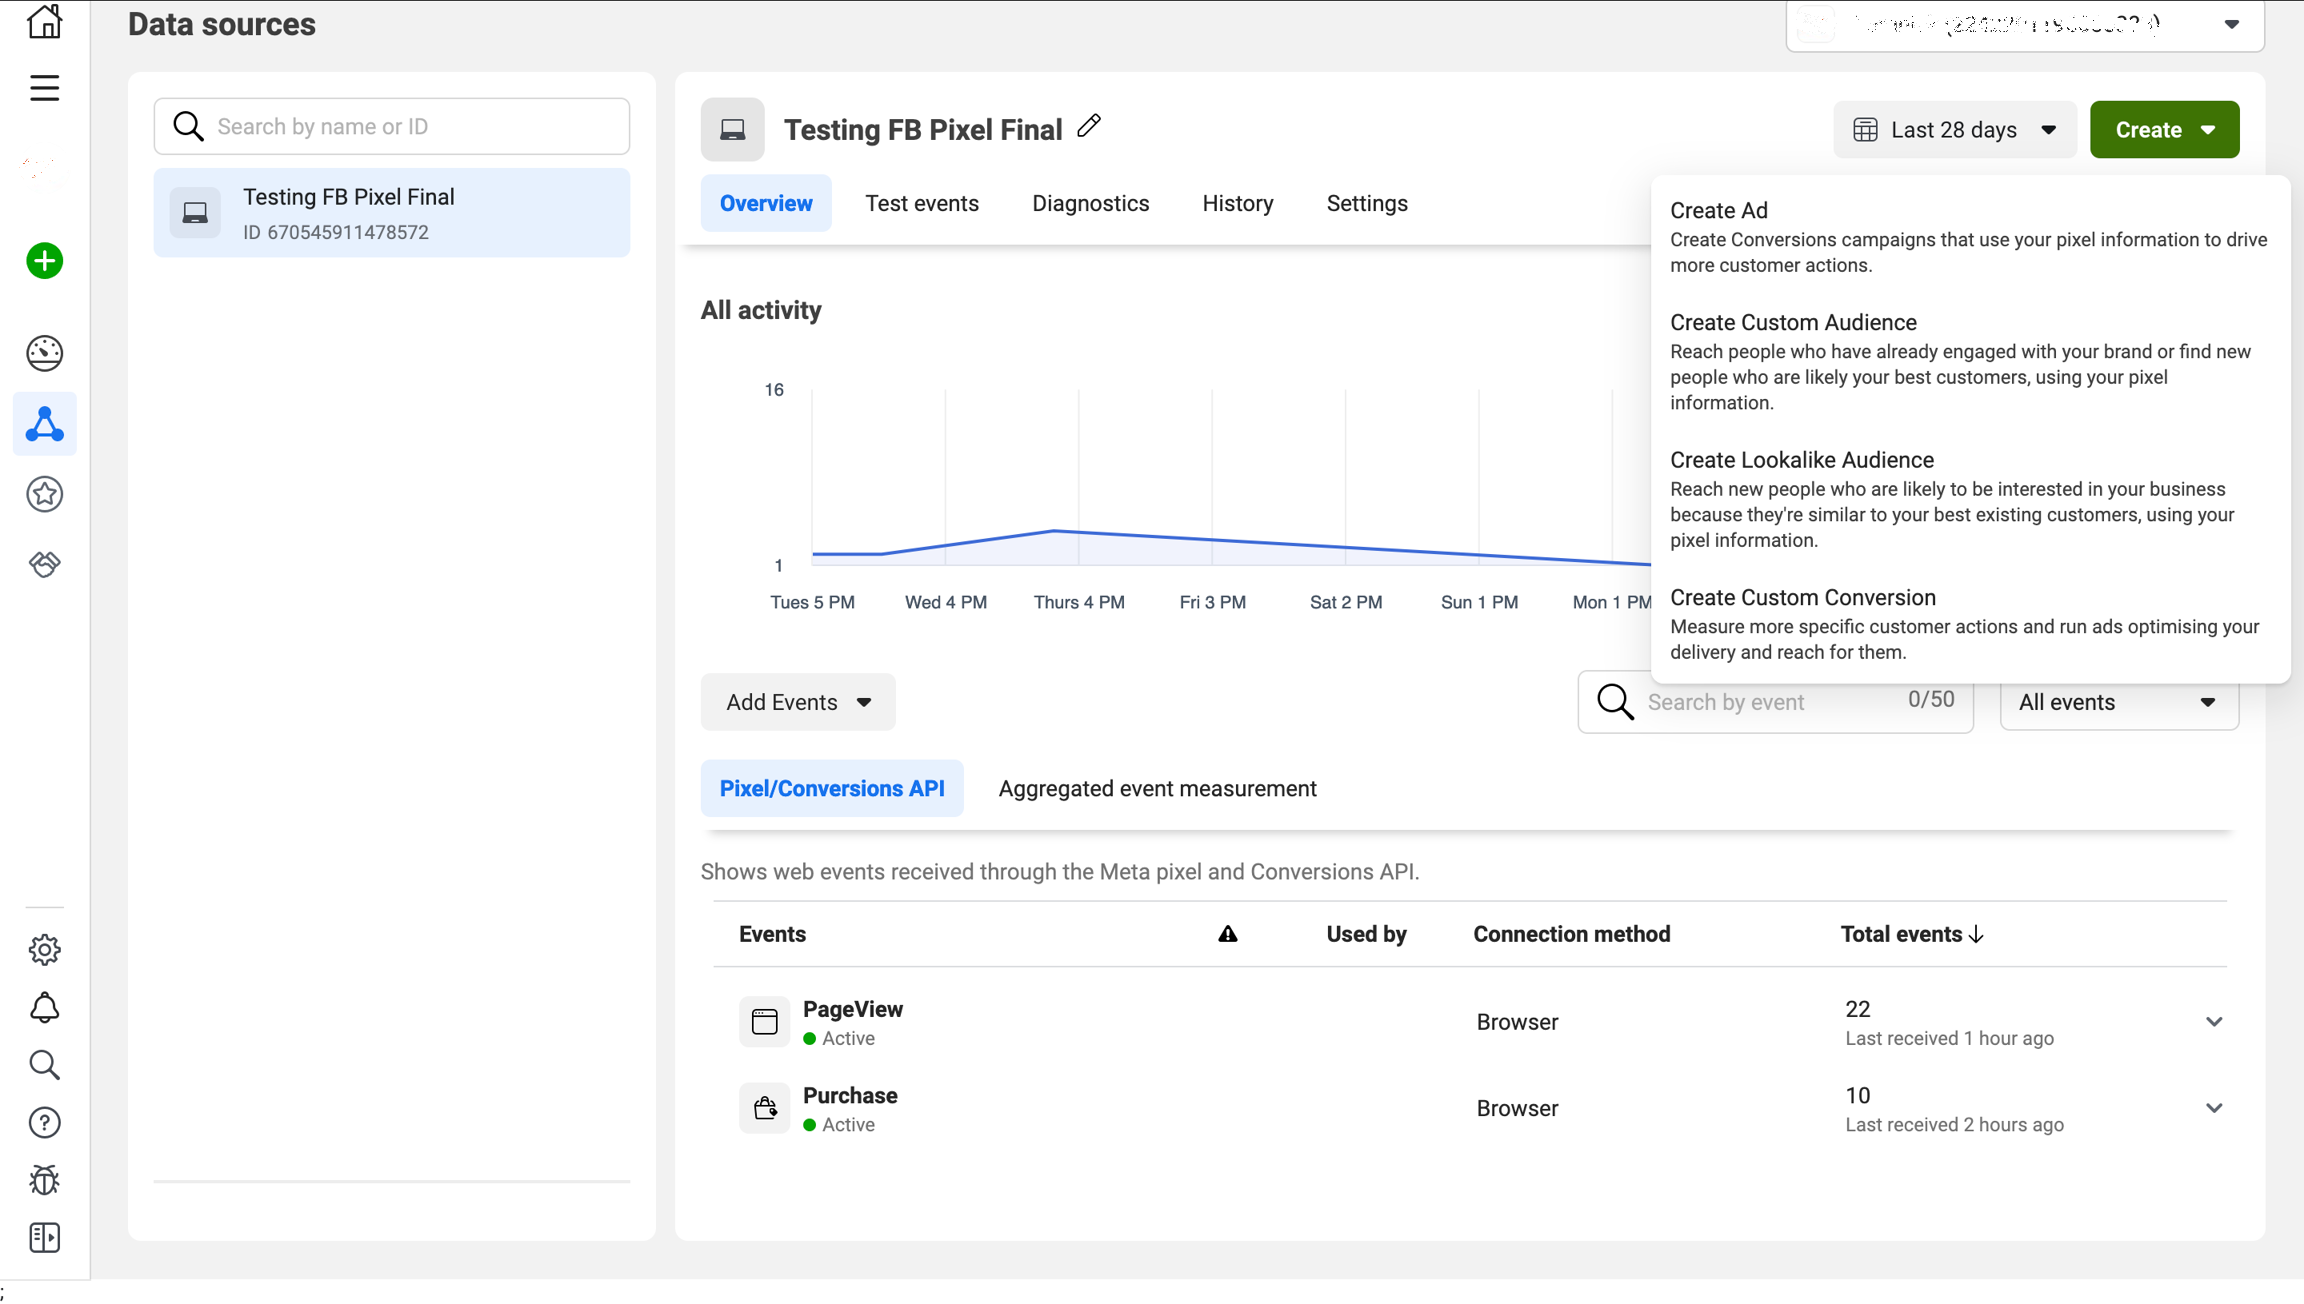
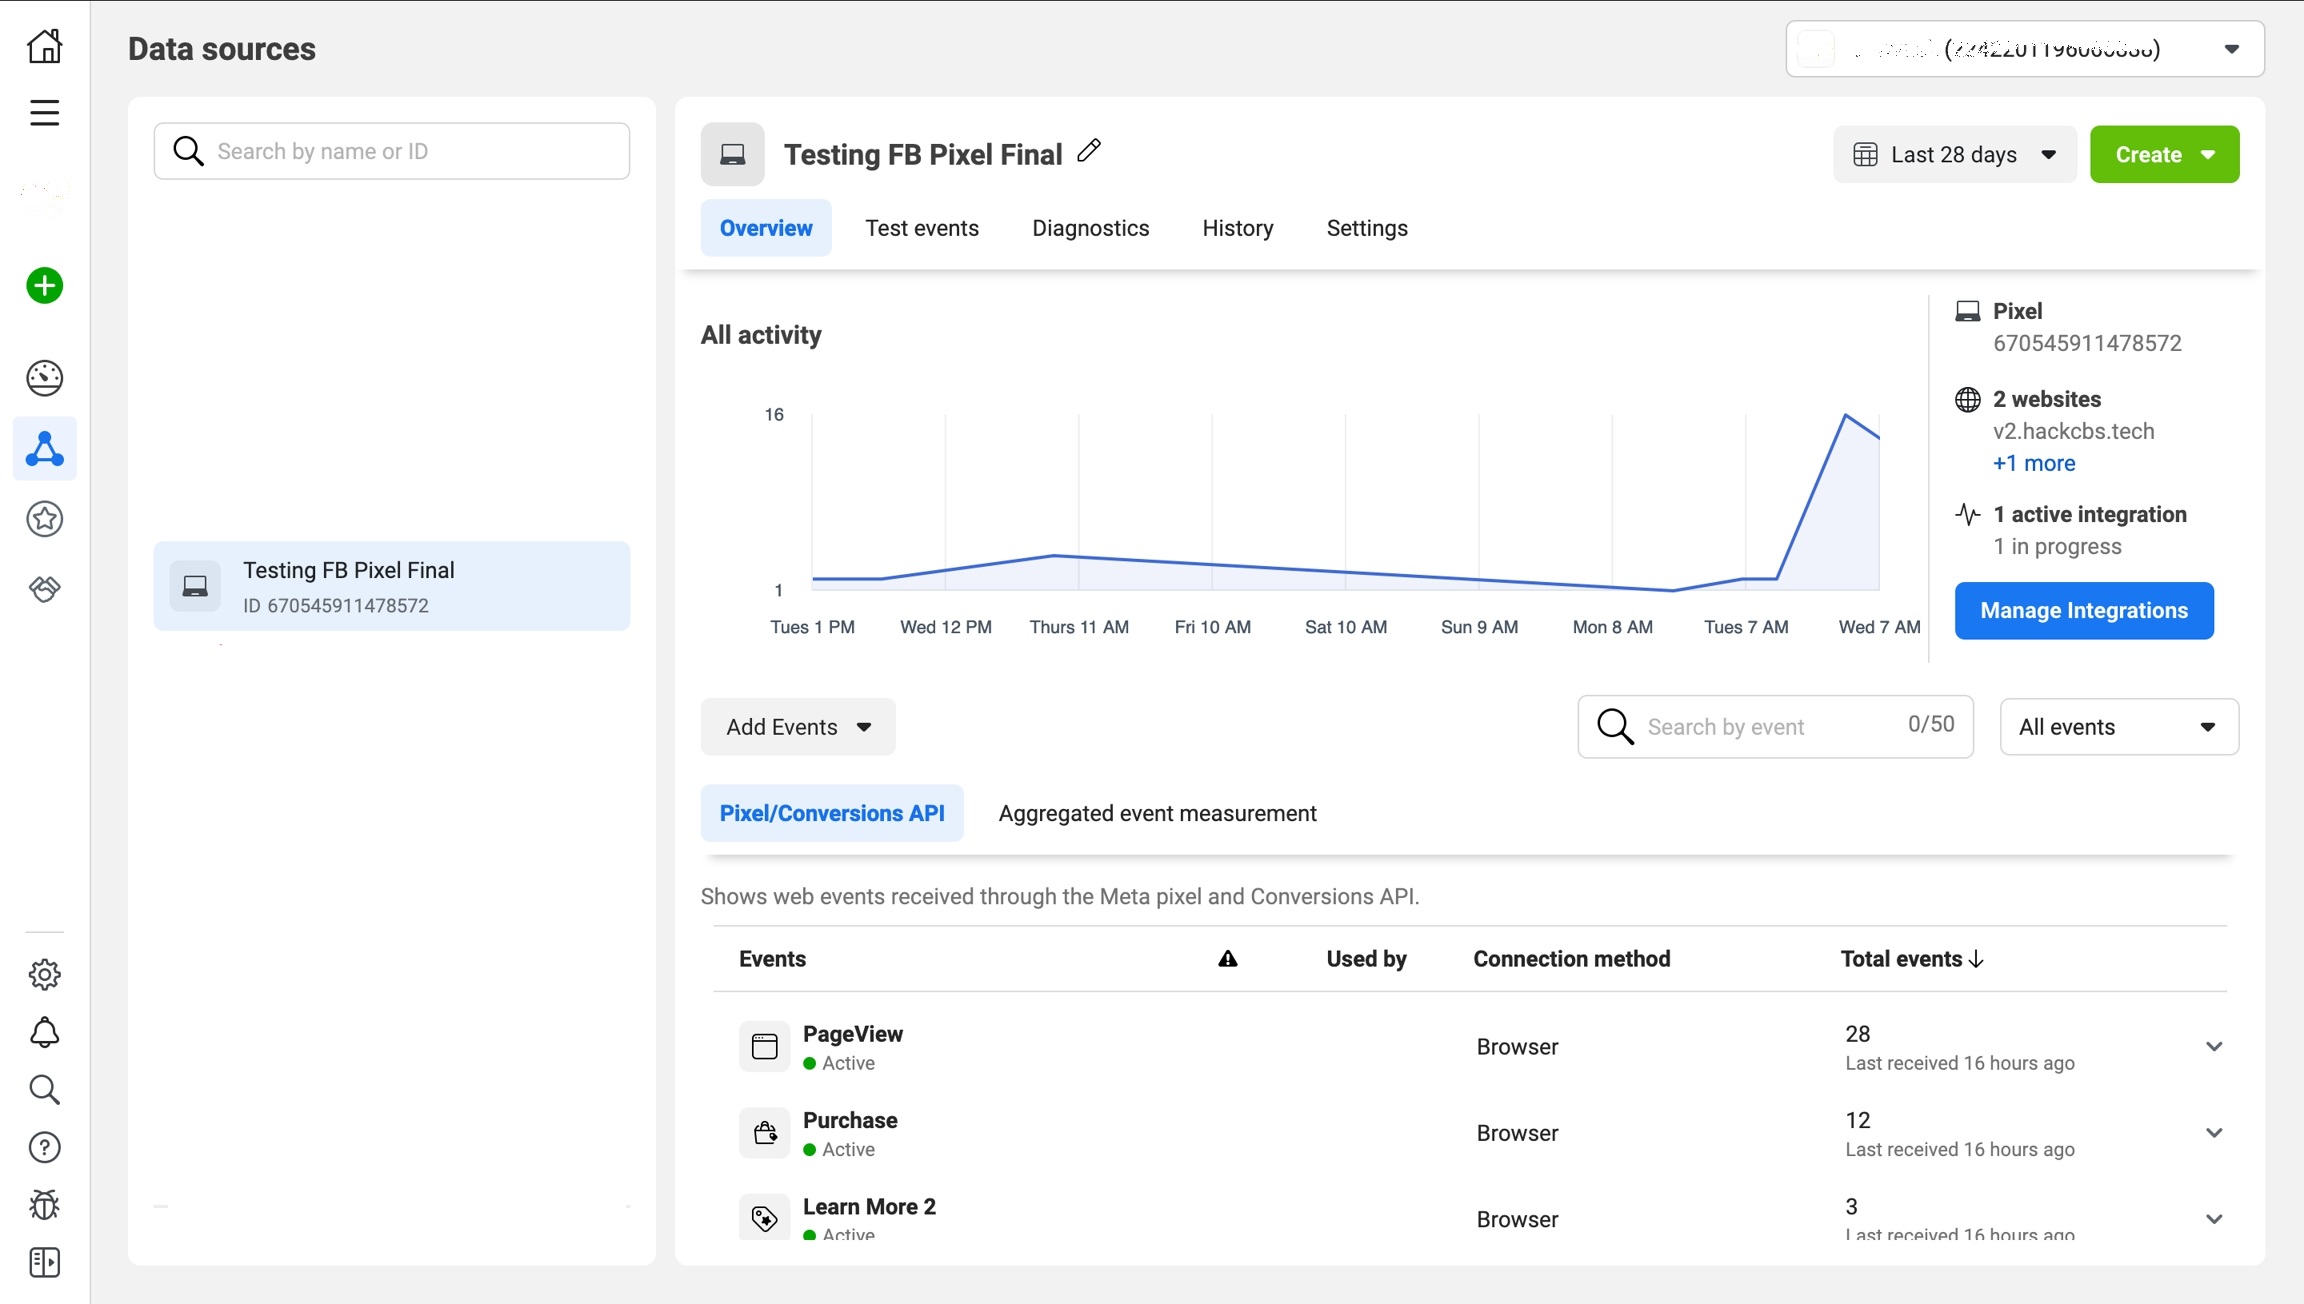
- Check the event dashboard to verify the events sent by HCL CDP. For
reference, check the below image.
