Dev containers
You can use this information to understand why and when to choose between available dev containers. You should choose the Starter container when you need basic tasks, or a preconfigured container when your project requires a customized environment (like Node.js or Java) assigned by an administrator.
Starter dev container
The Starter dev container provides a basic environment designed for essential tasks like text editing and cloning Git repositories. It includes the DevOps Code extension, which offers commands for seamless integration with tools like DevOps Plan.
This container is available to all users, regardless of teamspace membership. After logging into Code, you will find Starter under the Other Dev Containers tab. Once launched, it moves to the Running Dev Containers tab.
The following video demonstrates two scenarios: one for users without a teamspace, and one for users within a teamspace.
To launch the Starter container, go to the Code landing page and click the Let’s Go button on the Starter container tile. Alternatively, to copy a direct link to the container, click the copy link button on the tile. You can then paste the link into a web browser address bar to open the container.
Preconfigured dev container
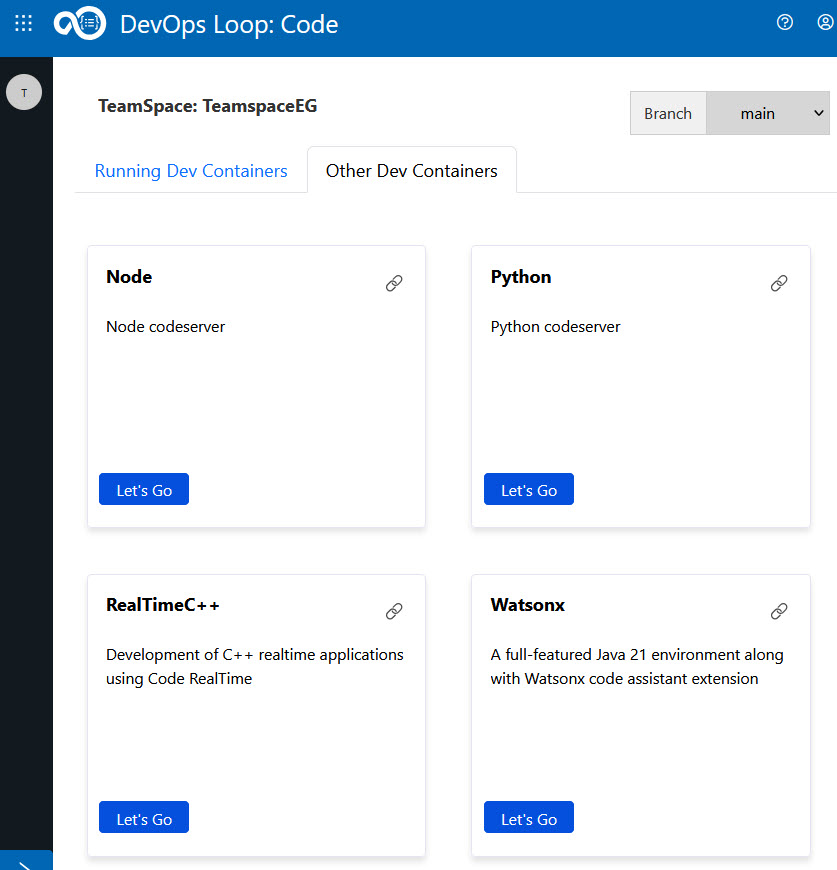
A preconfigured dev container provides a customized development environment tailored to specific project requirements, such as C++, Java, Node, Python, RealTimeC++, Watsonx, etc. A preconfigured dev container is added via a teamspace created and managed by an administrator.
For example only: The image below shows how dev containers appear after switching to an admin-assigned teamspace, such as TeamspaceEG. In this case, you can see preconfigured dev containers alongside the Starter container.
This setup is just an example. The actual teamspace name and available containers might vary.
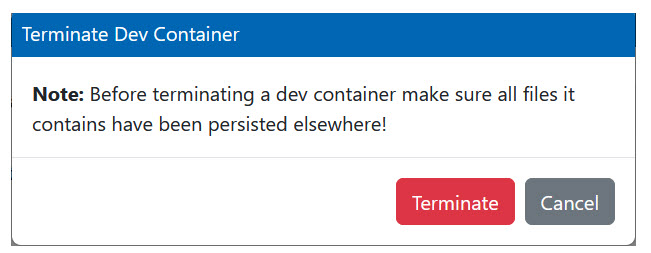
Terminating a dev container
When a dev container starts running, you can see a Terminate button on the dev container tile. This action opens the Terminate Dev Container dialog.