IIS
IIS is a server used for website hosting and is part of the Windows feature set. The installation procedure involves opening Control Panel, searching for 'Windows feature', and selecting Web Server (IIS) along with other required features. To validate successful installation, the 'inetmgr' command can be used.
Table 14 – IIS Requirements
| Version | 10.0 or above |
| Purpose | It is used as a server for website hosting |
| Source | Part of Windows feature sets |
Installation Procedure
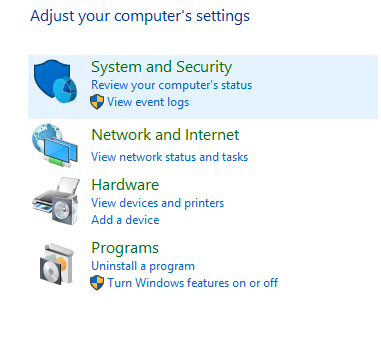
- Open Control Panel.
- Search for ‘Windows feature’. It will feature under Programs.
- Click Turn Windows Features On or Off.
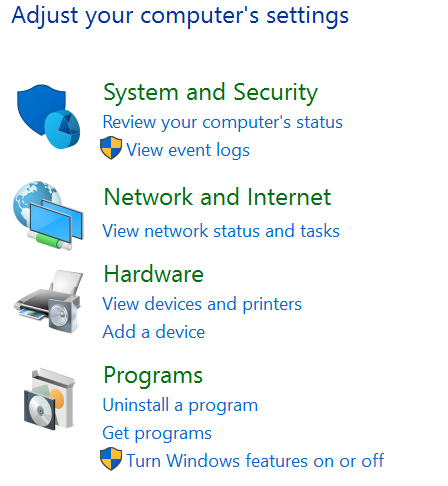
Figure 18 - IIS Installation Procedure
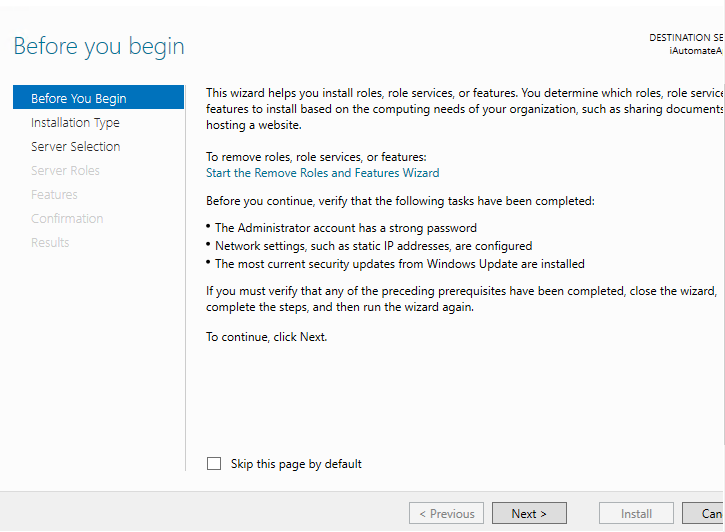
- Click Next.
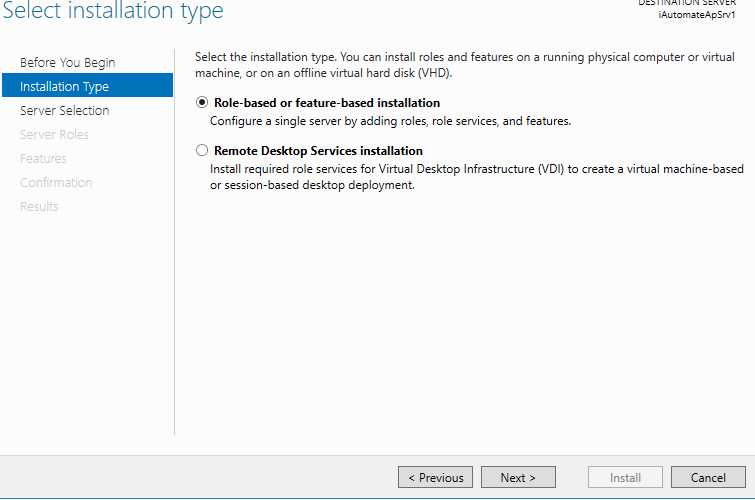
- Click Next
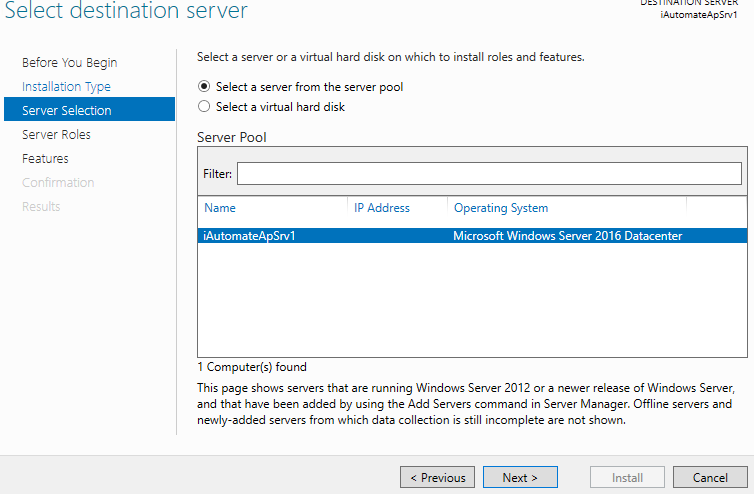
- Click Next.
- Select Web Server (IIS) and click Next.
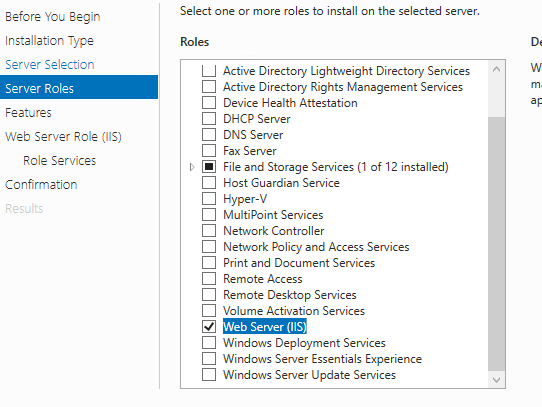
- Select .NET framework 3.5 Features.
- Click Next for installing IIS.
- Open Control Panel and search for ‘Windows feature’. It will feature under Programs.
- Click Turn Windows Features on or off.
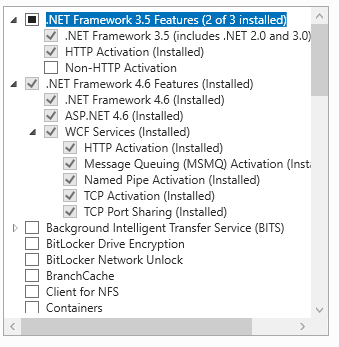
- Click Next and expand the Web Server (IIS).
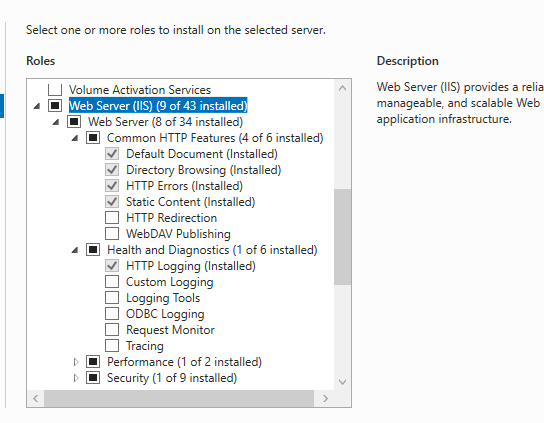
- Expand Application Development and select features as shows in the image below.
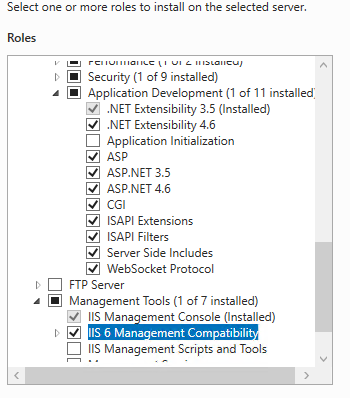
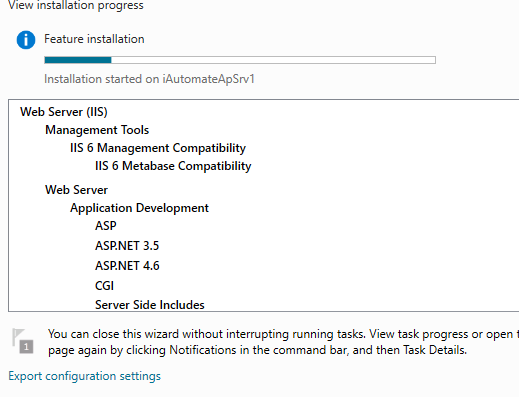
- Click Next to proceed with installation.
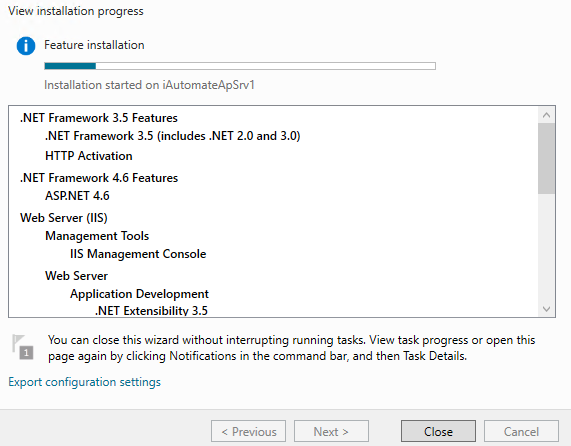
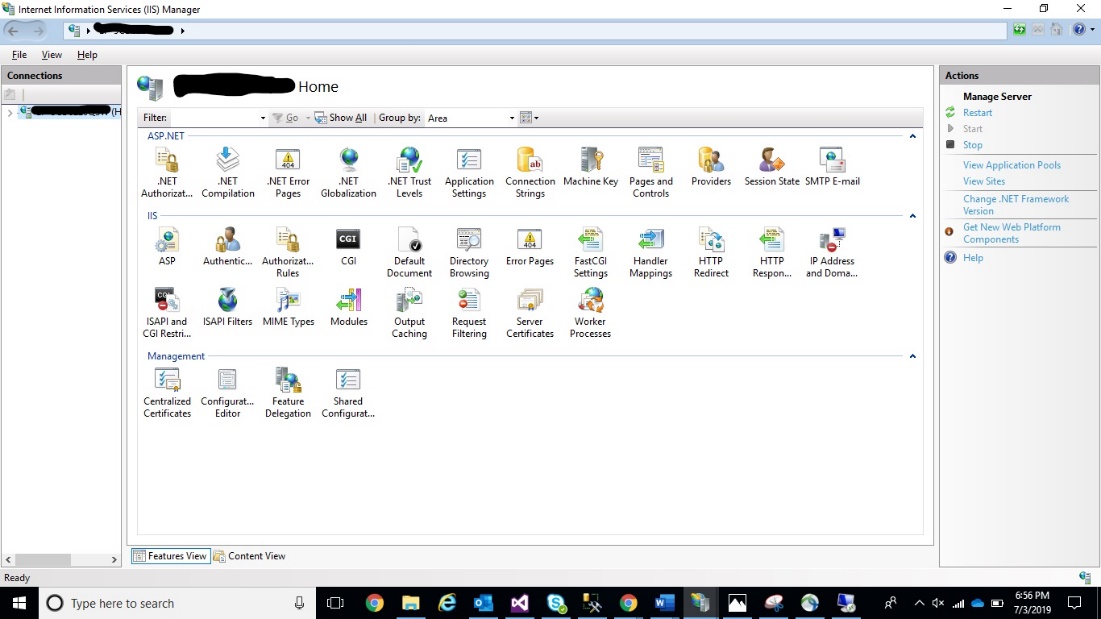
- To validate successful installation of IIS, type Run in Windows Search Bar and Press Enter.
- Type ‘inetmgr’ and click Enter. Once the installation is successful, the following screen pops up to confirm the installation of IIS.
For any issue follow below link for window 2016
https://www.rootusers.com/how-to-install-iis-in-windows-server-2016/
For any issue follow below link for window 2019
https://www.rootusers.com/how-to-install-iis-in-windows-server-2019/
https://learn.microsoft.com/en-us/iis/application-frameworks/scenario-build-an-aspnet-website-on-iis/configuring-step-1-install-iis-and-asp-net-modules