BigFix App Registration on Microsoft Entra ID
You can create your BigFix App from the Microsoft Entra Gallery.
To create your BigFix App on Microsoft Entra Gallery:
- Select Microsoft Entra ID > New Enterprise Application.
- Type “Bigfix” in the search area and click the BigFix tile in the Microsoft Entra
Gallery.

- Insert an application name and click Create.
BigFix requires the following API permissions for Microsoft Graph related to user and group membership to retrieve the necessary information and enable Entra ID users to log in and access BigFix applications with the appropriate privileges as shown in the image below:

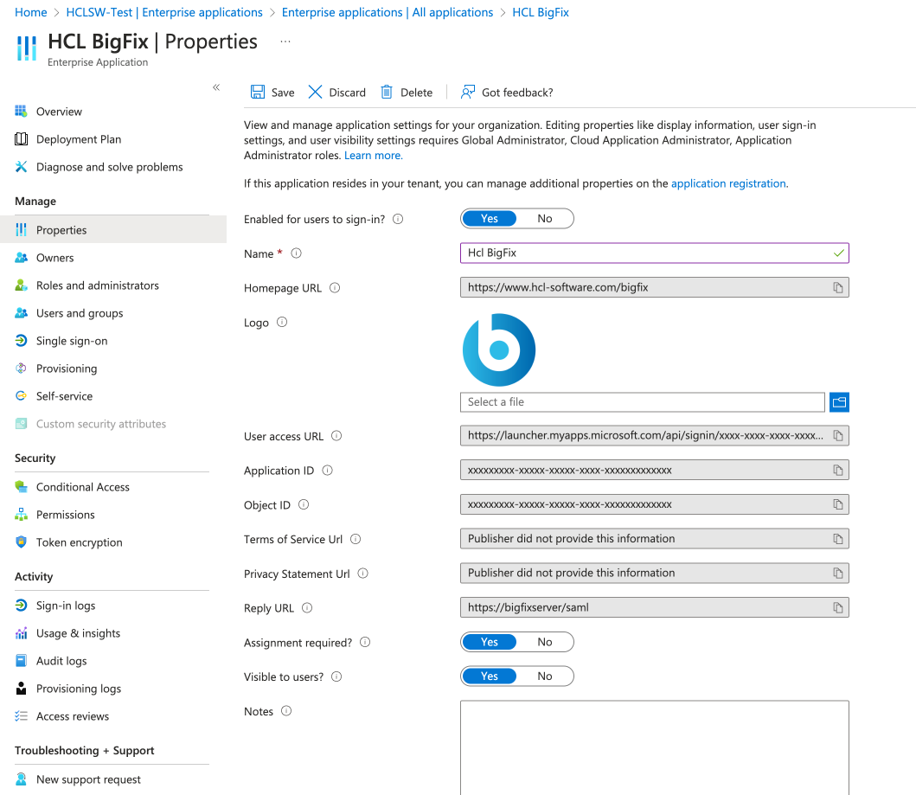
Note: To ensure only authorized users can log in to BigFix, set the Assignment
required? option to Yes. This option is located under
the Properties tab for the registered application, accessible by
navigating to Enterprise Applications and selecting the app. This
configuration restricts login access to users assigned to the application or those belonging
to a group assigned to it, provided they have the necessary permissions.
Certificate Configuration
Starting from BigFix Version 11.0.3, if you want to access the Microsoft Entra ID
application using a certificate instead of a client secret, follow the steps below:
- Create a private key and public certificate pair in PEM format. The certificate
must comply with the X.509 standard and be based on a 2048-bit RSA key pair. The private
key may or may not be password-protected. The output of this step should be two .pem files:
- The first file should contain the private key and a public certificate signed by that key.
- The second file should contain only the public certificate.
Note: It is possible to use a self-signed certificate, but it’s recommended to use a certificate issued by a trusted Certificate Authority (CA). - Select App registrations and click on the application name to access its settings.
- Click Certificates & Secrets and select the Certificates tab.
- Click Upload certificate and browse to select your public certificate file.
- Click Add to upload the certificate.
- Ensure that the certificate appears on the list of the uploaded certificates, with its
thumbprint and expiration date displayed.

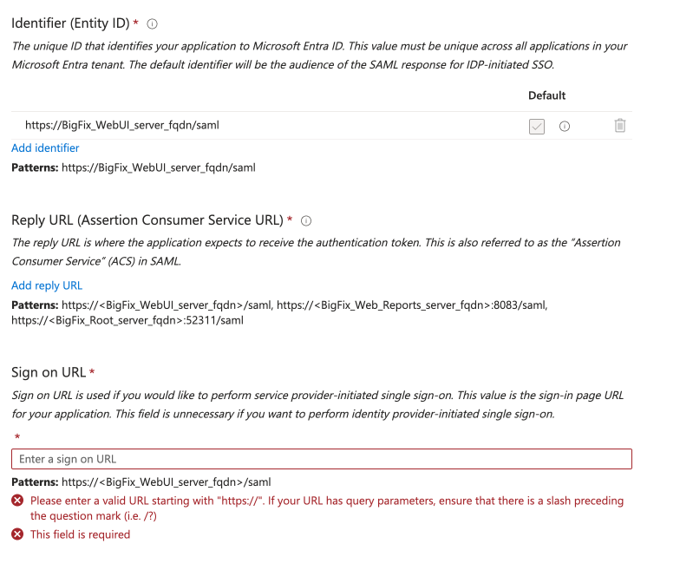
SAML configuration
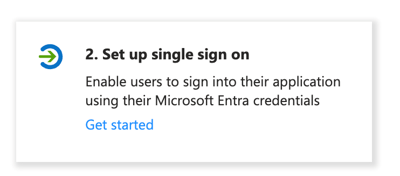
- In the overview page of the created Enterprise Application, click Set up
single sign on.
- Click SAML.

- Edit the Set up Single Sign-On with SAML section and fill the
required information according to the patterns example provided under each
field.