Creating a Software Distribution Package in the BigFix UI
Create a Package in the BigFix UI Software Distribution to define the metadata for a software application — including its title, publisher, version, operating system, and architecture — establishing the container that will hold its installer files and deployment tasks.
Before you begin
You must enable the Software Distribution site. Also, you must have access to at least one BigFix Custom Site and the permission to create Tasks within it. If you are migrating a package from the legacy BigFix Console or WebUI, export it from the legacy tool first and use the Import path in Step 2 below instead. See Limitations and Legacy Compatibility.
About this task
A Package is the foundational entity in BigFix Software Distribution. Before you can upload installer files or create deployment tasks, a Package must exist to hold them. Creating a Package in the BigFix UI automatically creates a corresponding Software entry that groups this Package with any future versions or platform variants of the same application.
Procedure
-
Navigate to in the BigFix UI left navigation
panel.
Figure 1. BigFix UI Software Explorer page — List of Available Software 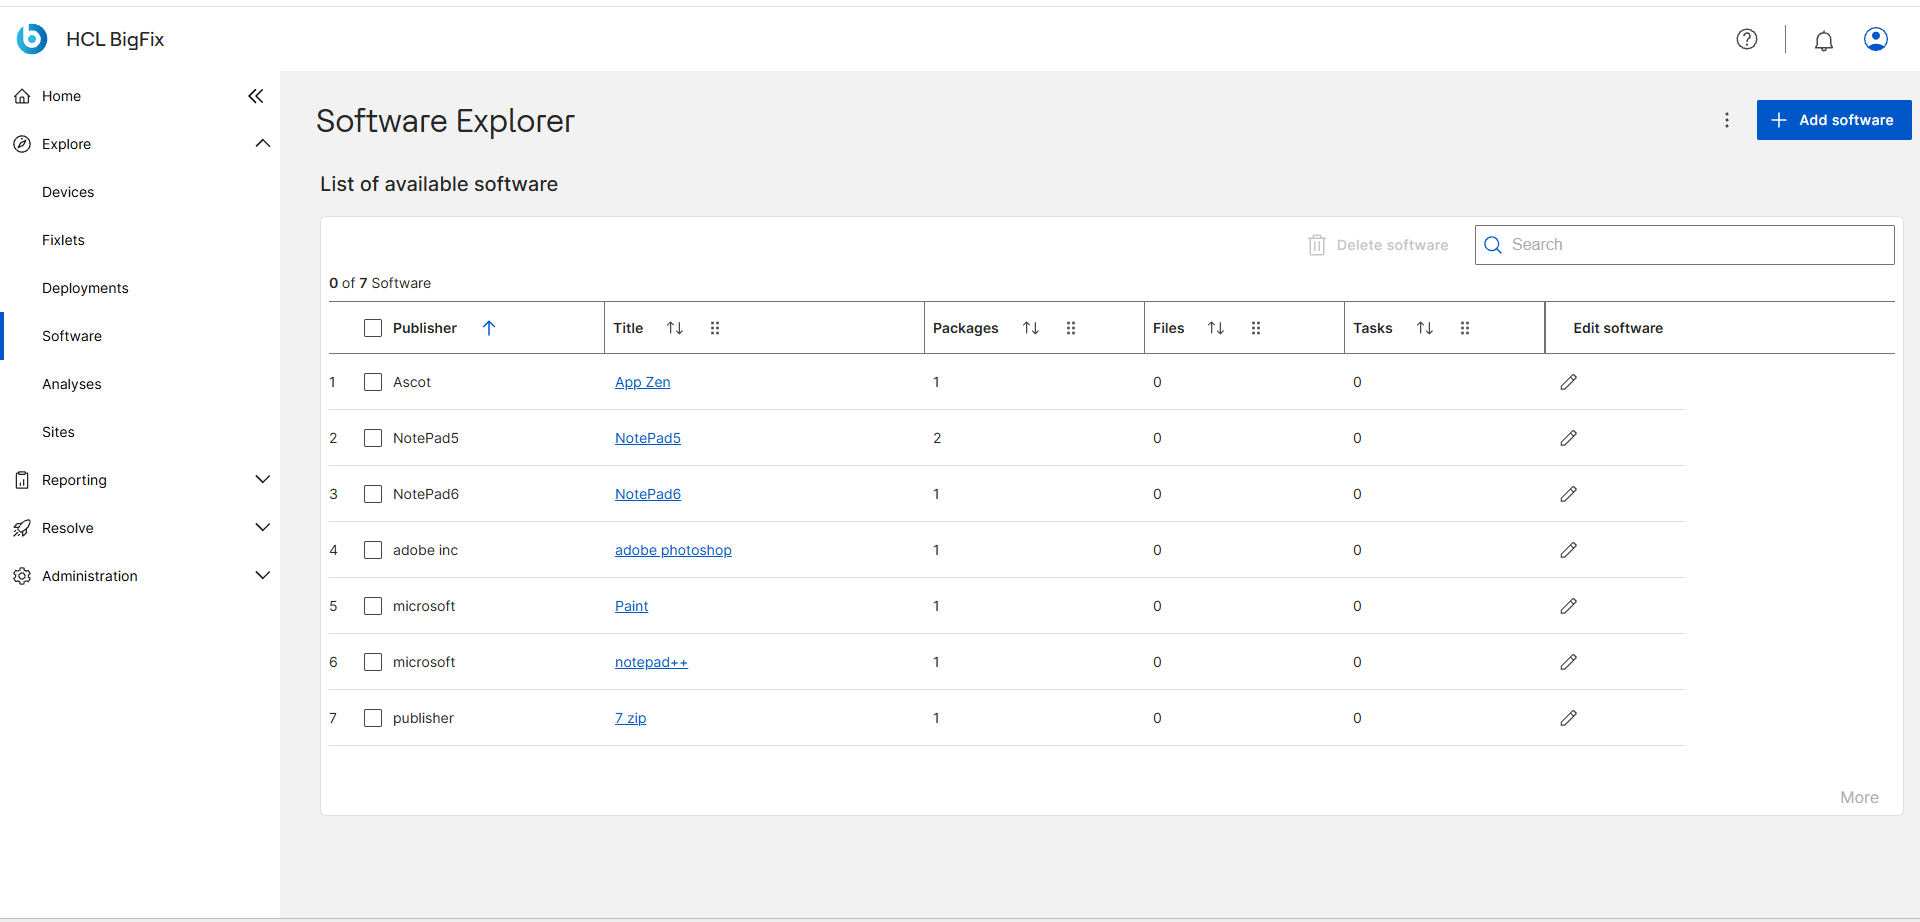
The Software Explorer page opens, showing all Software entries accessible to your account. - Click + Add software in the top-right corner of the page. The Add software page opens.
-
As step 1, under Create Software, fill the following
fields:
Figure 2. Add Software Wizard — Step 1: Create Software Fields 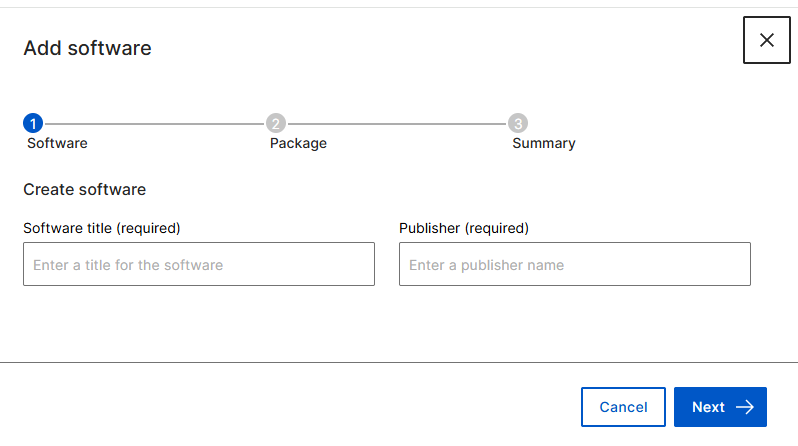
Click Next →. The Package page opens.Table 1. Create software — Fields Field Description Example Software Title (required) The name of the application. NewsPaperCreatorPublisher (required) The vendor or publisher of the application. PrintingInc -
As step 2, under Create package, fill the following
details:
Figure 3. Add Software Wizard — Step 2: Package Site Selection Option 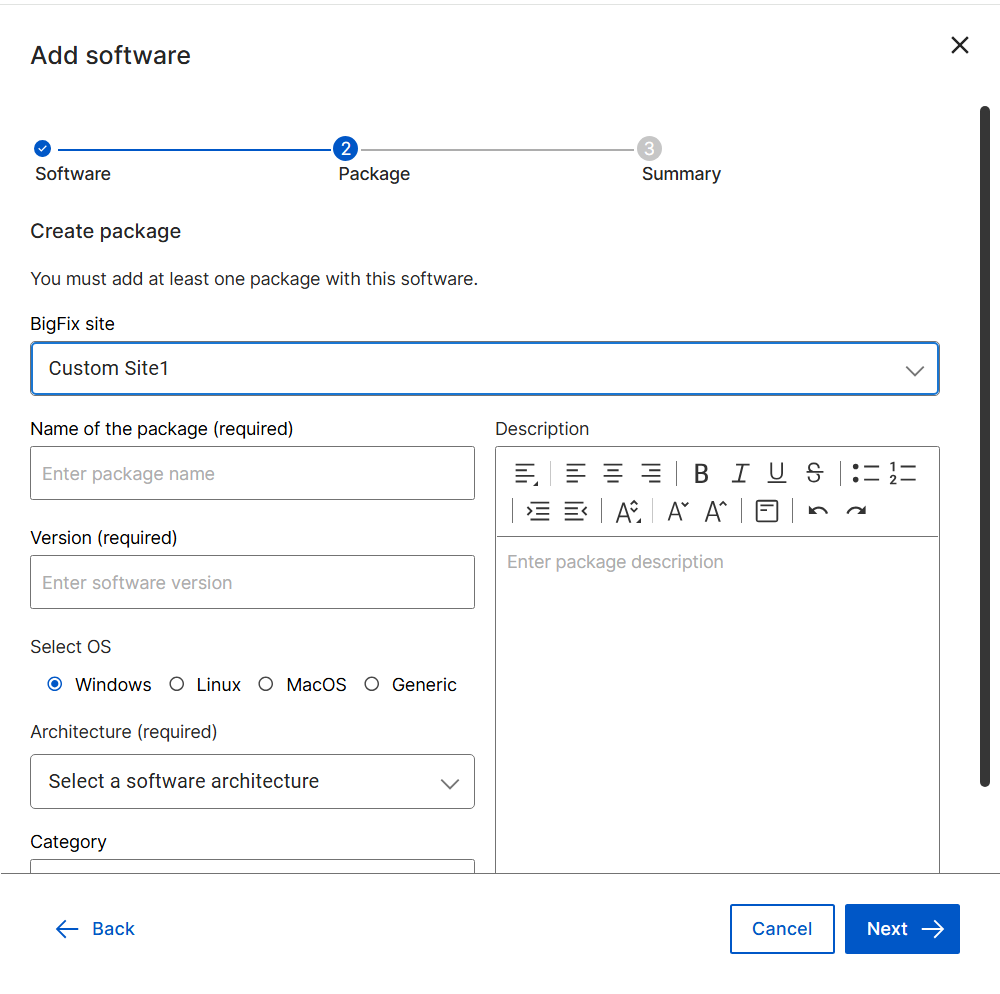
Table 2. Package Metadata Fields Field Description Example BigFix site Select the name of the BigFix site where this package will be published. ACME_IT_SupportName of the package (required) A human-readable display label for this specific package variant. NewsPaperCreator packageVersion (required) The version number of the software. 2.4OS The target operating system for this package. WindowsArchitecture (required) The target processor architecture. x64Category The functional category of the software. Content CreationDescription A brief description of the software and its purpose. A modern desktop publishing suite.Click Next →. The Summary page opens. -
Review your selections on the Summary page. This summary
includes Software Details and Package
Details.
Figure 4. Add Software Wizard — Summary Page Before Submission 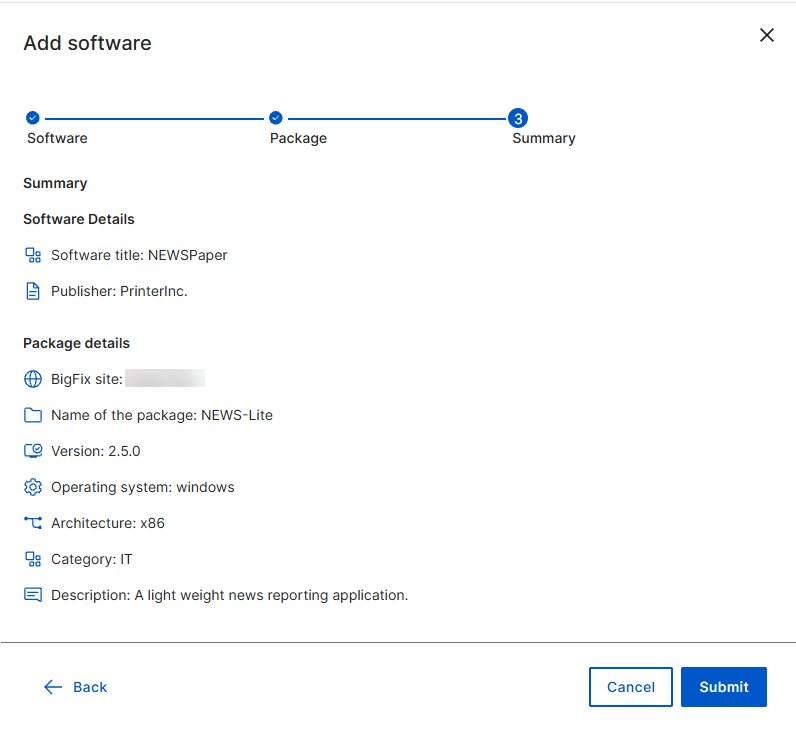
To make changes click ← Back else click Submit. - Save the Package to create it in the BigFix Platform.
Results
SWD_Package_xxxxxxxxxxx) and opens the Software
Details page for the new Software entry.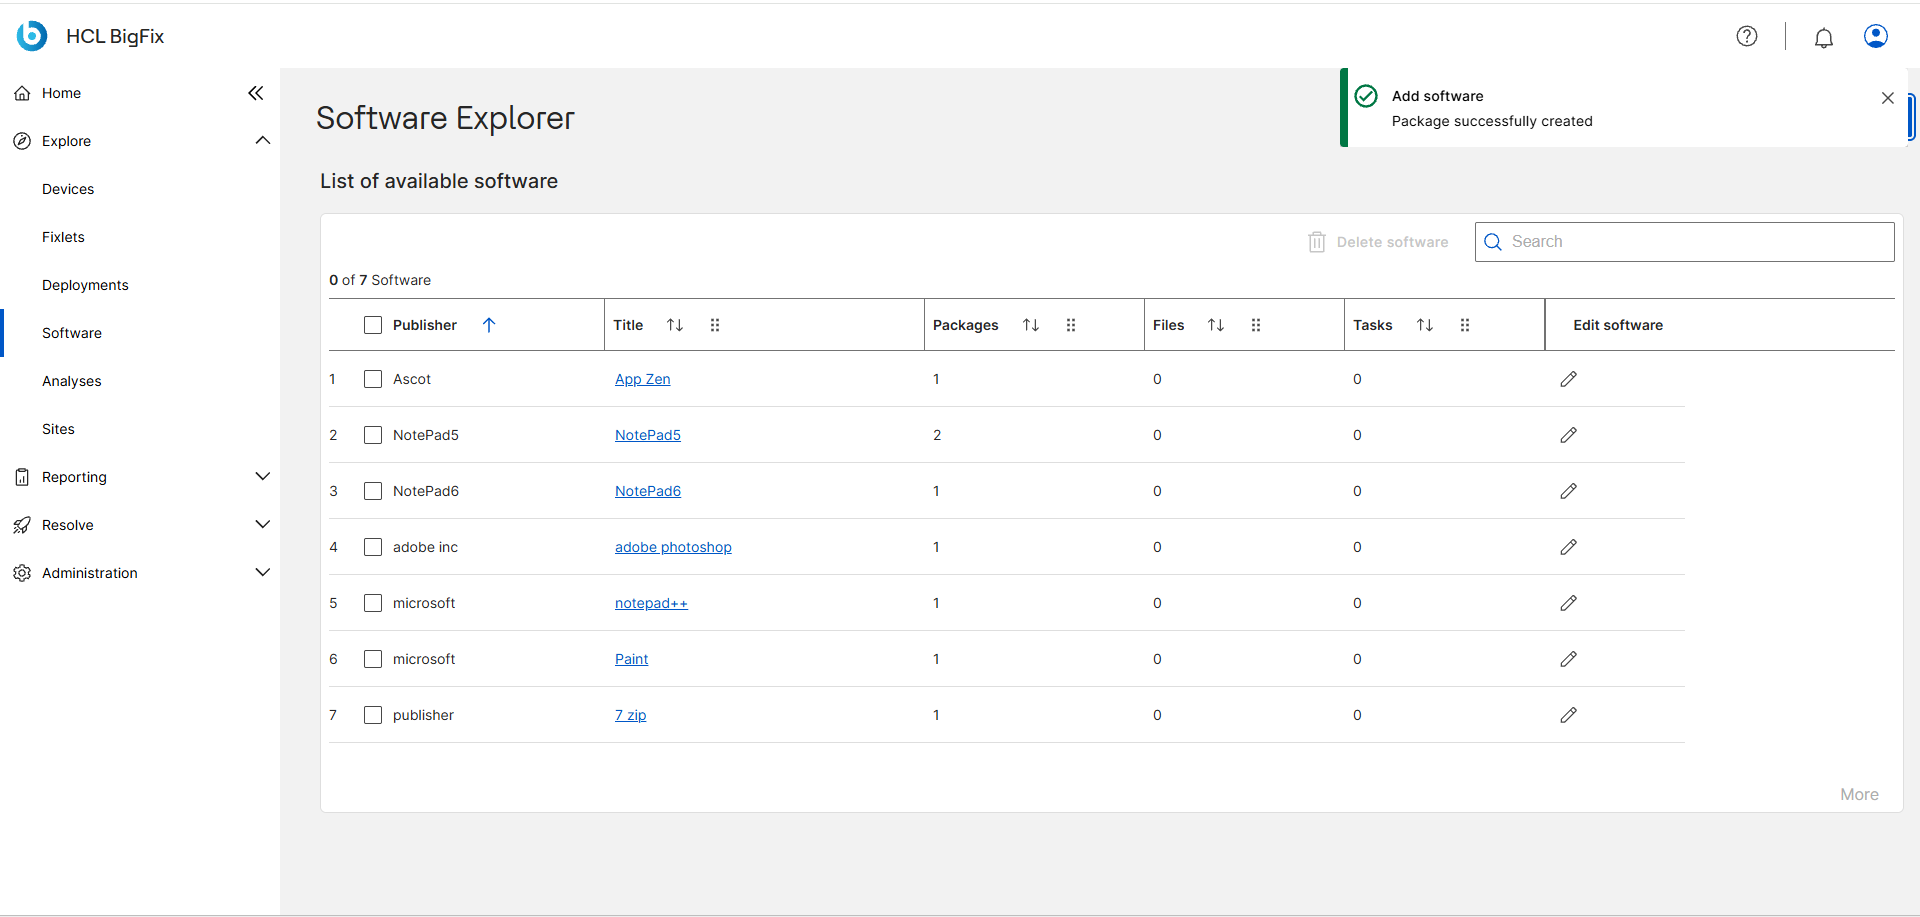
What to do next
Proceed to upload the installer and supporting files for this Package. See Step 2 — Add Files to the Package.