Modifying Web Server Configuration using Console Mode
This section describes the procedure for modifying the web server configuration using console mode.
Refer the below table to configure Z and I Emulator for Web in console mode. Required file to perform console mode modify installation under ZIEWEB installation directory (<Installation Path>\install).
| Operating System | Command | More Information |
|---|---|---|
| Windows | setup.exe -i console -repair | Administrator user Command Prompt |
| AIX, Linux, Ubuntu | sh ./setup -i console -repair | Root user Terminal client |
Execute the following steps to modify the web server configuration:
- Open the Command Prompt.
- Navigate to the Z and I Emulator for Web install directory and execute the below
command:
setup.exe -i console -repair

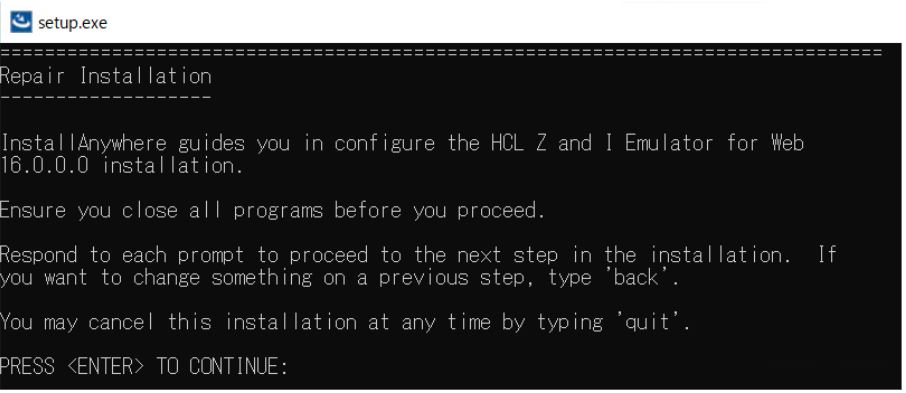
- The Introduction console appears.
- Press Enter to continue.
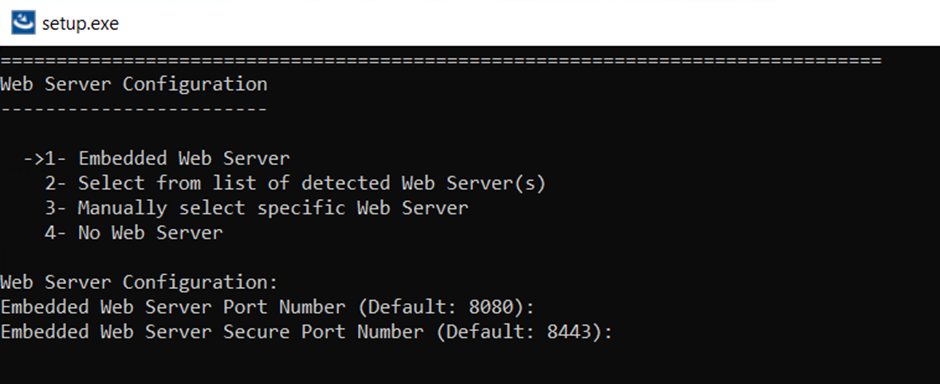
- The Web Server Configuration console appears.
- Modify the existing Web Server information.
- Press Enter to continue.
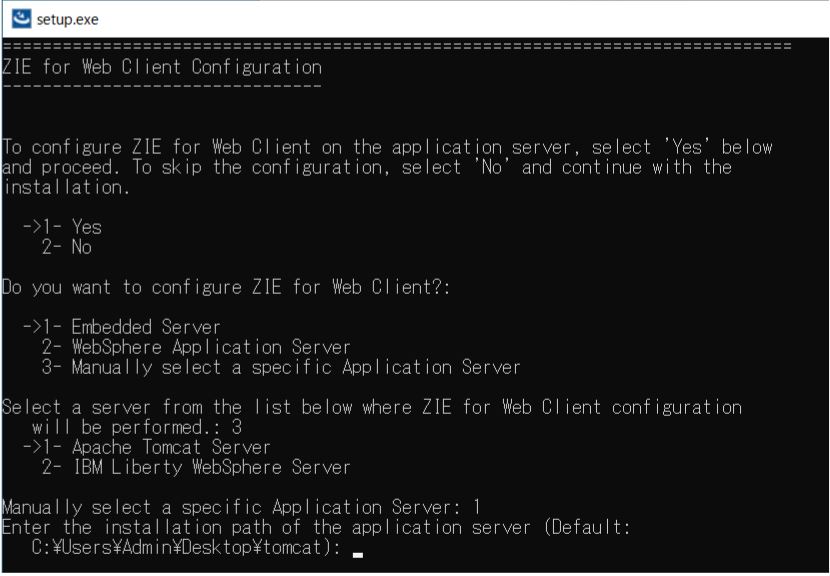
- The Z and I Emulator for Web Client Configuration screen appears.
- Select the Z and I Emulator for Web Client configuration check box, if you want to
install Z and I Emulator for Web Client during Z and I Emulator for Web installation.
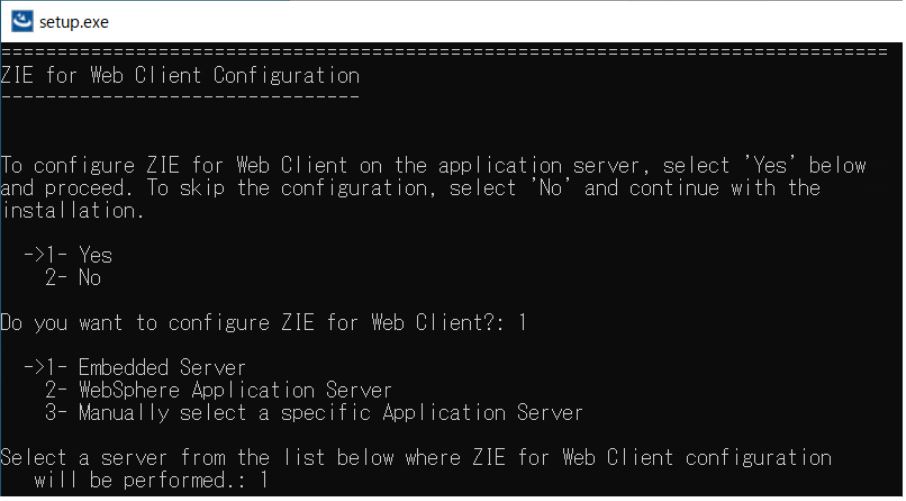
- Select the reuqired server and enter the required details.
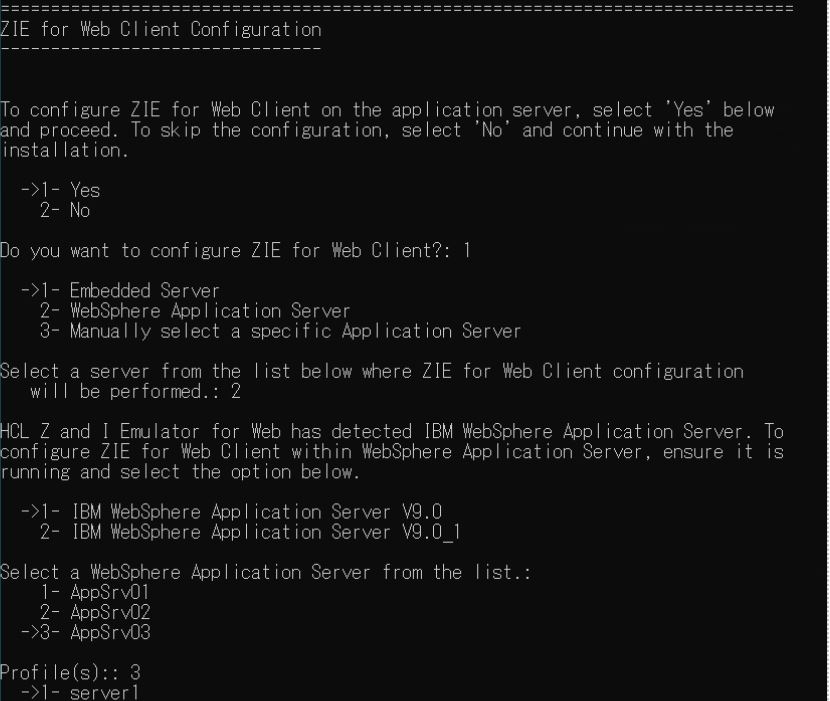
- To configure the server manually, select the Manually select a specific Application
server option.
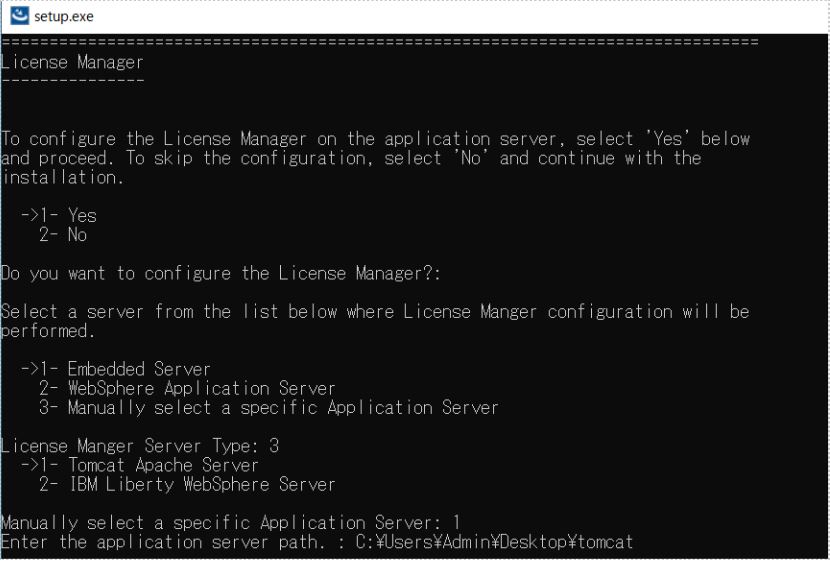
- Select the License Manager Configuration check box, if you want to install License
Manager during Z and I Emulator for Web installation.
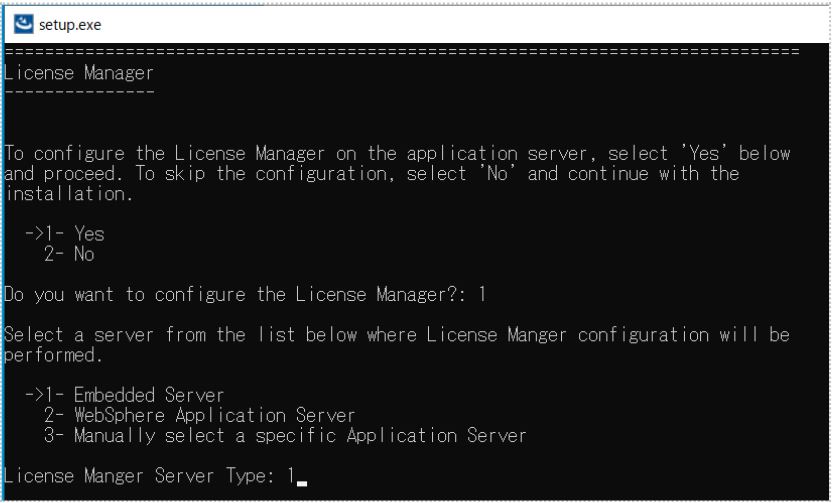
- Select the reuqired server and enter the required details.
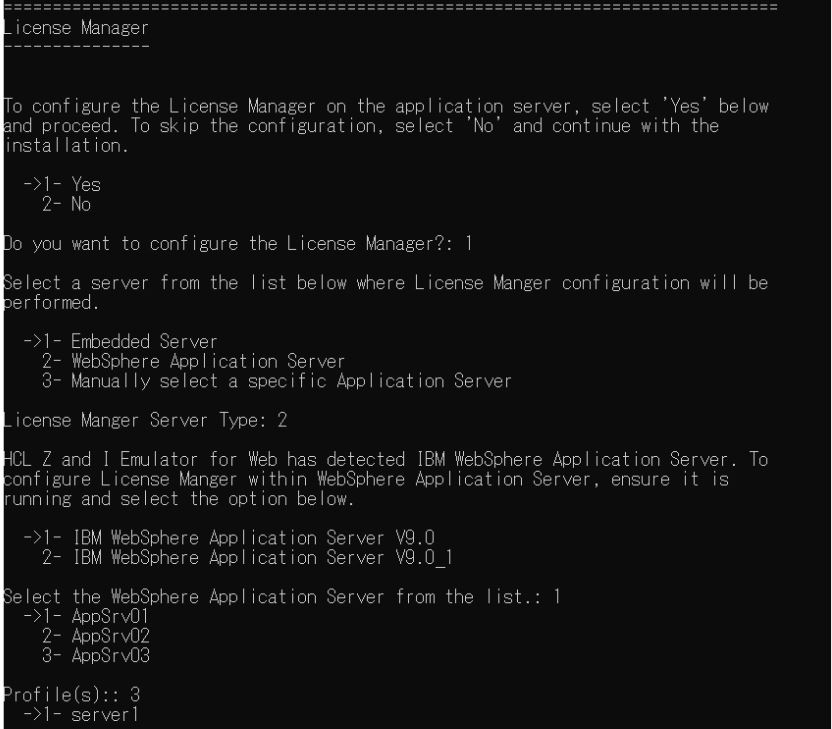
- To configure the server manually, select the Manually select a specific Application
server option.
- Click Next to continue.
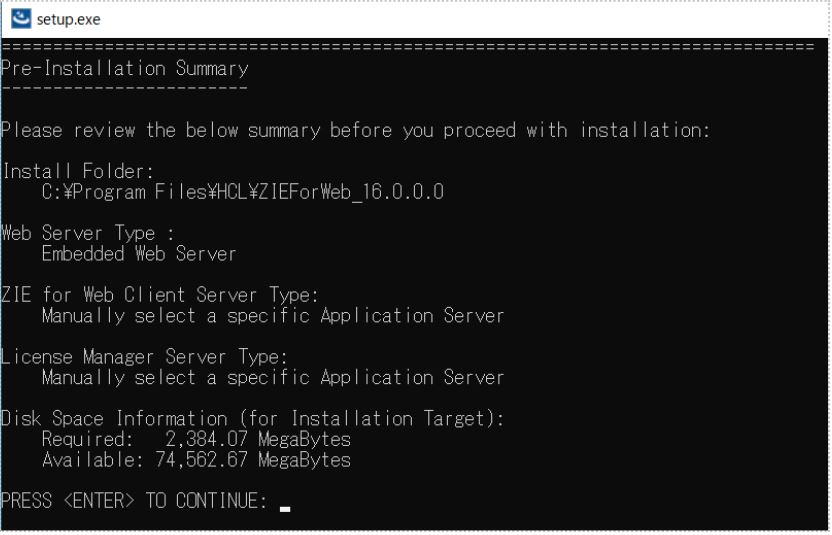
- The Pre-Installation Summary console appears.
- Review the installation summary carefully and press Enter to continue.
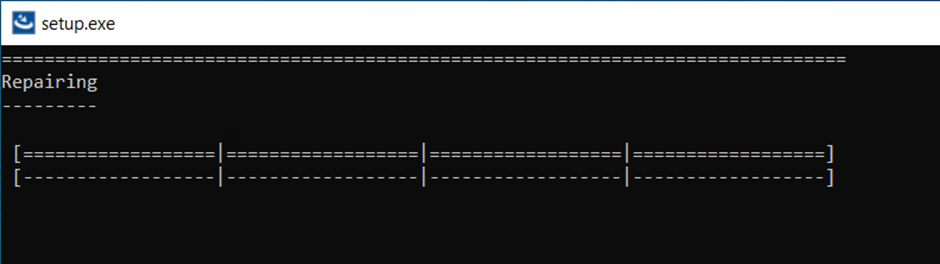
- The Repairing console appears, which displays the installation progress.
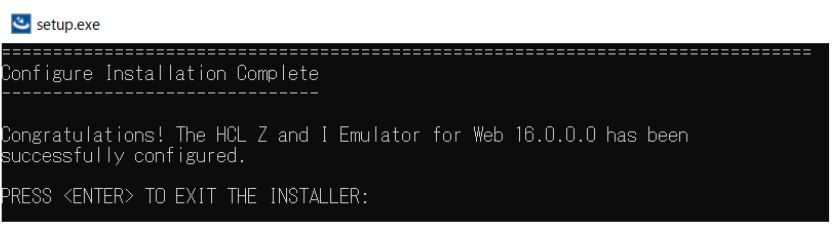
- After successful configuration, the Configure Installation Complete console appears.
- Press Enter to exit.