User & Role Management
This page explains how to manage users and roles in HCL Detect, including adding new users, creating and assigning roles, organizing departments, and configuring LDAP authentication.
Managing Users
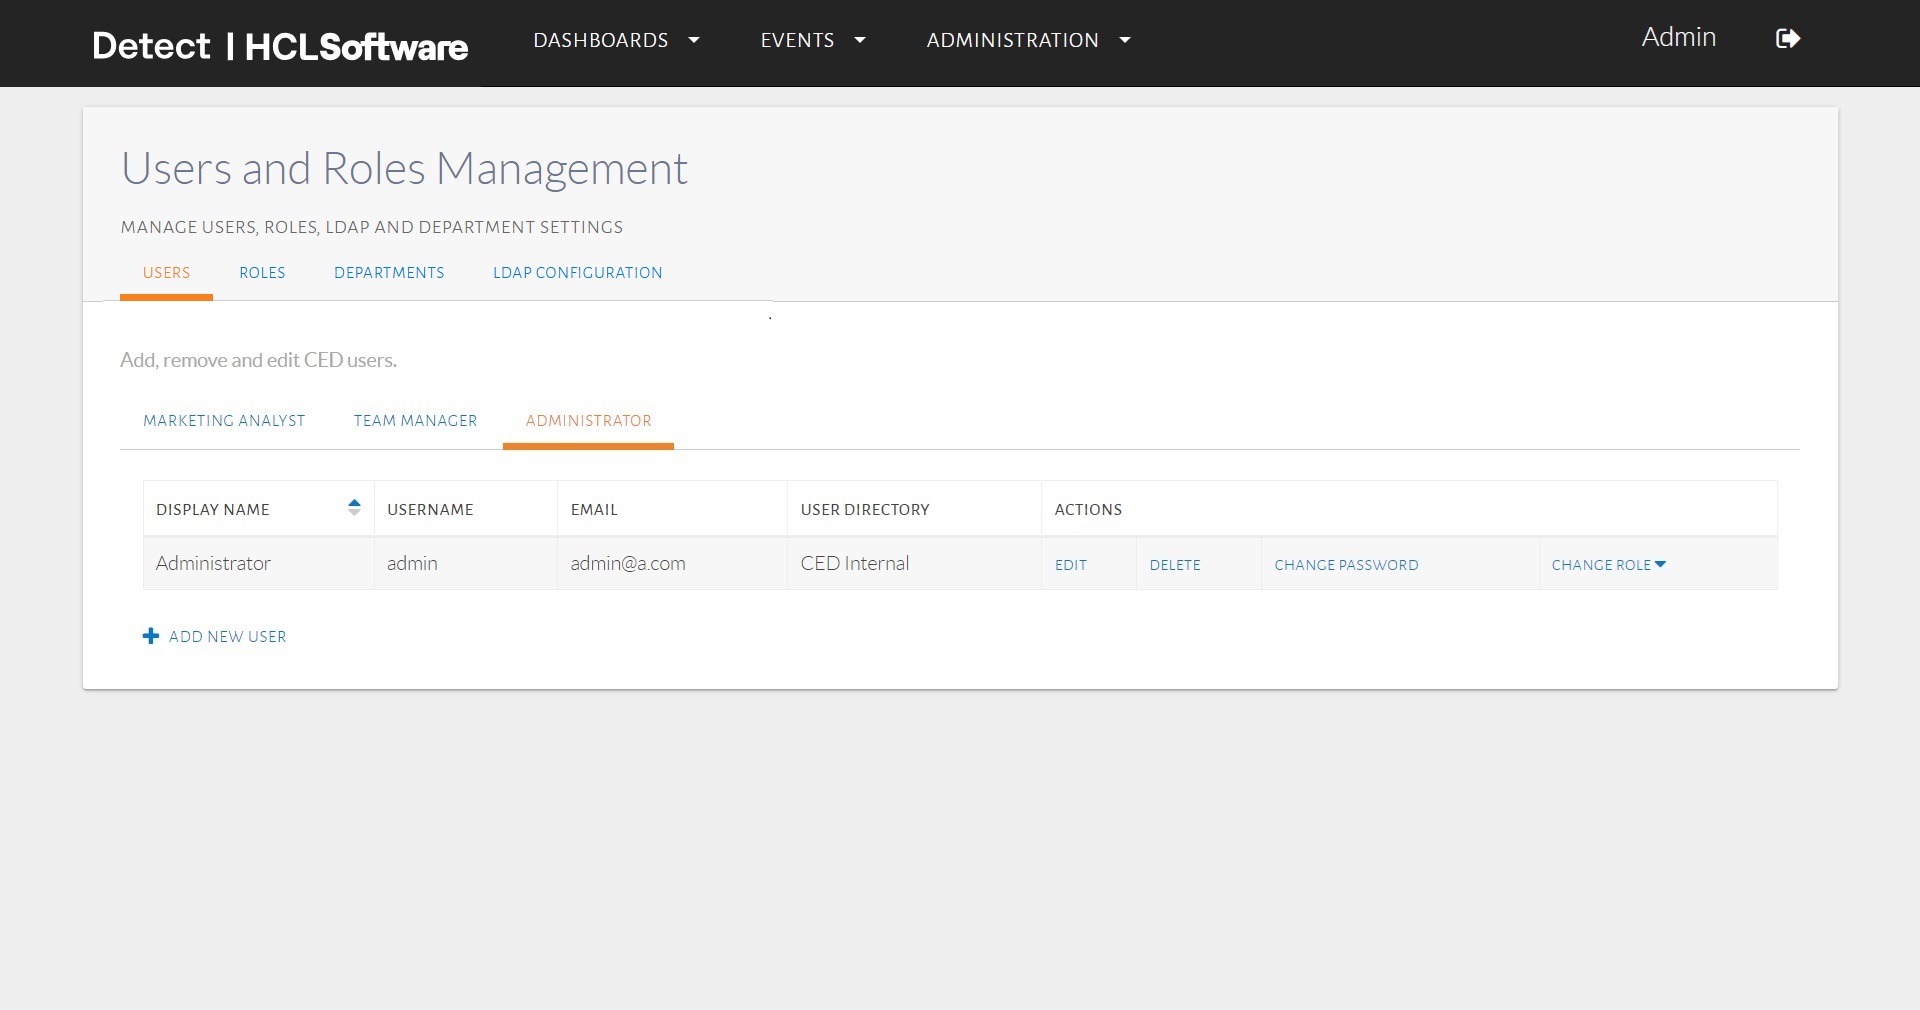
Viewing Users and Roles
The Users tab displays all configured roles and their associated users.
Adding a New User
To add a user, follow the steps below:
- Select the appropriate role, such as Marketing Analyst, by clicking the corresponding tab on the User Management page.
- Click Add New User.
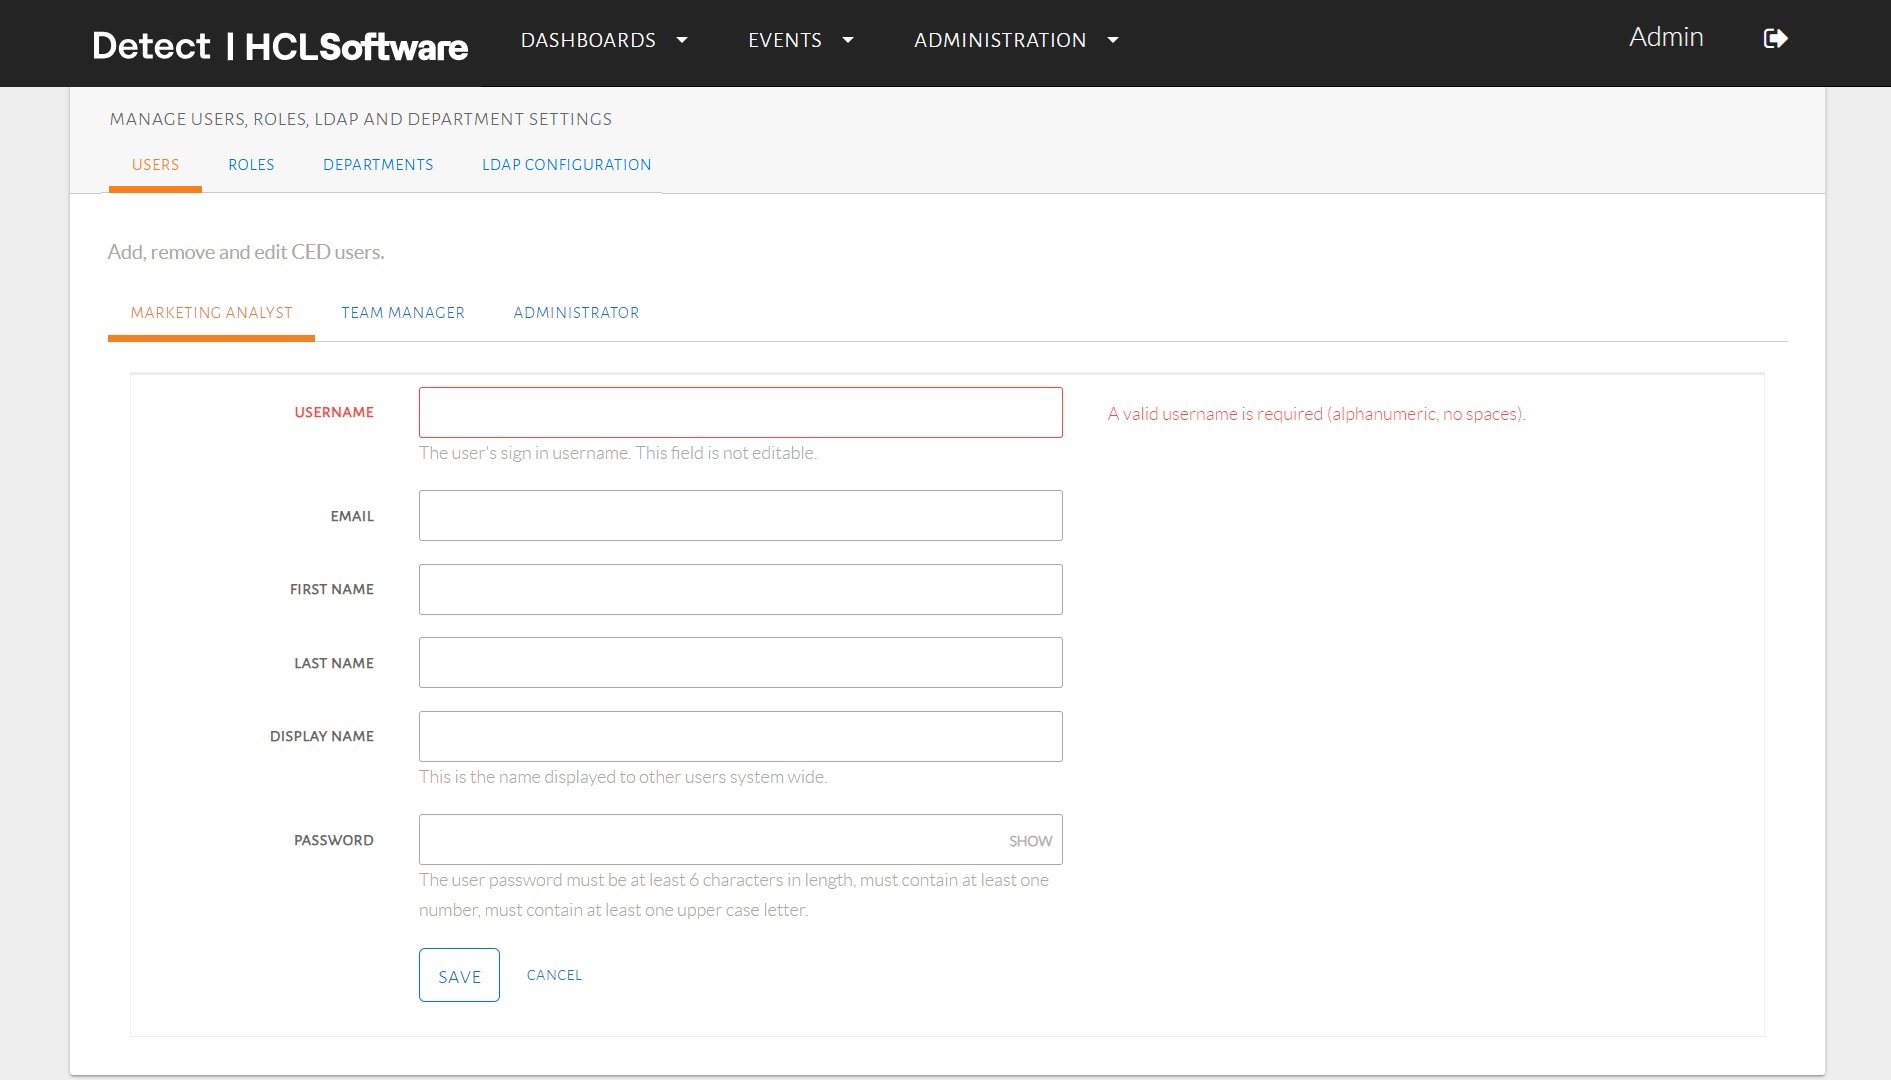
- Enter the following details:
- Username
- First Name
- Last Name
- Display Name
- Password
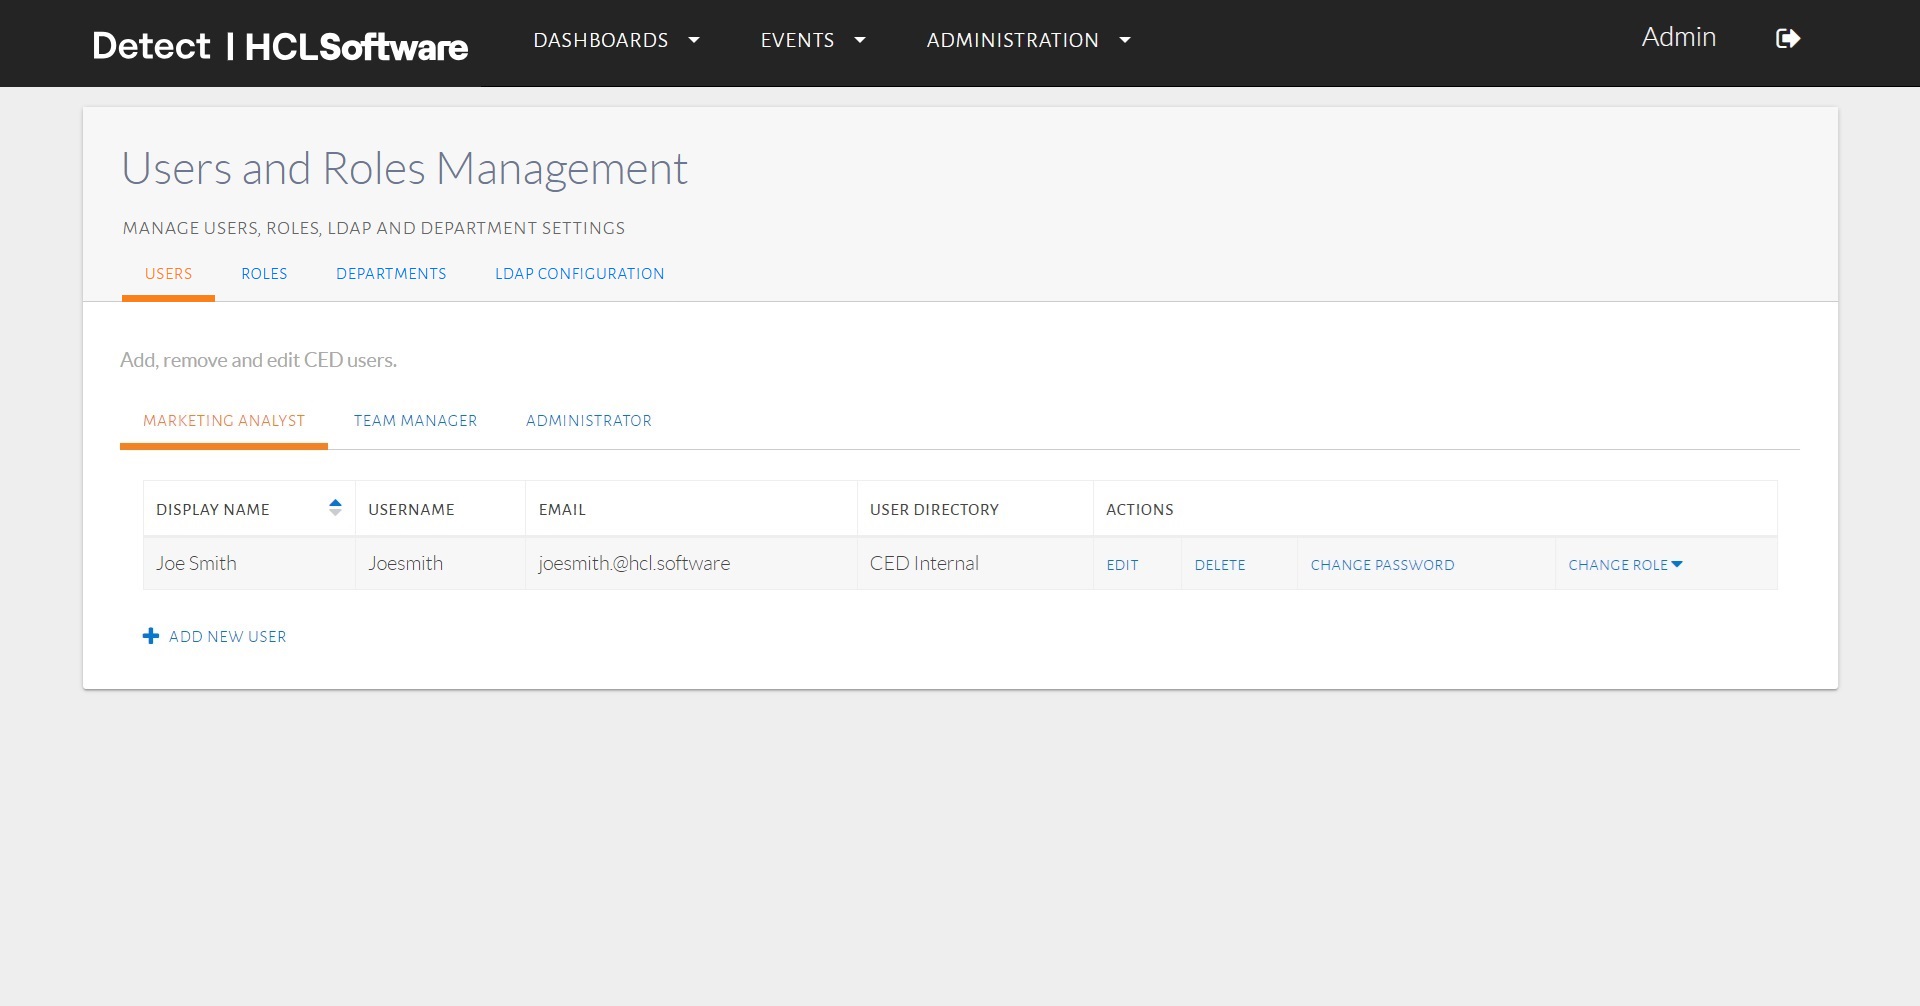
- Click Save to store the user details.
- The newly added user appears in the interface.
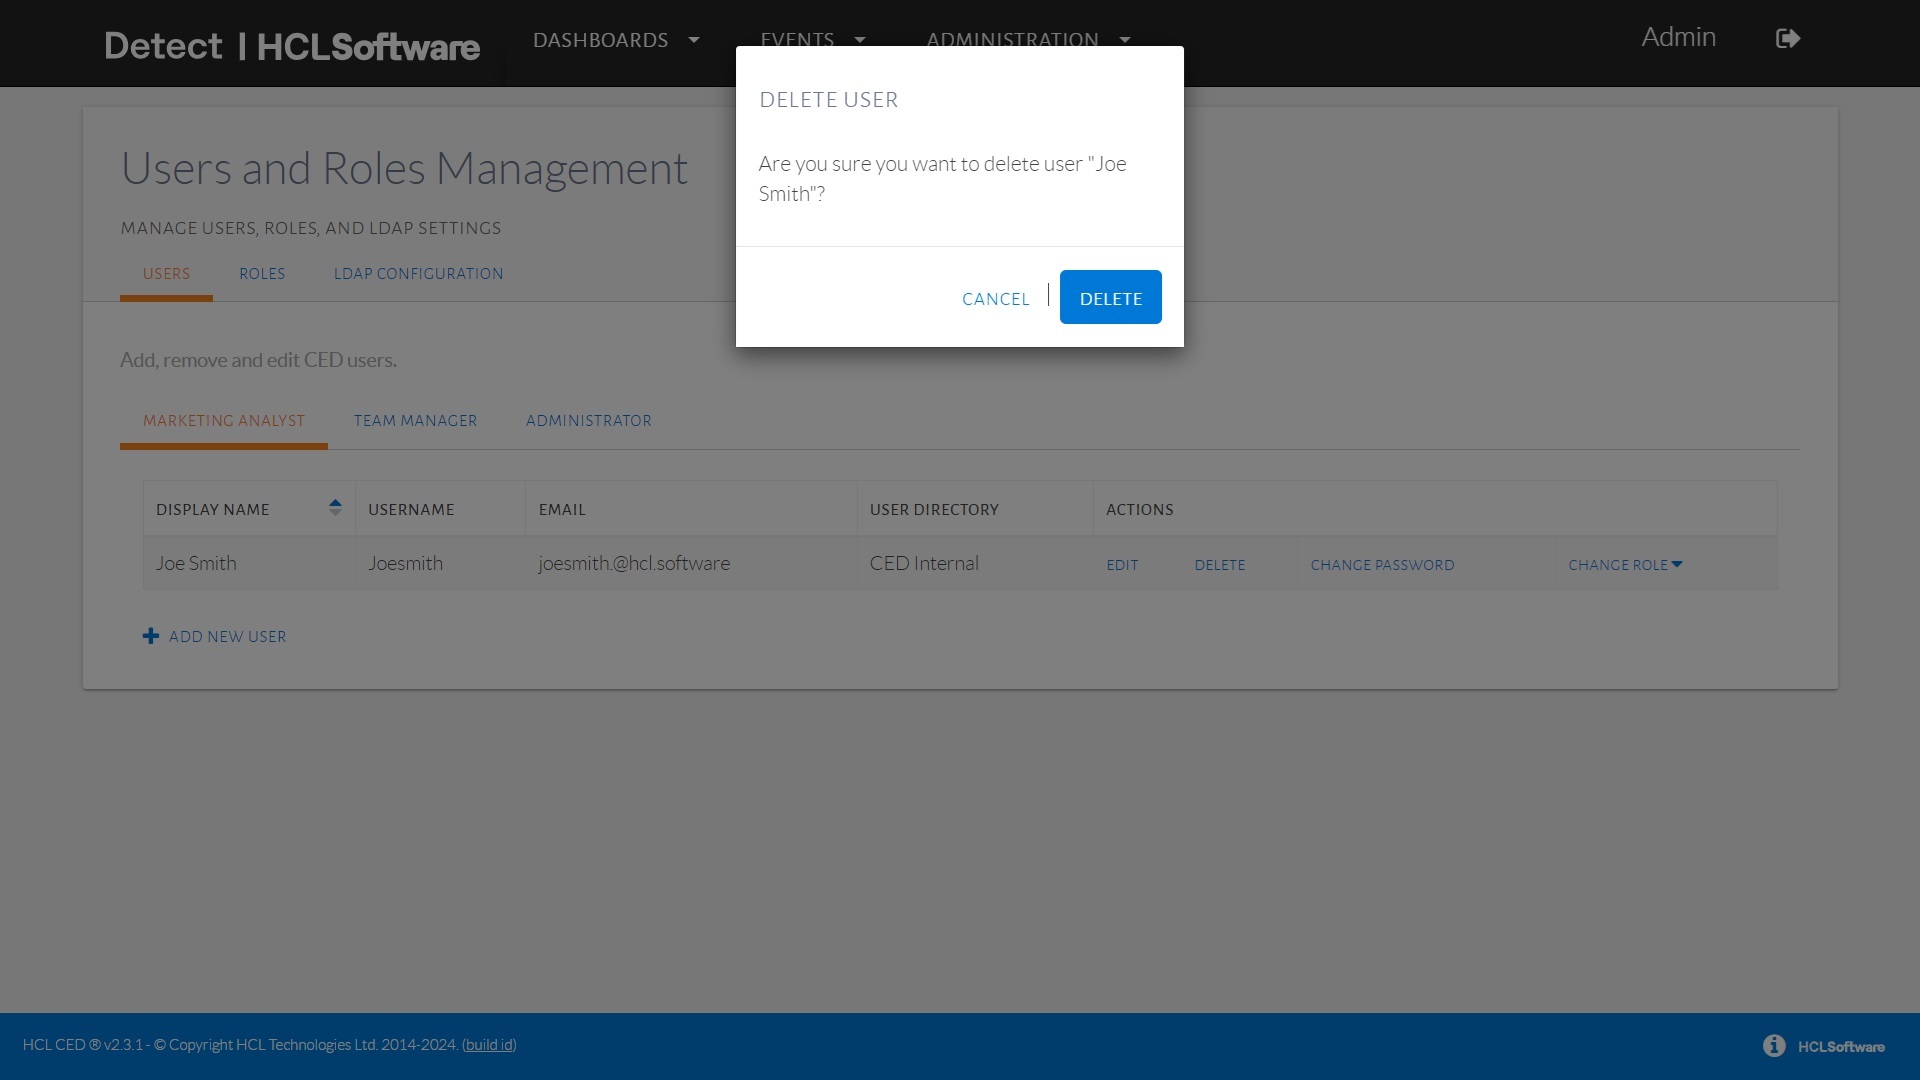
Editing or Deleting a User
Users with the appropriate permissions can edit or delete existing users:
- To edit a user, click Edit under the Actions column.
- To delete a user, click Delete under the Actions
column.
Managing Roles
Viewing and Managing Roles
Access the Roles tab from the navigation bar to manage roles.
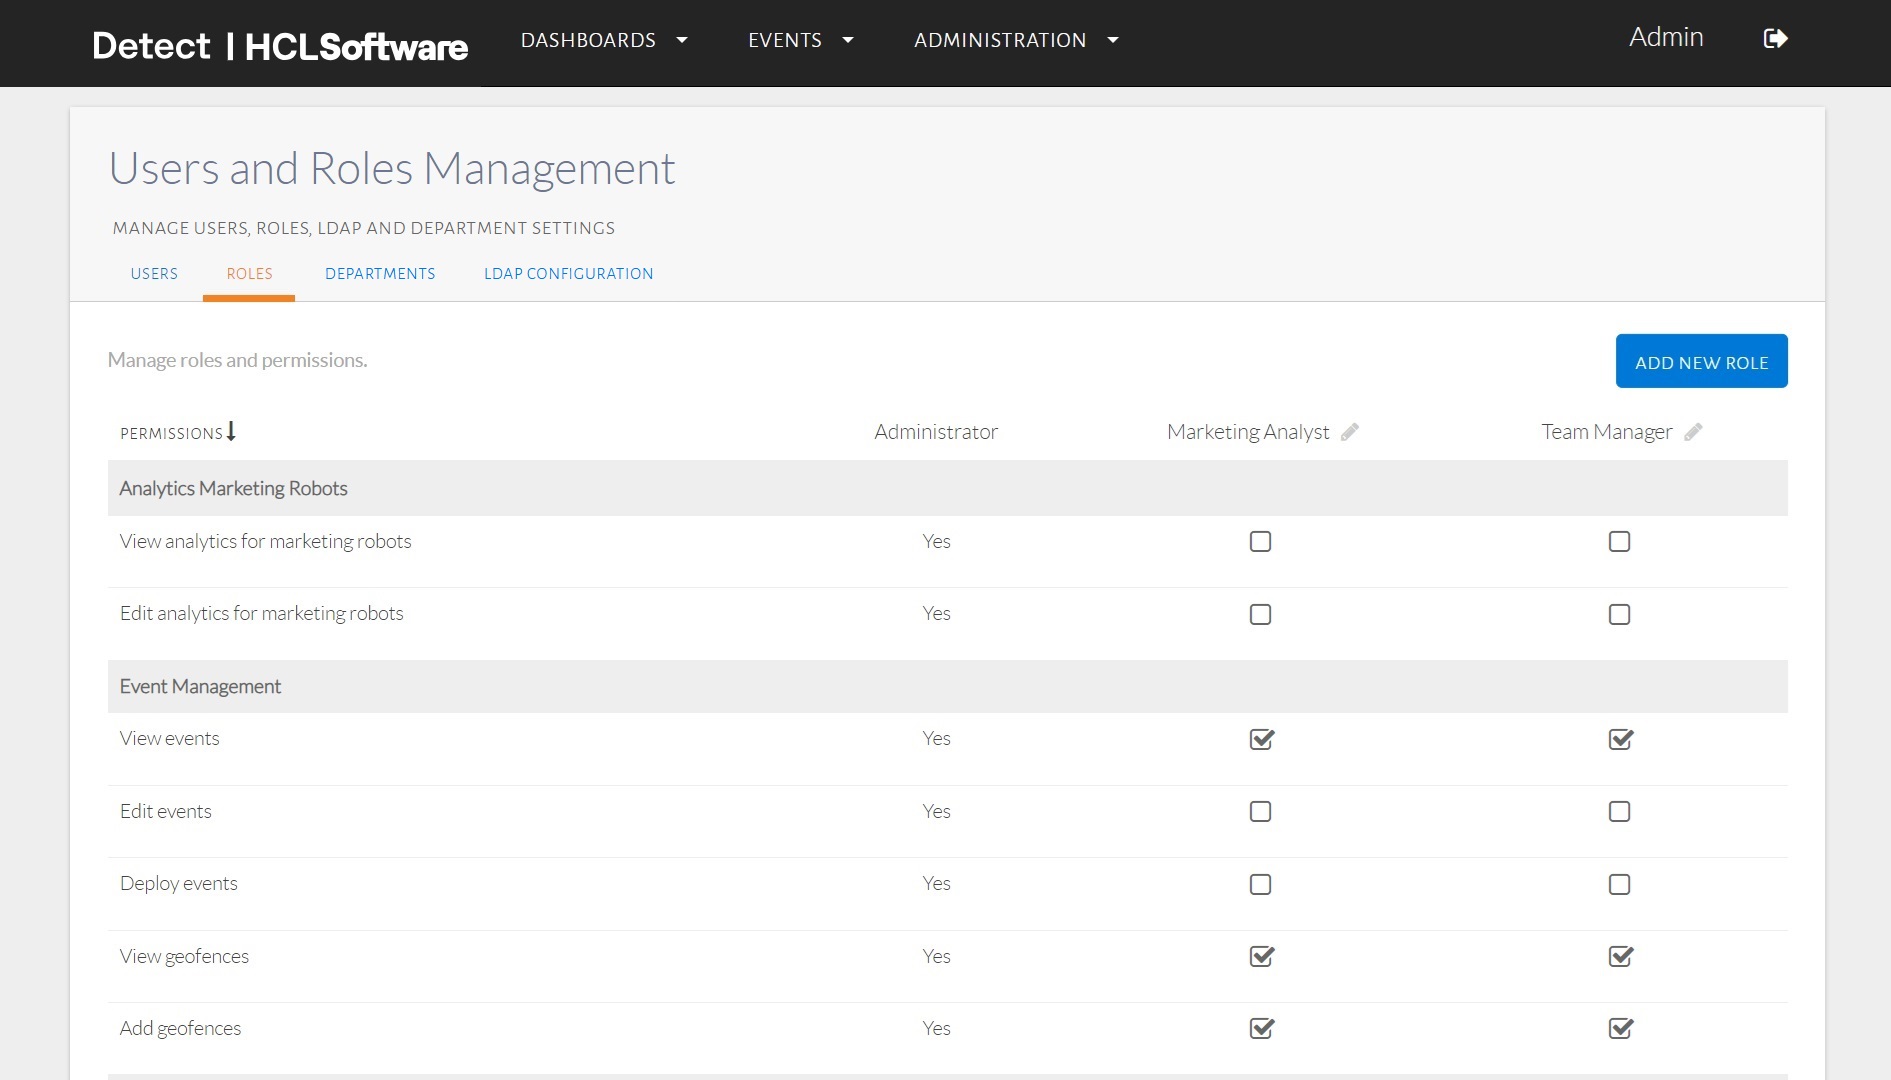
Default Roles
HCL Detect includes the following default roles:
- Administrator: Has unrestricted access.
- Team Manager: Has all permissions except user and role management.
- Marketing Analyst: Has permissions below those of a Team Manager and cannot edit feeds.
Renaming or Deleting Roles
Roles can be renamed or deleted. However, a role cannot be deleted if it has assigned users. If an attempt is made to delete such a role, an error message appears.

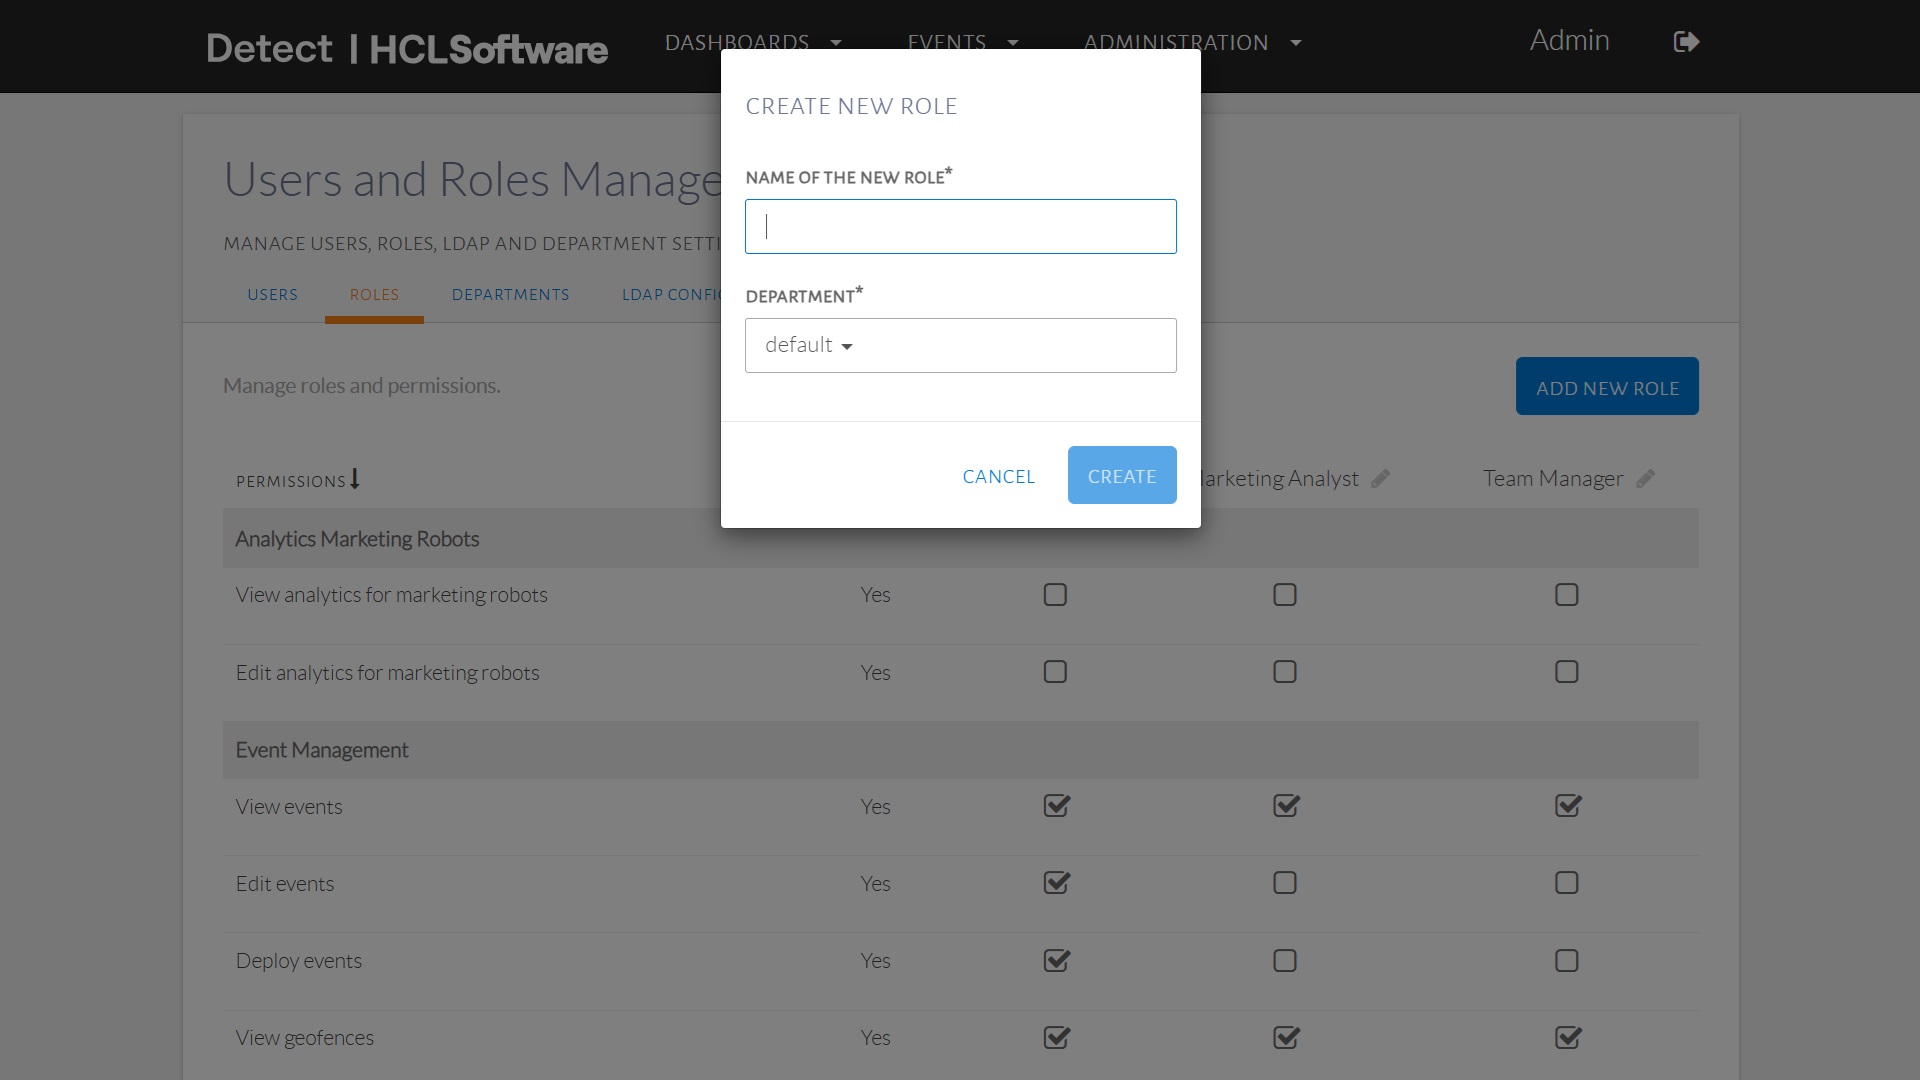
Adding a New Role
To create a role:
- Click Add New Role (top-right corner).
- Enter a name for the new role.
- Click Create.
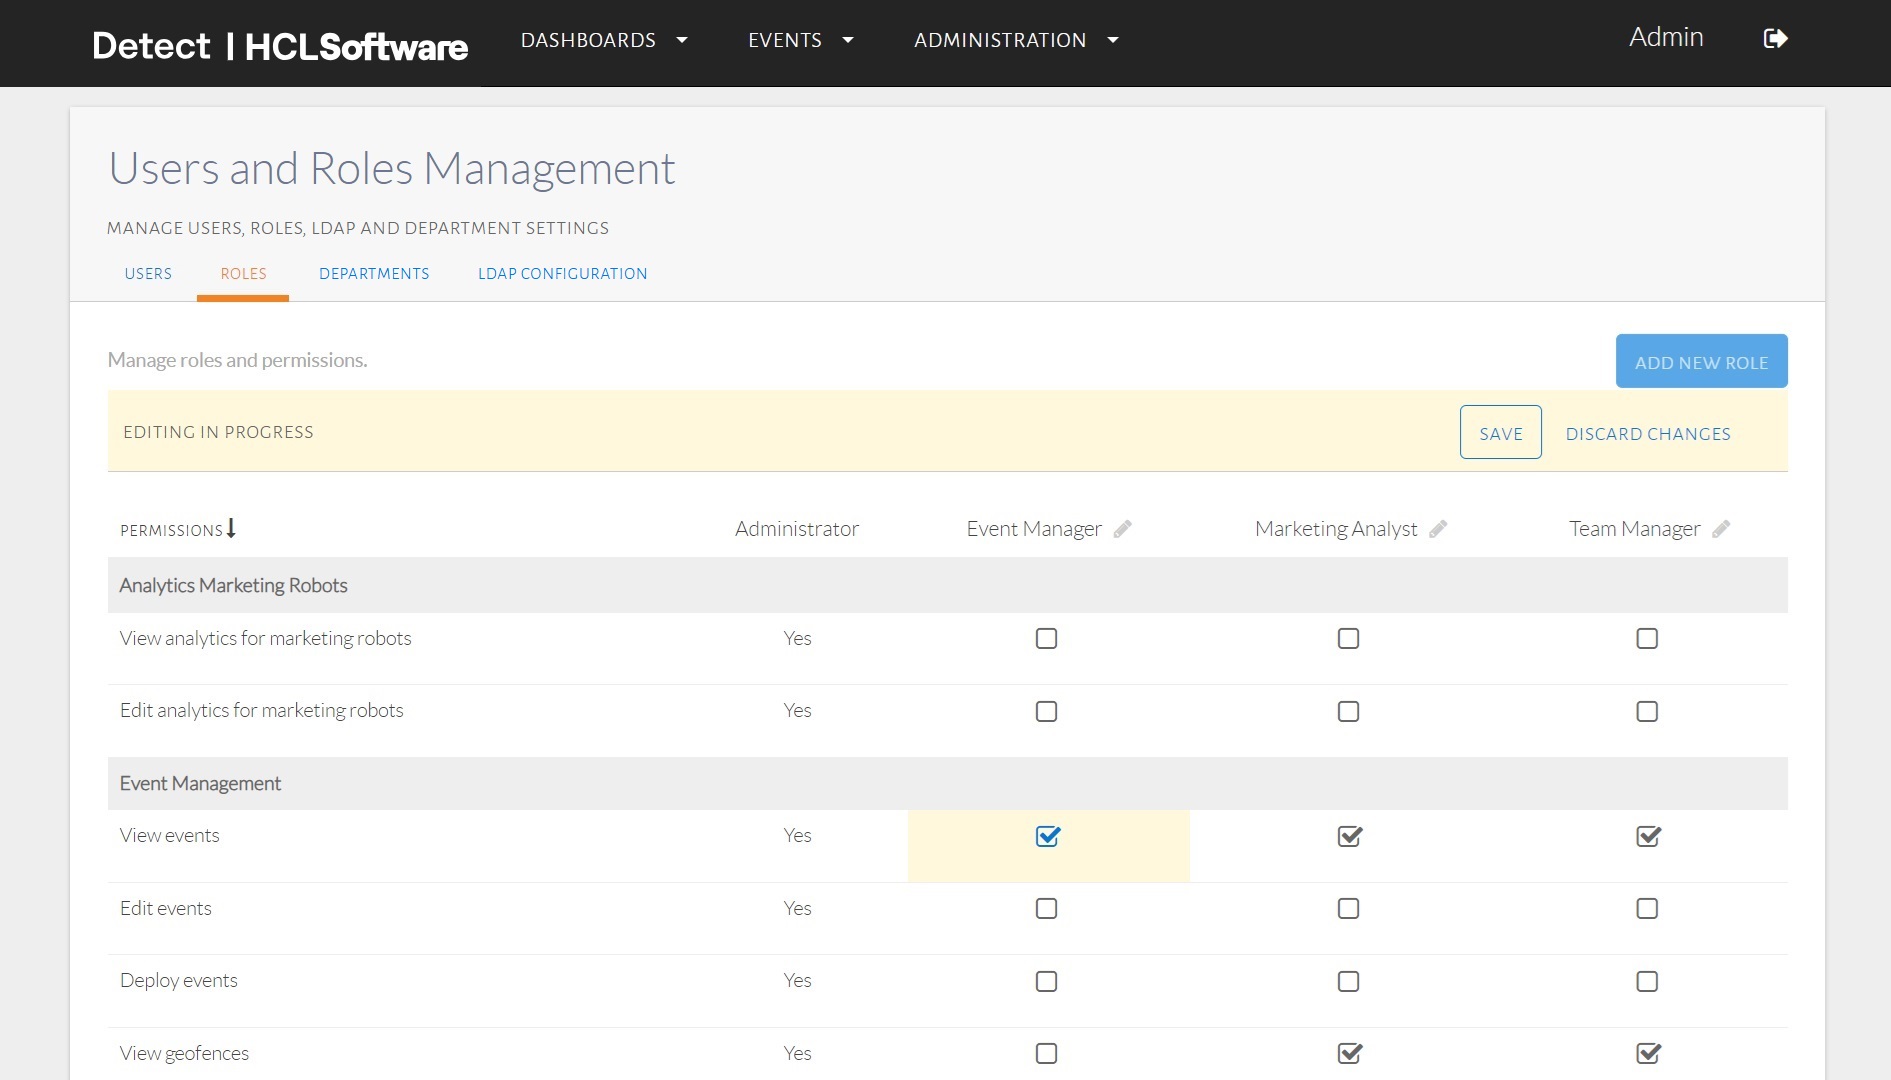
- Assign permissions by selecting the relevant checkboxes.
For example, a newly created Event Manager role may have only View Events permissions.
Configuring LDAP Authentication
HCL Detect supports optional LDAP-based authentication. Configure LDAP settings through the LDAP Configuration tab in the navigation bar.
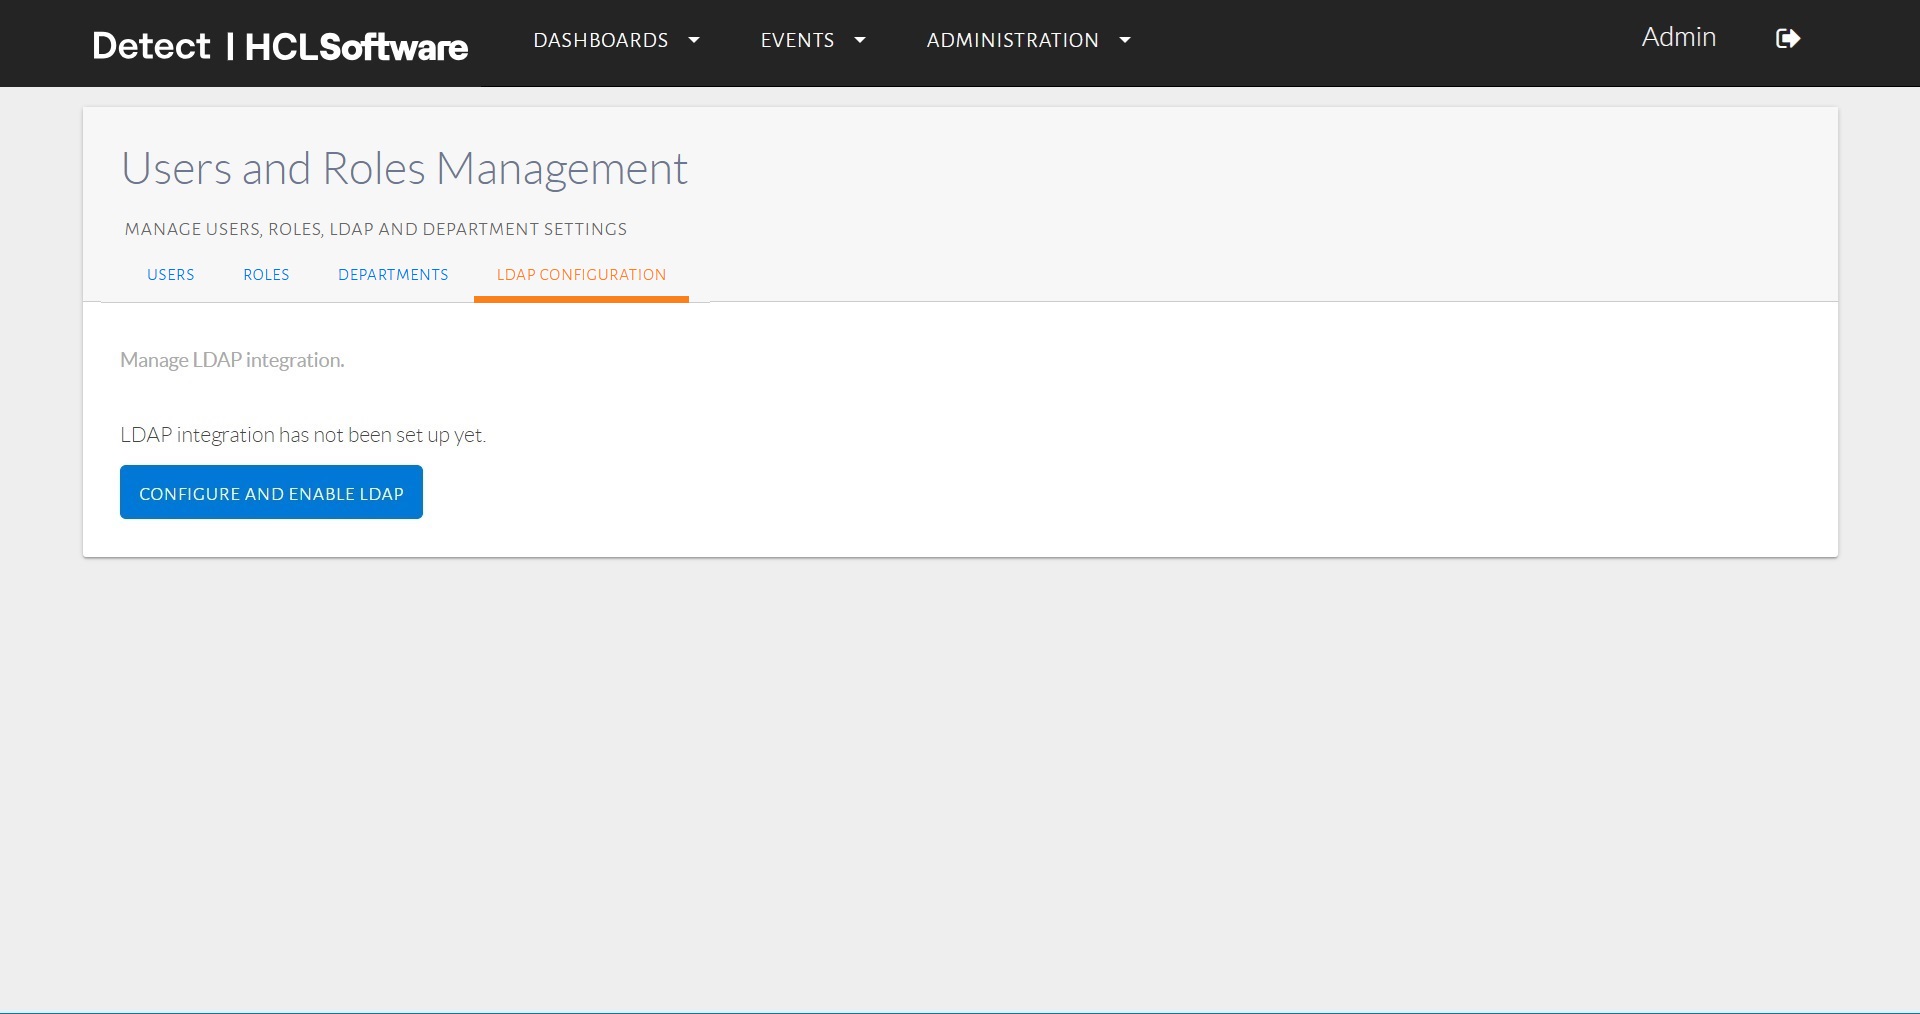
Enabling LDAP Authentication
To configure LDAP authentication:
- Click Configure and Enable LDAP.
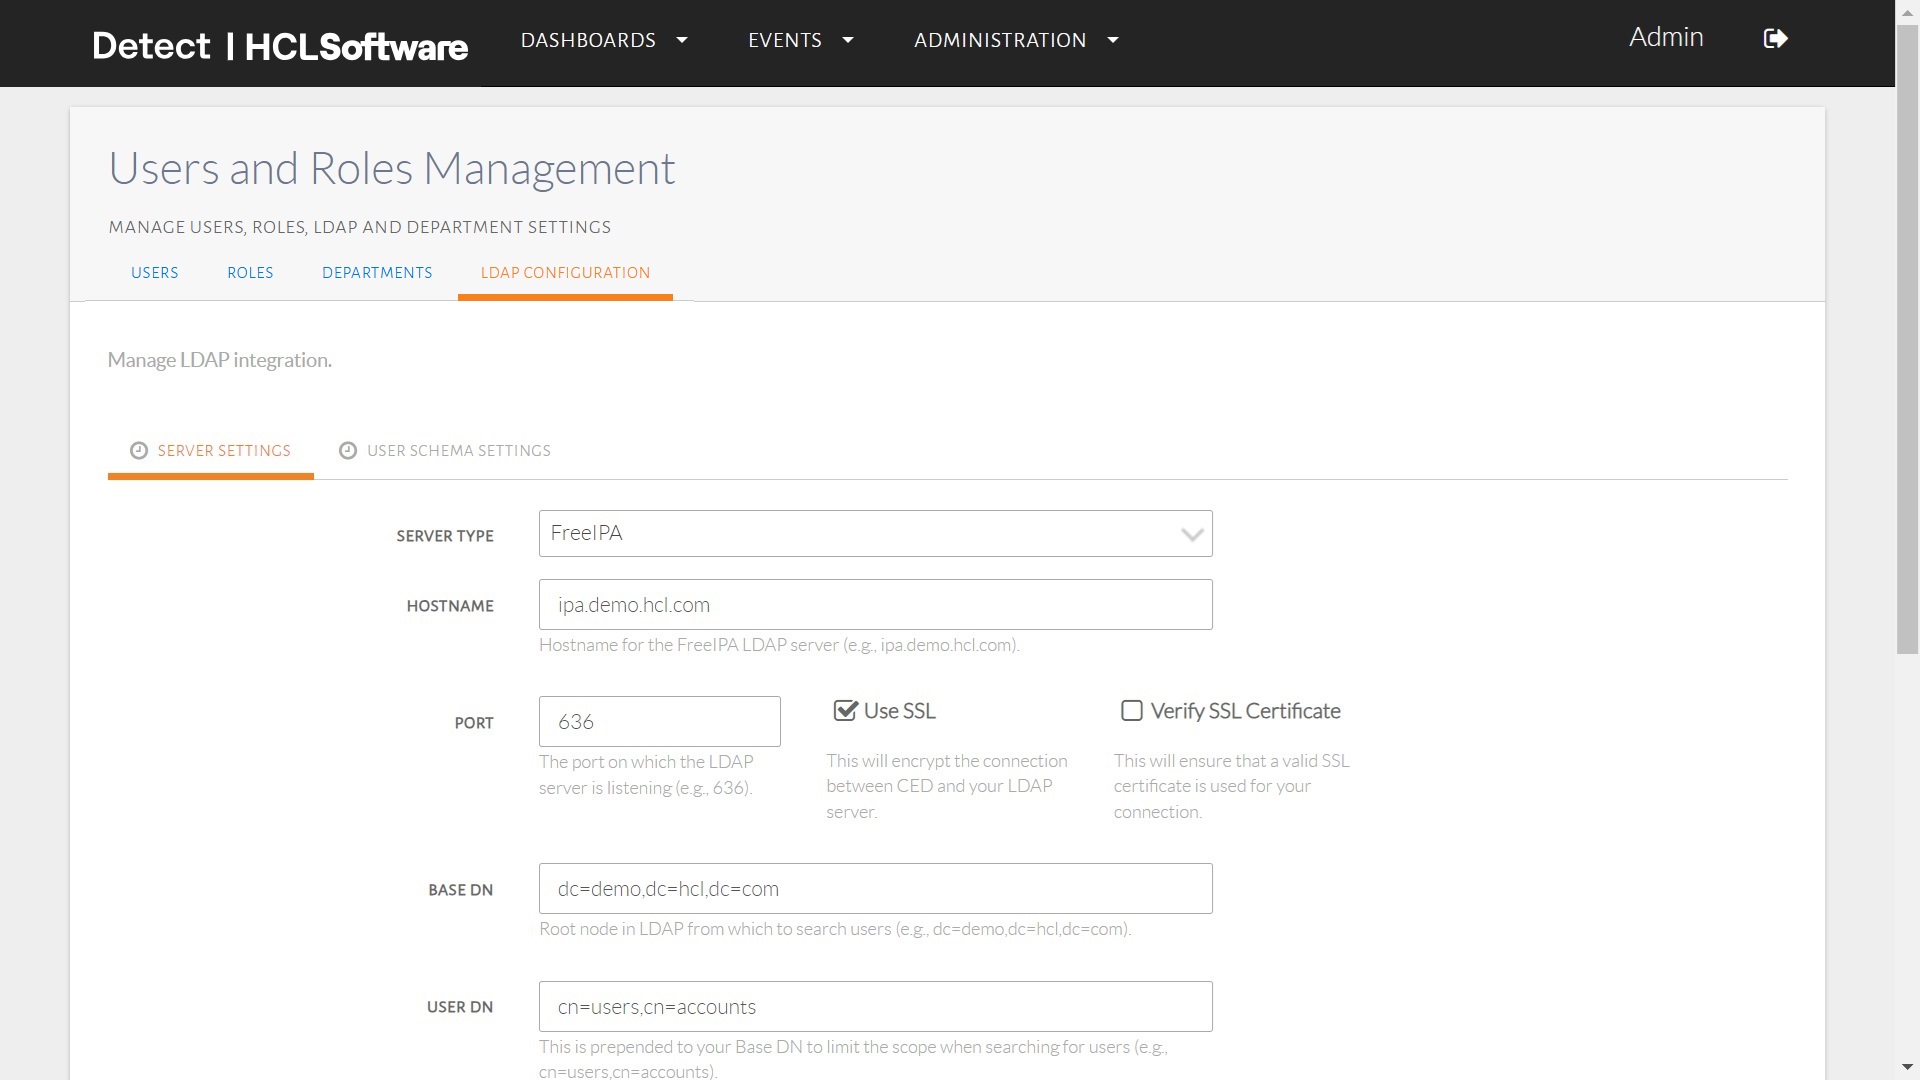
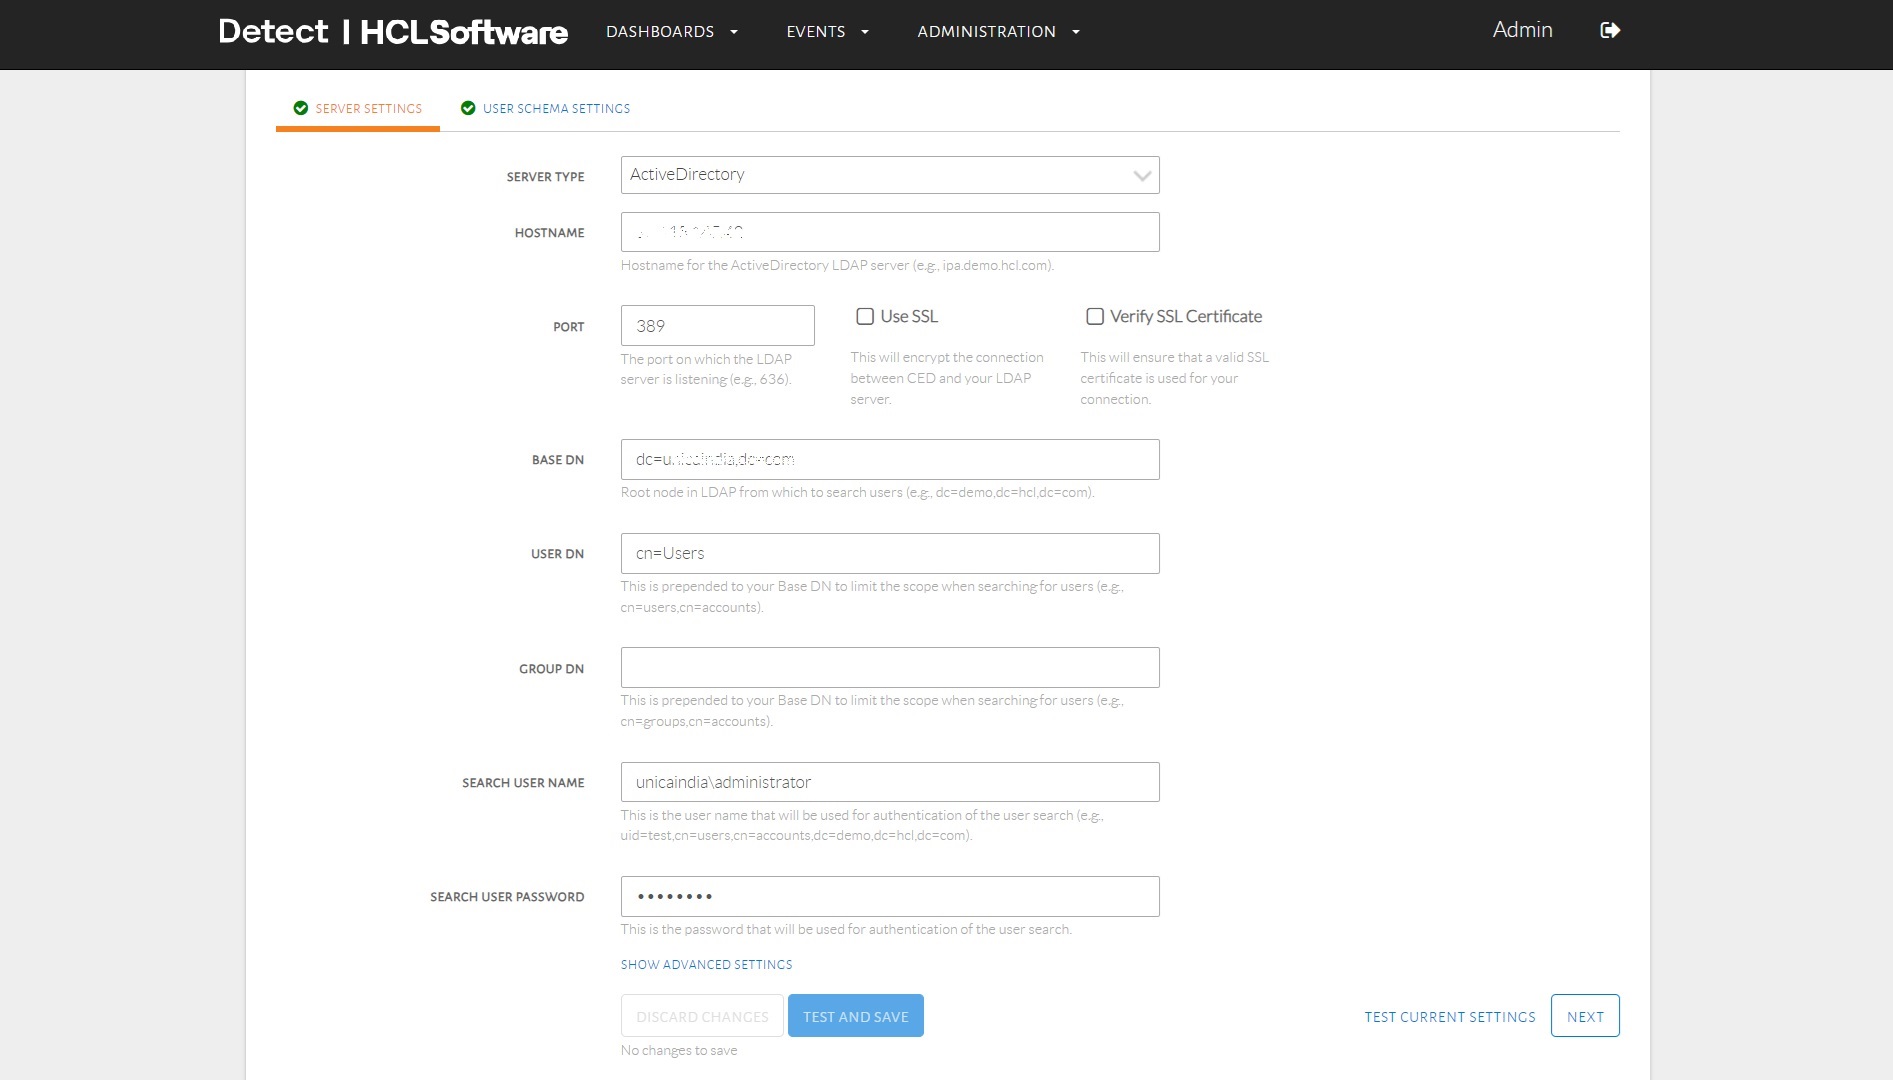
- Enter the following details:
- Server Type (Free IPA or Active Directory)
- Hostname
- Port
- Base DN
- User DN
- Group DN
- Search Username
- Search User Password
-
Click Test and Save to verify and save the configuration.
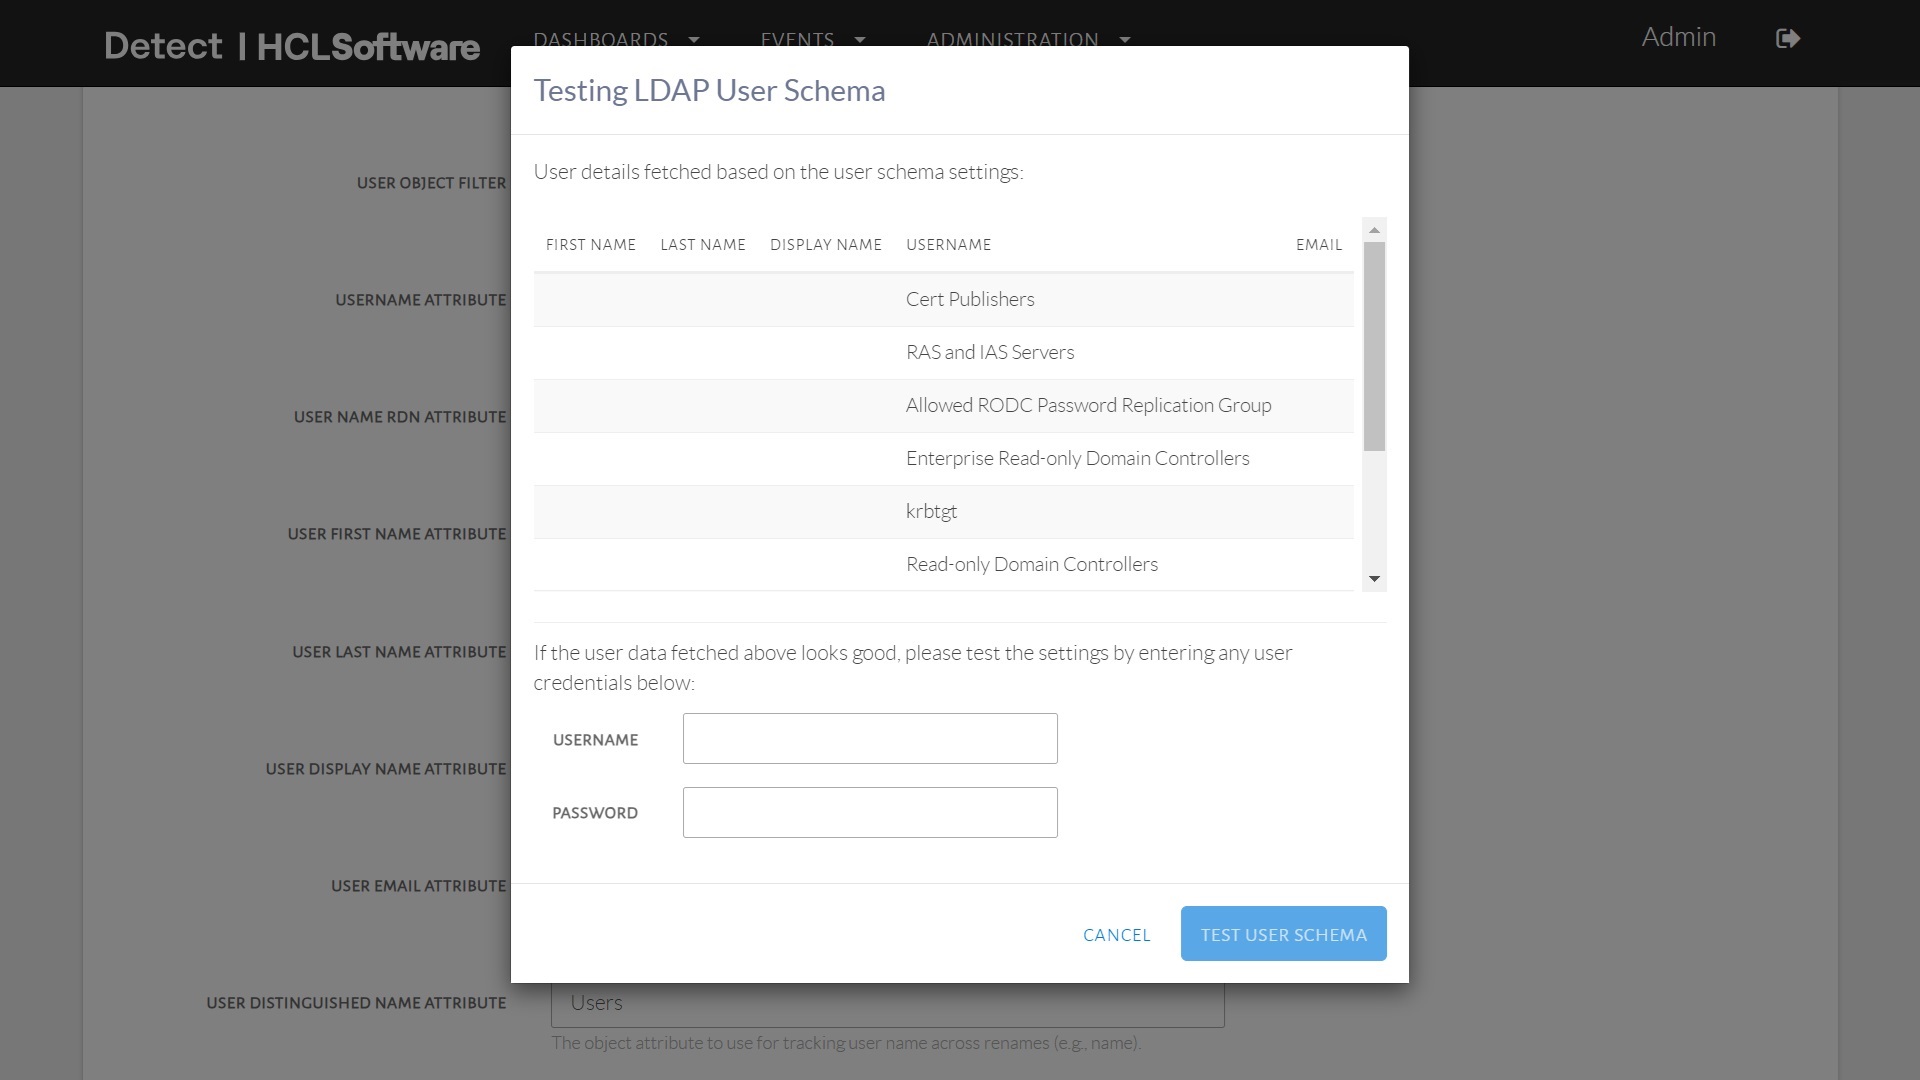
Configuring User Schema Settings
After enabling LDAP, configure the User Schema Settings:
- Enter the following details based on your organization���s LDAP setup:
- User Object Class
- User Object Filter
- Username Attribute
- User Name RDN Attribute
- User First Name Attribute
- User Last Name Attribute
- User Display Name Attribute
- User Email Attribute
- User Distinguished Name Attribute
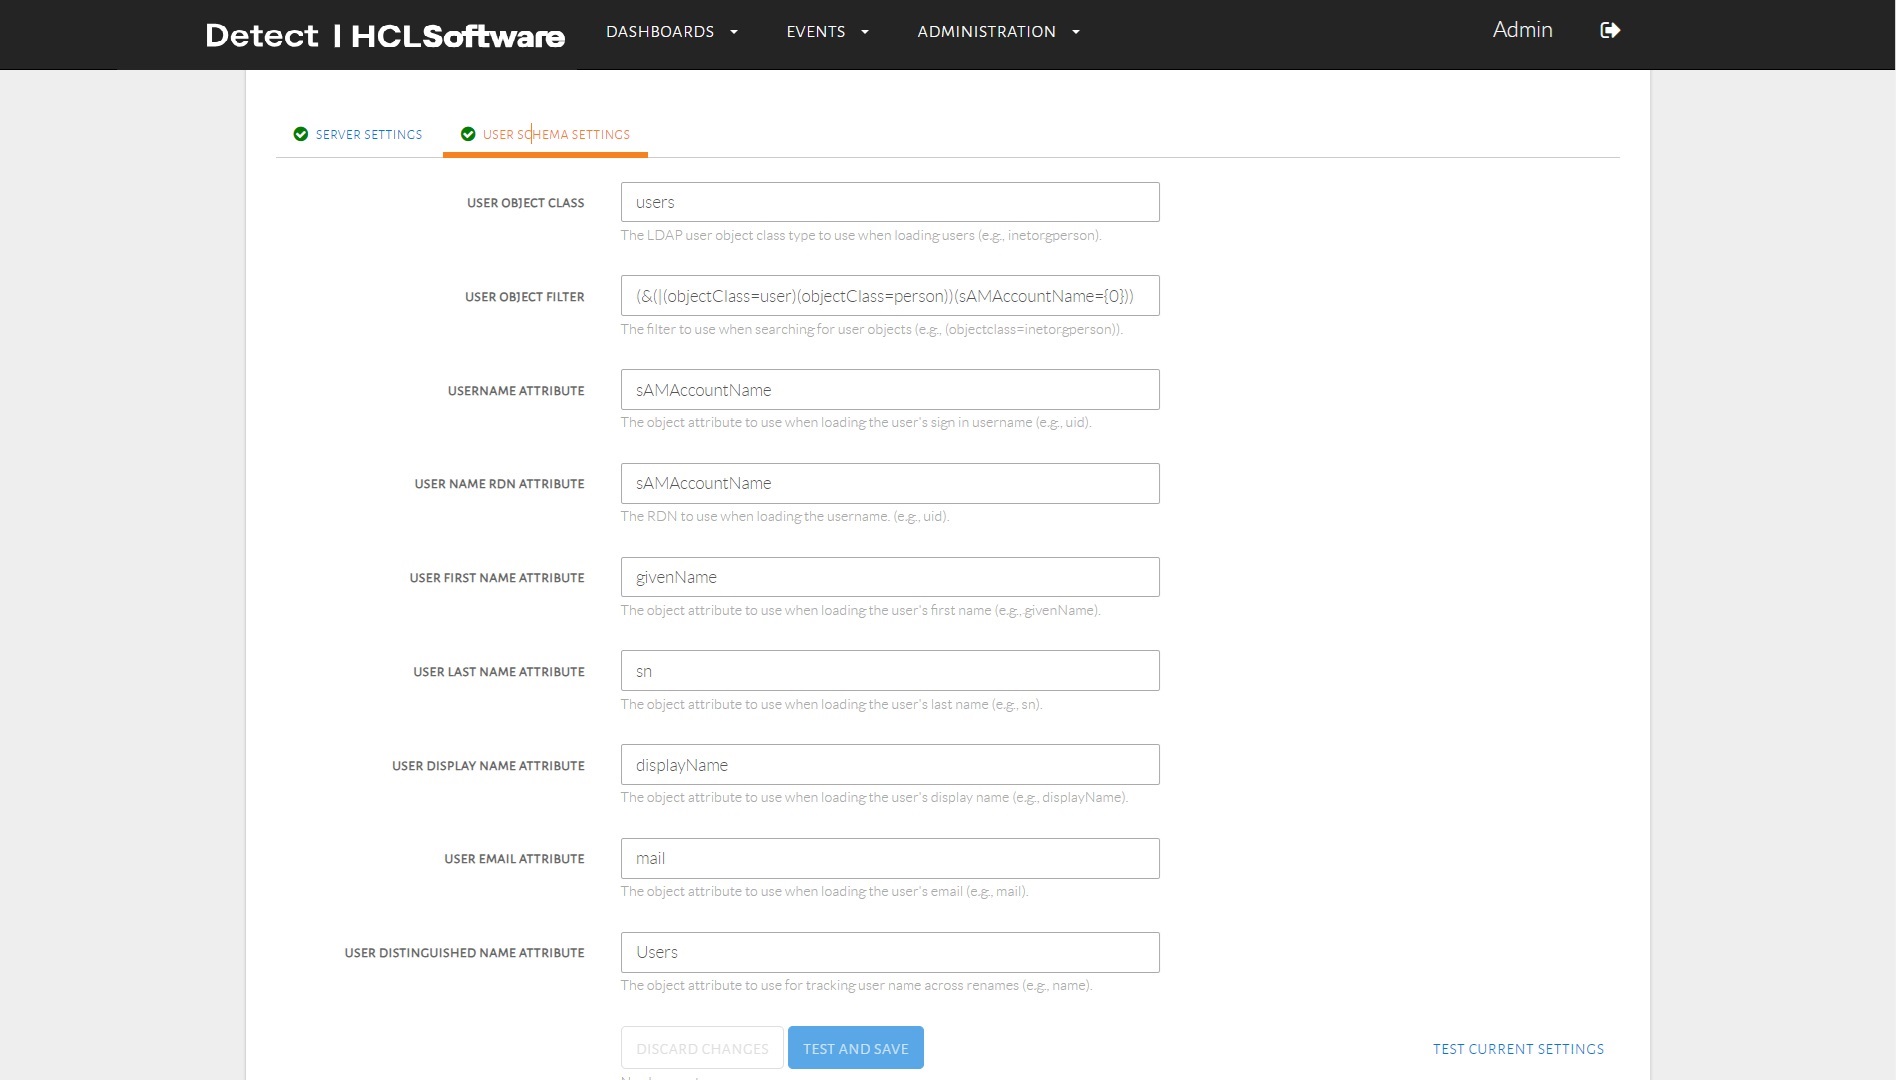
- Click Test and Save.
- Verify by entering an LDAP username and password, then click Test and
Save on the pop-up display.