Enable SSL Authentication
To enable SSL authentication, perform the following steps:
Note:
Please ensure that only one ca.pem should be generated. From
the same ca.pem, server.pem for each server should be generated. From the same
ca.pem, client.pem should be generated.
Generate the ca.pem, server.pem and client.pem by referring to the steps below:
Generate CA. P EM and SERVER.PEM
- Create a new folder (preferable name, generate_certificate) on any location.
- Open the Command Prompt as Administrator.
- Copy the path of the folder and type the following command:
cd <path till the directory> e.g. – cd C:\generate_certificate - Execute all the further commands for generation of certificate in this folder.
Figure 1. Generation of Certificates – ca.pem and server.pem 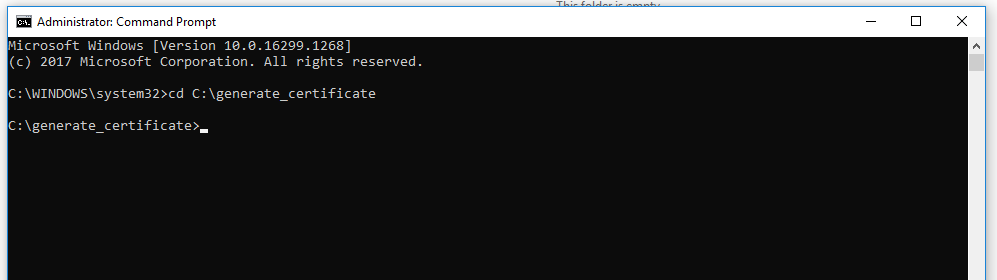
- Ensure openssl is configured. To verify the same, type openssl version and press Enter. Openssl version will be displayed, verify the version, then proceed with further steps
- Execute the command below:
echo subjectAltName=IP:<hostname/ip> > san.txt for eg: echo subjectAltName=IP:10.1.x.x > san.txtNote:Change the CN below w.r.t to hostname of serveropenssl req -out ca.pem -new -x509 -days 3650 –subj "/C=IN/ST=UP/O=Organisation/CN=<10.x.x.x>/emailAddress=user@domain.com" - Upon execution of previous command, user will be asked to Enter PEM passphrase. Note:While entering password there won’t be an asterisk or cursor movement on command prompt.
- Enter a passphrase and make sure to note it as it will be required in further steps.
Figure 2. Generation of Certificates – ca.pem and server.pem (cont.) 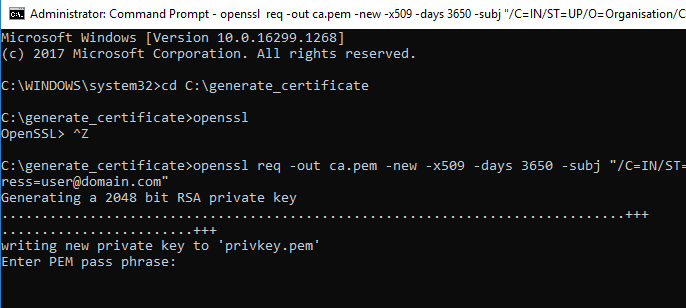
- Once the passphrase is entered, it is verified.
- Please enter the same passphrase again and press Enter.
Figure 3. Generation of Certificates – ca.pem and server.pem (cont.) 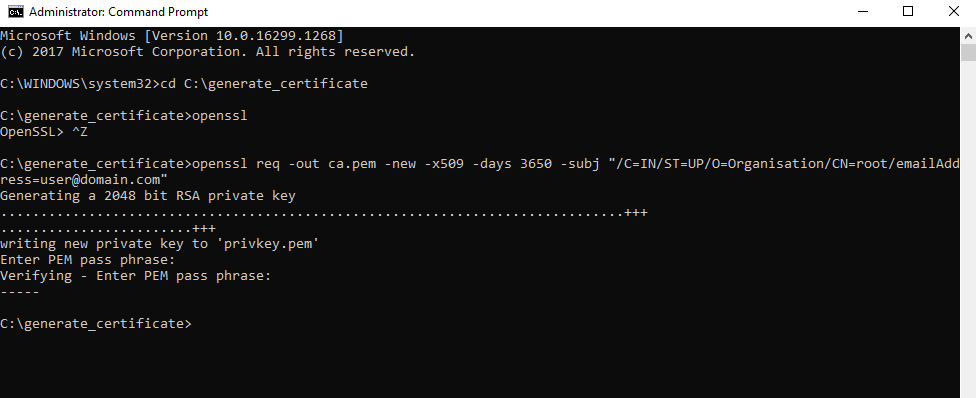
- The following files will be generated in the folder created earlier:
Figure 4. Generation of Certificates – ca.pem and server.pem (cont.) 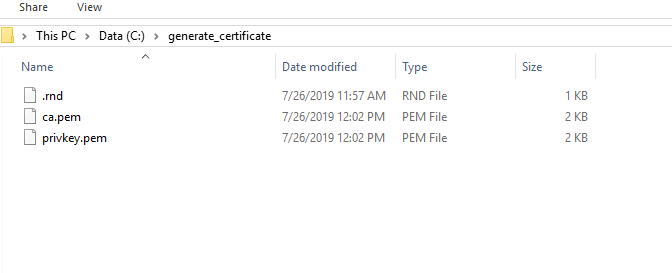
- The generated ca.pem and privkey.pem will be used in the generation of certificates for servers and client respectively.
- Enter the command below to create the file file.srl:
echo 00 > file.srl - Execute the command below to generate a file named server.key in the folder:
openssl genrsa -out server.key 2048 - Execute the command below to generate the server.req file in the folder. Before
executing the command, please identify the server for which the server is to be generated.
Enter the IP of the server for which certificate is to be generated in the CN field:
openssl req -key server.key -new -out server.req -subj "/C=IN/ST=UP/O=Organisation/CN=<IP of server for which certificate is to be created>/emailAddress=user@domain.com" e.g. – openssl req -key server.key -new -out server.req -subj “/C=IN/ST=UP/O=Organisation/CN=10.1.1xx.6x/emailAddress=user@domain.com” - Execute the command below:
openssl x509 -req -in server.req -CA ca.pem -CAkey privkey.pem -CAserial file.srl -out server.crt -days 3650 -extfile san.txt - Users will be prompted to enter the passphrase for privkey.pem that was created earlier.
Enter the same passphrase to proceed.
Figure 5. Generation of Certificates – ca.pem and server.pem (cont.) 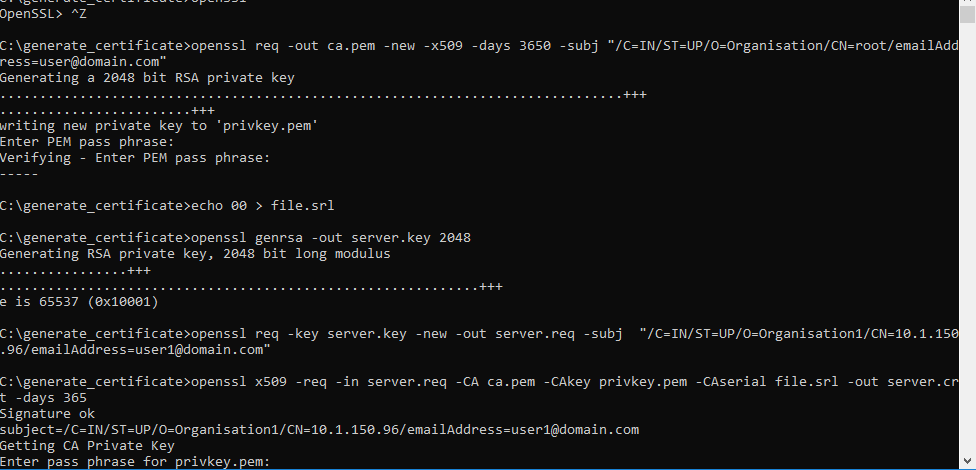
- Upon successful execution, server.crt files will be generated.
- Enter the command below to concatenate server.key and server. crt
type server.key server.crt > server.pem - Upon successful execution, server.pem will be generated.
- Execute the command below. If the command execution is successful, an OK message will be
displayed.
openssl verify -CAfile ca.pem server.pemFigure 6. Generation of Certificates – ca.pem and server.pem (cont.) 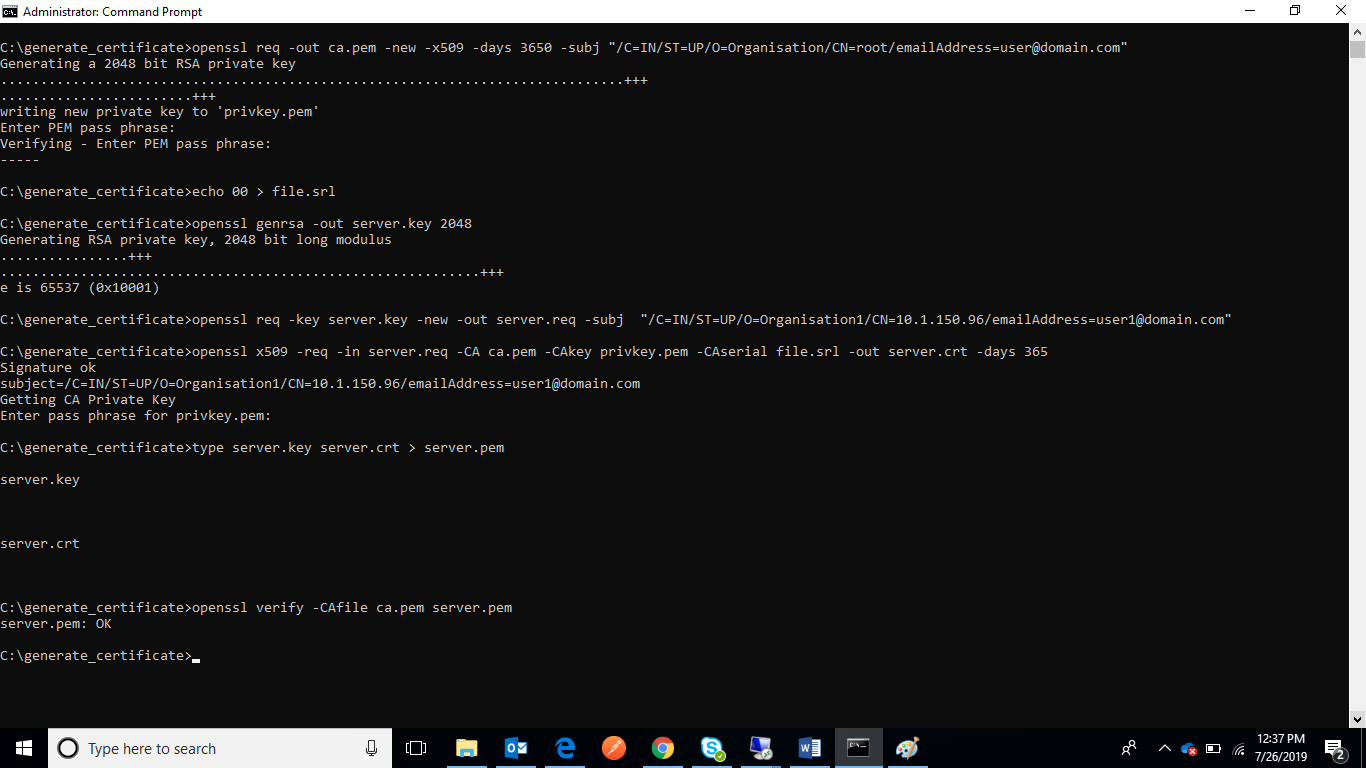
- Refer to the below image to validate the files generated throughout the process:
Figure 7. Generation of Certificates – ca.pem and server.pem (cont.) 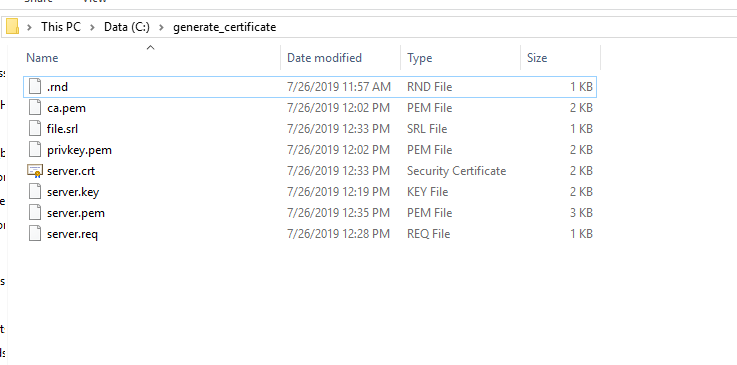
- Ensure to remember the server IP for which the server.pem was generated.
Generate client.pem
- Before proceeding with this section, please ensure that the file ca.pem, privkey.pem have been generated. Also, the user should also have the pass phrase.
- Use the same folder where server.pem and ca.pem were generated.
- Open the Command Prompt as Administrator.
- Copy the path of the folder and type the following
command:
cd <path till the directory that has ca.pem,privkey.pem of the server> e.g. – cd C:\generate_certificate - Execute all the further commands for generation of certificate in this folder. Please
use the pass phrase created earlier during ca.pem, server.pem
generation:
echo 00 > file.srl openssl genrsa -out client.key 2048Note:Change the CN below w.r.t to hostname of serveropenssl req -key client.key -new -out client.req -subj "/C=IN/ST=UP/O=Organisation/CN=<10.x.x.x>/emailAddress=user@domain.com" -
openssl x509 -req -in client.req -CA ca.pem -CAkey privkey.pem -CAserial file.srl -out client.crt -days 3650 -extfile san.txtNote:Enter the passphrasetype client.key client.crt > client.pem openssl verify -CAfile ca.pem client.pem - Upon successful execution, client.pem files will be generated in the folder.
- After the ca.pem, client.pem and server.pem are generated, copy these files and paste
them in the following
path:
<MongoDBMongoDB_installed_path>/MongoDB/Server/8.0/bin For e.g. - C:\Program Files\MongoDBMongoDB\Server\8.0\bin - Go to folder mongo/data/config, open the file mongod.cfg and make the
following changes:Note:Please preserve the space and indentations as shown below. Ensure that editing is done in notepad++.
- In the net header, enter the following
values:
ssl:
mode: allowSSL
PEMKeyFile: C:\Program Files\MongoDBMongoDB\Server\8.0\bin\server.pem
CAFile: C:\Program Files\MongoDBMongoDB\Server\8.0\bin\ca.pem
Figure 8. MongoDB Installation – Enable SSL Authentication (non-HA) 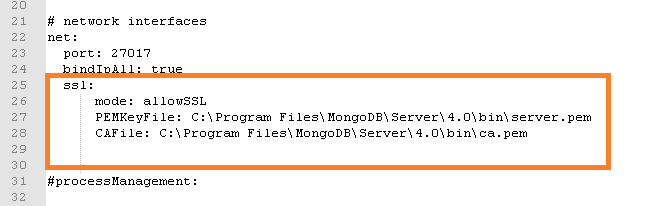
-
Save the file for changes to be reflected.
- In the net header, enter the following
values:
- Open the Command Prompt as Administrator on the server and execute the
command
below:
mongosh –-tls --host <IP> --port <port> -u <username> -p <password> --authenticationDatabase "admin" --tlsCAFile "<path of ca.pem>" --tlsCertificateKeyFile "<path of client.pem>"
for e.g. –
mongosh --tls --host x.x.x.x1 --port 27017 -u <username> -p <password> --authenticationDatabase "admin" --tlsCAFile "C:\Program Files\MongoDBMongoDB\Server\8.0\bin\ca.pem" --tlsCertificateKeyFile "C:\Program Files\MongoDB\Server\8.0\bin\client.pem"
This will establish the connection with MongoDB.
- Execute the commands
below:
MongoDBMongoDB Enterprise>db.adminCommand({ setParameter: 1, sslMode: "preferSSL" } ) MongoDBMongoDB Enterprise> db.adminCommand( { setParameter: 1, sslMode: "requireSSL" } ) - Restart the MongoDB service on the server.