Managing crawlers
Use the Search Admin UI to manage crawlers.
A crawler pulls data from a content source and indexes it for search.
Note
Crawlers are available only for JCR, Portal, WCM, and Website content source types. DAM and People content sources do not have an associated crawler. Instead, they use the Content Push API to push documents directly to the search index. For more information about content sources, refer to Content Sources.
Overview tab
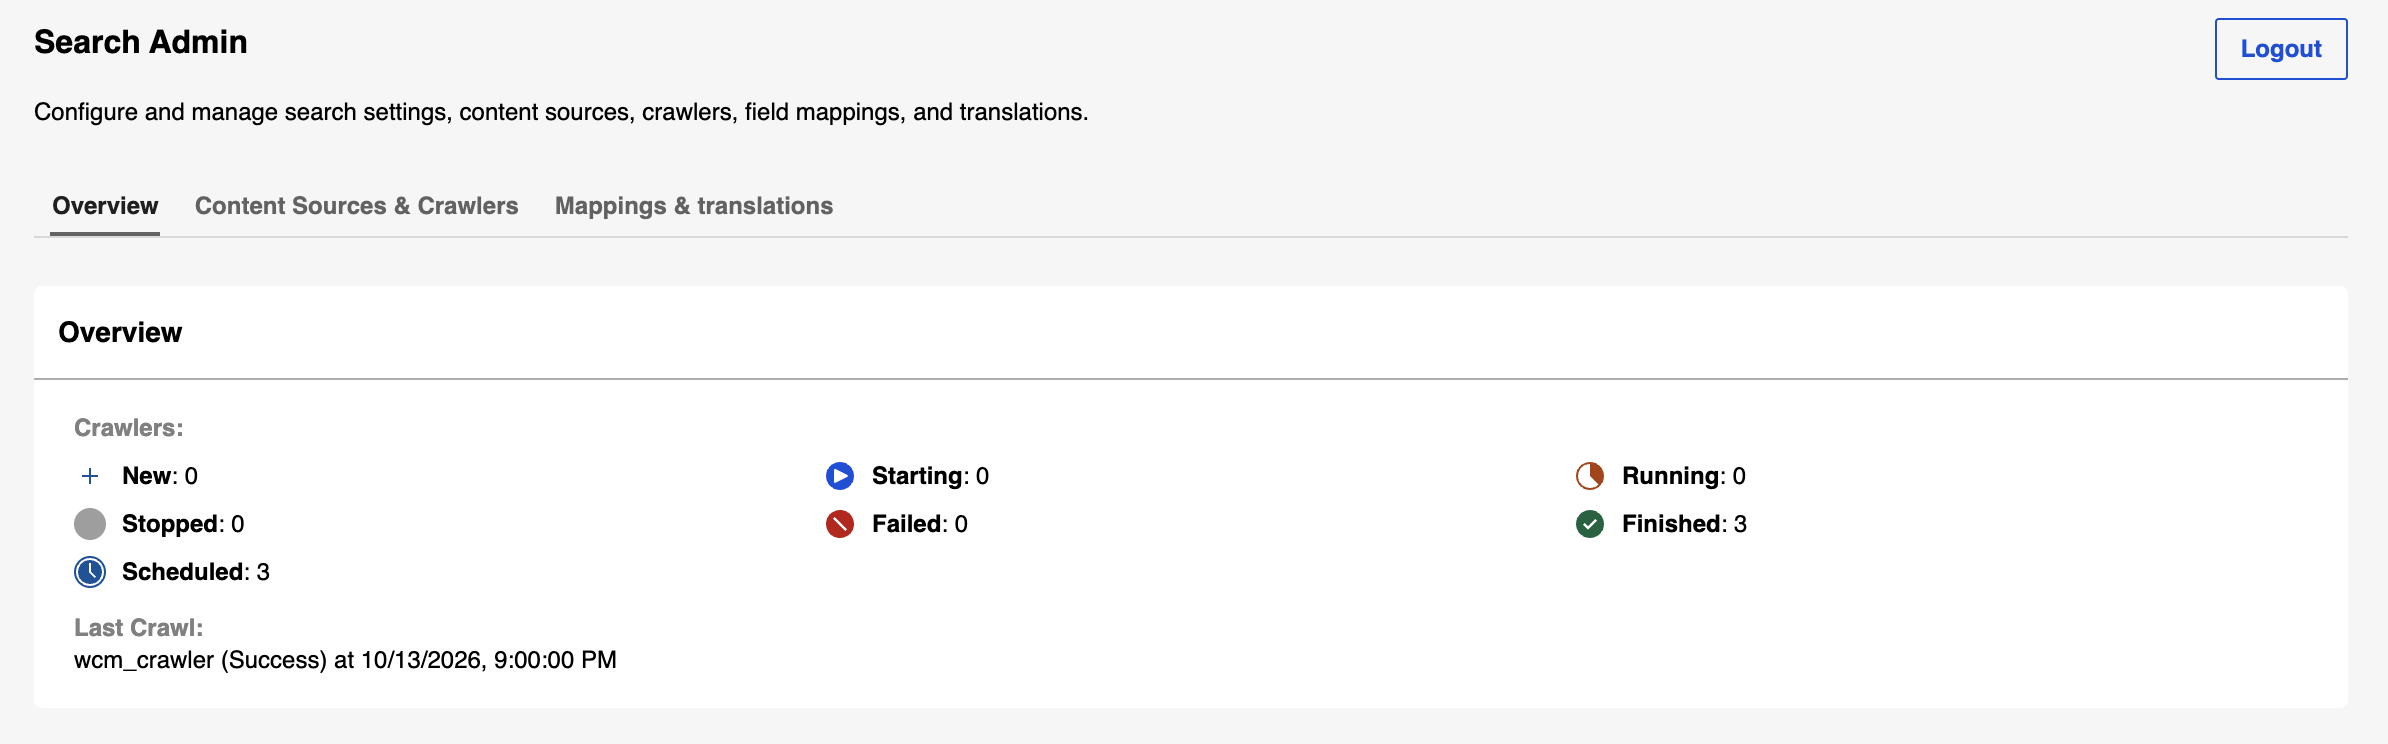
Select the Overview tab to view the number of crawlers by status and details for the most recent crawl, including crawler name, status, date, and time.
Content Sources & Crawlers tab
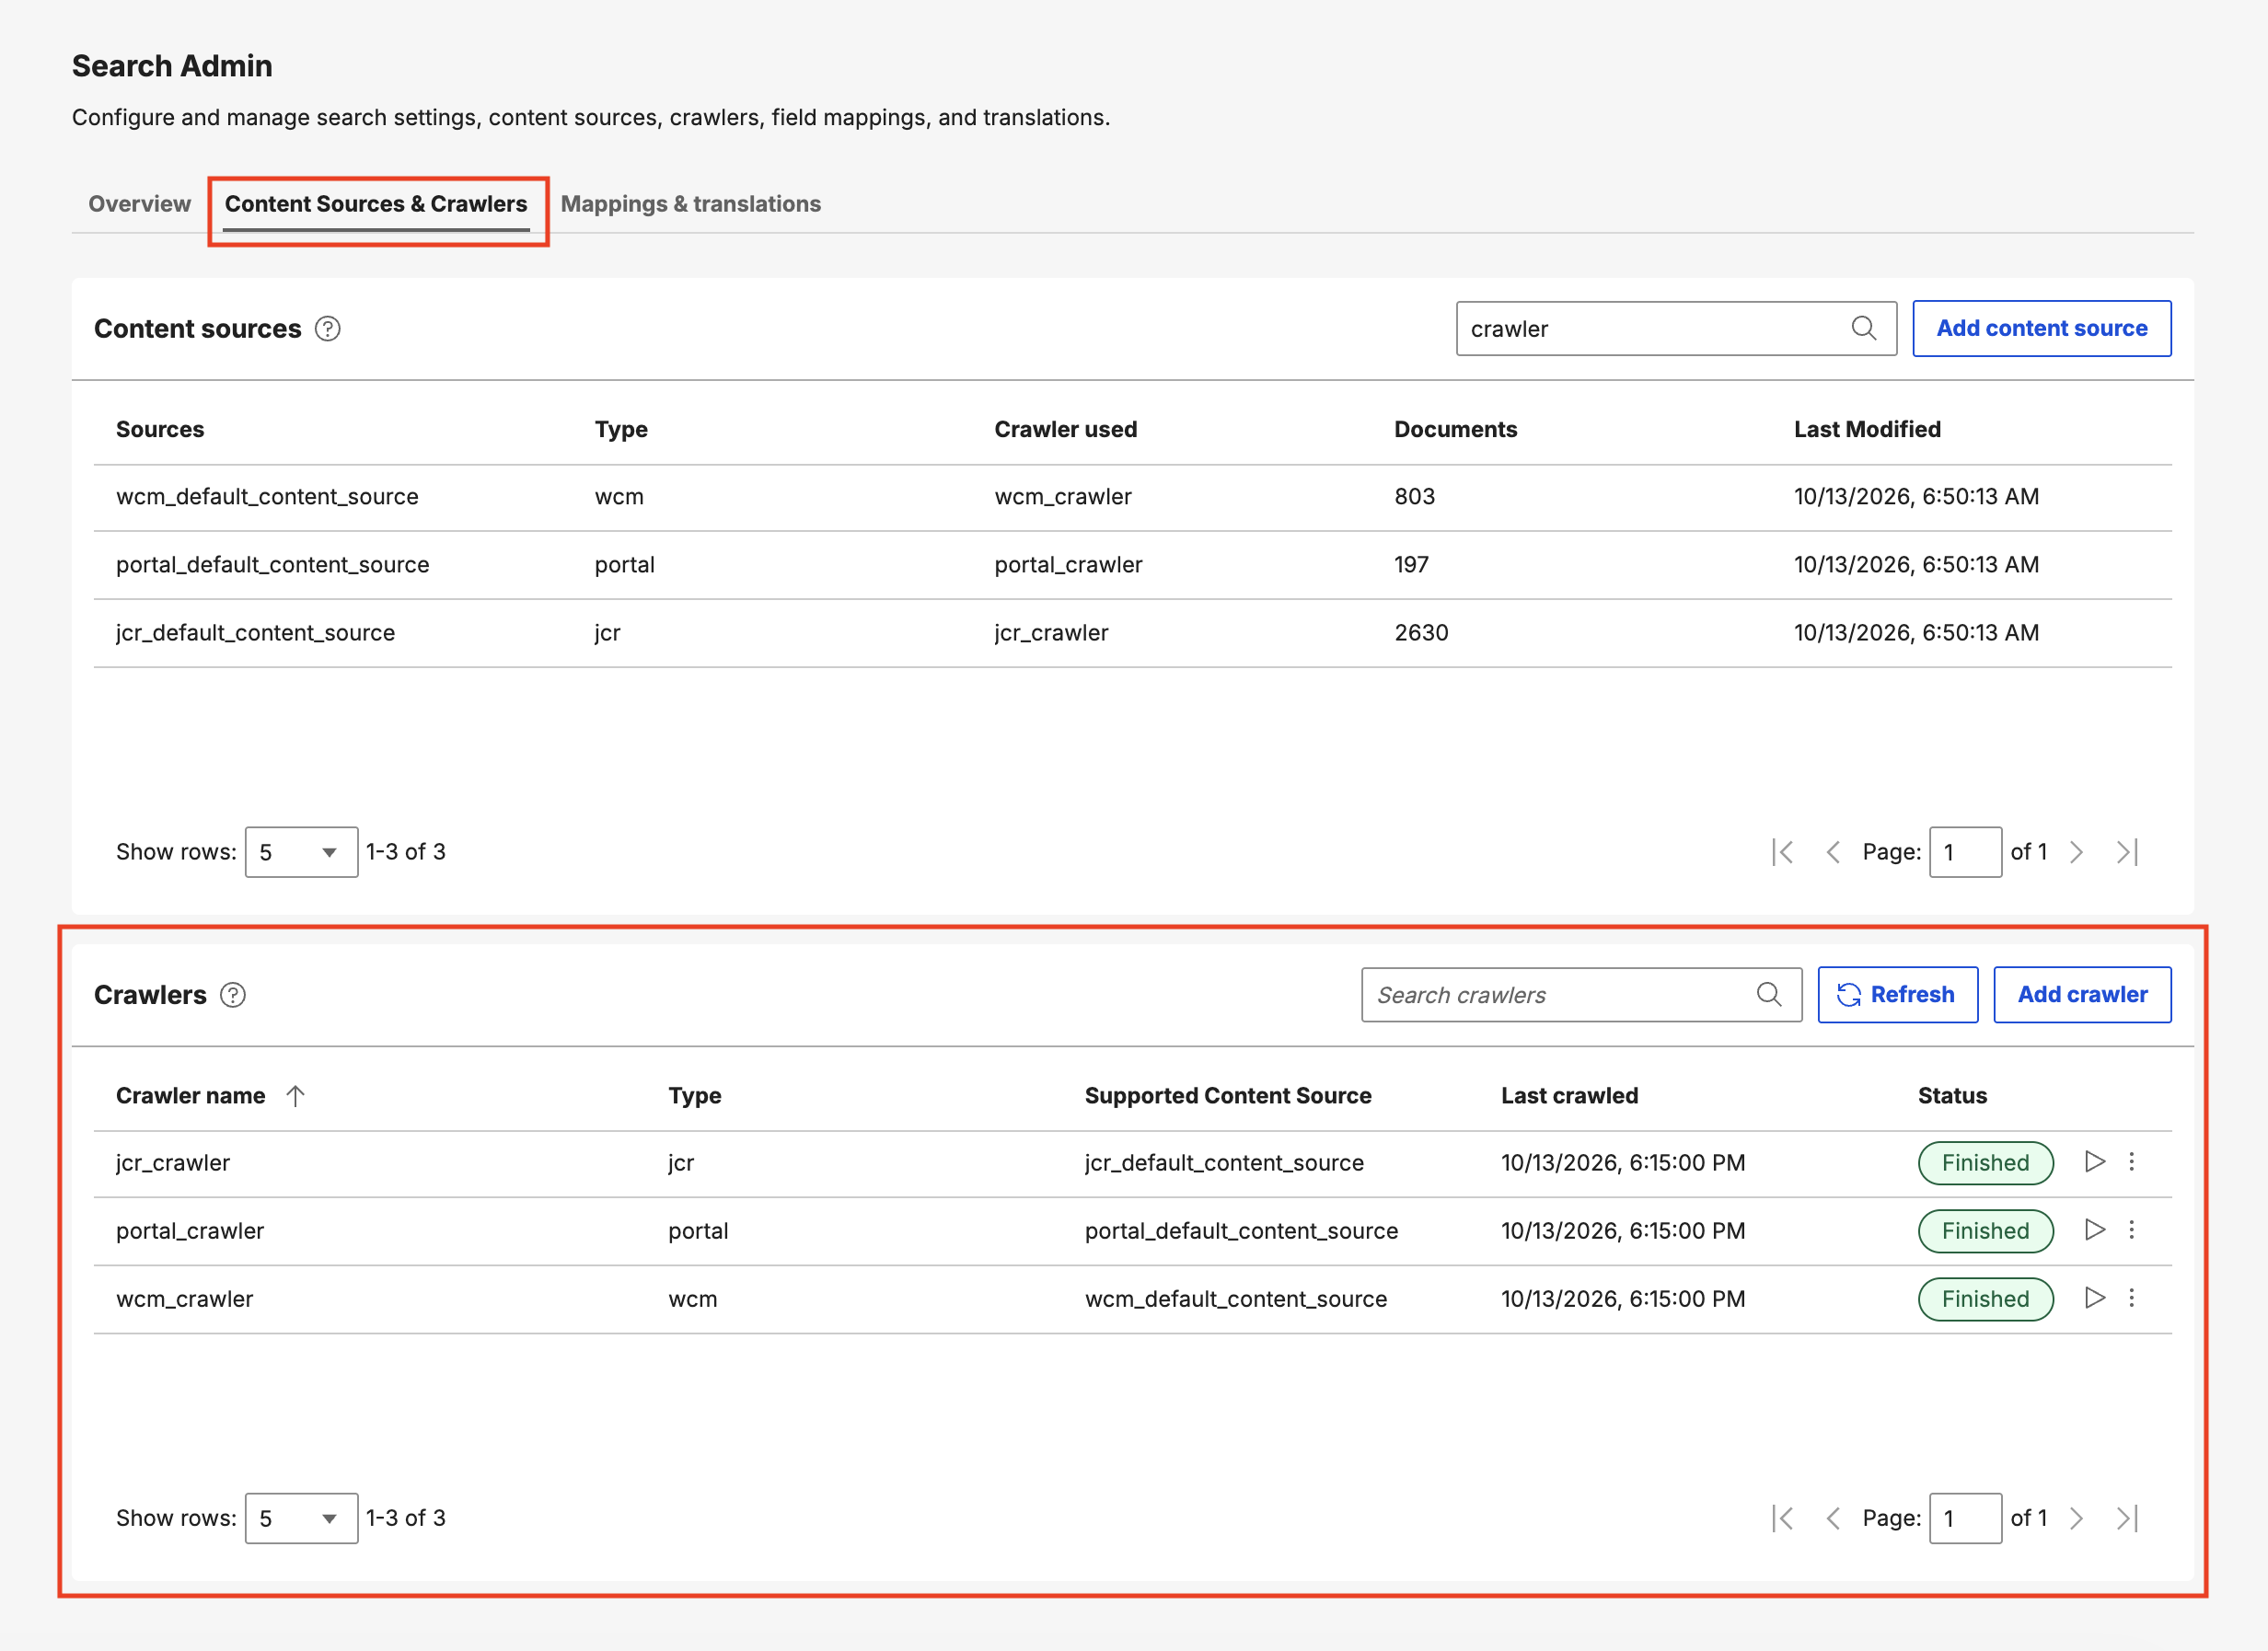
On the Content Sources & Crawlers tab, you can do the following tasks:
Viewing crawlers
In the Crawlers section, view the list of existing crawlers.
Creating a crawler
-
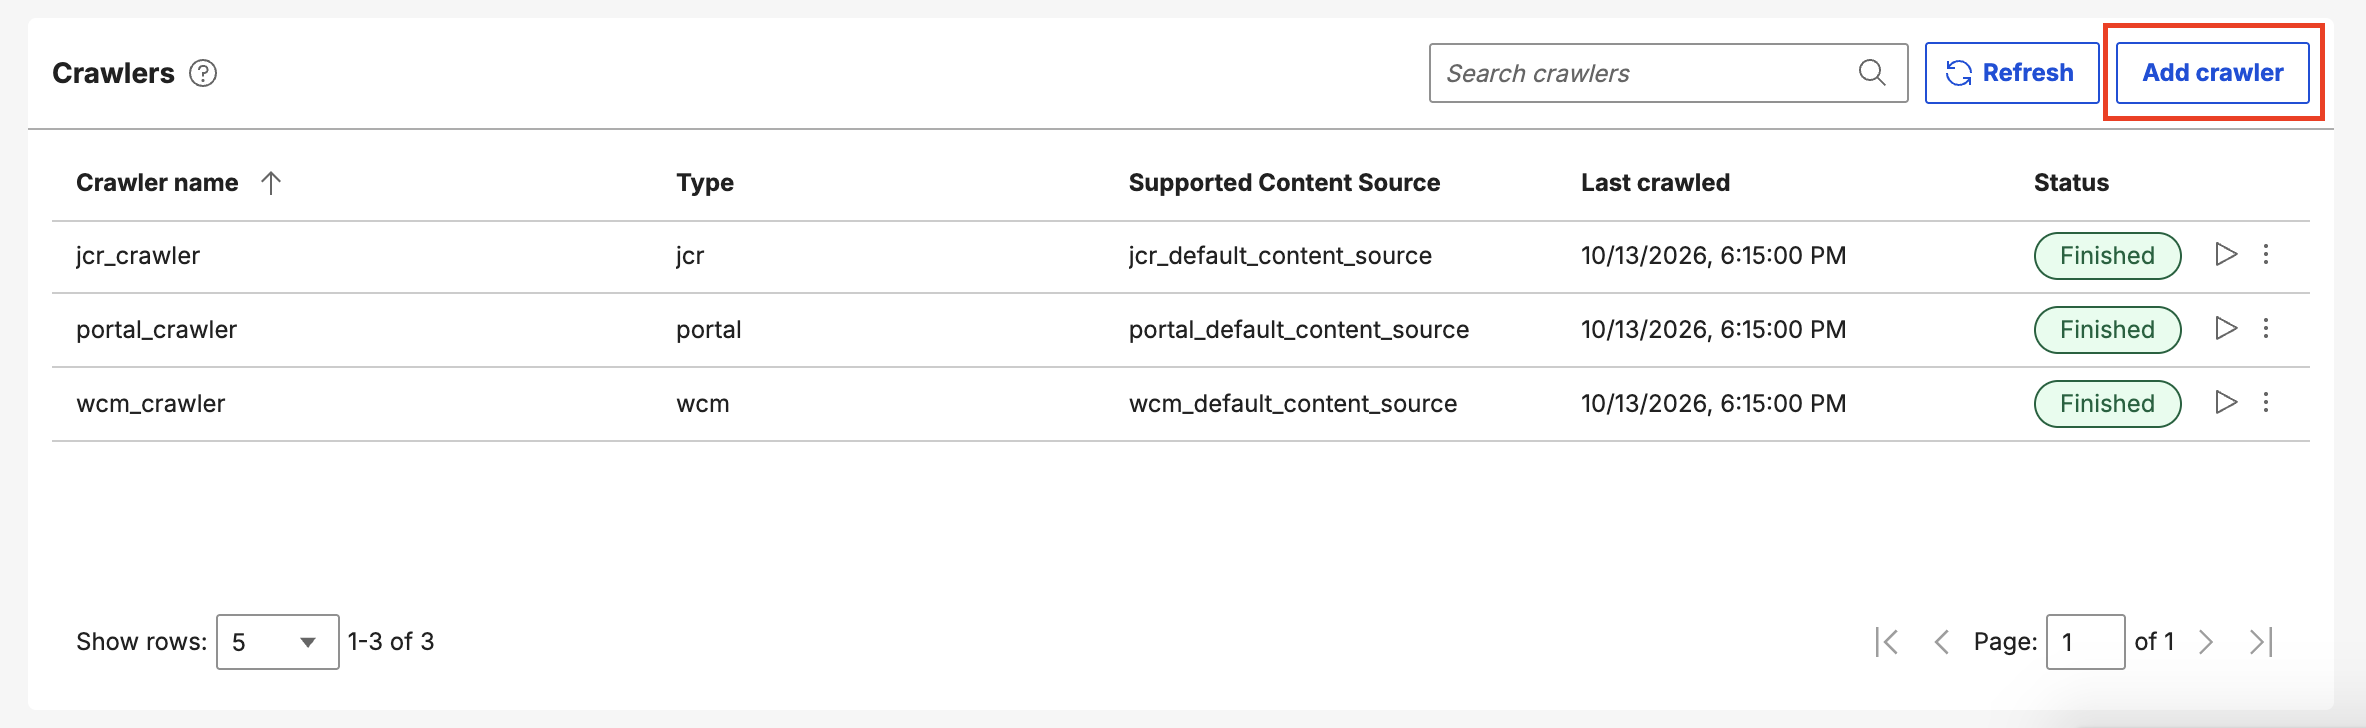
Select Add crawler.
-
Enter the following details:
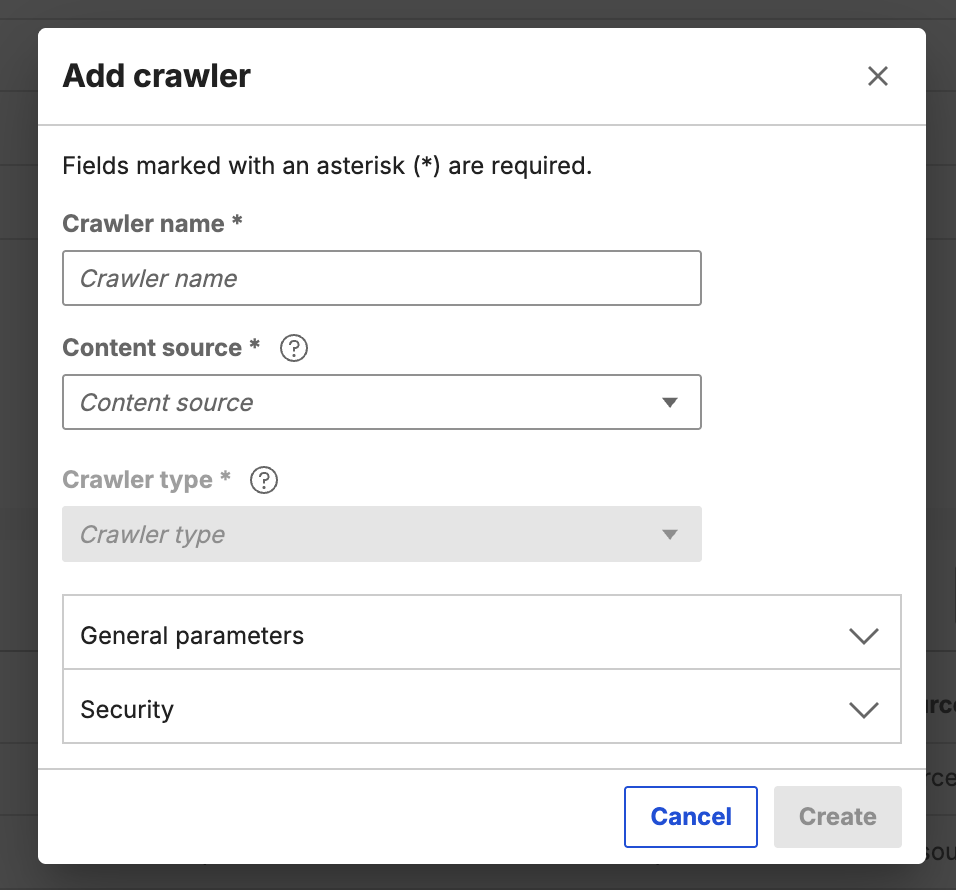
- Crawler name: Enter a name for the crawler.
- Content source: Select the content source from the drop-down list. The selected content source determines the Crawler type.
- General parameters: Expand the section to configure the following parameters:
- Target data source: Enter the seedlist URL that the crawler pulls data from (for example,
https://dx-deployment-haproxy/wps/seedlist/myserver?SeedlistId=&Source=com.ibm.workplace.wcm.plugins.seedlist.retriever.WCMRetrieverFactory&Action=GetDocuments). - Schedule: Enter a cron expression that controls how often the crawler runs automatically (for example,
*/15 * * * *). Leave this box empty to run the crawler only when triggered manually. - Max depth level: Enter the maximum number of levels the crawler follows from the starting point.
- Max documents to crawl: Enter the maximum number of documents to index in a single crawl.
- Links expire after (s): Enter the time in seconds before a discovered link is considered stale.
- Page crawl delay (s): Enter the delay in seconds between page requests. Use this setting to reduce load on the target system.
- Max crawl time (s): Enter the time limit in seconds for the overall crawler run. Use this setting to prevent stuck crawlers.
- Target data source: Enter the seedlist URL that the crawler pulls data from (for example,
- Security: Expand the section to configure authentication settings:
- Authentication (Type): Select the authentication method that the crawler uses to connect to the seedlist:
- Inherit to reuse the security configuration of the associated content source.
- Basic for HTTP basic authentication.
- Form for form-based login.
- If you select Basic or Form, enter the following additional details:
- Username: Enter the username of an account that has permission to crawl the seedlist (for example,
wpsadmin). - Password: Enter the password for the specified account. The password is masked as
********in API responses.
- Username: Enter the username of an account that has permission to crawl the seedlist (for example,
- Authentication (Type): Select the authentication method that the crawler uses to connect to the seedlist:
For the full definition of each property, refer to Configuring a crawler by using the REST API.
-
Select Create, or select Cancel. If you select Cancel, select Discard to discard changes or Keep editing to return to the dialog box.
Viewing crawler properties
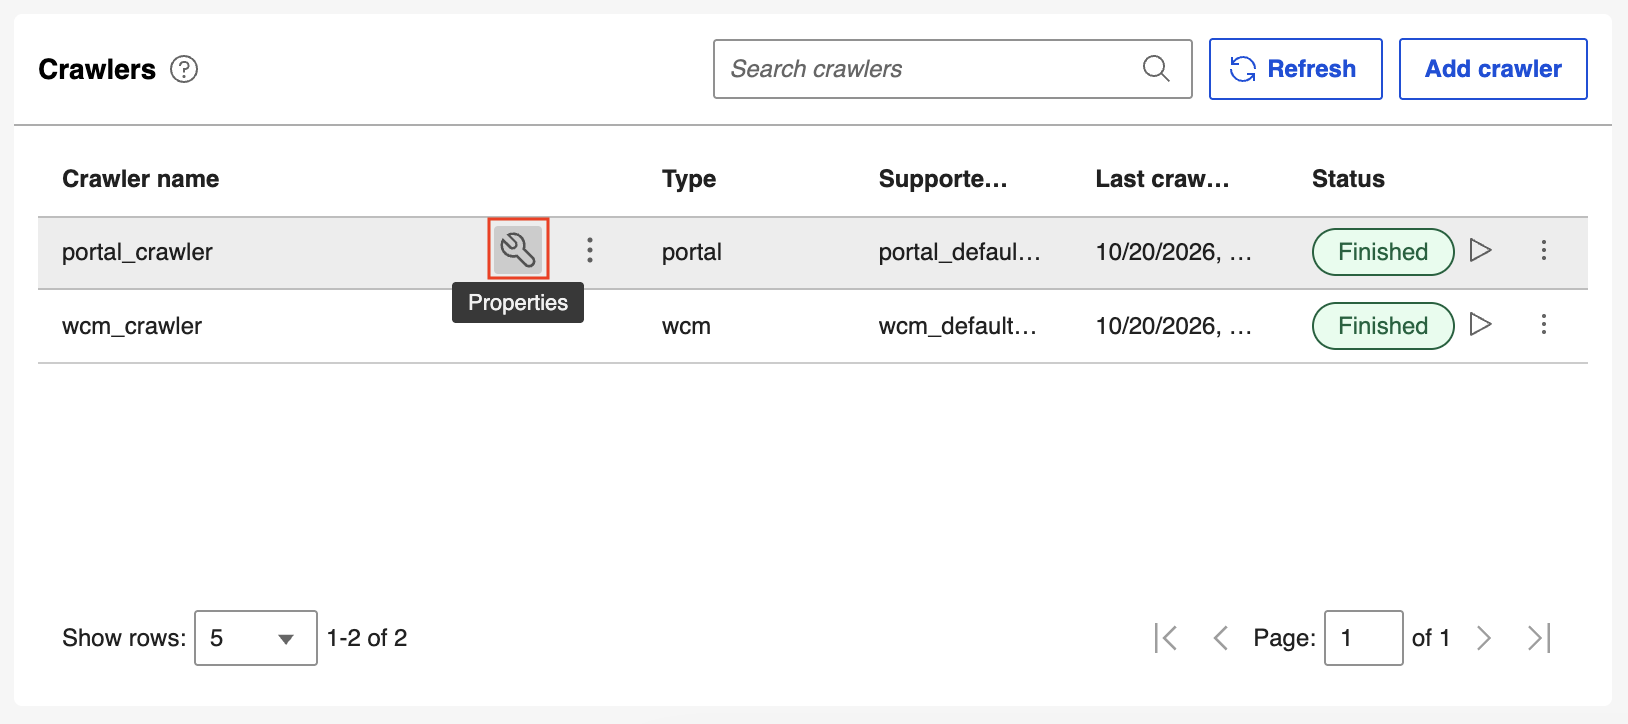
- Hover over a crawler row.
-
Select the Properties icon.
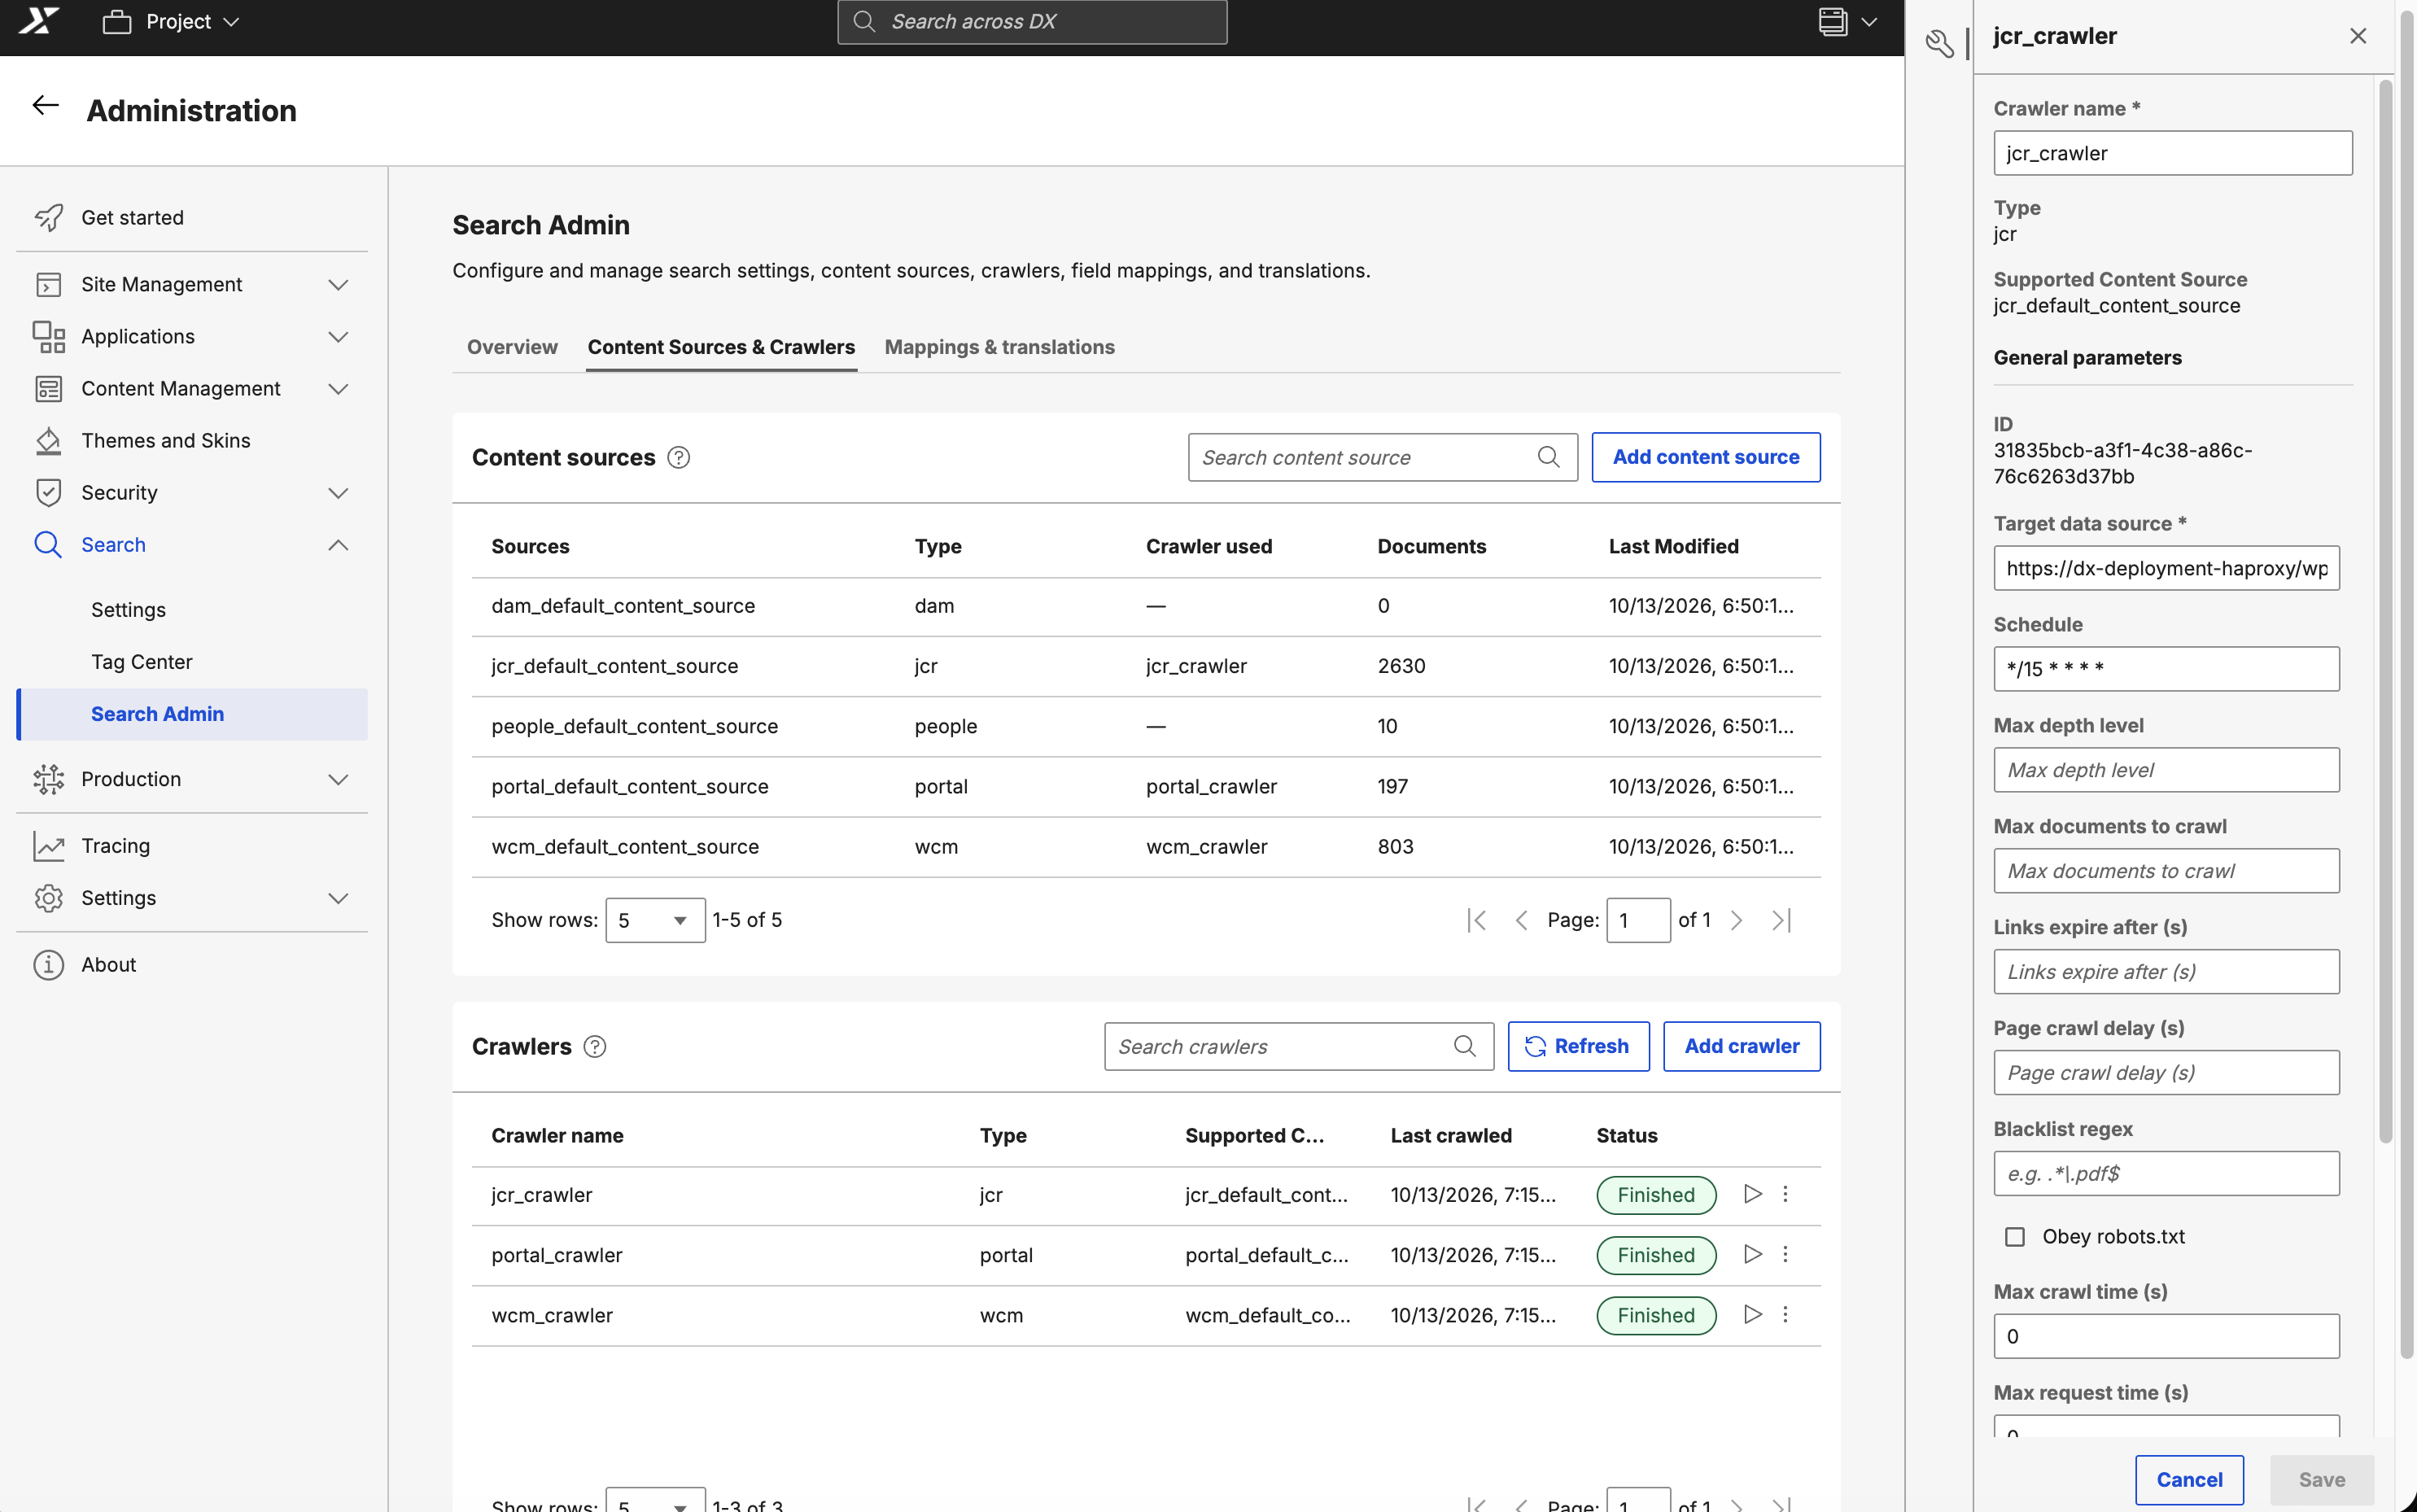
The Properties panel displays the crawler name, type, and supported content source. It also displays general parameters (such as ID, target data source, schedule, crawl limits, and crawl delay) and security settings (such as authentication type).
Searching for a crawler
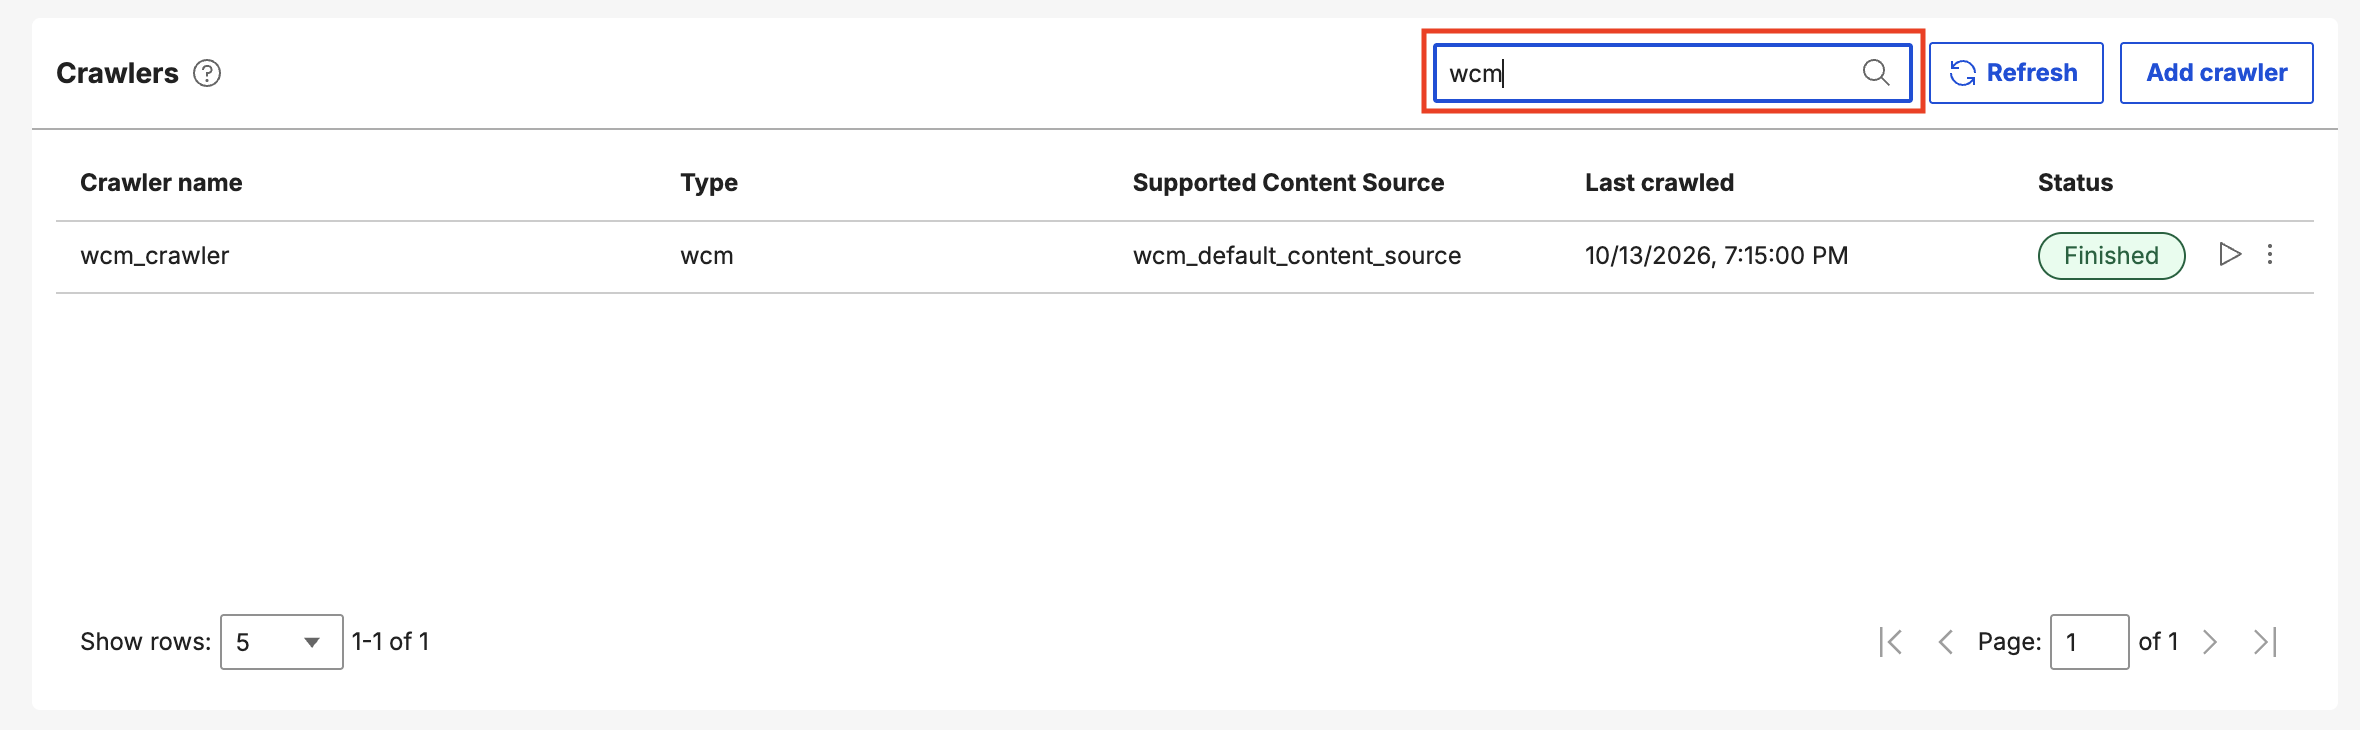
- Select the Search crawler box and enter a search term.
- Select the search icon or press Enter. The list filters to show all crawlers that match the specified name, type, or associated content source name you entered.
Monitoring crawler status
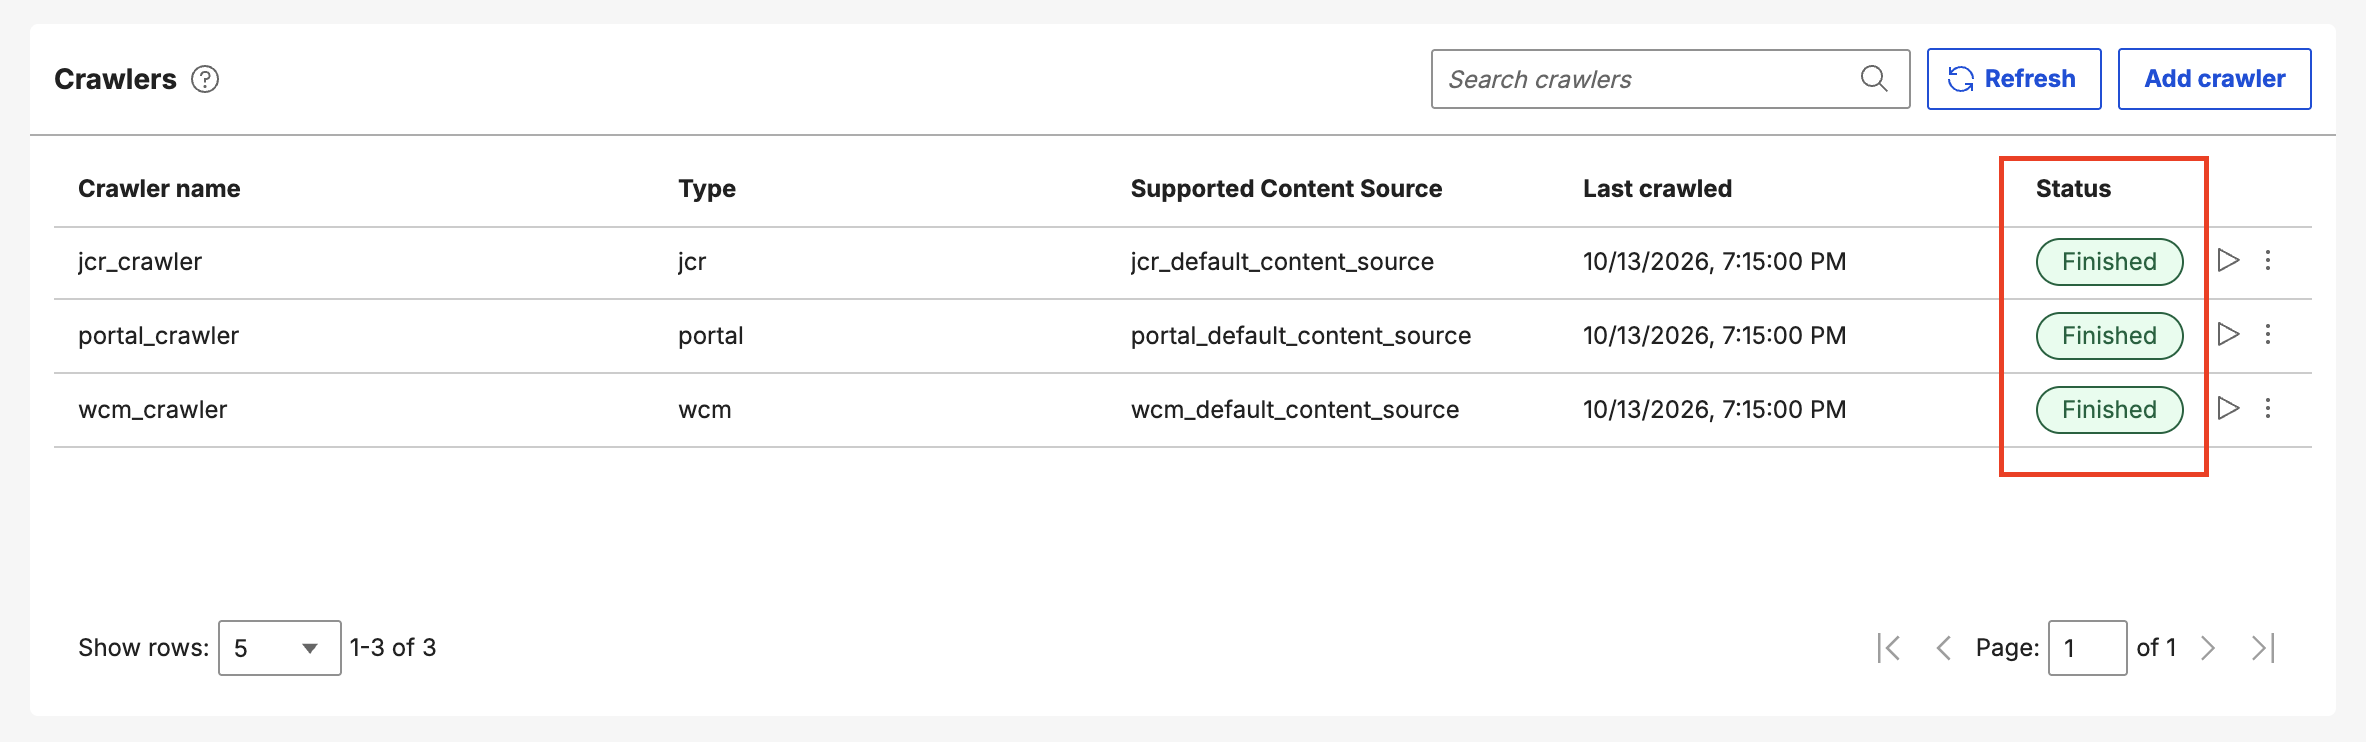
The Status column shows the current status of each crawler: New, Starting, Running, Finished, Stopped, or Failed.
Manually triggering a crawl
There are two ways to manually trigger a crawl for a supported content source:
-
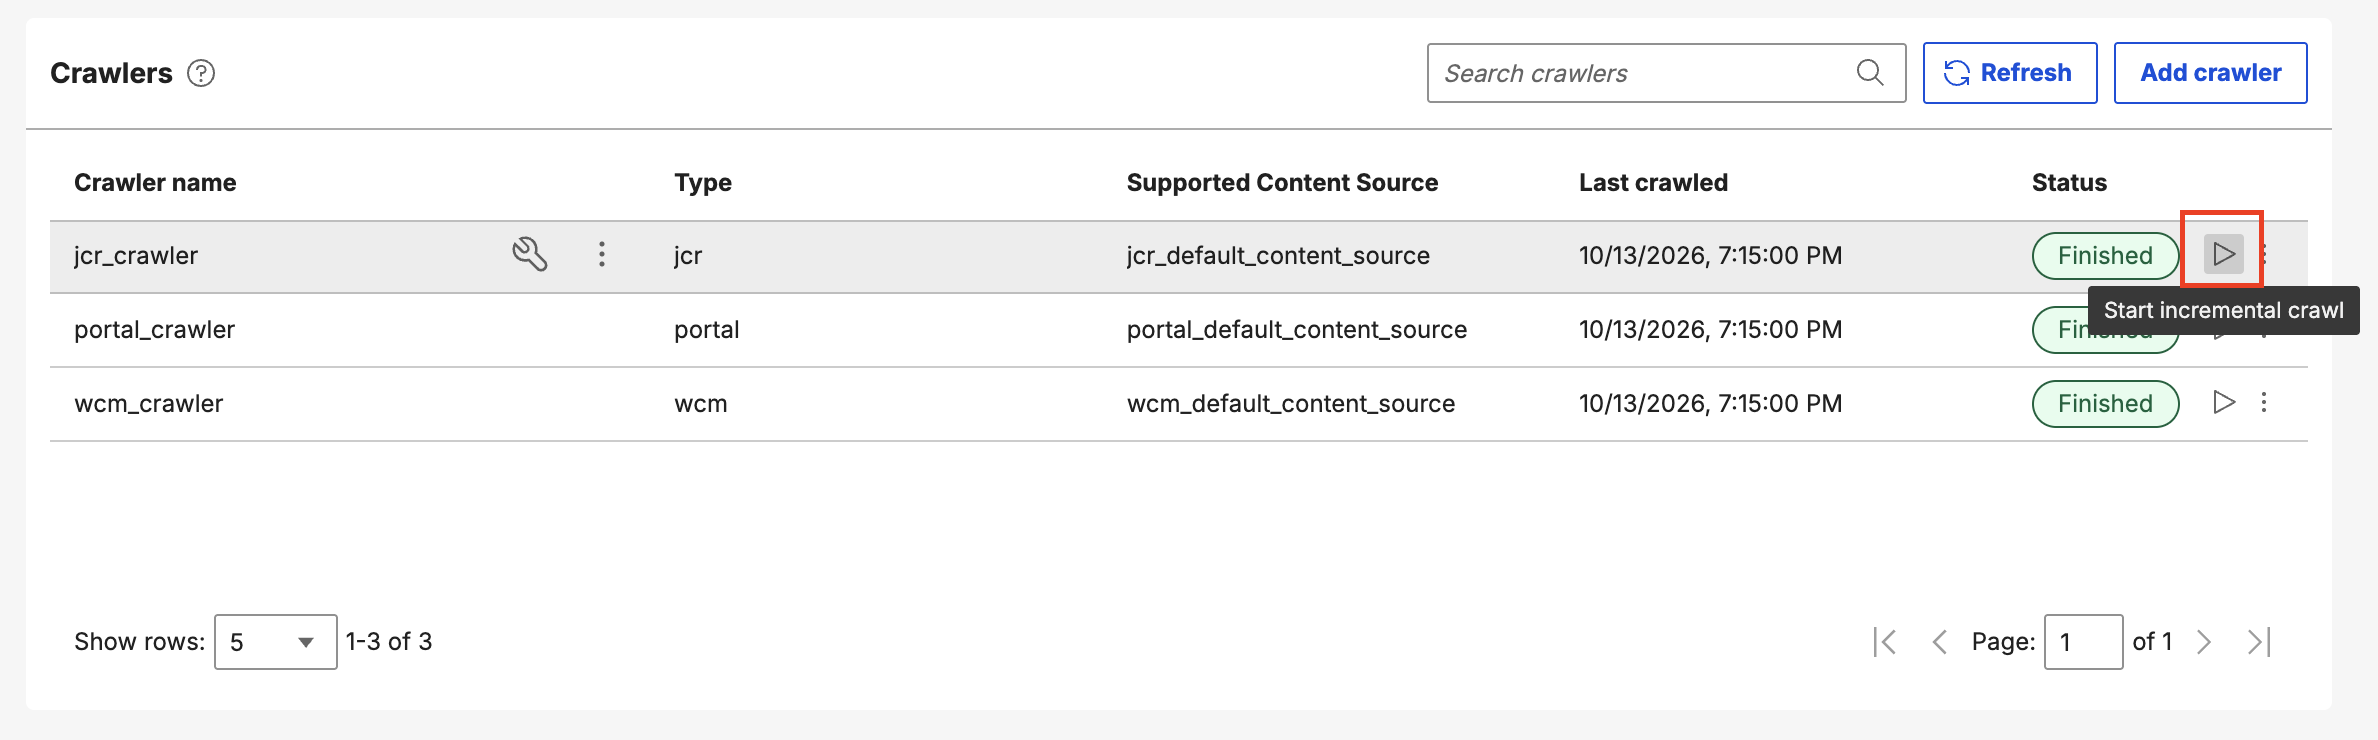
Incremental crawl: Select the Start incremental crawl icon. The crawler runs and indexes the latest items from the seedlist that have not yet been indexed.
-
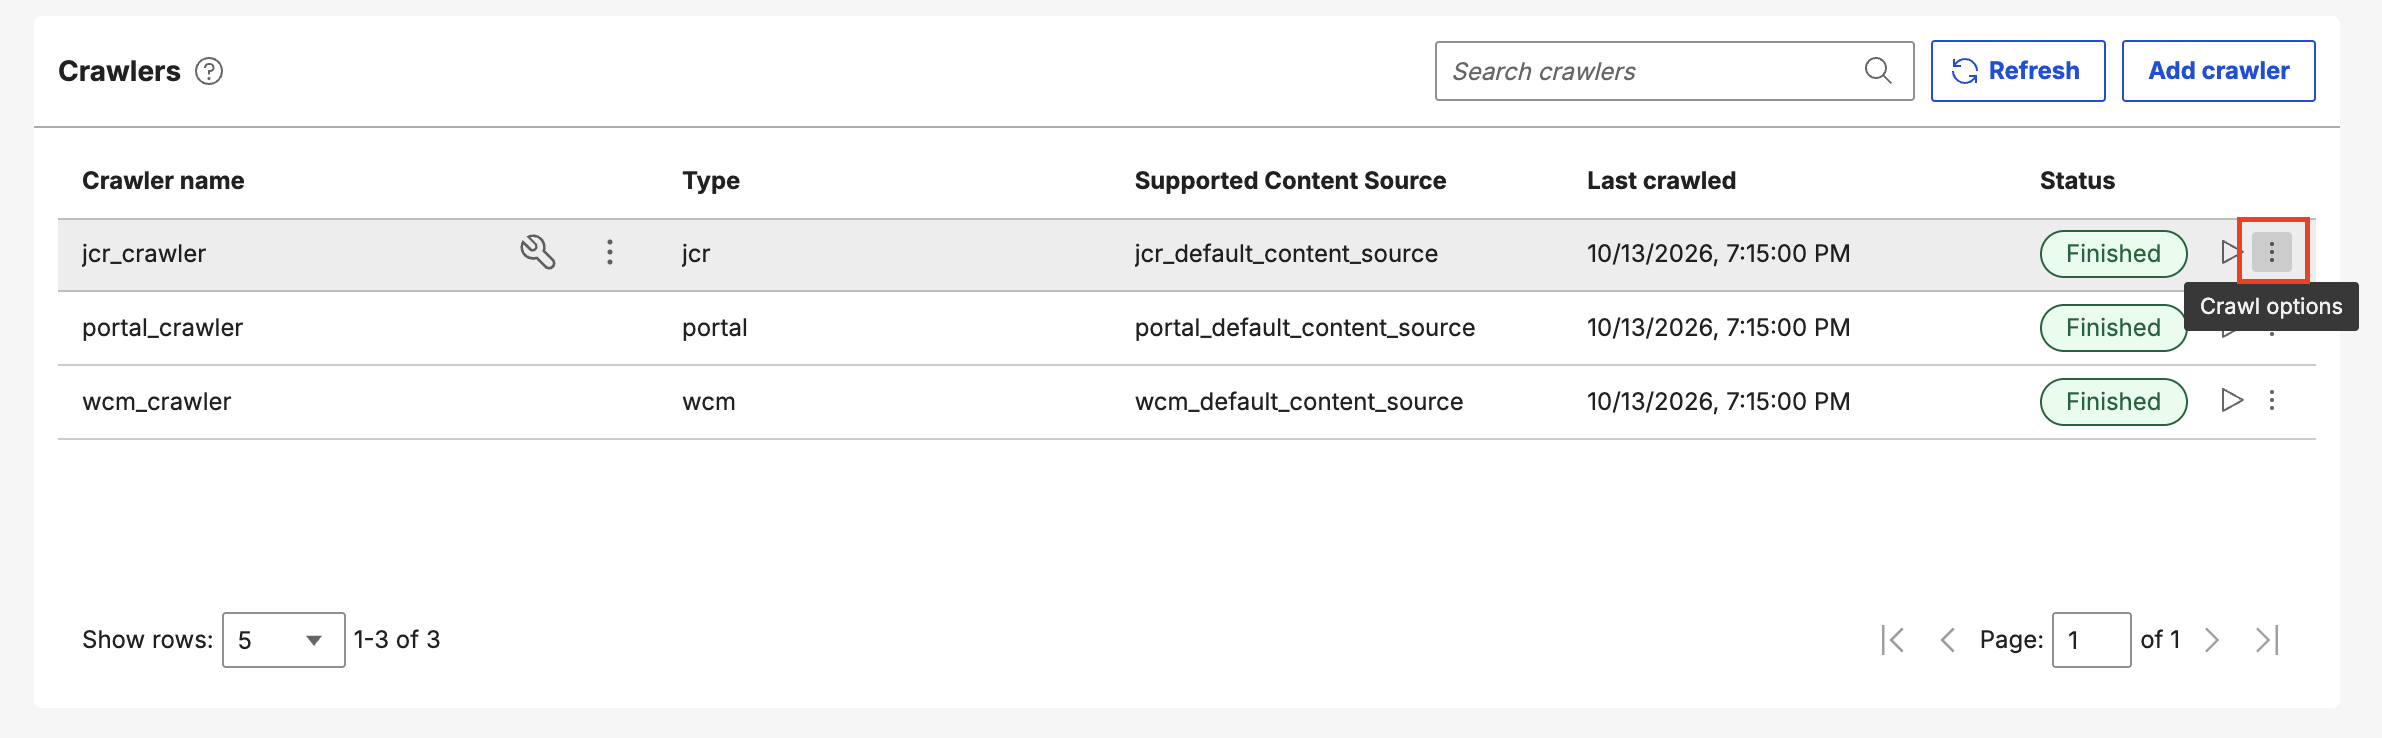
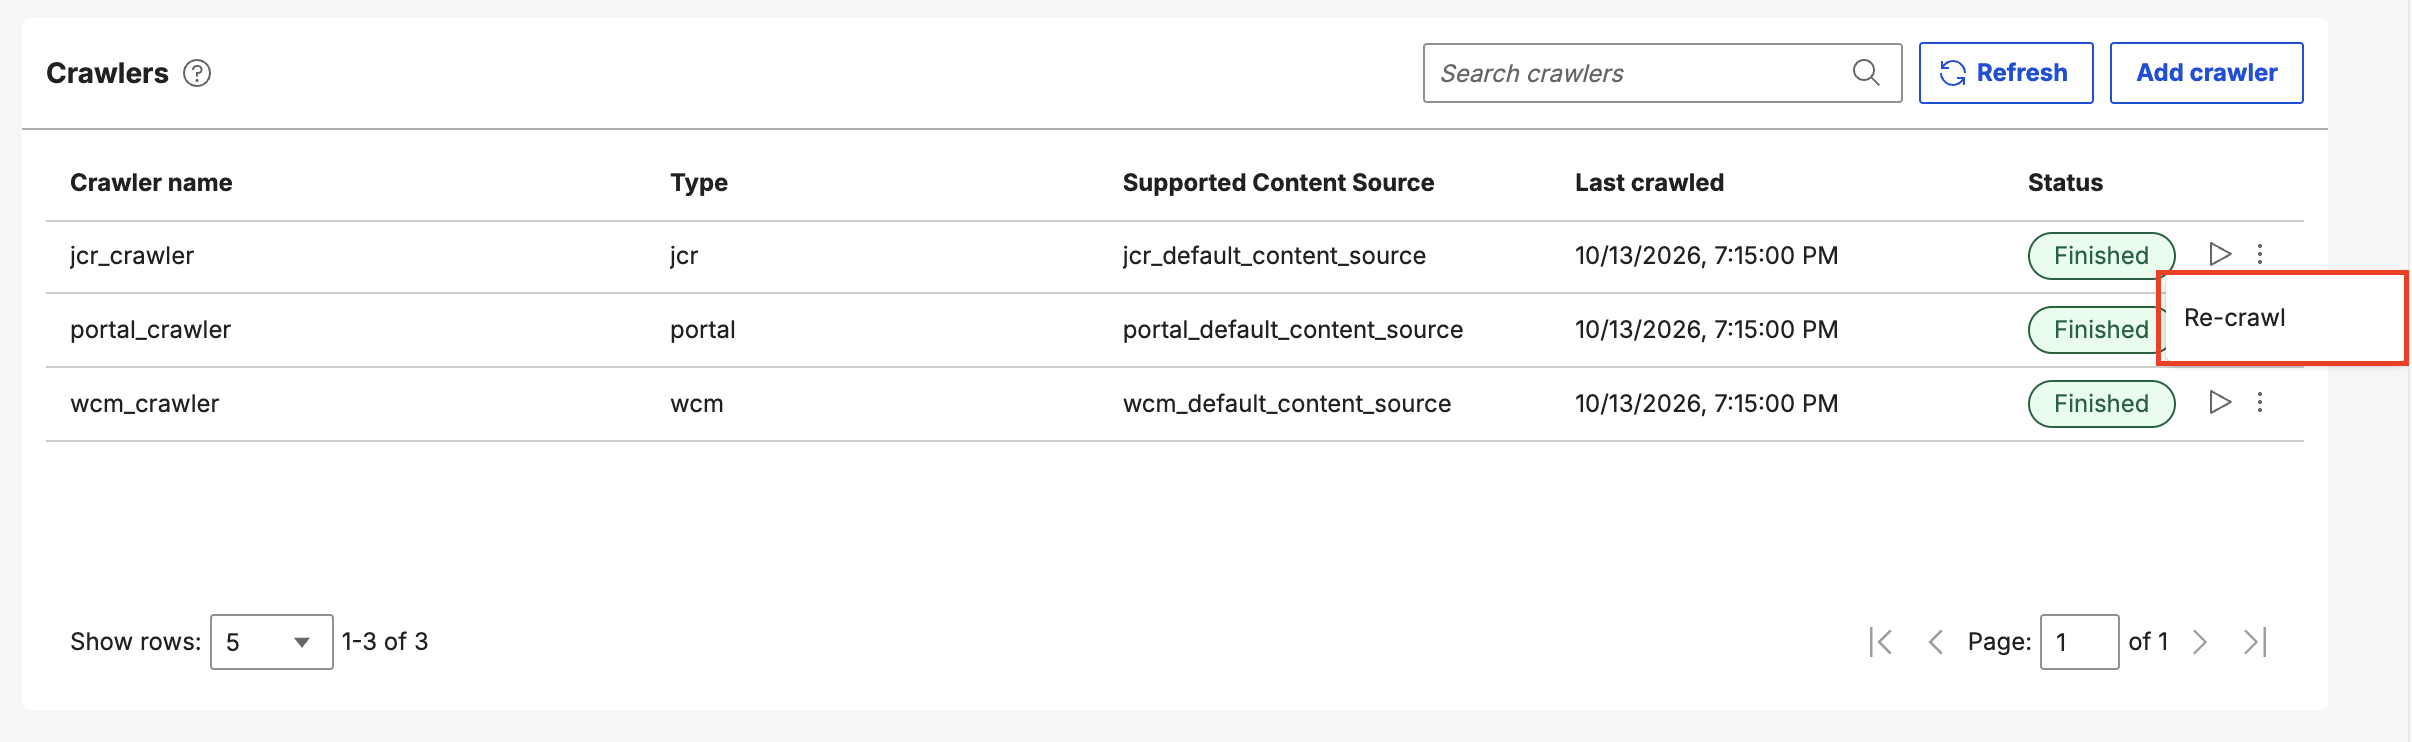
Re-crawl: Select the Crawl options icon, and then select Re-crawl to start a full crawl.
Updating a crawler
- Hover on a crawler row.
-
Select the Properties icon.
-
In the Properties panel, edit the properties, and then select Save.
Deleting a crawler
Note
You can only delete a crawler that is not currently running.
- Hover on a crawler row.
-
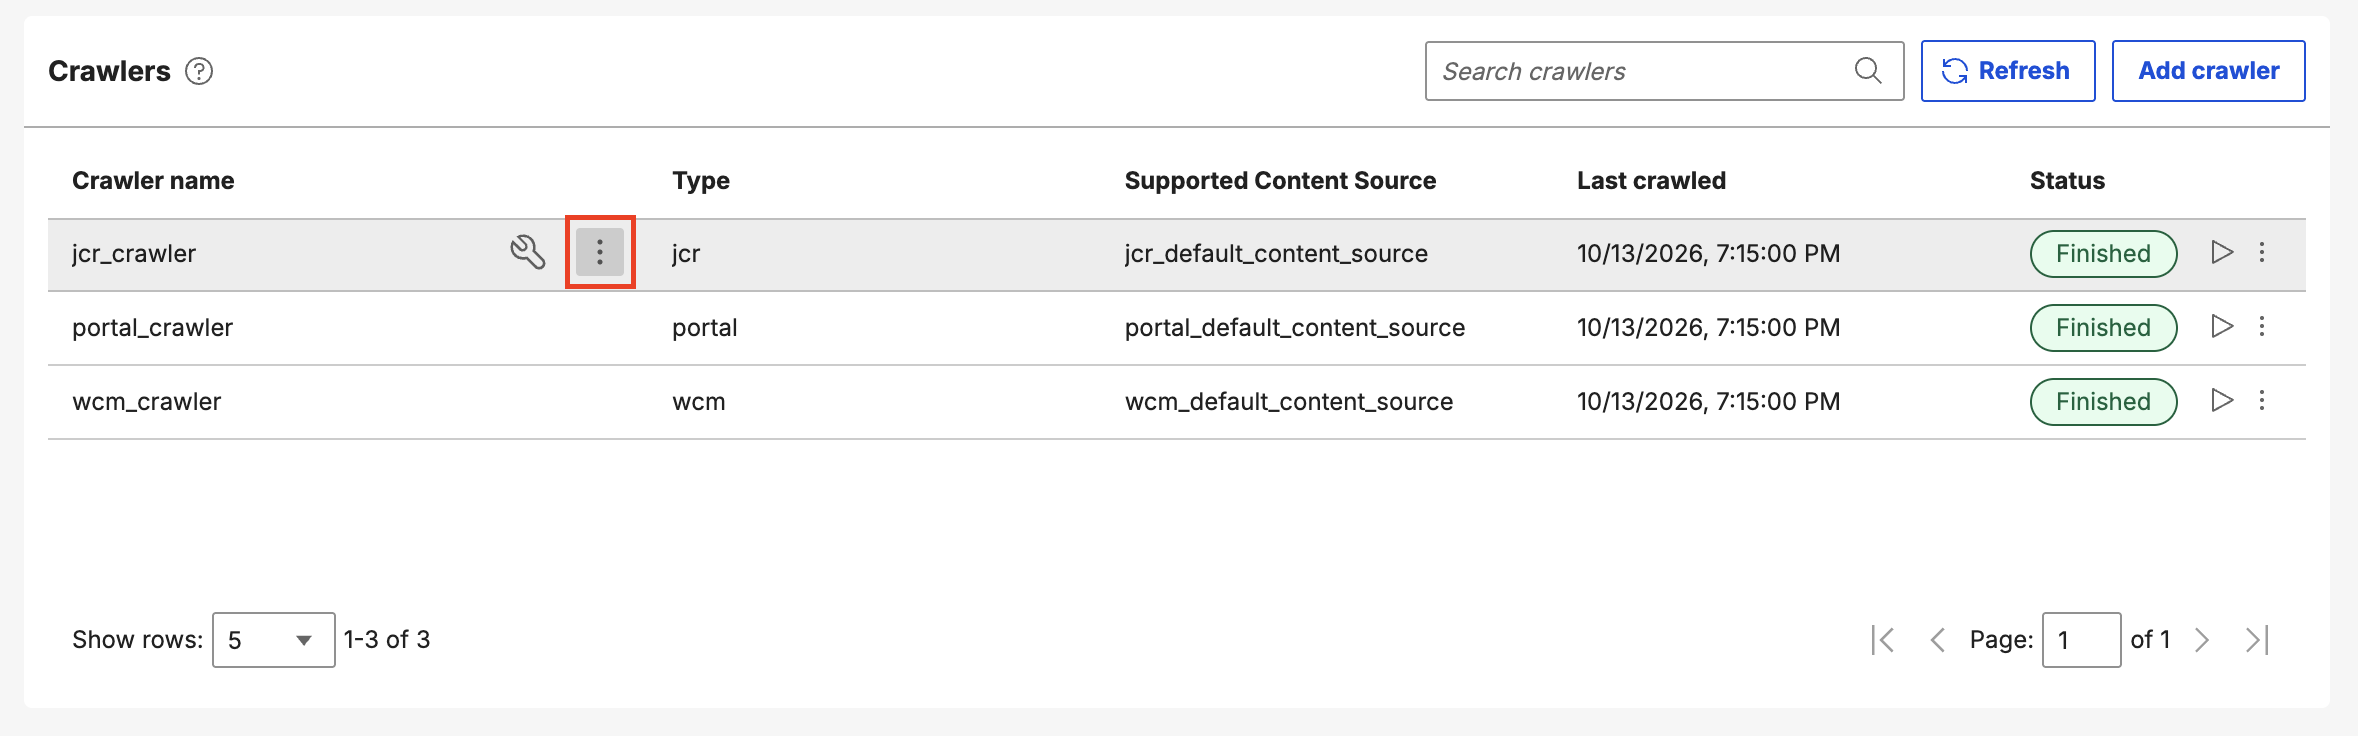
Select the More actions icon.
-
Select Delete.
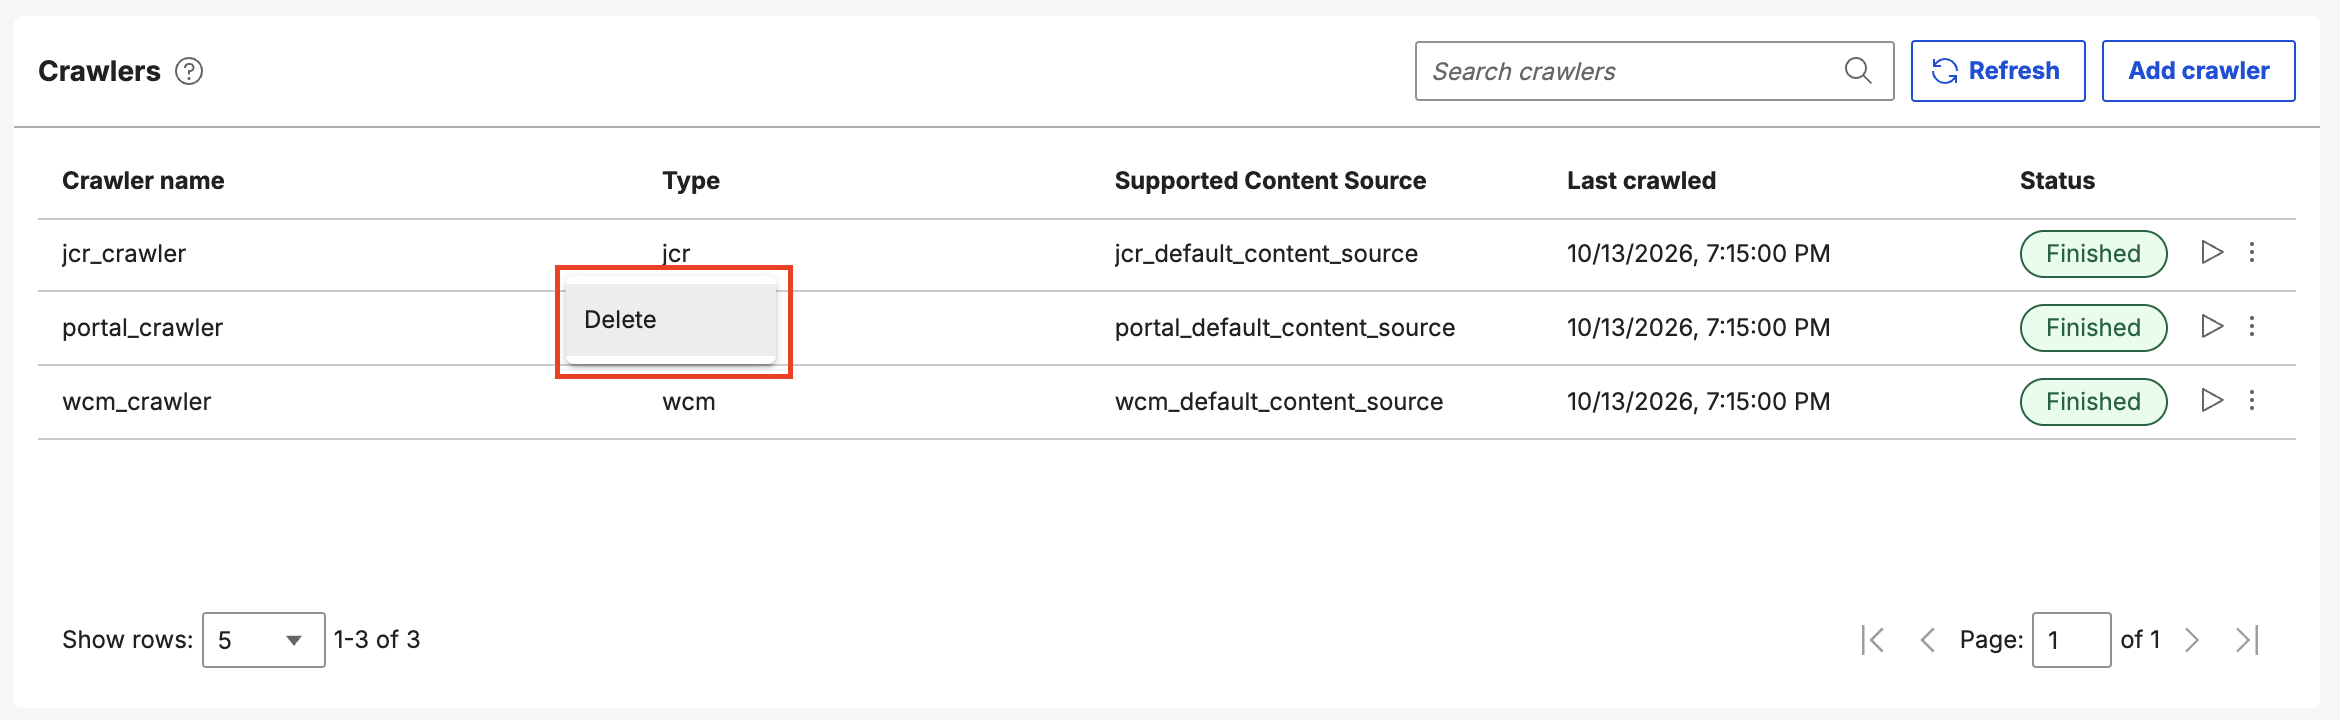
-
In the confirmation dialog box, select Delete to continue, or select Cancel.
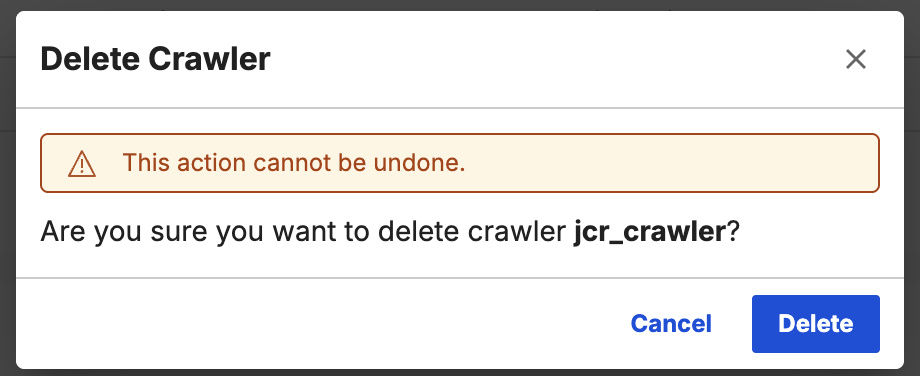
Deleting a crawler removes it from the list and makes it unavailable for search indexing.
Stopping a crawl
-
Select the Stop crawl icon.
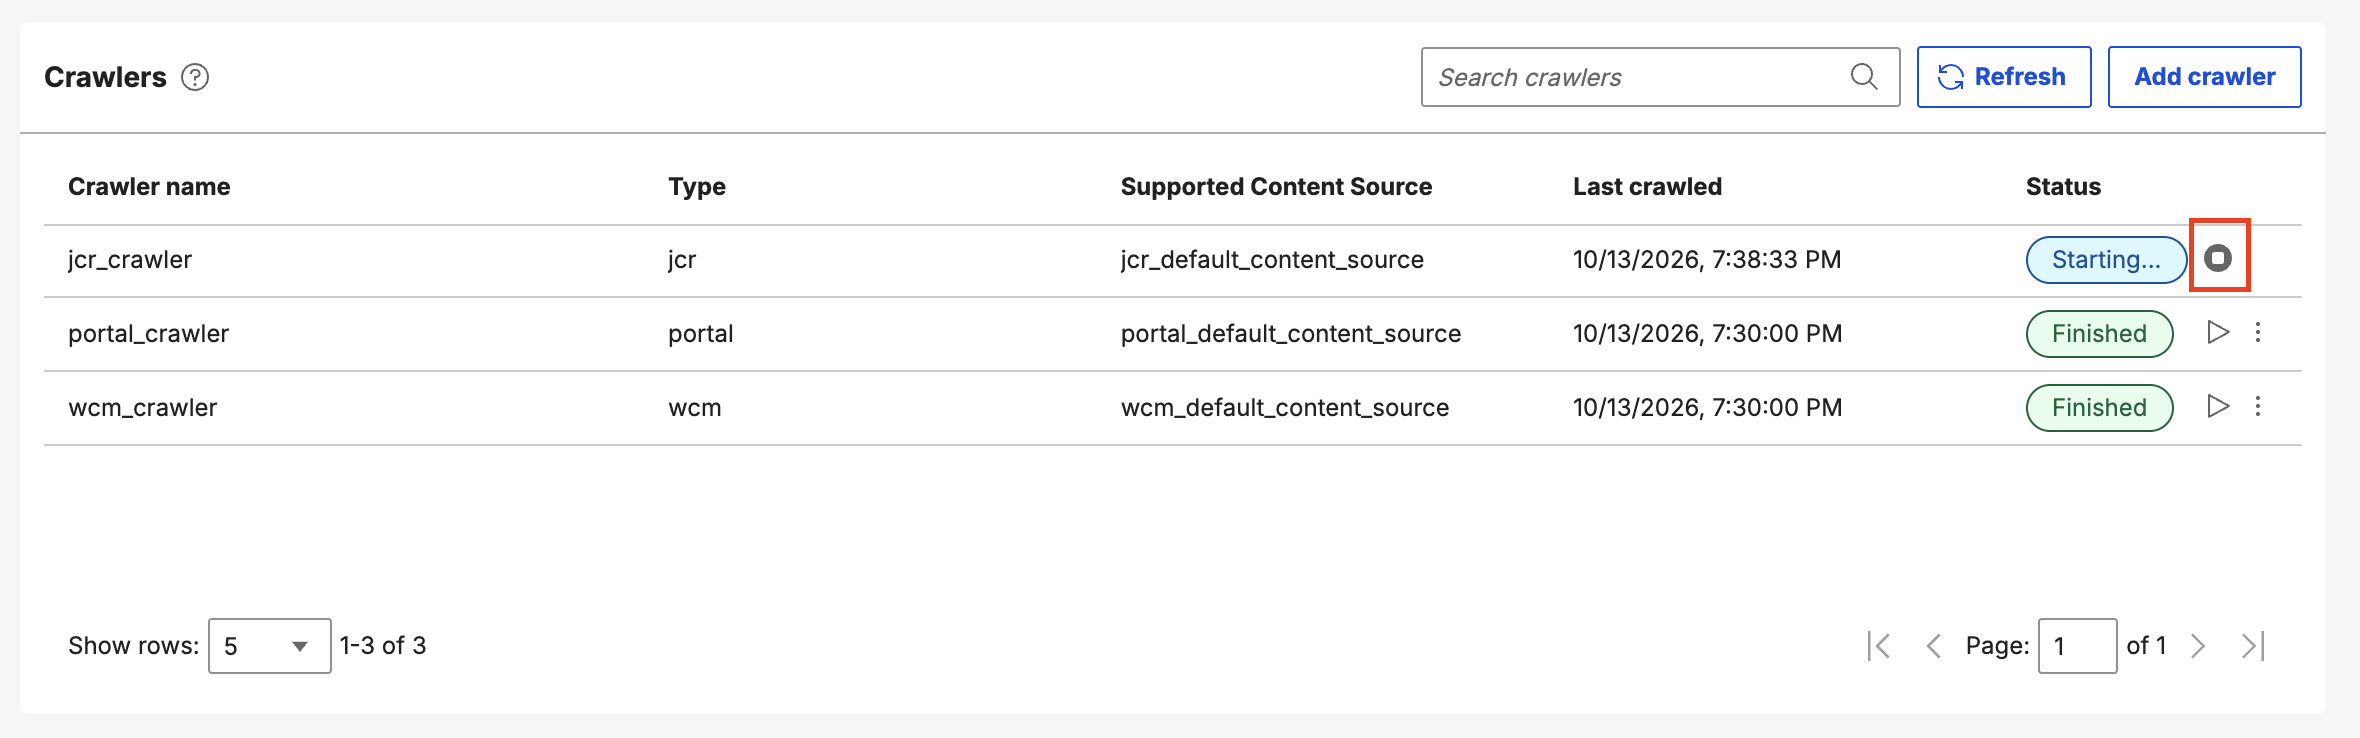
-
In the confirmation dialog box, select Stop to confirm, or select Cancel.
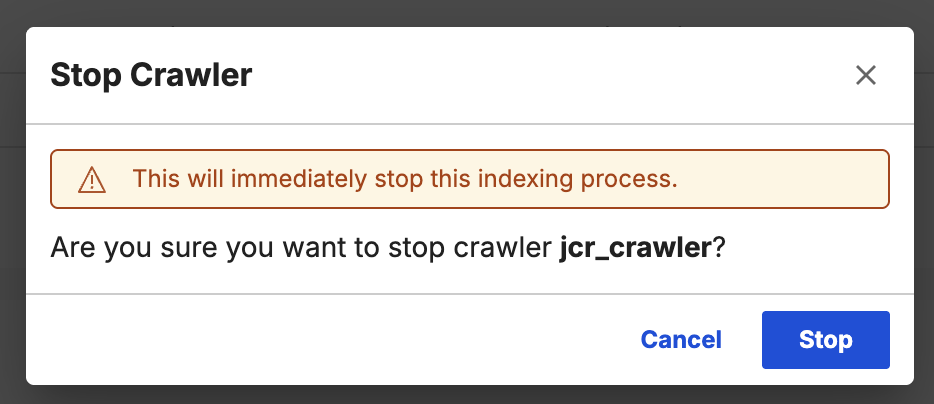
When the crawl stops, the status changes to Stopped.