Managing common field mappings
Use the Search Admin UI to manage common field mappings.
Common field mappings map the fields used in search to the corresponding documentObject field for each content source type. Each content source type indexes with default field mappings.
Note
You cannot rename or delete required field mappings (title, description, link, type, and tags). You can only modify their mapped value for each content source type, or add and modify custom fields.
Mappings & translations tab
On the Mappings & translations tab, you can do the following tasks:
Viewing common field mappings
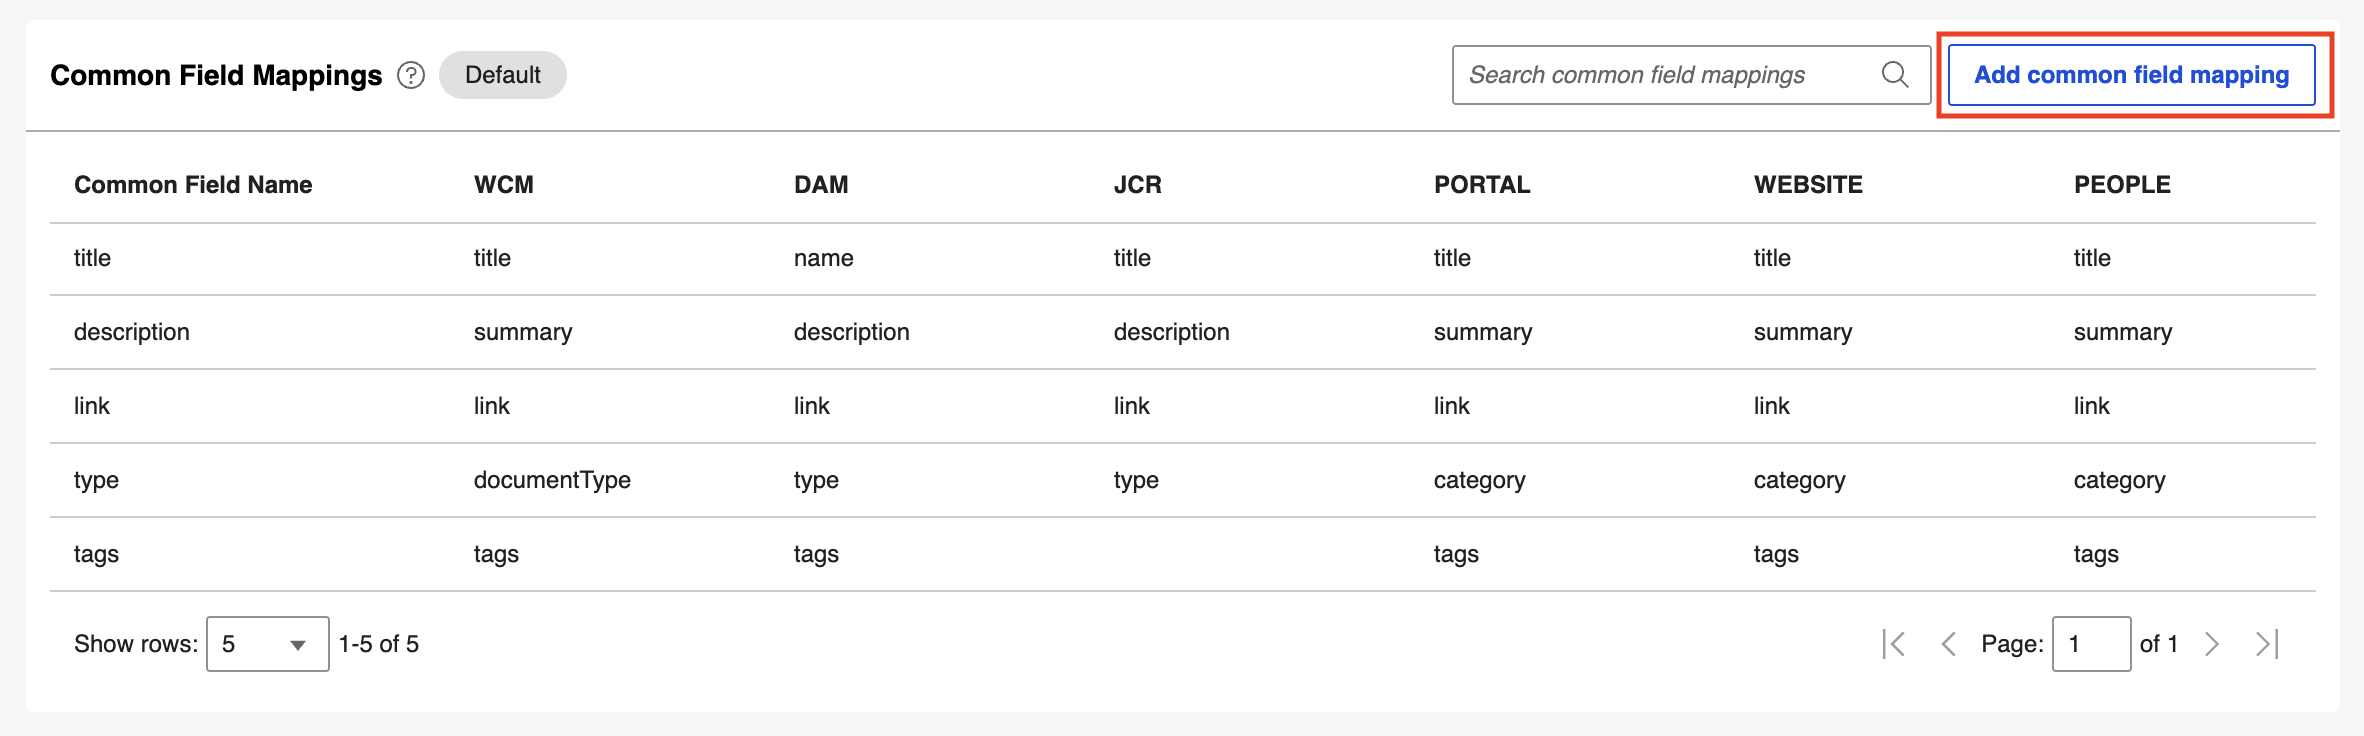
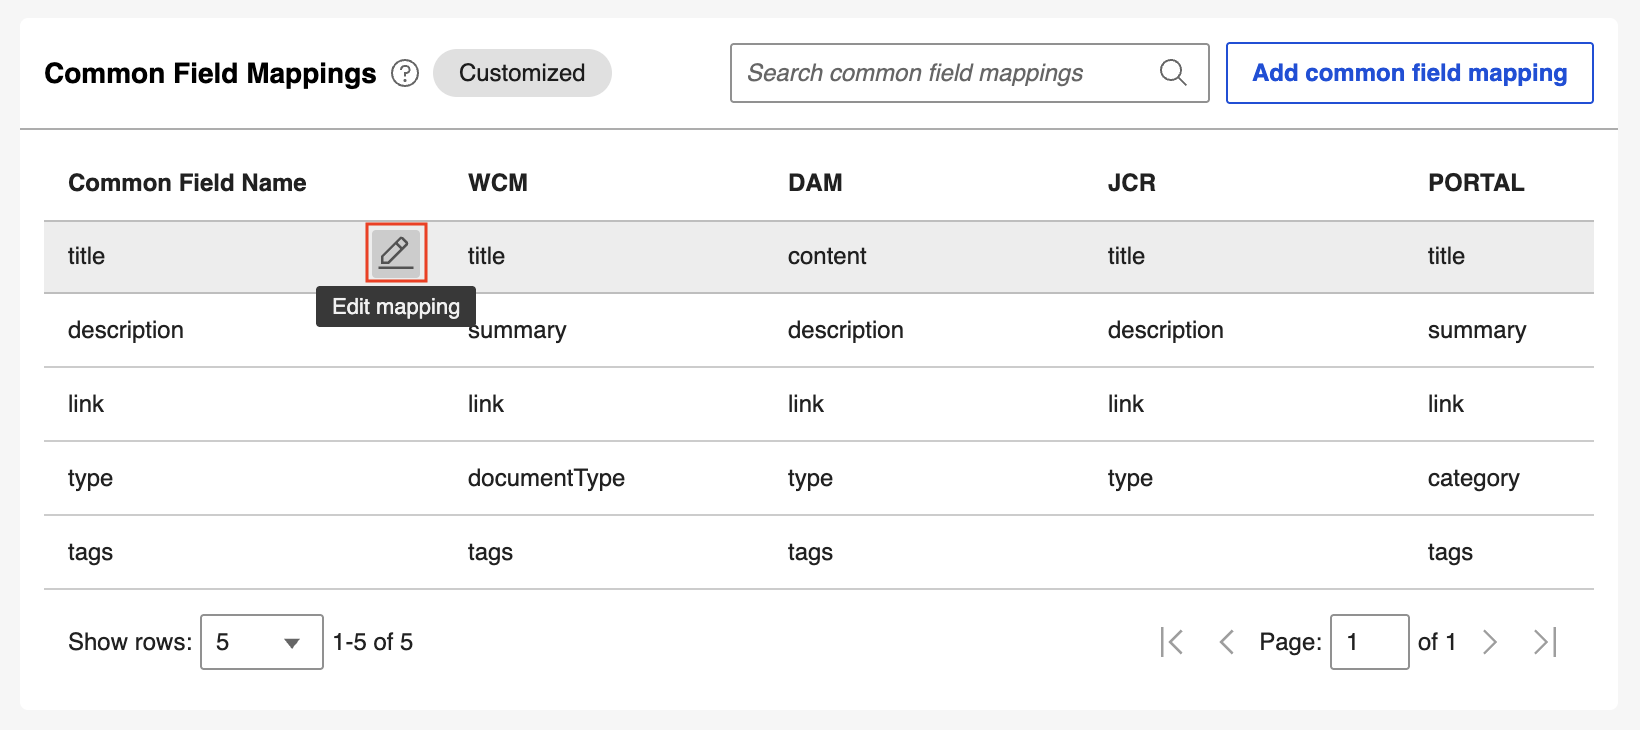
In the Common Field Mappings section, view the list of existing common field mappings.
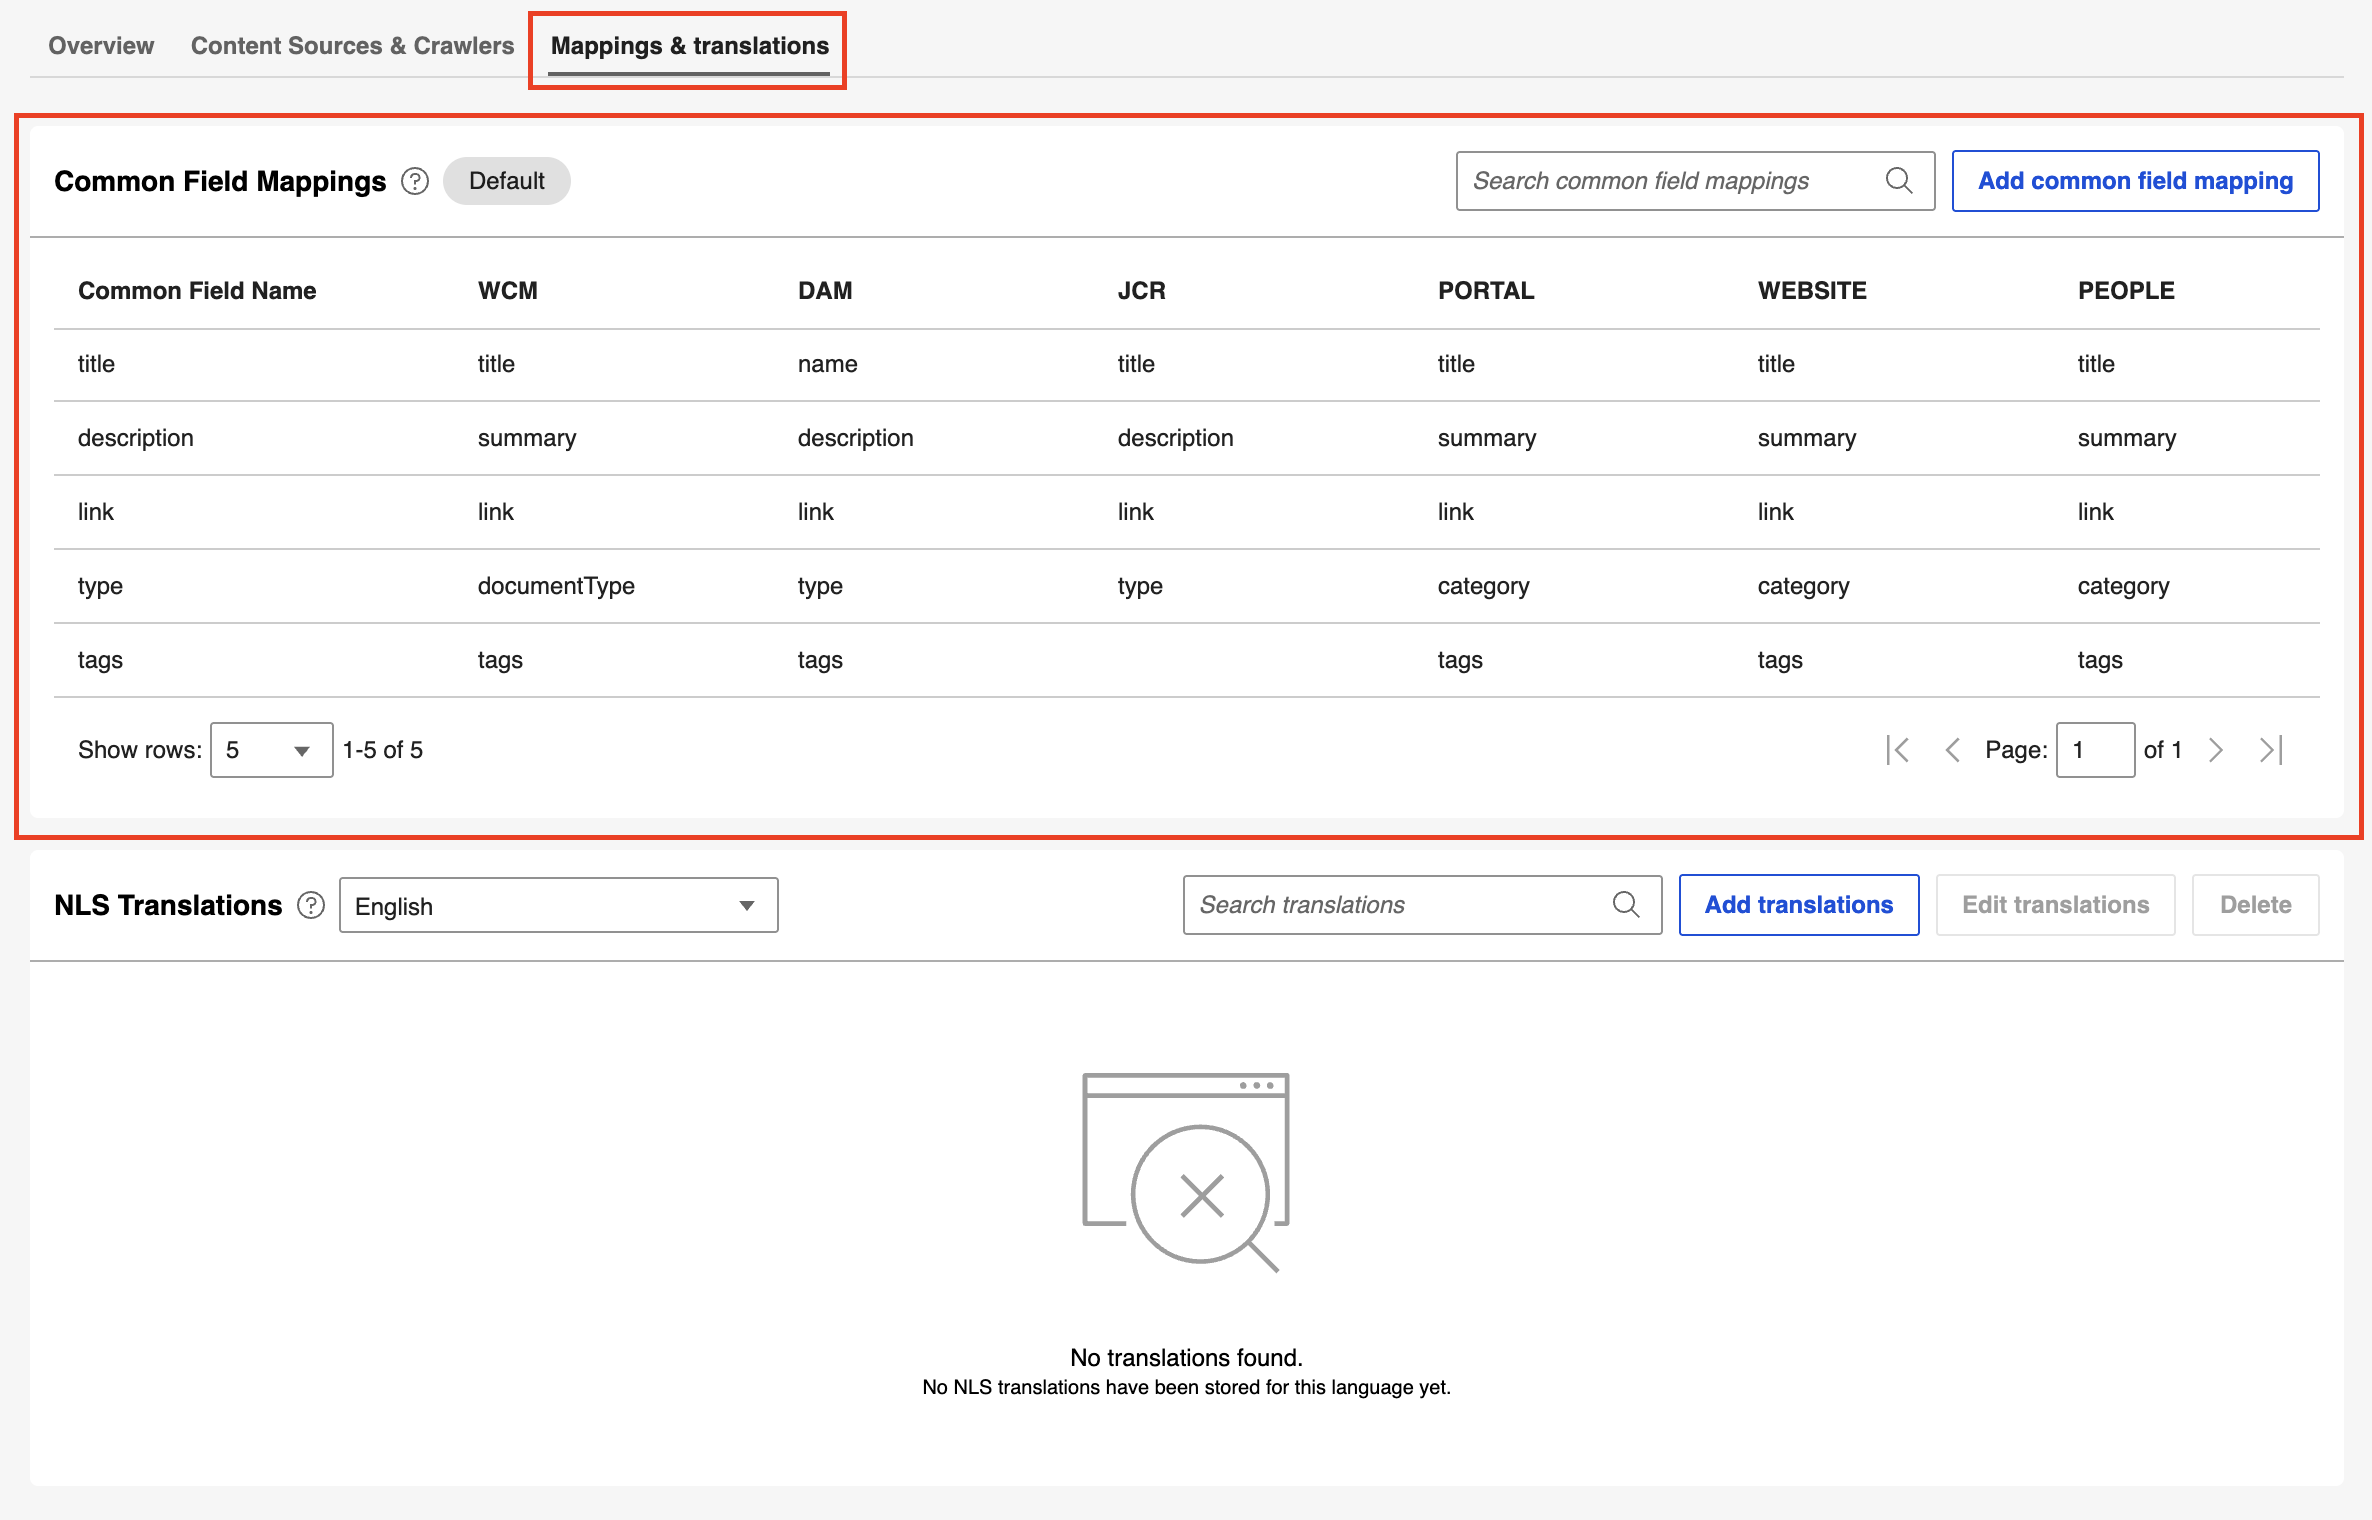
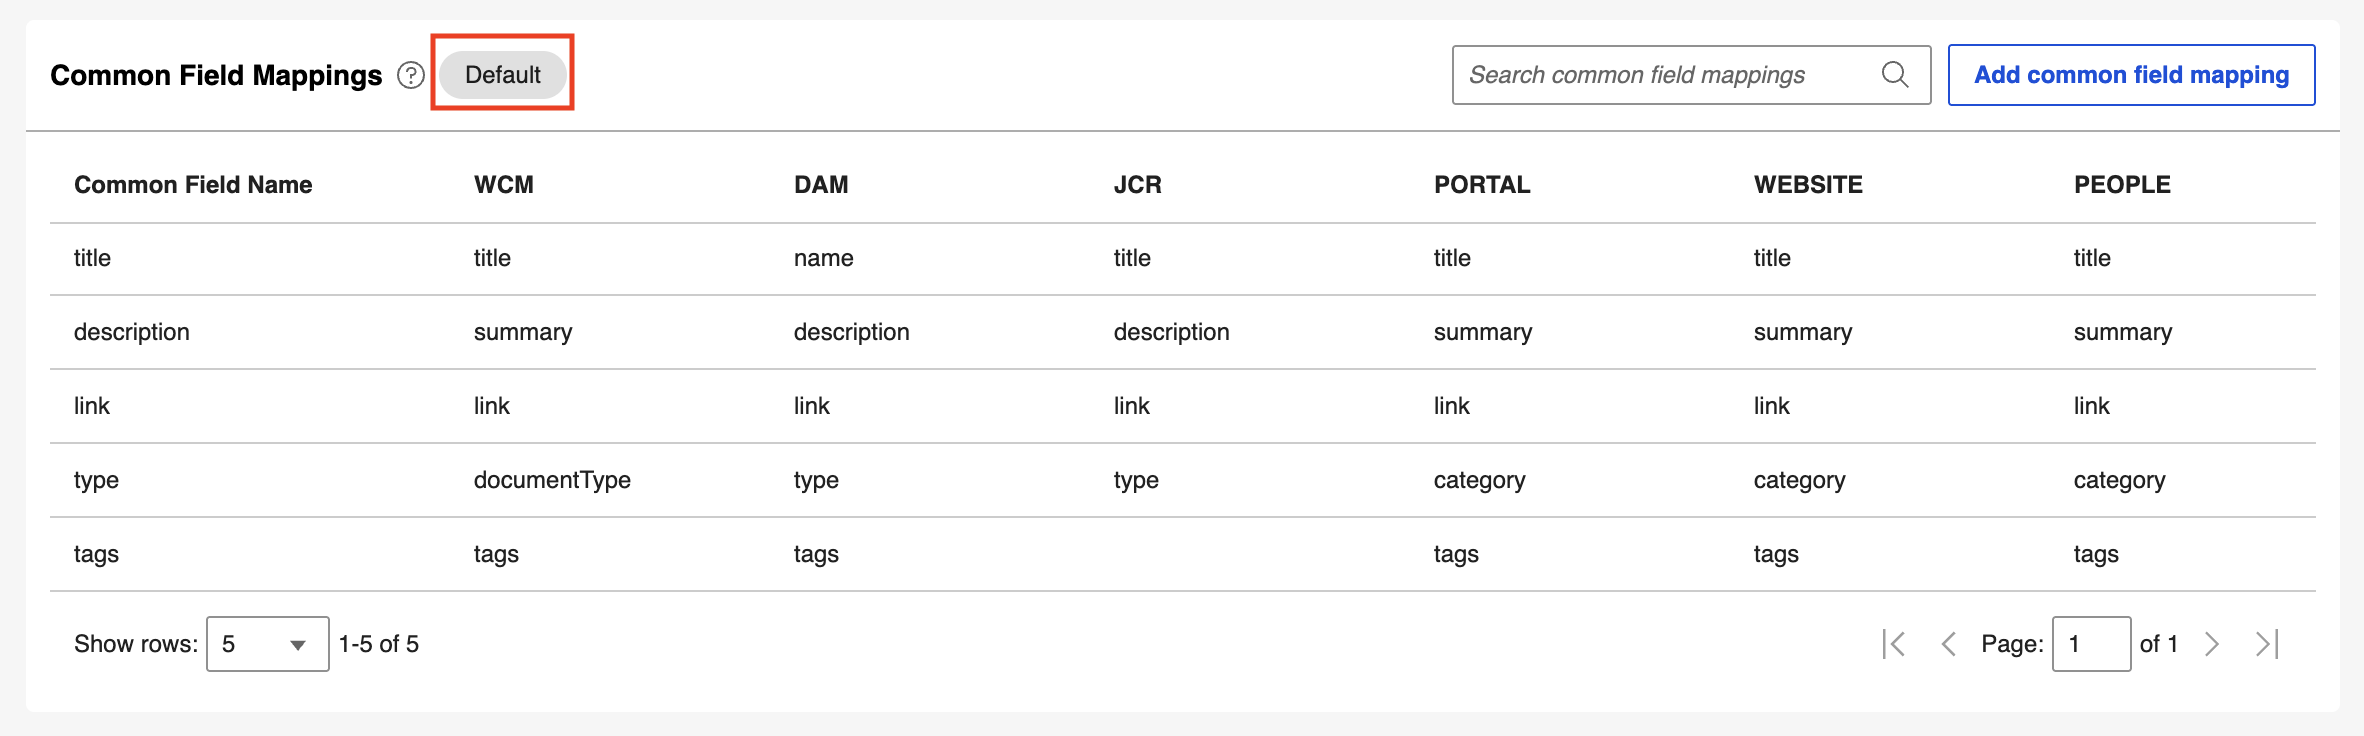
If your common field mapping are unedited, the section displays a Default label.
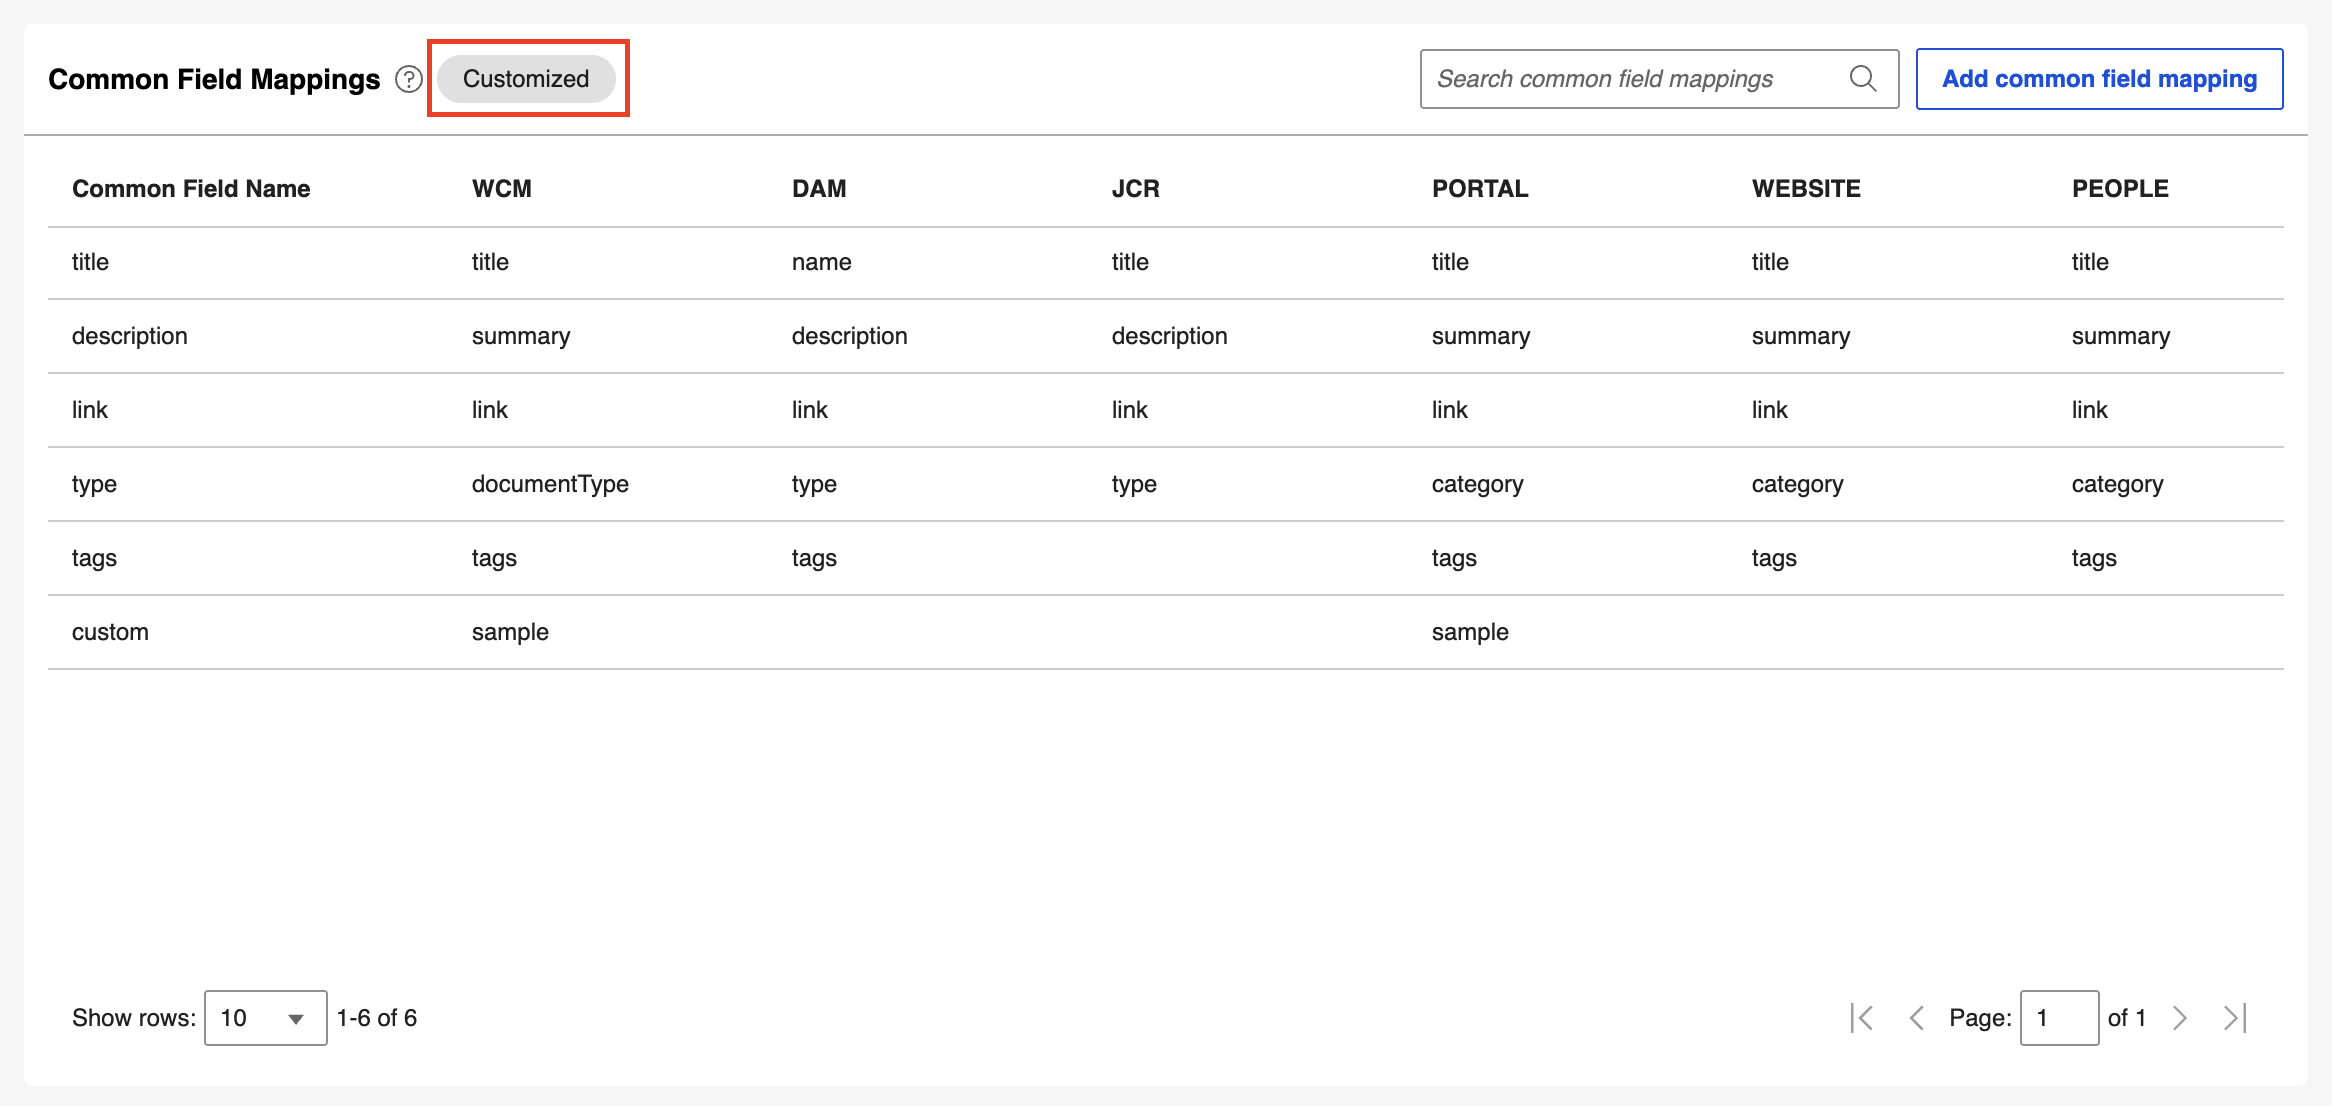
If you change any mapped value in a common field mapping, or add a custom field mapping, the label changes to Customized.
Adding a common field mapping
-
Select Add common field mapping.
-
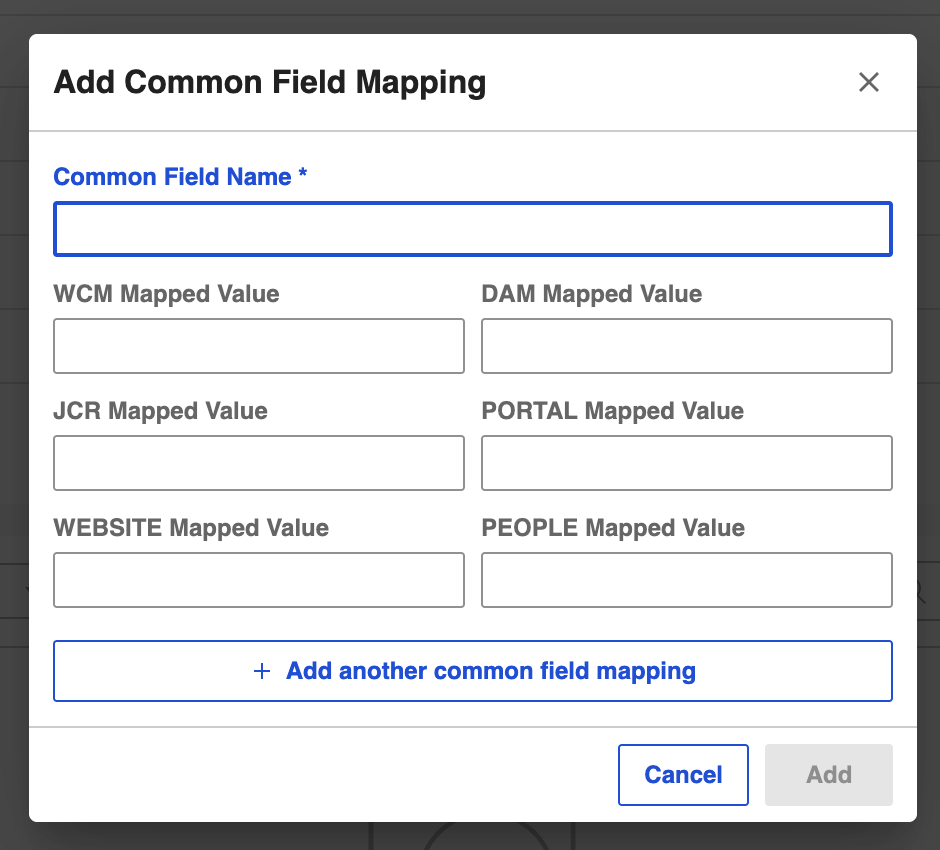
In the Add Common Field Mapping dialog box, enter a Common Field Name and its mapped value for each type (WCM, DAM, JCR, PORTAL, WEBSITE, and PEOPLE).
-
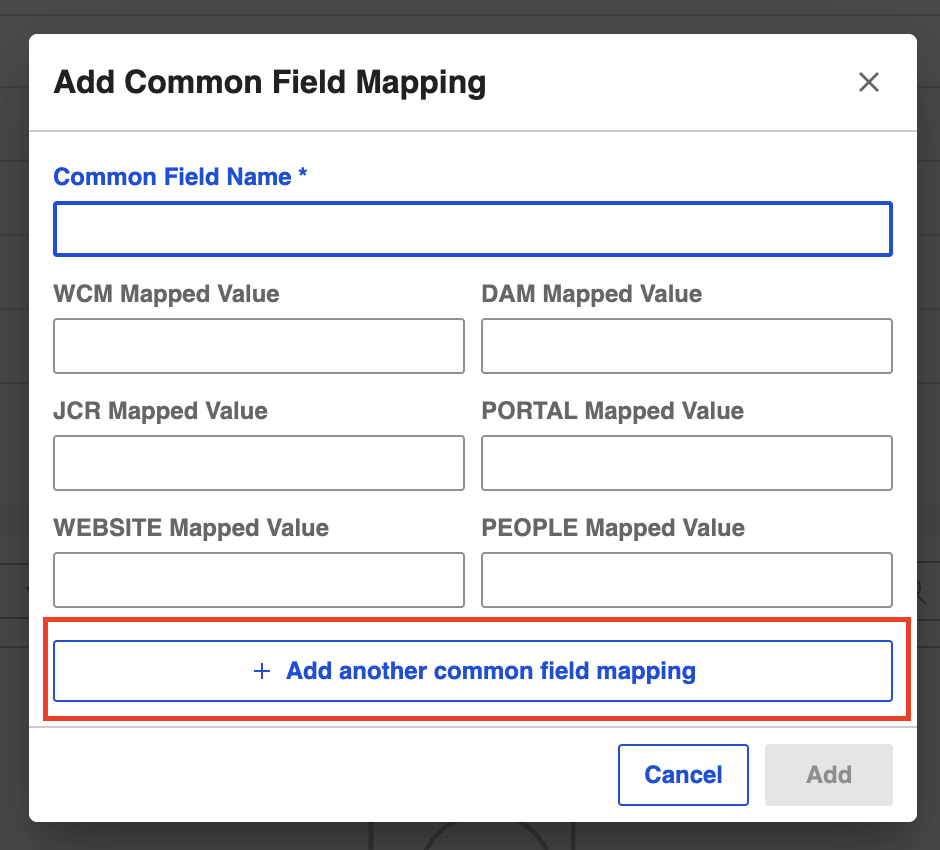
To add more common field mappings in the same dialog box, select Add another common field mapping.
-
Select Add, or select Cancel. If you select Cancel, select Discard to discard changes or Keep editing to return to the dialog box.
Searching for a common field mapping
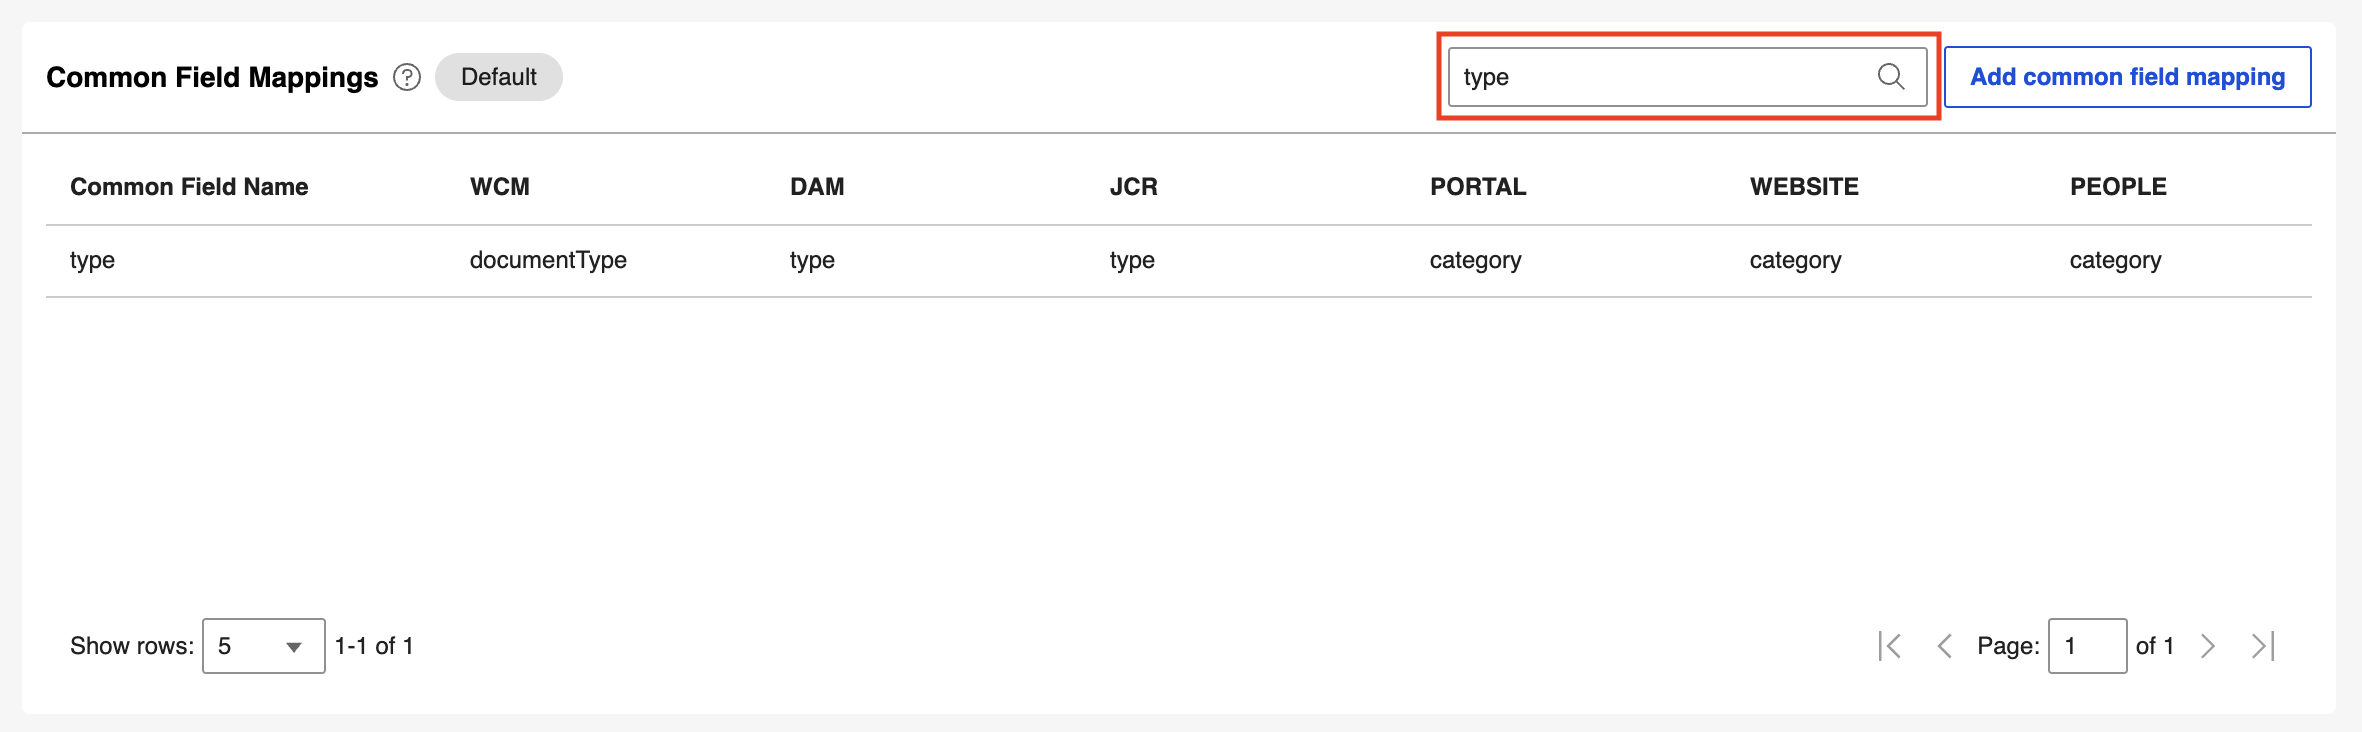
- Select the Search common field mappings box and enter a search term.
-
Select the search icon or press Enter. The list is filtered to show the common field mappings matching the search term.
Updating a common field mapping
- Hover over a common field mapping.
-
Select the Edit mapping icon.
-
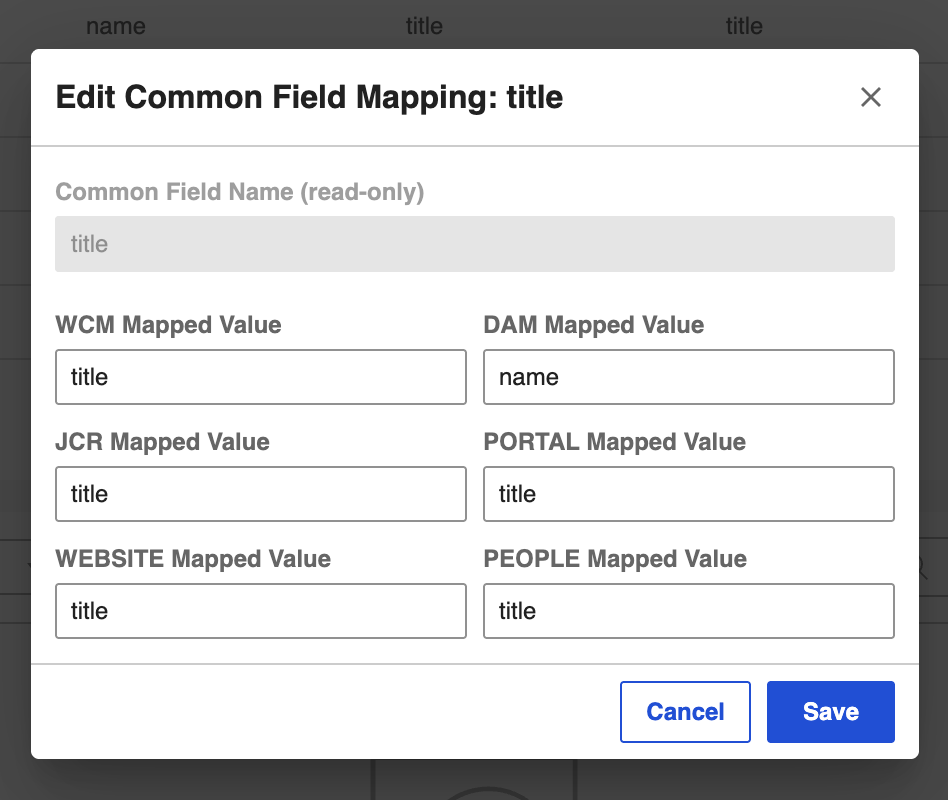
In the dialog box, edit the mapped values you want to change, and then select Save.
Deleting a common field mapping
Note
- You can only delete a custom common field mapping.
- Deleting a custom field removes it from the list for all content source types.
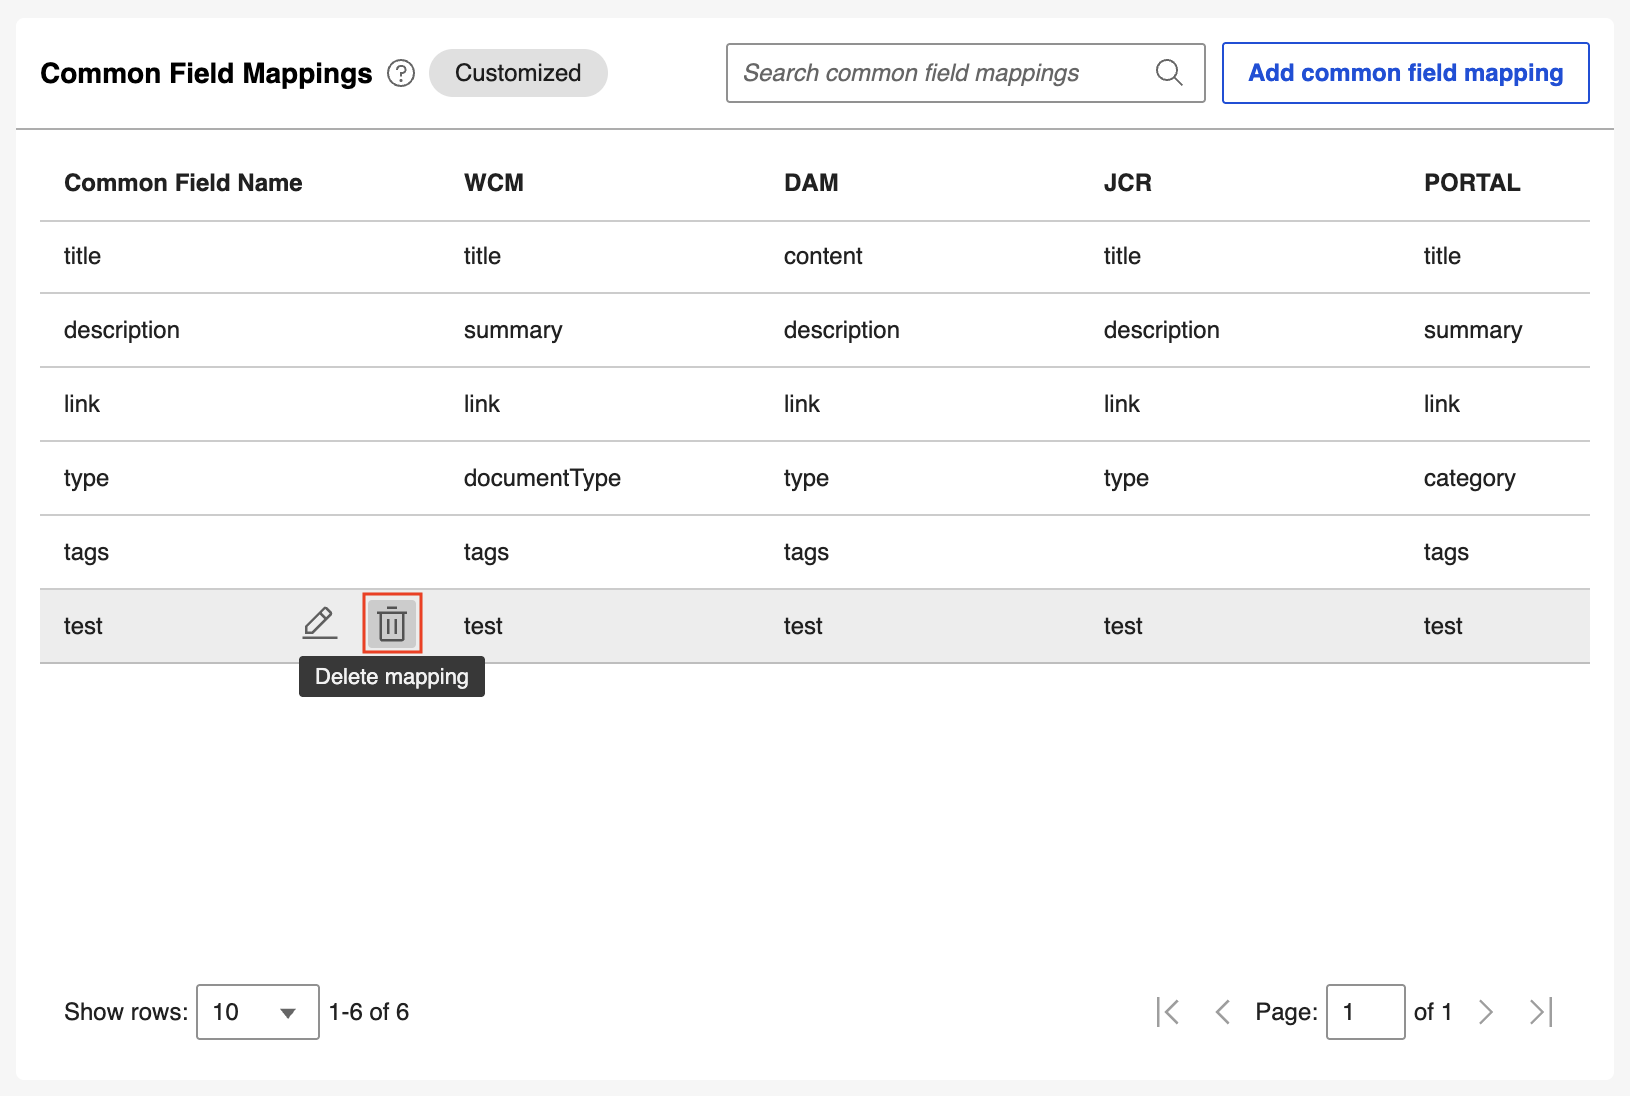
- Hover over a mapping.
-
Select the Delete icon.
-
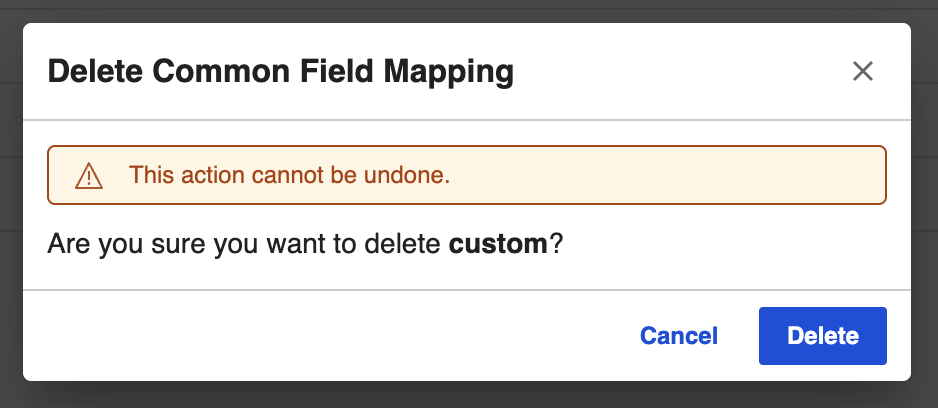
In the confirmation dialog box, select Delete to confirm, or select Cancel.