Adding custom information to license metric reports
![]() Available from 9.2.9. You can extend information that is
related to software products by adding custom fields on the All
Metrics report and its derivatives. You can
then use the information to group products based on flexible criteria such as contract name,
placement, allocation, date, or other.
Available from 9.2.9. You can extend information that is
related to software products by adding custom fields on the All
Metrics report and its derivatives. You can
then use the information to group products based on flexible criteria such as contract name,
placement, allocation, date, or other.
Before you begin
 You must have the Manage Contracts permission to add and edit custom fields, and the View
License Metrics permission to view them.
Procedure
-
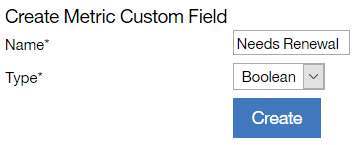
To add a custom field that is displayed on the All Metrics report and its derivatives, perform the following steps.
-
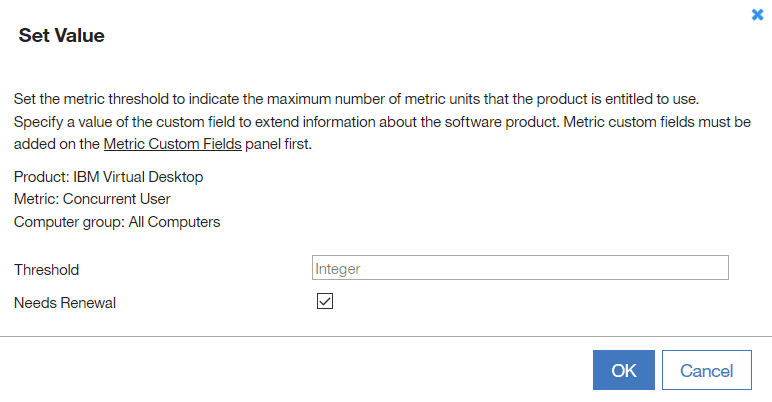
To specify the value of a custom field, perform the following steps.
-
To display the custom field on the All Metrics report, perform the following steps.
-
Hover over the Configure icon
 , and click Configure View.
- Select the custom field, and click Submit.
-
Hover over the Configure icon
Results

If you want to remove a value in the custom field, select a specific row, and hover over Edit. Then, click Clear Value. If you want to remove a custom field, go to , select the field that you want to remove, and click Delete.
What to do next
Note: New contracts are
defined in All
contracts and the above custom fields are used for other
purpose.


