Creating a custom check using relevance
This task helps you in creating a custom check using relevance.
Before you begin
Procedure
Perform the following steps to create a custom check by using relevance
method:
Note: At any point, if you decide to create custom
check using Unix content, you can switch using the radio button available in the
Compliance check creation wizard. The fields and field values in
Required information and Description compliance creation
wizard remains unchanged but, the values in the Behavior section will be
deleted. For more information, see Creating a custom check using Unix content.
-
Navigate to the SCM App landing page and click .
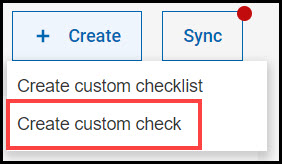 Compliance check creation wizard appears.Note: Create using relevance is the default method in the Compliance check creation wizard.
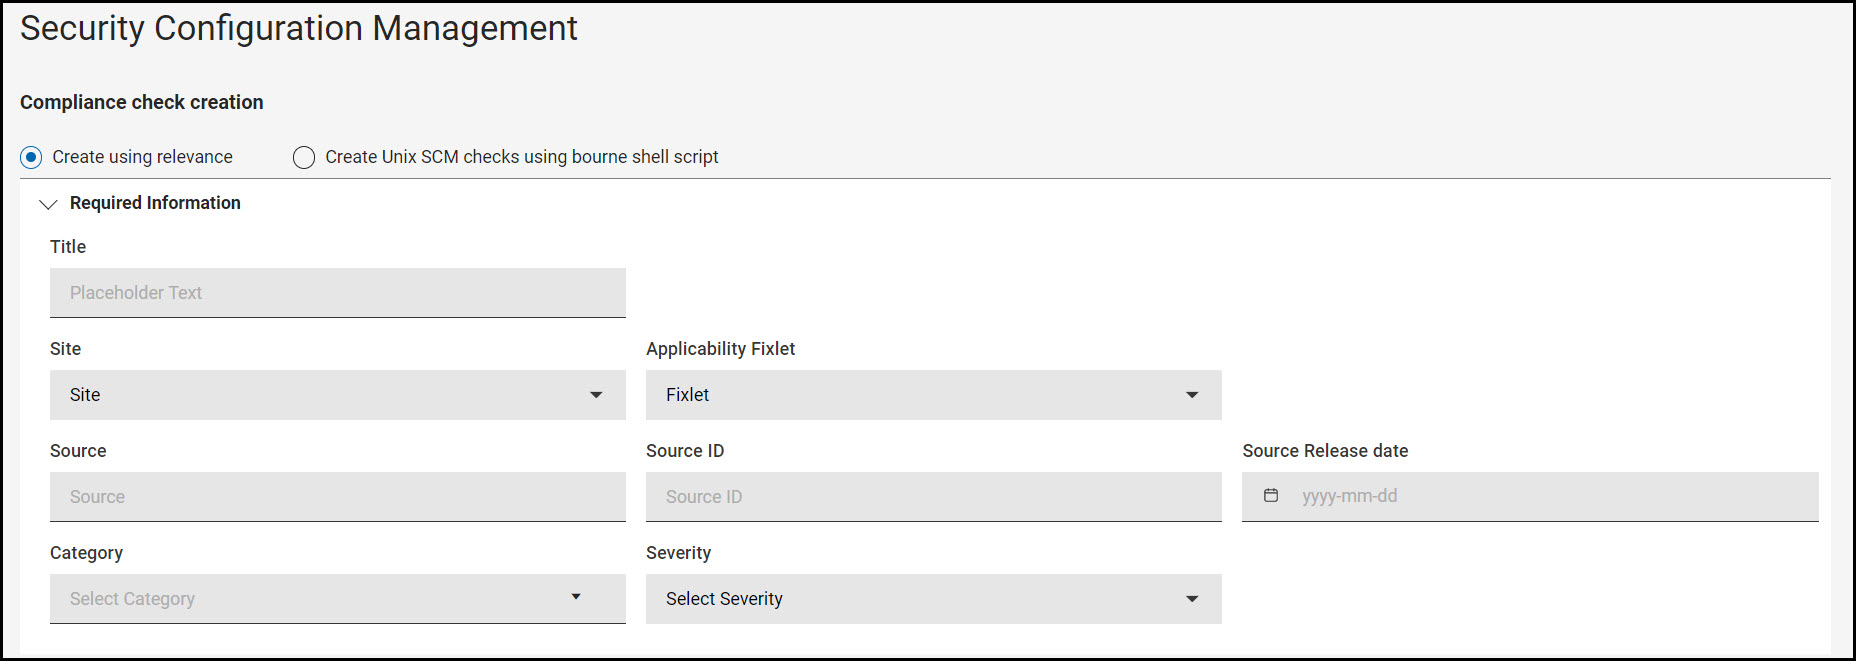
-
In the Required information section, provide the following
information:
- Title
- Site
- Source
- Source ID
- Source Release date
- Category
- Severity
Note:- Based on the Site selection, the Compliance check creation wizard will auto-generate the required information for Applicability Fixlet and you can select the Applicability Fixlet from the drop-down if the site has more than one Fixlet.
- SourceID must be unique in the checklist.
- SourceID field must start with alphanumeric characters and may contain hyphen and underscore.
- If you want to add a new category which does not exist in the custom site, you can add it by clicking Add new Category.
-
In the Description section, enter the Description of the
custom check.
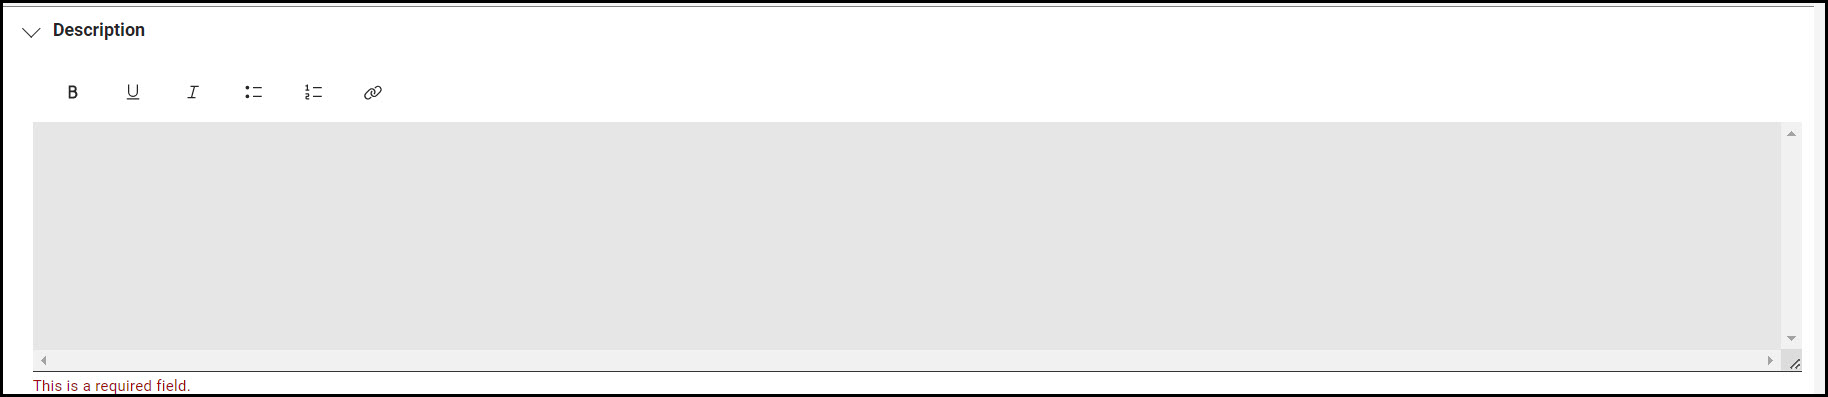
Note:- Description field must be filled in order to create a custom check.
- You can customize the description field texts using text format option.
-
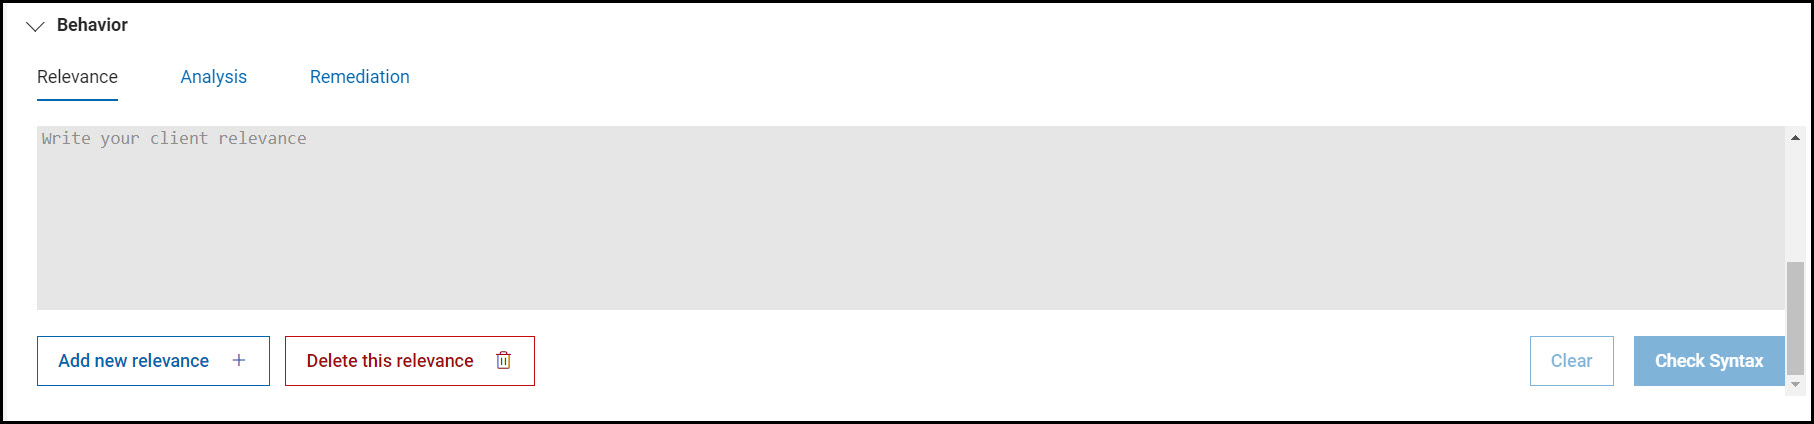
In the Behavior section, select Relevance.
-
Click Check syntax to validate the entered
relevance.
Note:
- If the entered syntax is incorrect, an error appears.
- Use Add new relevance option to add multiple relevance to your custom check, Delete this relevance option to delete the added relevance and Clear to delete the client relevance.
-
Add Analysis to the custom check.
Note: You can add only one Analysis when creating custom check.
- Including Analysis to the custom check:
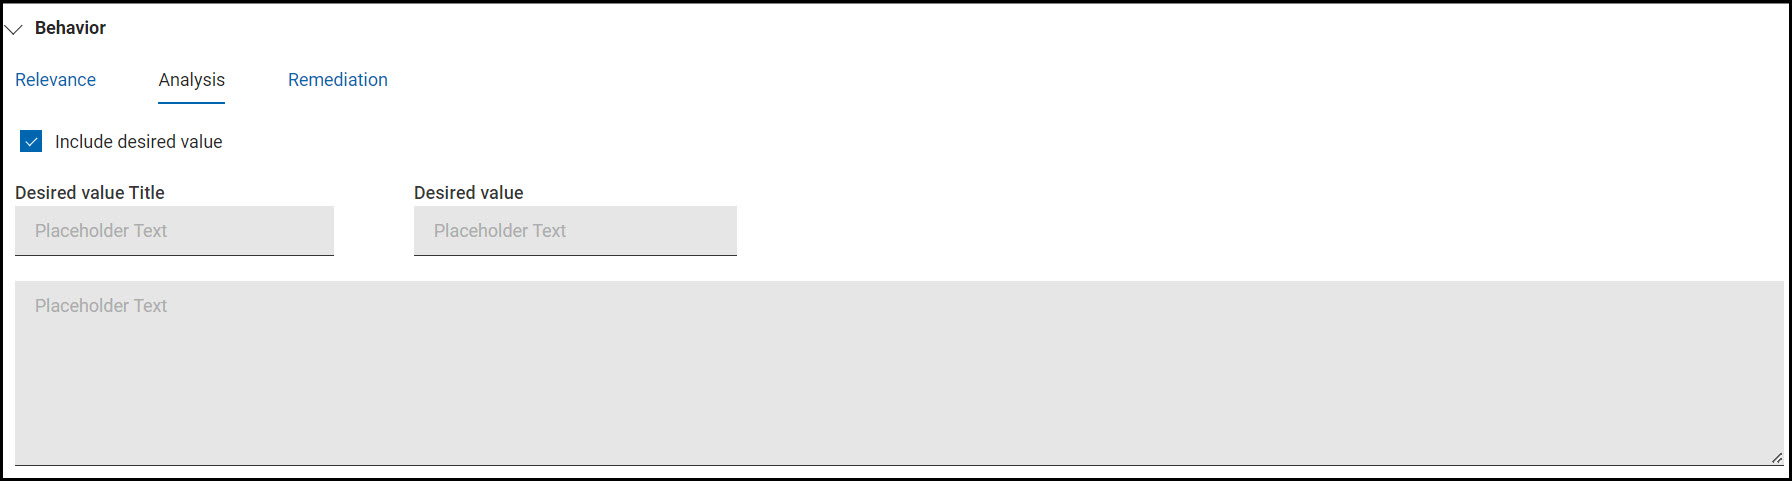
- Check Include desired value.
- Enter the Title, Desired value, and Description of the analysis.
- Including Analysis to the custom check:
-
If required, you can add Remediation to the custom check.
Note: You can add only one Remediation when creating custom check.
- Including Remediation to the custom check:
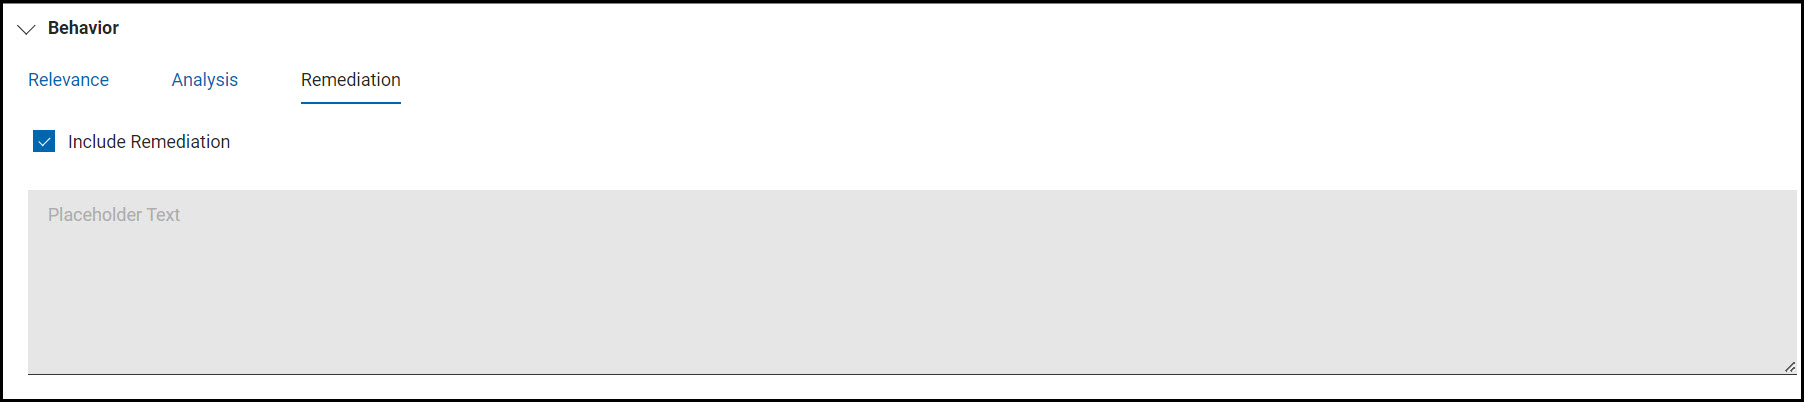
- Check Include Remediation.
- Enter the Remediation script.
- Including Remediation to the custom check:
- Click Create.
-
In the Create Custom Check dialog box, click Yes,
create.
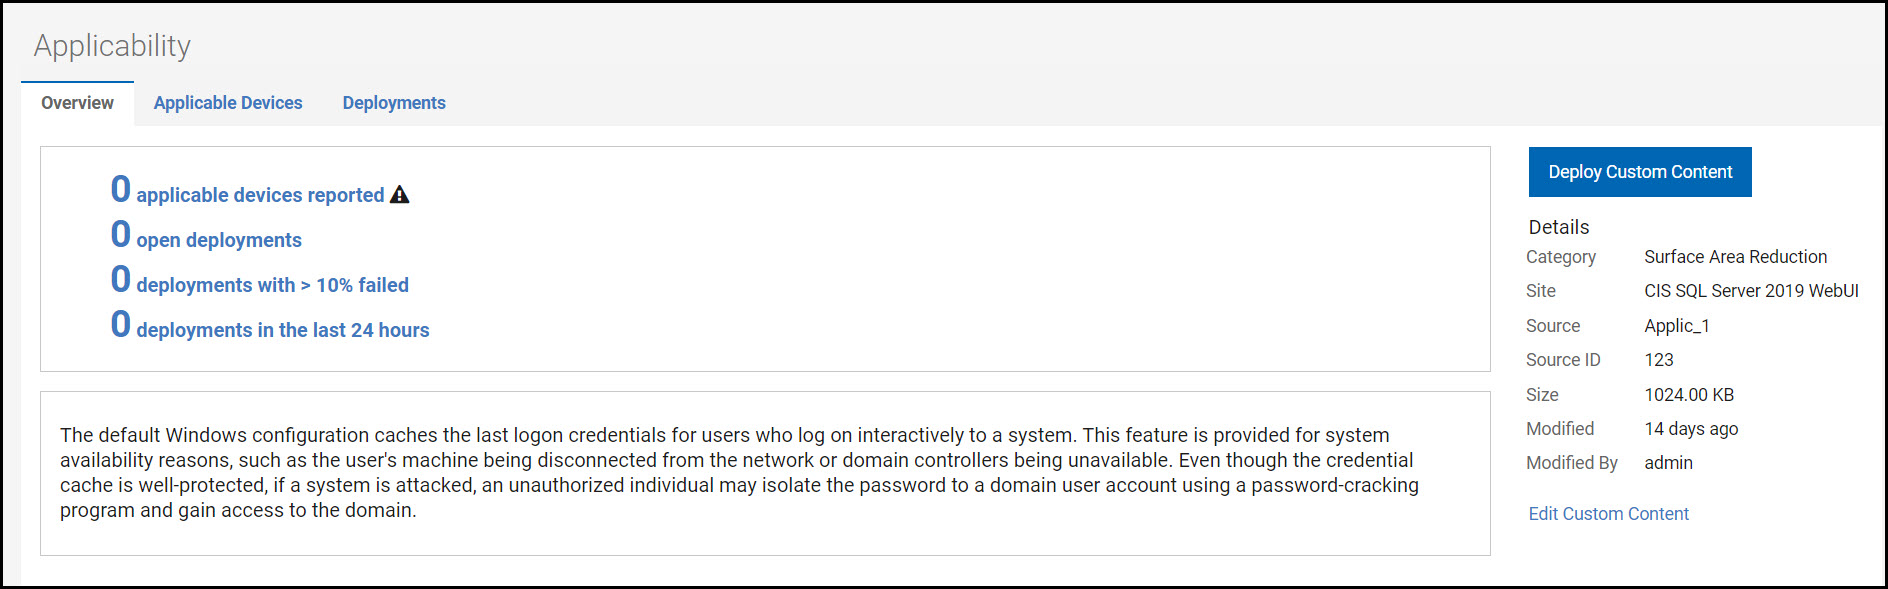
When the custom check is created, Compliance check creation wizard navigates to the custom check details page. The details page contains Overview, Applicable Devices and Deployment sections.