Set up a node-locked license
You can set up a node-locked license using the local license file on your machine.
Procedure
-
Obtain the Local Host ID for the machine running AppScan Standard:
- In AppScan Standard, click .
- Click Configure license.
- Select License file.
- Click the copy icon next to Host ID fingerprint.
The ID is saved to your clipboard. You will need it later.
- Log in to My HCLSoftware (MHS) using the email address that appears in your invitation. If this is your first login, you must create your HCLSoftware ID by using the Register for HCLSoftware ID link on the Sign In page.
-
Create a deployment:
- On the navigation bar click Deployments.
- On the Add deployment dialog, enter a unique name for your deployment and select the deployment type, HCL AppScan Standard/Source from the drop-down list and then click the Add Deployment button.
- Based on your account, all your entitlements are listed. Important: Only licenses with Product Name: “AppScan Standard Authorized User” are valid for use with the node-locked device.
-
Assign license to server:
- In the Authorized user licenses section, in the Allocated column, type the number of licenses you want to allocate.
- Click Save all changes.
- Click the Assign License button.
- Enter a name, up to 50 characters long.
- In the Fingerprint field, paste the Host ID fingerprint you copied in step 1d.
- Select the entitlement you allocated from the drop-down list.
- Click Assign.
The license is assigned and is displayed as shown in the following image.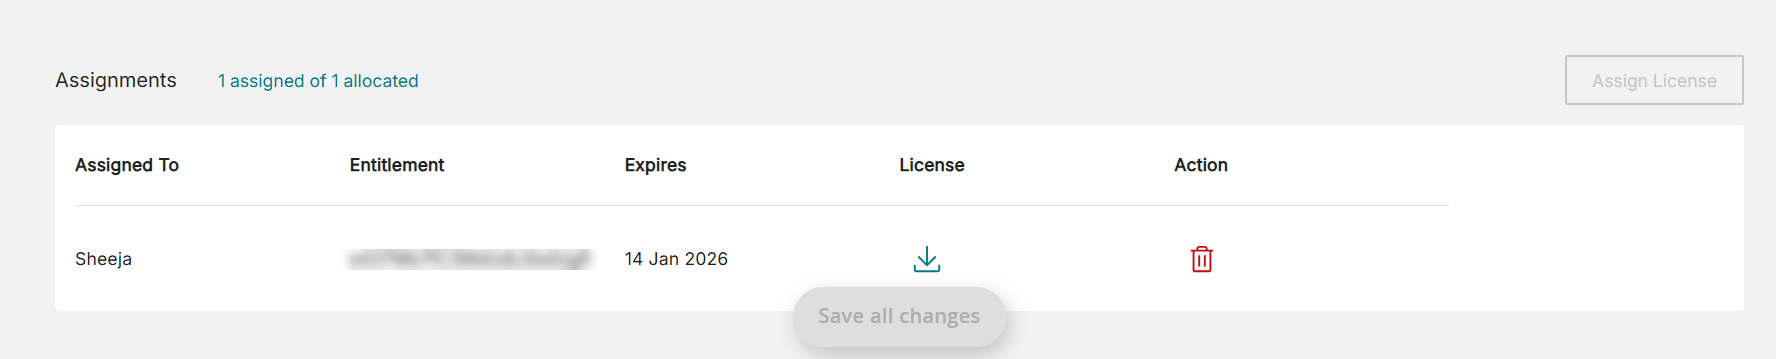
-
Download the license file:
-
Under the license column, click the download icon. The file is saved to your machine.
-
-
Configure the Local License File in AppScan Standard:
The license is verified by a green check-mark and confirmation message "License configured successfully".Note: The *expiry date on AppScan licenses follows UTC date and time. *expiry date: In case of multiple entitlements, the expiry date displayed is the one that expires first.