Creating a web application scan
Provide the starting URL and user credentials for the scan, select the type of site, and (if not previously done) verify your permission to scan the site.
Before you begin
- Backup your site before scanning.
- If you have not yet done so, Create an application for your scans.
- If scanning a live production site, refer first to What changes should I make when scanning a live production site?
Procedure
- On the specific Application page, click Create scan, then click Create scan under DAST Dynamic Analysis to open the wizard.
-
Click Scan a web application.
Click through the panels to indicate values or change settings as needed. In many cases, the default values are sufficient. When finished, click Scan.
-
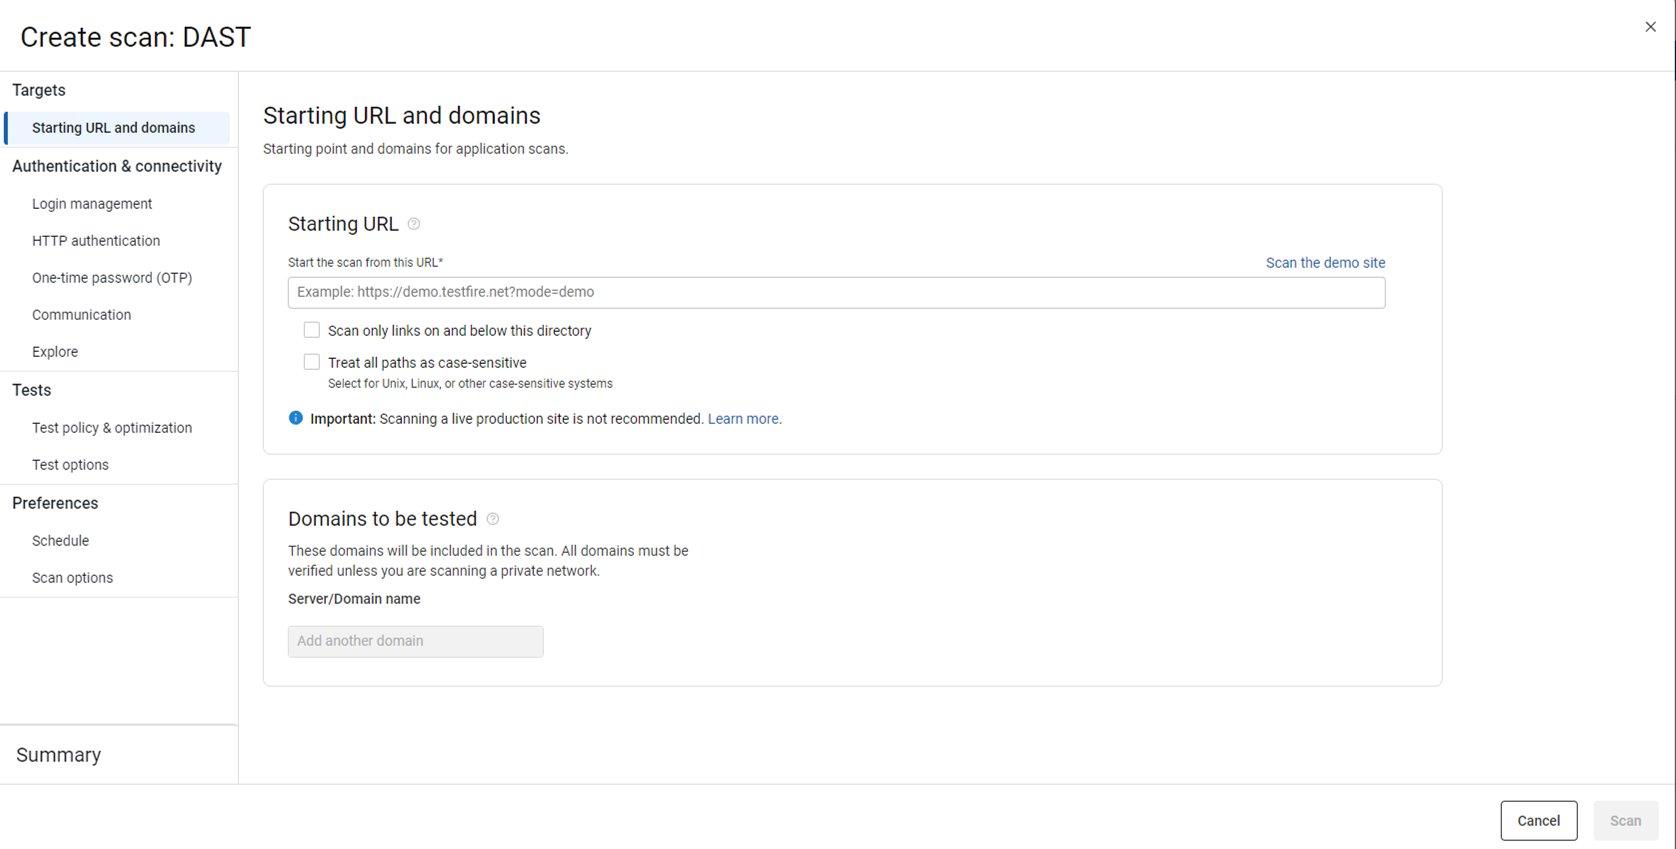
Targets: Starting URL and domains
You must enter the starting URL for the scan.
Setting
Options
Starting URL
- URL field
- For web applications, enter the URL where the scan should start. If you enter the URL in IPv6 format, enclose it with square brackets []. For example, [2001:0000:130F:0000:0000:09C0:876A:130B].
- Scan the demo site
- Click this link to fill in the URL of the AppScan demo site. This lets
you run a scan without verifying a domain. In the
Login tab, enter
Username
JSmithand PasswordDemo1234Note: Running a scan of the demo site is not counted towards your license limit as long as you use the full URL provided. If you remove the?mode=demoswitch, the scan is counted towards your limit. - Include only links in and below this directory
- Select this check box to exclude any external, parallel, or sub-domains that may be discovered as links when scanning. When this check box is cleared, the scan can include domains other than that of the starting URL.
Domains to test
Lists all domains that will be included in the scan. The starting URL you enter is added here automatically.Note: You can add up to only 5 domains per scan.If your site includes domains other than that of the starting URL, and you want them scanned, click Add another domain to add them.
-
Targets: Explore
Use Recorded explore to check specific parts of your application. This helps AppScan 360° find those areas, making sure they are tested in the DAST scan. It also gives AppScan 360° the information needed to follow links in a certain order.
Setting
Options
Upload recording
Upload one or more
DAST.CONFIGor.EXDtraffic files. For details of how to record these, see Recording traffic.File settings
If you need the requests in your traffic file to be sent in the exact order you recorded them, activate Multistep. This method significantly increases the duration of the scan, so only use it if necessary. To understand the difference between Multistep and regular Recorded explore, refer to Recorded explore.
To activate Multistep:- For each uploaded recording, click the expand icon next to the file name and switch the Advanced: Activate "Multistep" option to On.
Select how to use the file - Use both recorded and automatic explore stages for comprehensive testing
- AppScan 360° runs its own automatic explore stage to discover the application. It tests the application based on both these results and the traffic file you uploaded.
- Analyze and test only the recorded explored data
- AppScan 360° treats the uploaded file as the Explore stage for the scan. It analyzes and creates tests for the recorded traffic only, and then tests it. There will be no automatic Explore stage.
-
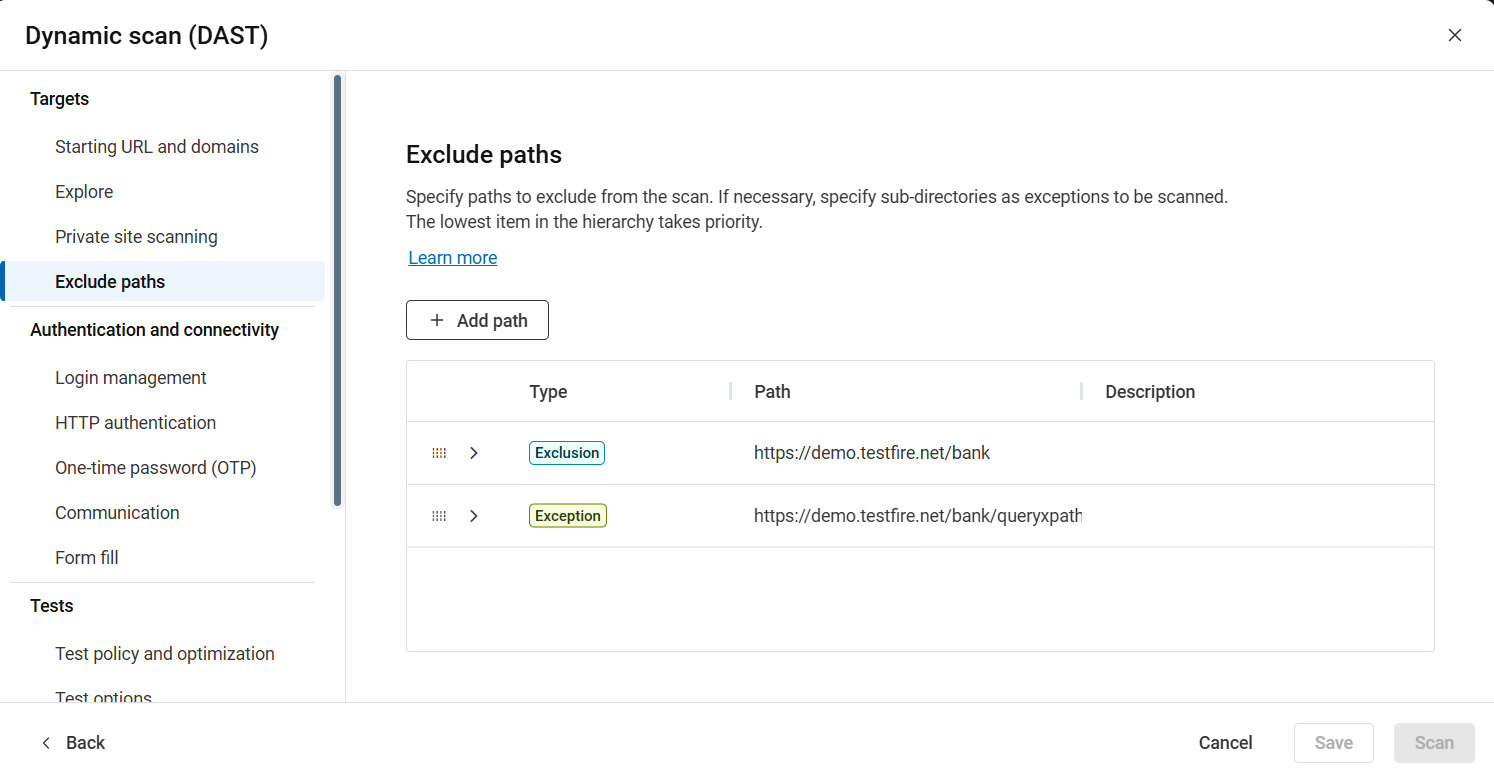
Targets: Exclude paths
Exclude certain paths in the application from the scan. You can filter the scope of the automatic Explore stage by adding URLs (full paths, which may include queries) or Regular Expressions to the Excluded paths list. Possible reasons for doing this may be:
- Because they are still under development and you know they are problematic and do not want to scan them right now
- Because you know they are not problematic and you want to reduce scan time
- To reduce scan time by restricting the scan to certain parts of the application
You can also include certain paths to be scanned as an exception to the excluded path.
Setting
Options
+ Add path
Displays options below the list to add a path as an exclusion or exception to the scan.
Exclusion Listed paths are excluded from the scan. Any link that matches a path configured to be an exclusion is filtered out of the scan. - Path: Type a path or regular expression. If the path is a regular expression, select the RegEx toggle button.
- Description (Optional): Add a description to be displayed in the Exclude Paths list.
- Exclusion: Select the radio button to add an exclusion and click Add. The listed path and its subdirectories will be excluded from the scan, unless you define any exception.
Exception Use to include a specific a directory or a file within a path that was excluded higher up in the list. - Path: Type a path or regular expression. If the path is a regular expression, select the RegEx toggle button.
- Description (Optional): Add a description to be displayed in the Exclude Paths list.
- Exception: Select the radio button to add an exception to a specific directory within a path that was excluded higher up in the list and click Add. The listed path will be included in the scan. Note that the Exception must be below the Exclusion to take effect.
Note:- Use Exception only needed when you want to include a directory or a file that is within a path that you have excluded. For example, if you have excluded: https://demo.testfire.net/bank you could then add https://demo.testfire.net/bank/queryxpath.jsp as an Inclusion, lower down in the list, to include that subdirectory in scans.
- If you add Exclusions between the Explore and Test stages of scanning, AppScan will not test the excluded paths even though they were explored.
- Where there is a conflict between two items in the list, the lower item takes priority. Click and drag the item in the list to move them up or down and adjust the order of items as required.
-
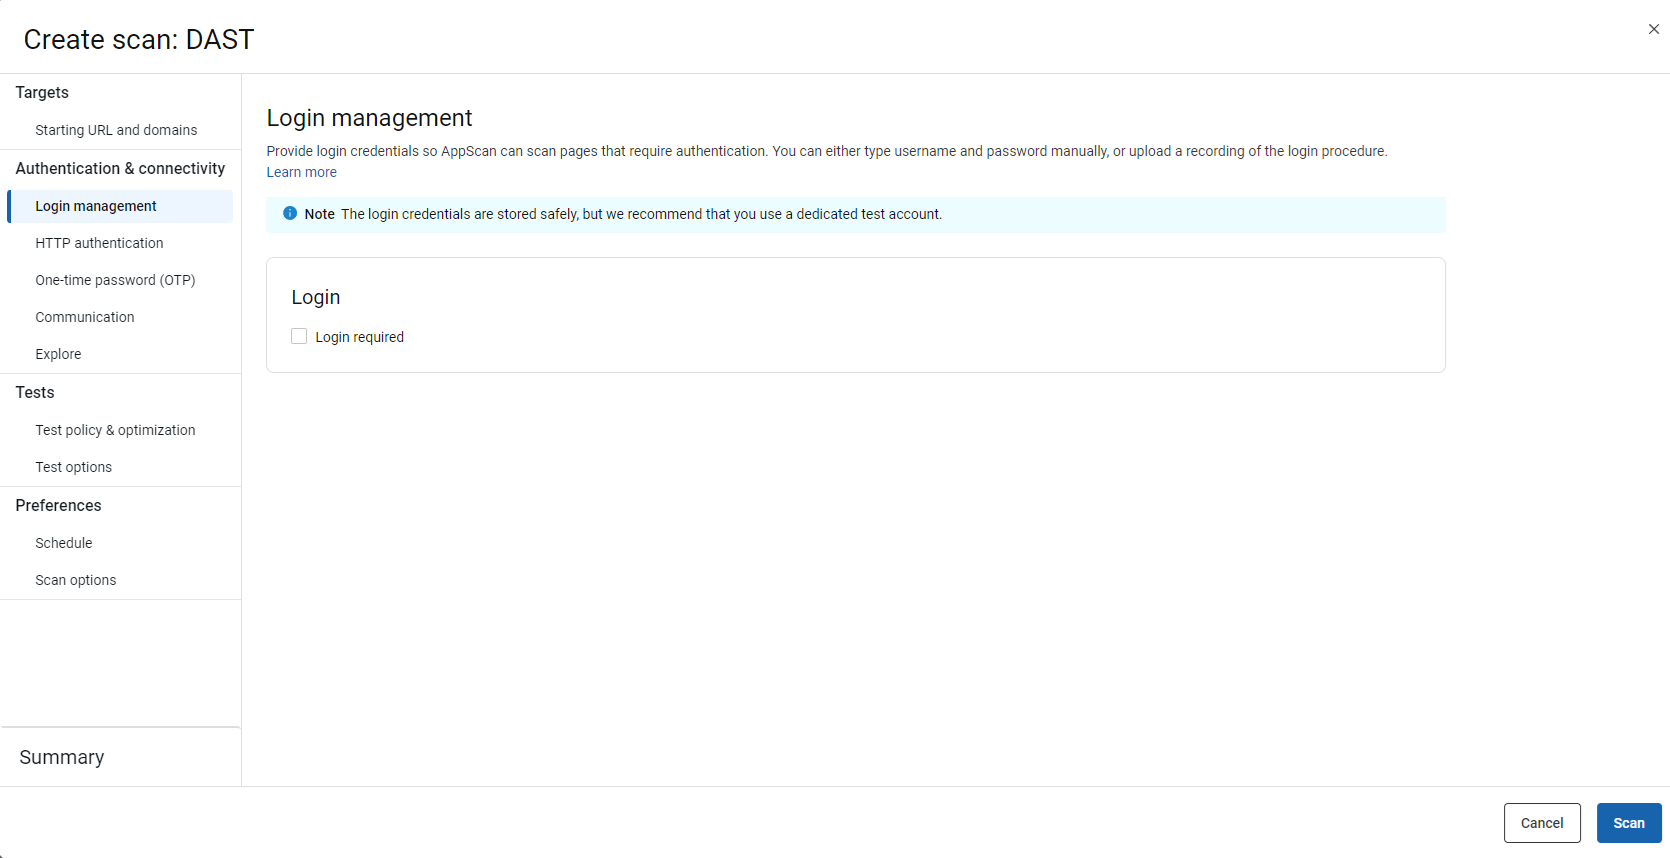
Authentication and connectivity: Login management
By default, login is not required. Leave this selection as is if no login/authorization is required.
Setting
Options
Login
- Login required: Username and Password
- Select if AppScan 360° is able to log in as needed
using credentials but with no special procedure. You can also enter a
third credential (optional). For example:
PIN# =
                              1234
. However, the use of a third credential requires intervention by the AppScan 360° Support team, and the scan may take longer.Note: CAPTCHA is not supported.Tip: AppScan 360° recommends use of test credentials rather than the credentials of an actual user. - Login Required: Recorded login
- If a special login procedure is needed, select this option to upload
a recording of the procedure that AppScan 360° must use
whenever it logs in to the applications during the scan. You can
record using the AppScan
Activity Recorder (saved as a
CONFIGfile) or AppScan Standard (exported as aLOGINfile).Important: The recorded login sequence must contain the following requests:- Login/authorization request
- An additional logged-in/authorized request. This "extra" request helps AppScan identify a successful authorization and maintain session when testing the application.
For details about recording a
CONFIGorLOGINfile see Recording traffic and Recording the login using AppScan Standard.
-
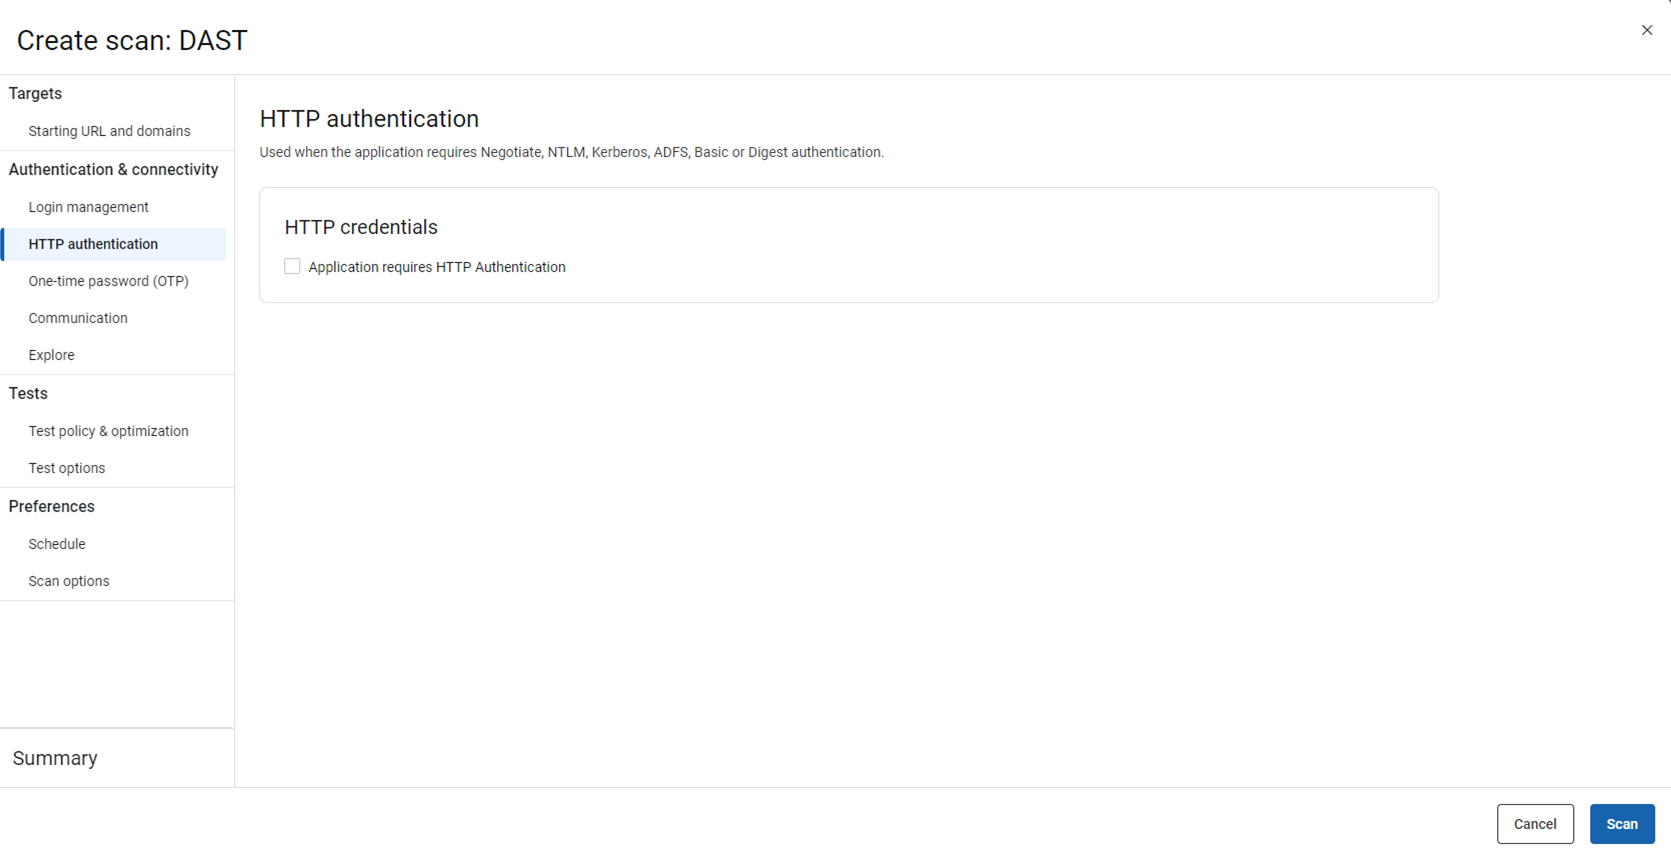
Authentication and connectivity: HTTP authentication
In addition to the login information, indicate whether the application requires HTTP authentication (Negotiate, NTLM, Kerberos, ADFS, Basic, or Digest). Enter the Username, Password, and Domain (optional) for AppScan 360° to use during the scan.
-
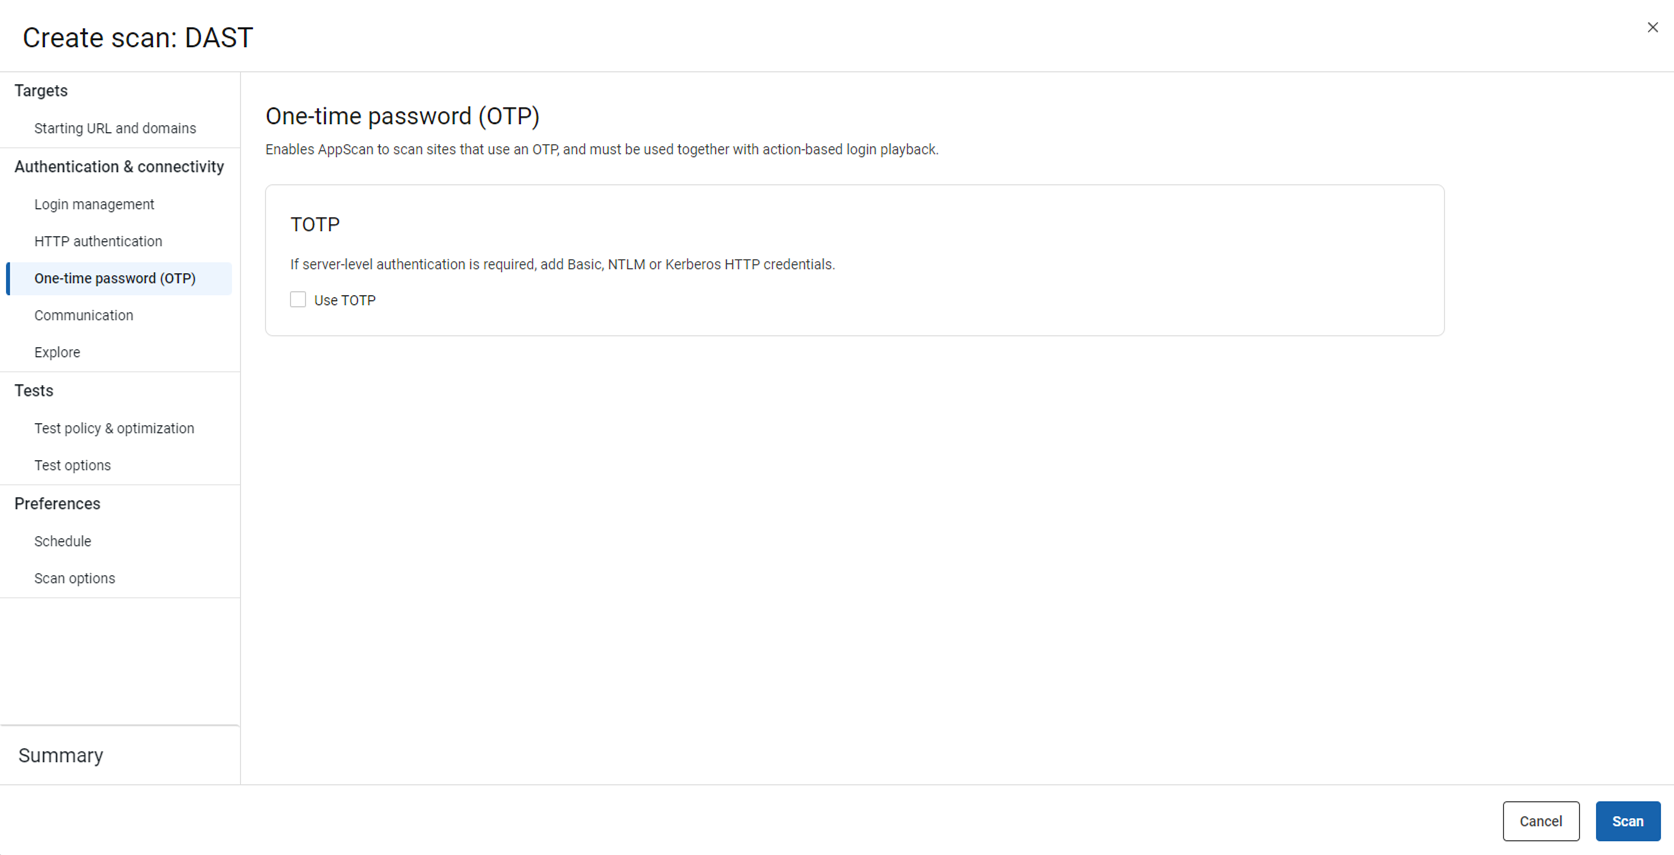
Authentication and connectivity: One-time password
If your site requires a time-based one time password for users to log in (MFA), select this check box and complete the first four fields in the dialog.
Setting
Options
Use TOTP
- Secret key
- OTP length (number of digits)
- Hash algorithm used (select from drop-down)
- Time step (in seconds)
Note: TOTP is the only OTP supported in this wizard. For more OTP options you can configure a scan in AppScan Standard and upload to AppScan 360°. When configuring a scan in AppScan Standard with OTP, you must use action-based login, not request-based login, see the AppScan Standard documentation for details. -
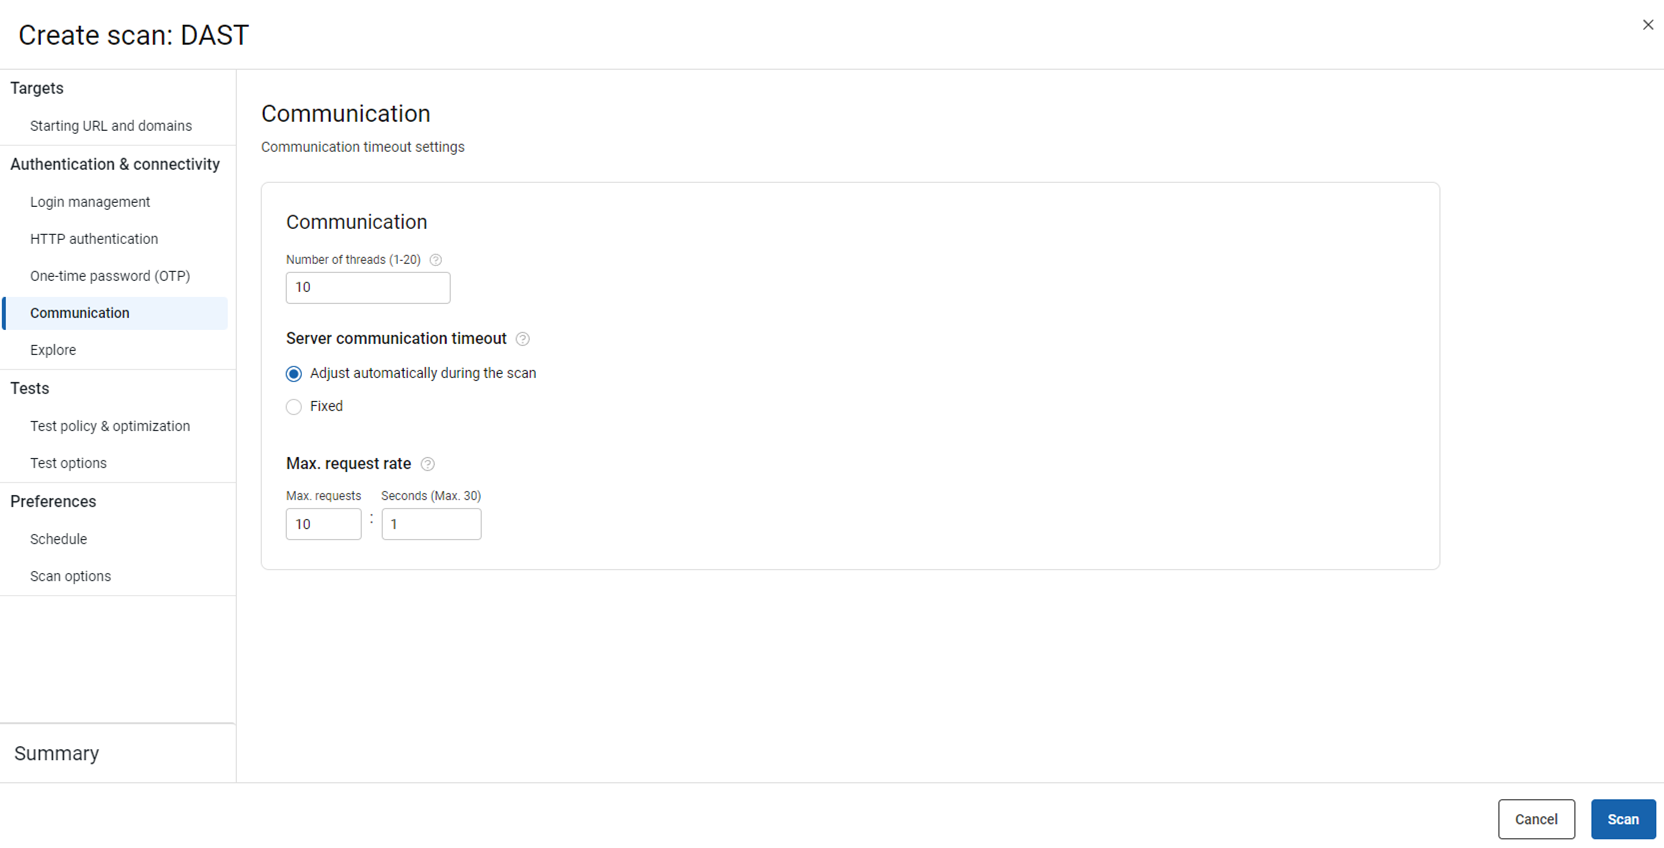
Authentication and connectivity: Communication
Set the maximum number of requests that AppScan 360° can send to the site simultaneously.
Setting
Options
Number of threads
Reduce the limit if your site does not allow this amount; if your site does not allow simultaneous threads at all, reduce the limit to 1.
Server communication timeout
- Adjust automatically during the scan
- Allow AppScan 360° to decide how long to wait for any particular response before timing out. This can significantly reduce scan time.
- Fixed
- Set the maximum time AppScan 360° waits for a response before timing out. Increase this setting if your site's responses are slow and AppScan 360° is missing responses due to the short timeout.
Max request rate
By default, AppScan 360° sends its requests to the site as fast as possible. If this limit will overload your network or server, you can reduce it.
-
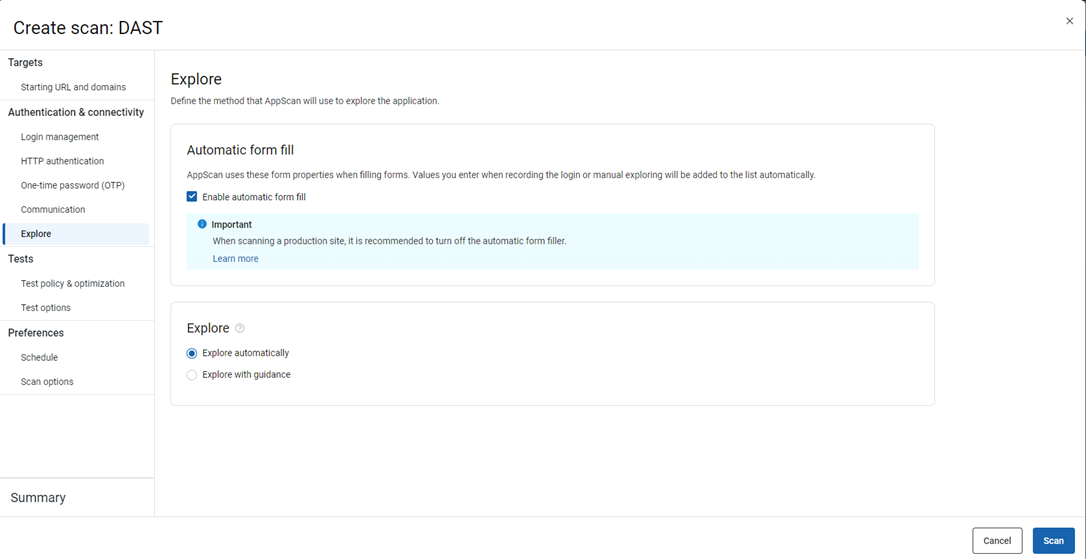
Authentication and connectivity: Form fill
Choose if AppScan 360° should automatically fill in the user input forms during the explore stage of the scan.
Setting
Options
Automatic form fill
AppScan 360° uses AppScan Standard's default form fill parameter values to fill and submit forms on the site.Important: If you are scanning a live production site, we recommended disable this function. For more details refer to What changes should I make when scanning a live production site?Note: If you turn off automatic form fill and scan in AppScan 360°, it will remove all the information filled in the forms except for the login management data. AppScan will not fill in the forms automatically during scanning. When you import this scan into AppScan Standard, automatic form fill is enabled, but the form filling data, except for login management, will be empty. -
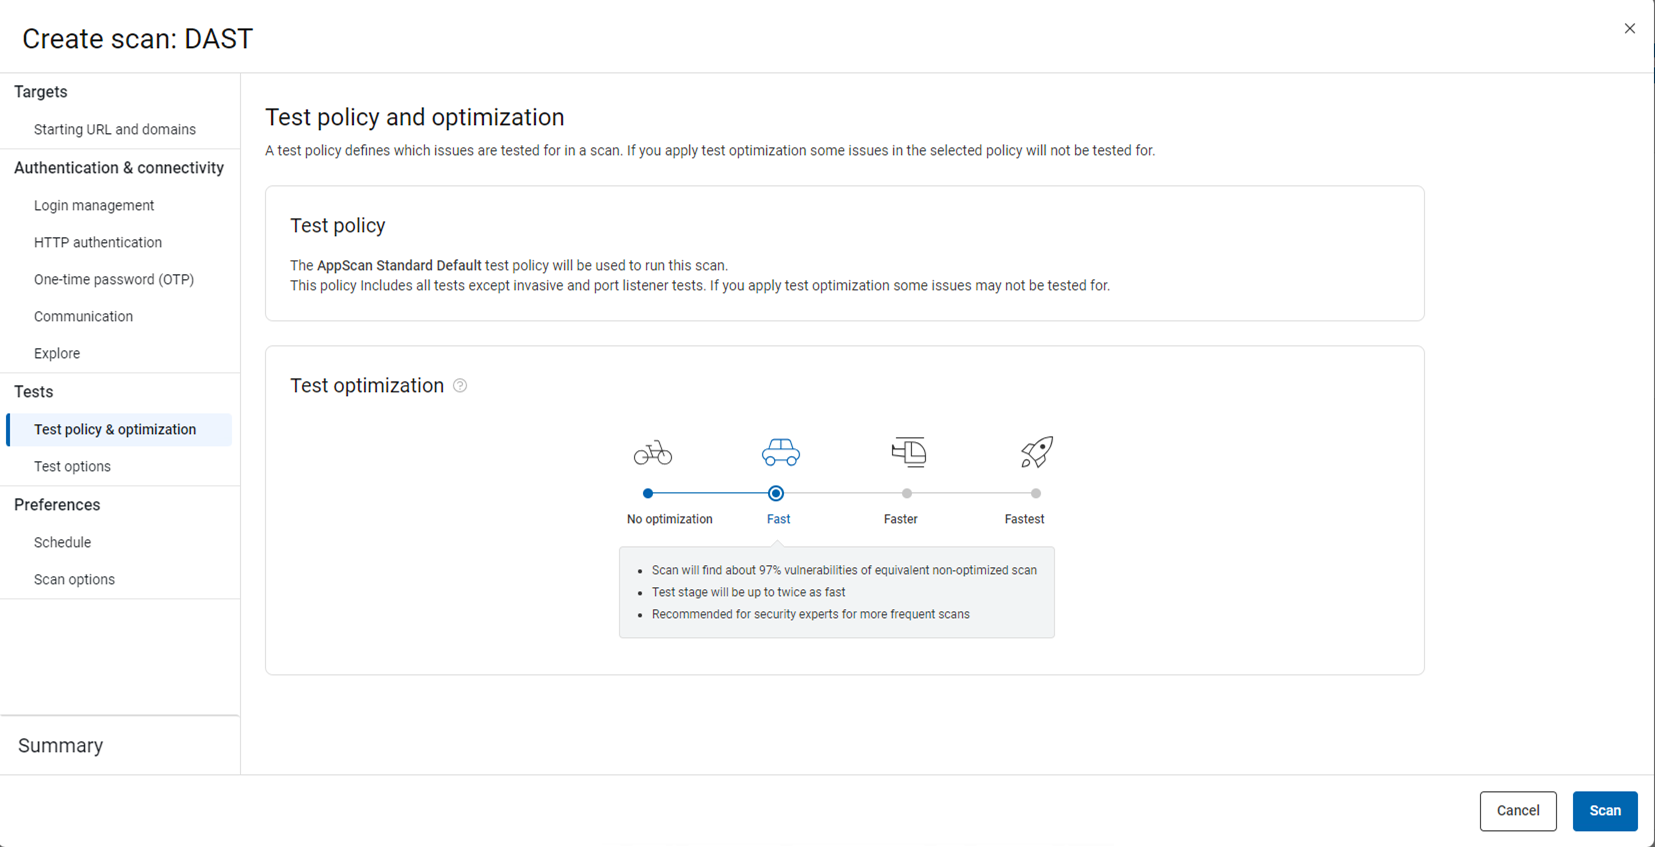
Tests: Test policy and optimization
Define the collection of tests that will be sent to the application during testing (the test policy), and apply optimization for faster scans at times in the product lifecycle when speed is more important to you than scan depth.
Setting
Options
Test policy
Select one of the five predefined test policies or a custom policy based on the level of coverage required. The default is Default that includes all tests except invasive and port listener tests. For details, see Test policies.Tip: Test policy is different from application compliance policy.Test optimization
Select the level of tradeoff between scan speed and issue coverage for your needs. The slider offers four levels. The default is Fast. For details, see Test Optimization.
-
Tests: Test options
Choose whether to send tests on login and logout pages. If you choose to send tests on login pages, specify whether to send session identifiers.

Setting
Options
Login/Logout tests Choose whether to send tests on login and logout pages. If you choose to send tests on login pages, specify whether to send session identifiers. Report vulnerable components AppScan finds vulnerabilities in third-party components and recommends updates. -
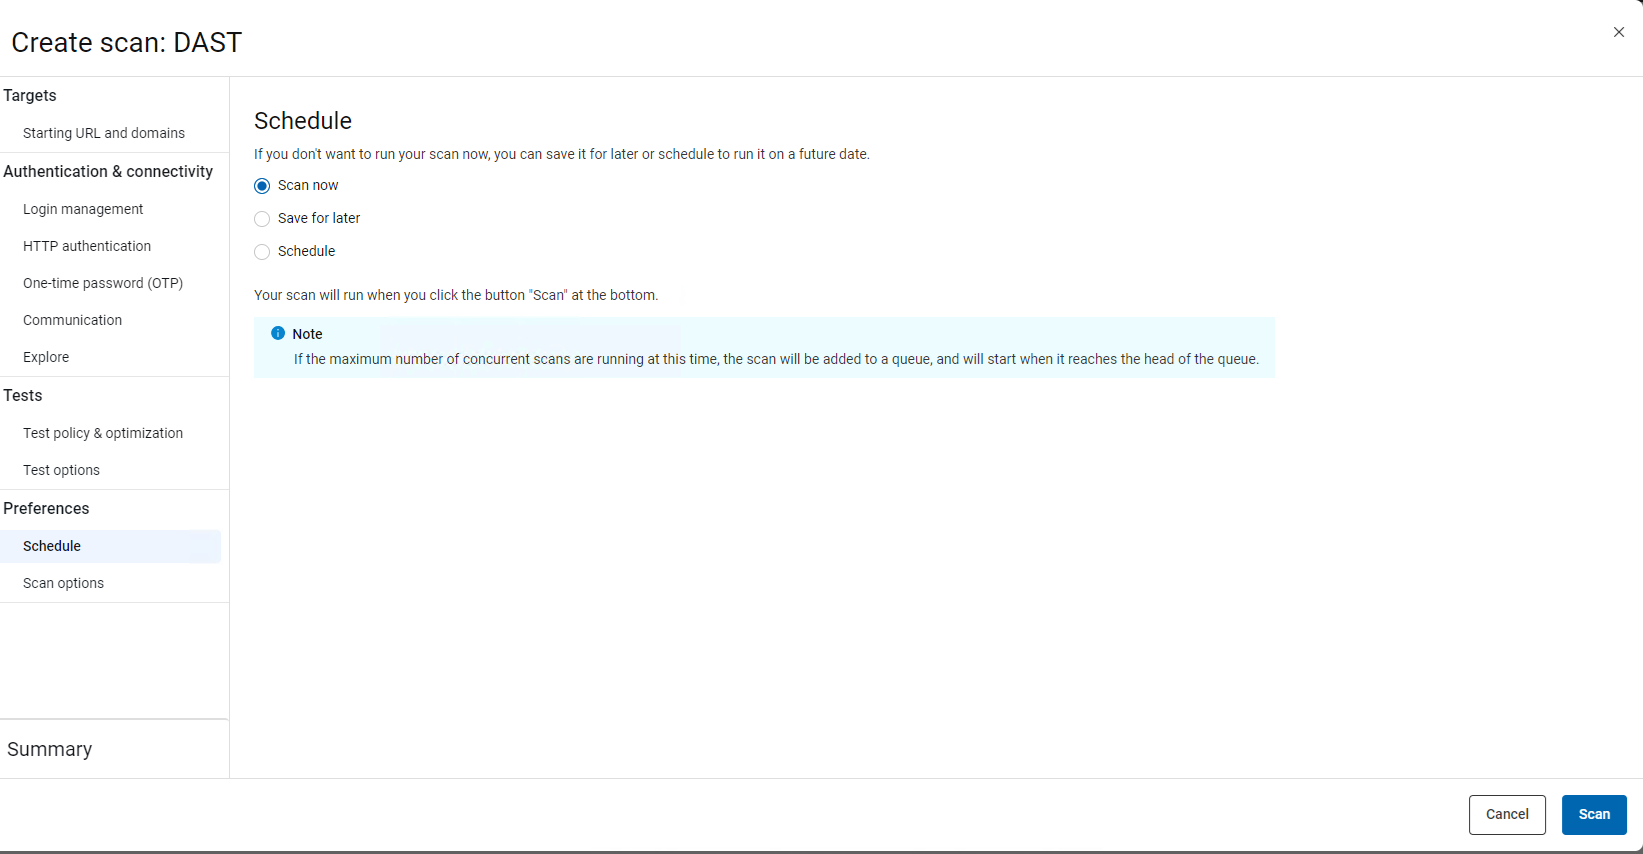
Preferences: Schedule
Specify when the scan runs: now, later, or on a schedule.
Setting
Options
Scan now
Your scan runs as soon as set up and review are complete.
Save for later
Your configuration is saved when completed. You can run the scan later.
Schedule Your configuration is saved, and one or more scans run as configured:- Select a date and time. Enter these according to the time zone configured on your machine, but note that times will be converted to UTC when displayed in the user interface.
- To run the scan more than once, select the
Repeat, and then choose:
- Daily, and select a daily interval (1-30 days)
- Weekly, and select which day, or
- Monthly, select a monthly interval, and then select which numerical day of the month, or which weekday of the month (first, second, third, fourth, last).
Note: If the maximum number of concurrent scans are running when the scheduled time arrives, the scan starts as soon as allowed by your subscription. - Set the End date (the last date a scan will run), or click Remove end date to have the schedule run indefinitely.
-
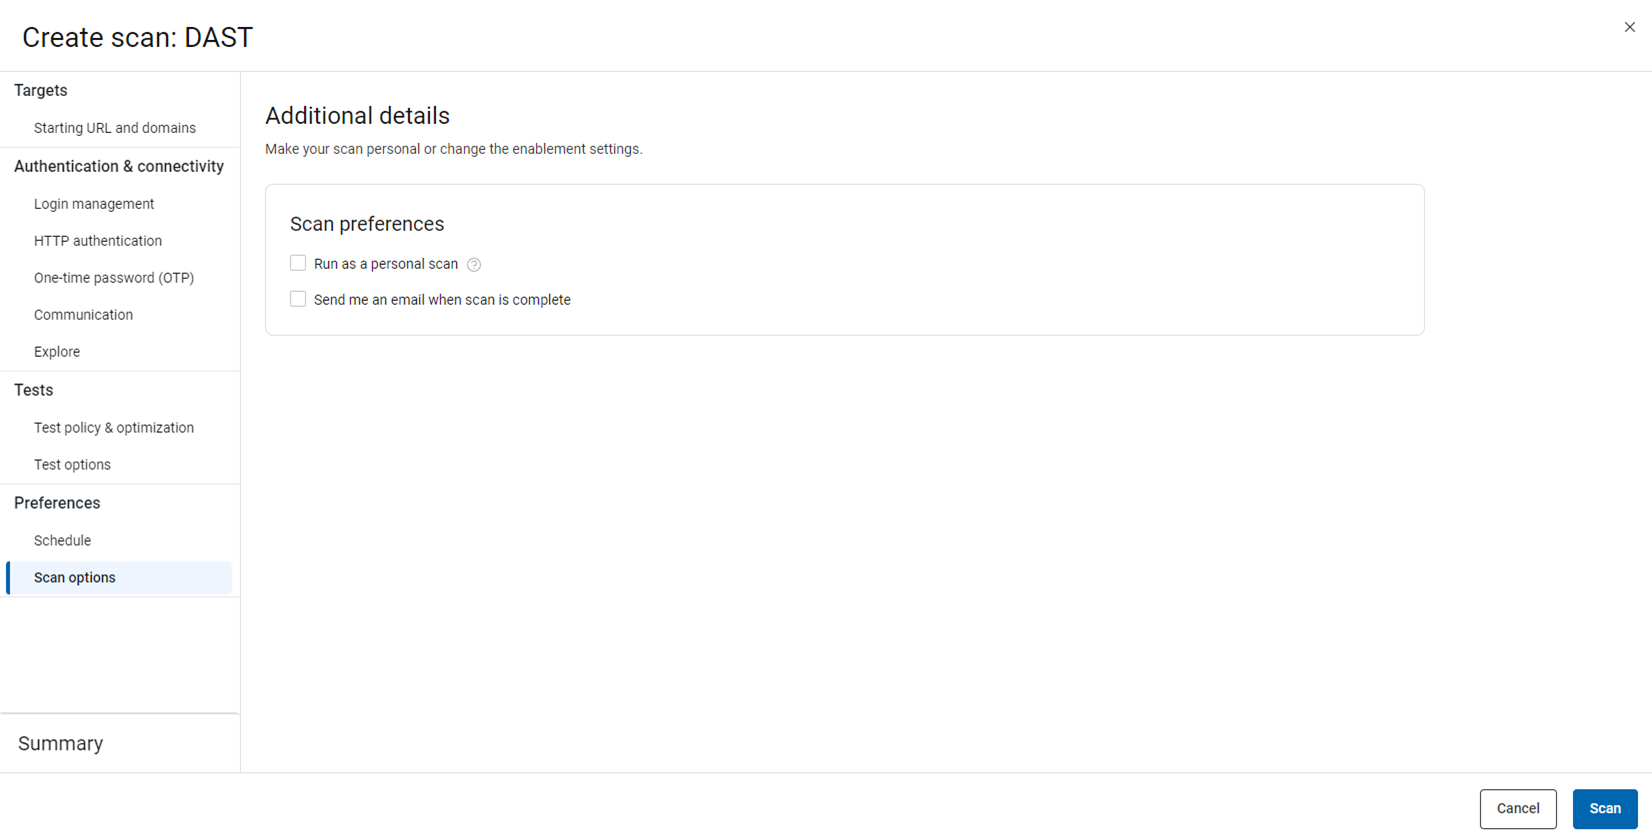
Preferences: scan options
In the Scan options panel, you can:
- Elect to run the scan as a Personal scan.
- Elect to receive an email when the scan is complete.
-
Summary
Edit the name of the scan, if desired, and review the settings selected for the scan. Click back to previous panels to make adjustments if needed.

- Click Scan.