Installing the Z and I Emulator for Web using GUI Mode
This section describes the procedure to install the HCL Z and I Emulator for Web.using GUI Mode.
Execute the following steps to install the Z and I Emulator for Web:
- Right-click on the ZIEWEB_Windows_x64.exe and select Run as Administrator.
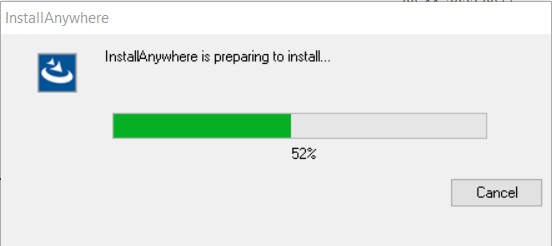
- The InstallAnywhere is preparing to install window appears.
- Once the InstallAnywhere is ready, the HCL Z and I Emulator for Web window appears.
- Select the required language from the Select language to install drop-down and
click OK.
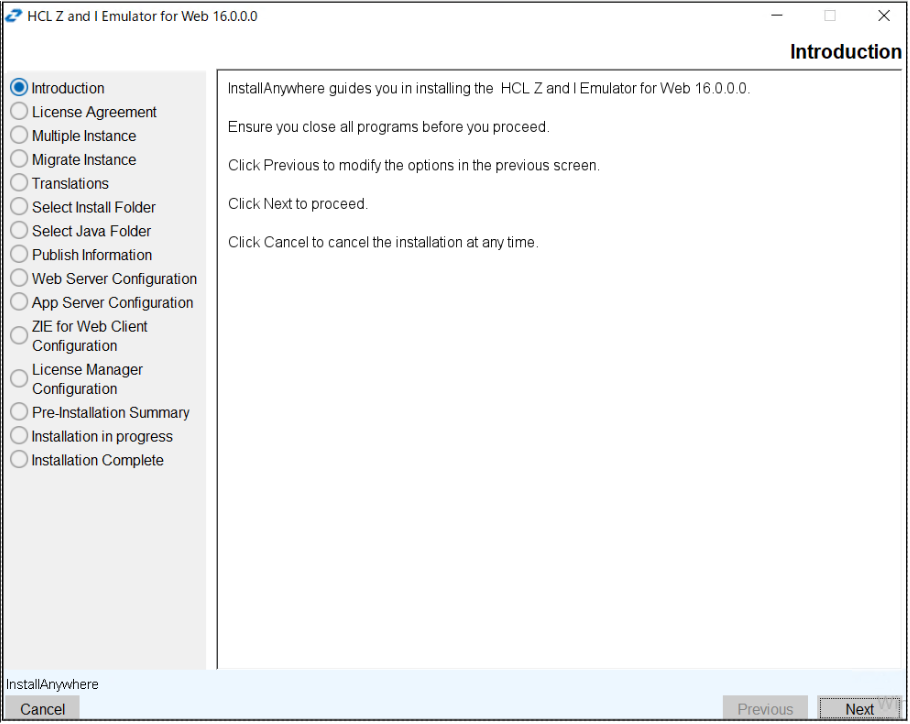
- The Introduction screen appears.
- Read the instructions carefully and click Next.
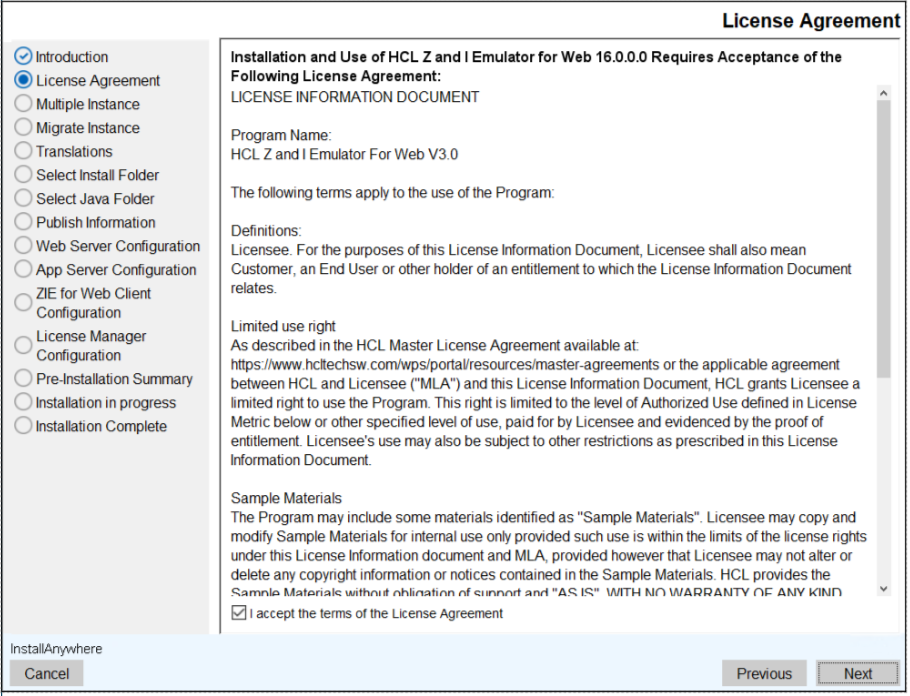
- The License Agreement screen appears.
- Read the license agreement carefully and select the I accept the terms of the License Agreement checkbox.
- Click Next to continue.
- The Multiple Instance screen appear.
- Select any one of the following option and click Next.
- HCL Z and I Emulator for Web New Instance
- HCL Z and I Emulator for Web 3.0.0.0
 Note: The Multiple Instance panel is displayed when an earlier version of InstallAnywhere Z and I Emulator for Web is installed.
 - The Translations screen appears.
- Selec the required language pack(s) and click Next.
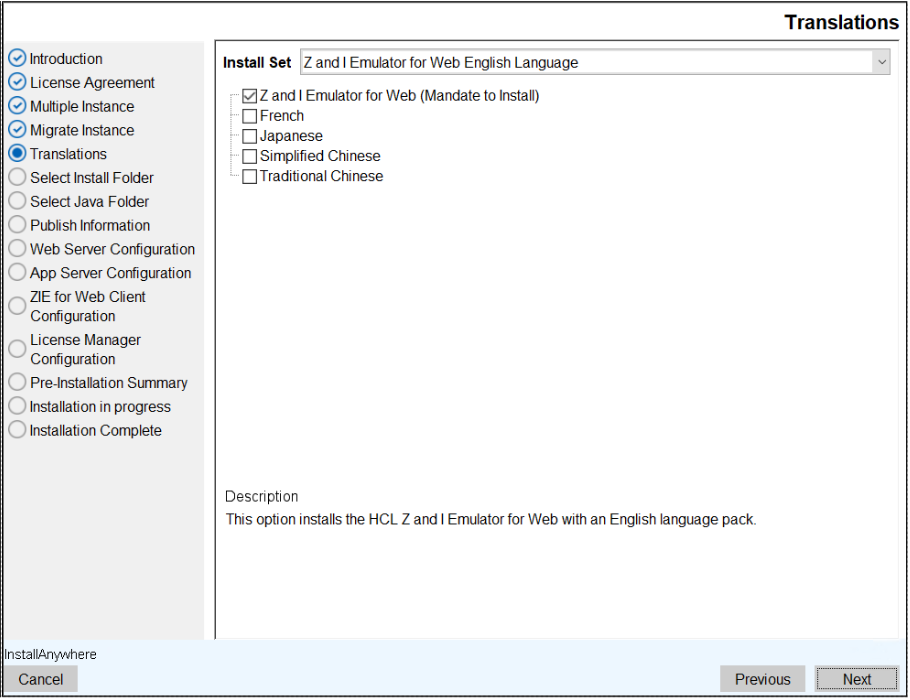 Note:
Note:- The Z and I Emulator for Web (English language pack) is a mandatory option and it is selected as default.
- If the Z and I Emulator for Web is not selected, an error message appears
as shown below.

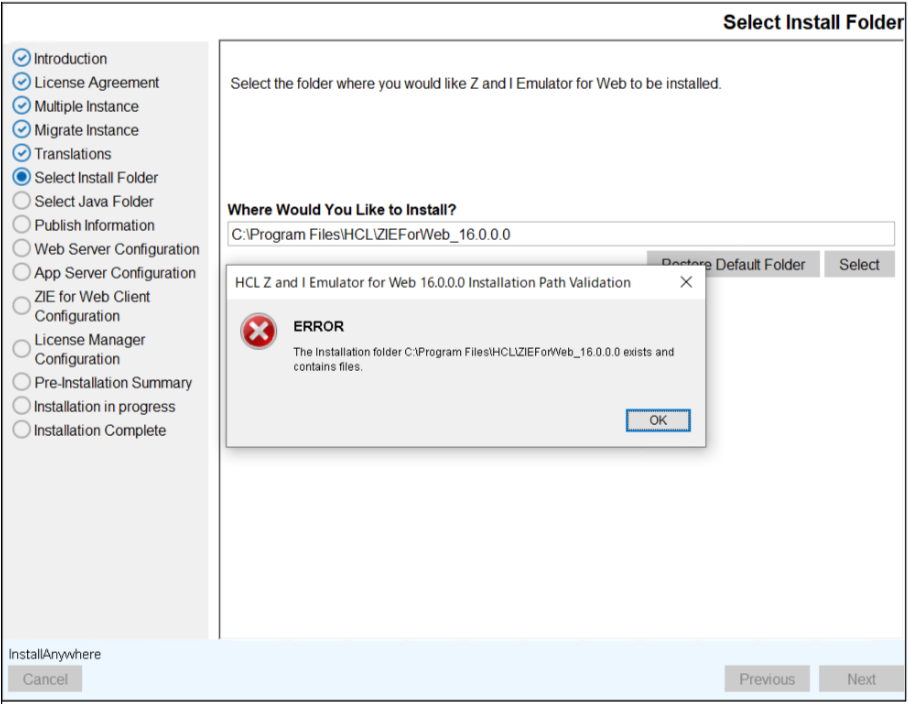
- The Select Install Folder screen appears.
- Select the required folder location to install the product and click Next.
 Note:
Note:- To restore the default folder location, click the Restore Default Folder button.
- The error message will appear if the install folder already exists, as shown
below.
- The Publish Information screen appears.
- Enter the required information and click Next.

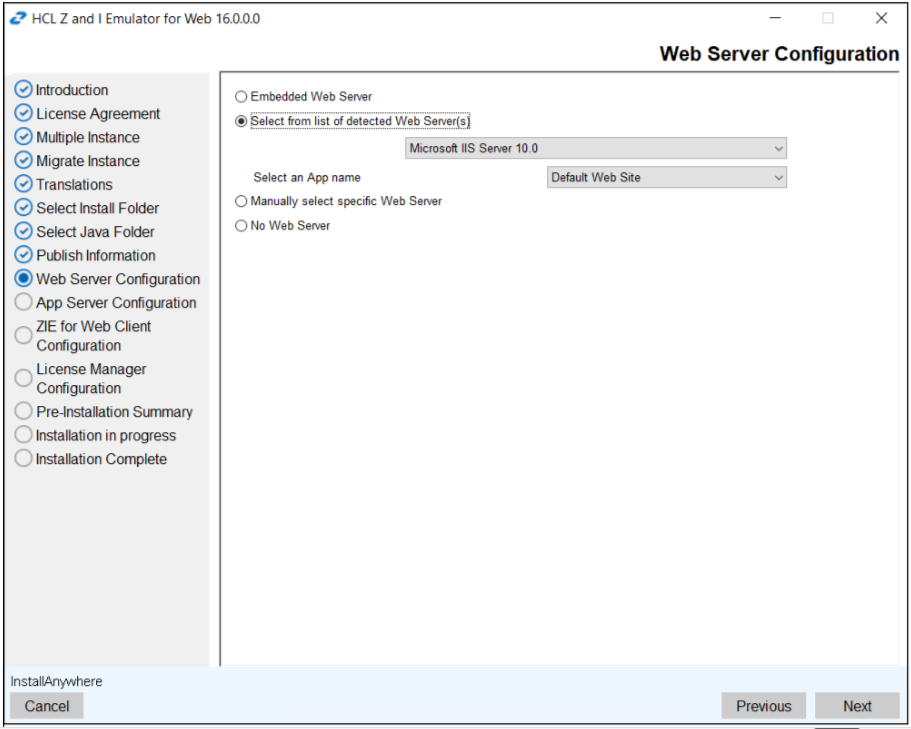
Note: The Service Manager Port and Secure Port must be a system-free port. If other applications use the port number, the Z and I Emulator for Web Server will not start. - The Web Server Configuration screen appears.
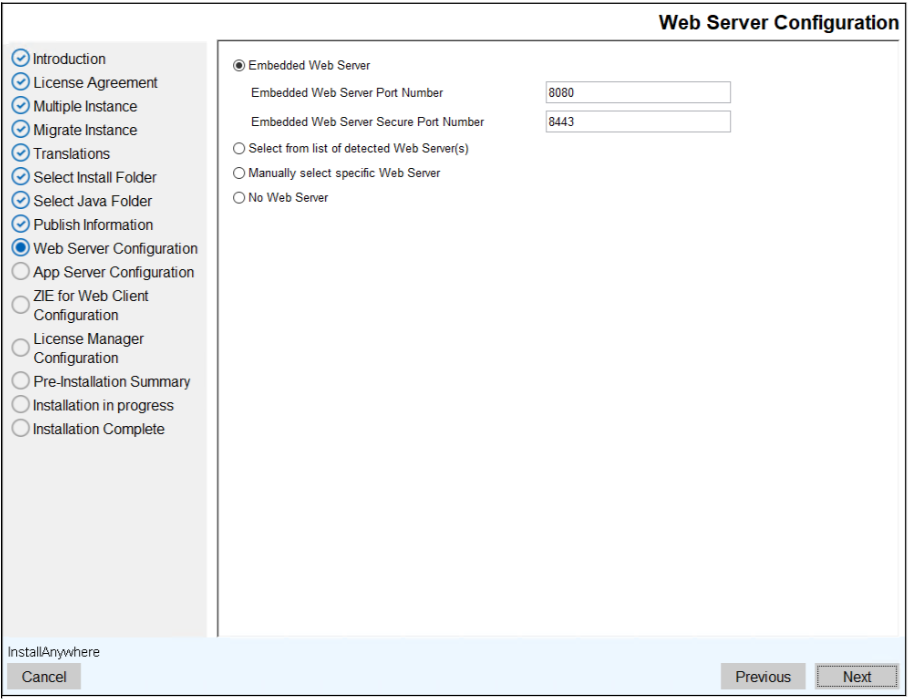 Note:
Note:- By default, the Embedded Web Server option is selected.
- If no web server is selected, the Z and I Emulator for Web Client and License Manager will not be configured.
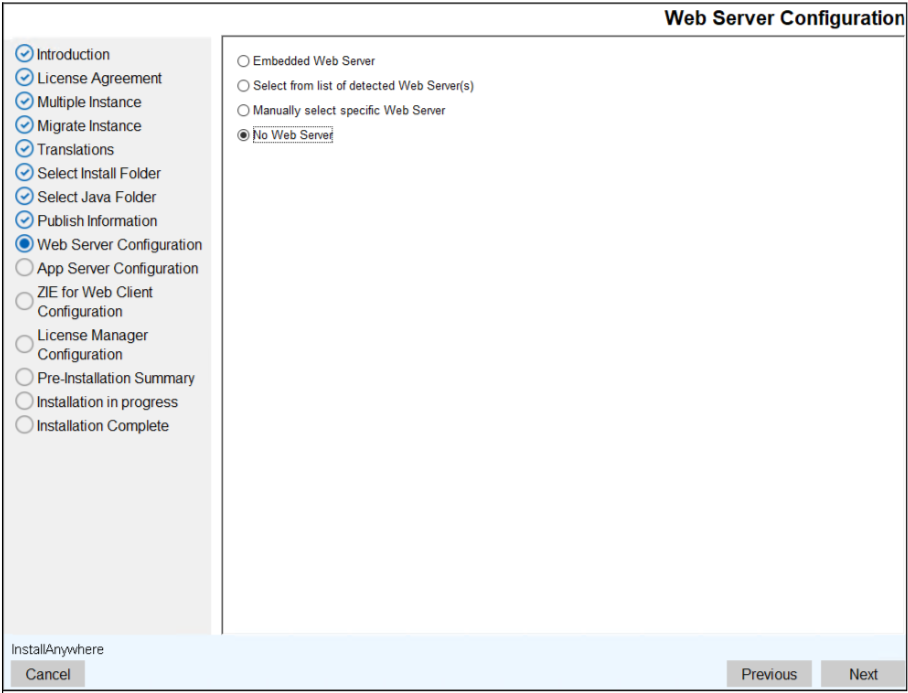
- Select any one of the following option and click Next.
- Select from the list of detected web server: Select the detected web server
from the dropdown list.
Note: From Apache 2.4, ZIEWEB will no longer automatically detect the installed Apache web server instance. To proceed, manually select the Apache web server option during the ZIEWEB installation process. - Manually select Specific web server: Manually select the required web server.
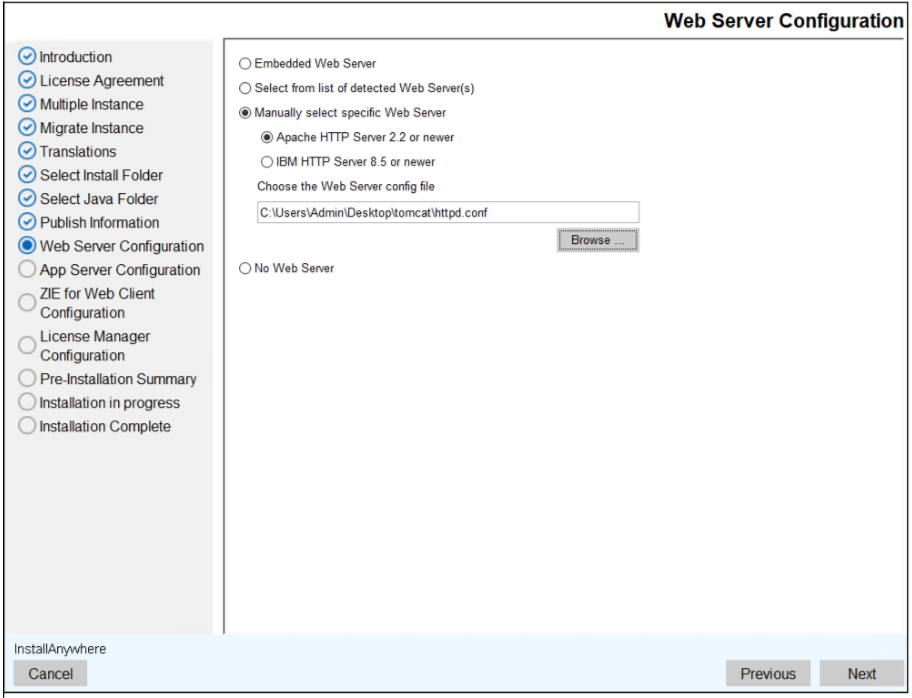
- No Web Server: If the web server is not installed, then select this option.
- Select from the list of detected web server: Select the detected web server
from the dropdown list.
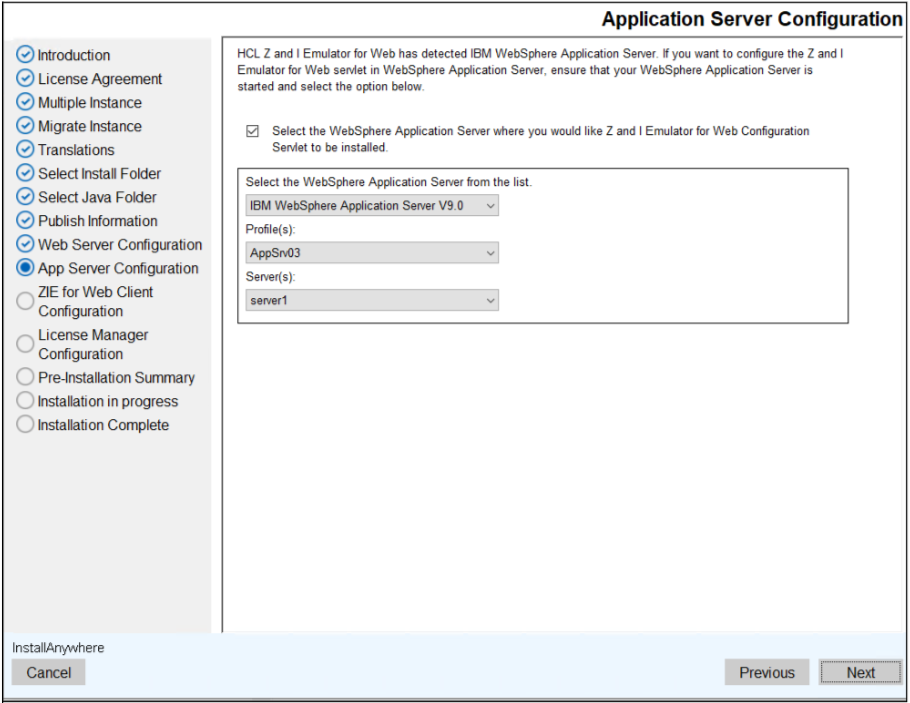
- The Application Server Configuration screen appears.
- Select the WebSphere Application Server check box.
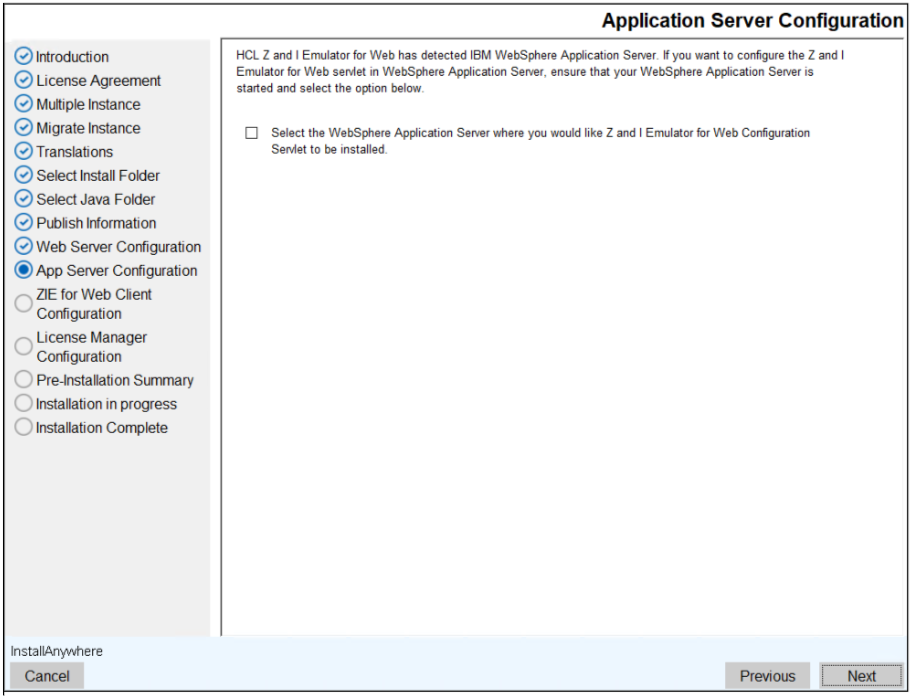
- Select the required WebSphere Application Server, Profile(s) and Server(s) from the
dropdown list, and click Install.
Note: The HCL Z and I Emulator for Web does not support an Administrative Security webserver. The validating message window appears as shown below.
- The Z and I Emulator for Web Client Configuration screen appears.
- Select the Z and I Emulator for Web Client configuration check box, if you want to
install Z and I Emulator for Web Client during ZIEWEB installation. Note:
- If the Embedded Web Server option is not selected in the Web Server Panel, the Embedded Server will not appear on the Z and I Emulator for Web Client panel.
- If the Embedded Web Server option is not selected in the Web Server Panel, the Web Server Port, Application Server Port, and Application Server Secure Port fields will appear on the Z and I Emulator for Web Client panel.
- If the Embedded Web Server option is selected in the Web Server Panel but not selected in the Z and I Emulator for Web Client, the Application Server Port and Application Server Secure Port fields will appear on the Z and I Emulator for Web Client panel.
- To deploy the Z and I Emulator for Web Client on the Embeded Web Server, enable the deployment option as it is not enabled by default.

- Select the reuqired server and enter the required details.

- To configure the server manually, select the Manually select a specific Application
server option.
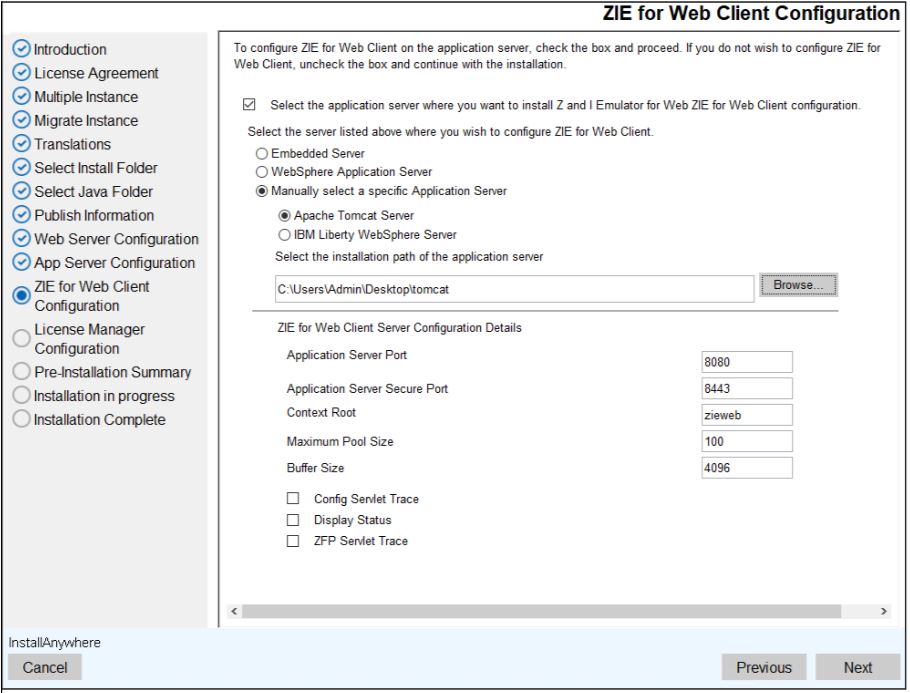 Note:
Note:-
For Apache Tomcat, specify the server installation path up to the root folder of webapps.
-
For HCL Liberty, specify the server path up to the Web Server configuration directory.
-
- Select the License Manager Configuration check box, if you want to install License
Manager during ZIEWEB installation.Note:
- If the Embedded Web Server option is not selected in the Web Server Panel, the Embedded Server will not appear on the License Manager panel.
- If an external application server is selected, the Application Server Port and Application Server Secure Port fields are displayed on the License Manager panel.

- Select the reuqired server and enter the required details.
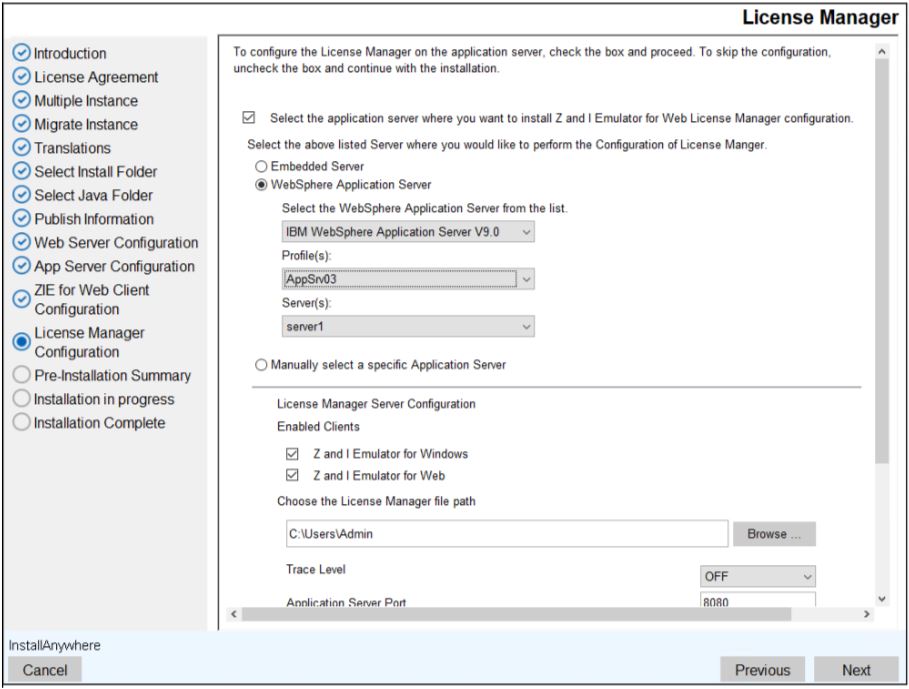
- To configure the server manually, select the Manually select a specific Application server option.
- Enter the required information in fields.
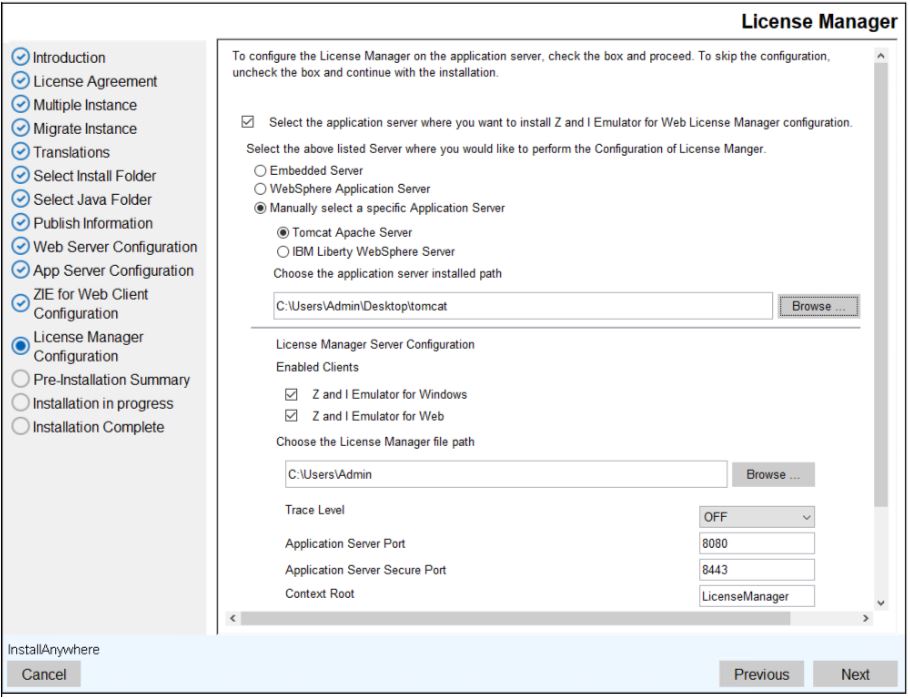 Note:
Note:-
For Apache Tomcat, specify the server installation path up to the root folder of webapps.
-
For HCL Liberty, specify the server path up to the Web Server configuration directory.
-
- Under Database Configuration select any one of the following option for Database
Server:
- H2: For H2 Database Server, enter the Database Username and Database Password.
- SQLITE
- MYSQL: For MYSQL Database Server, enter the required information in the
following fields:
- Database Driver
- Database Username
- Database Password
- Database URL
- DB2: For MYSQL Database Server, enter the required information in the
following fields:
- Database Driver
- Database Username
- Database Password
- Database URL
- Click Next to continue.
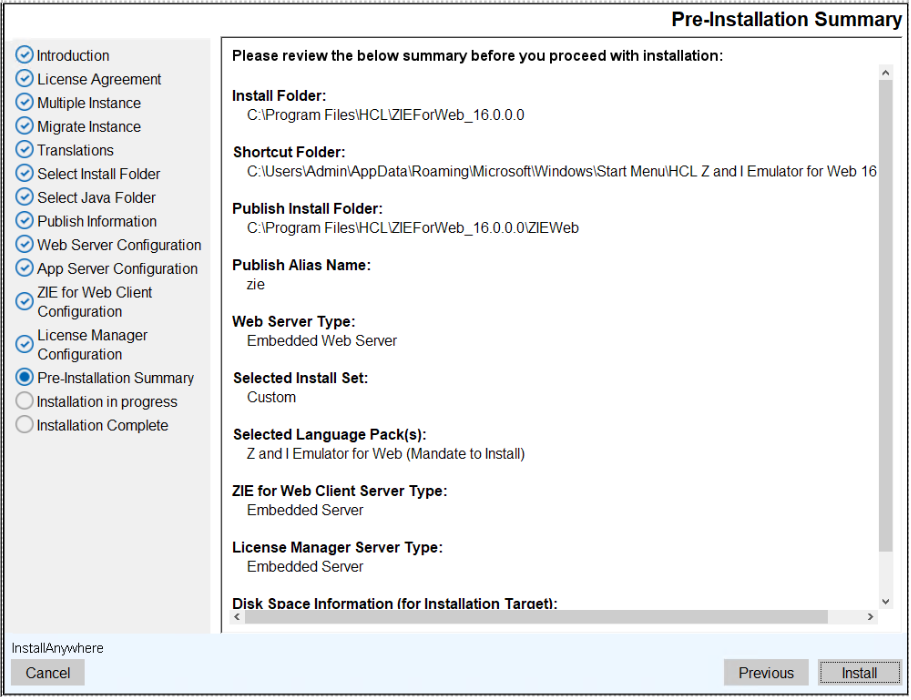
- The Pre-Installation Summary screen appears.
- Review the installation summary carefully details and click Install.
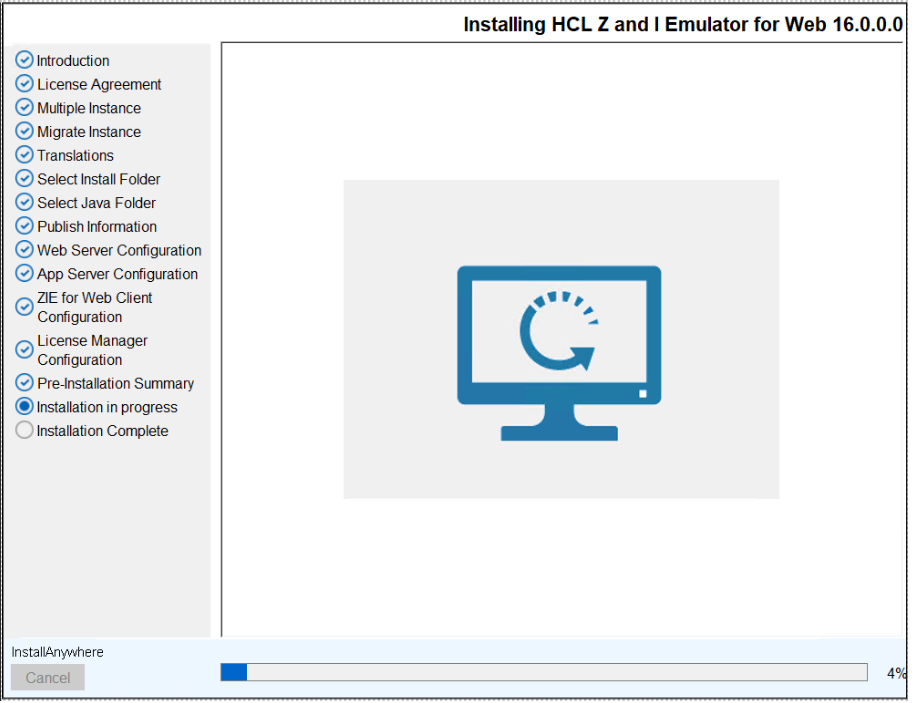
- The Installing HCL Z and I Emulator for Web 16.0.0 screen appears, which displays
the installation progress.
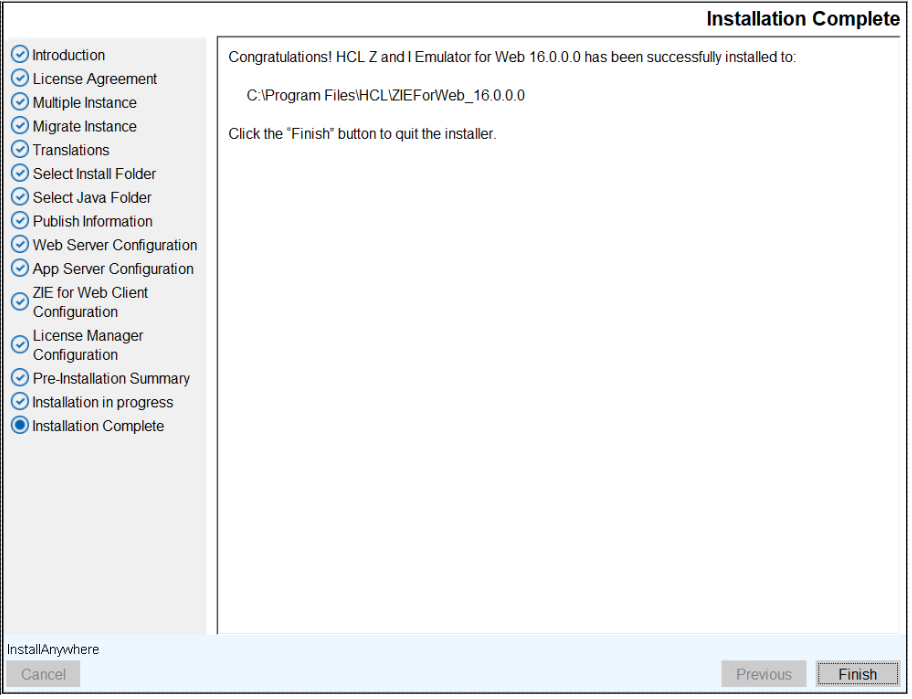
- After successful installation, the Installation Complete screen appears.
- Click Finish to close the installer.