Installing Z and I Emulator for Web in Console Mode on z/OS
To install HCL Z and I Emulator for Web on console mode on z/OS, perform the following steps:
- Copy the installer jar “HCL_ZIEWeb_os390.jar”to z/OS machine.
- Navigate to the path where the setup jar is copied.
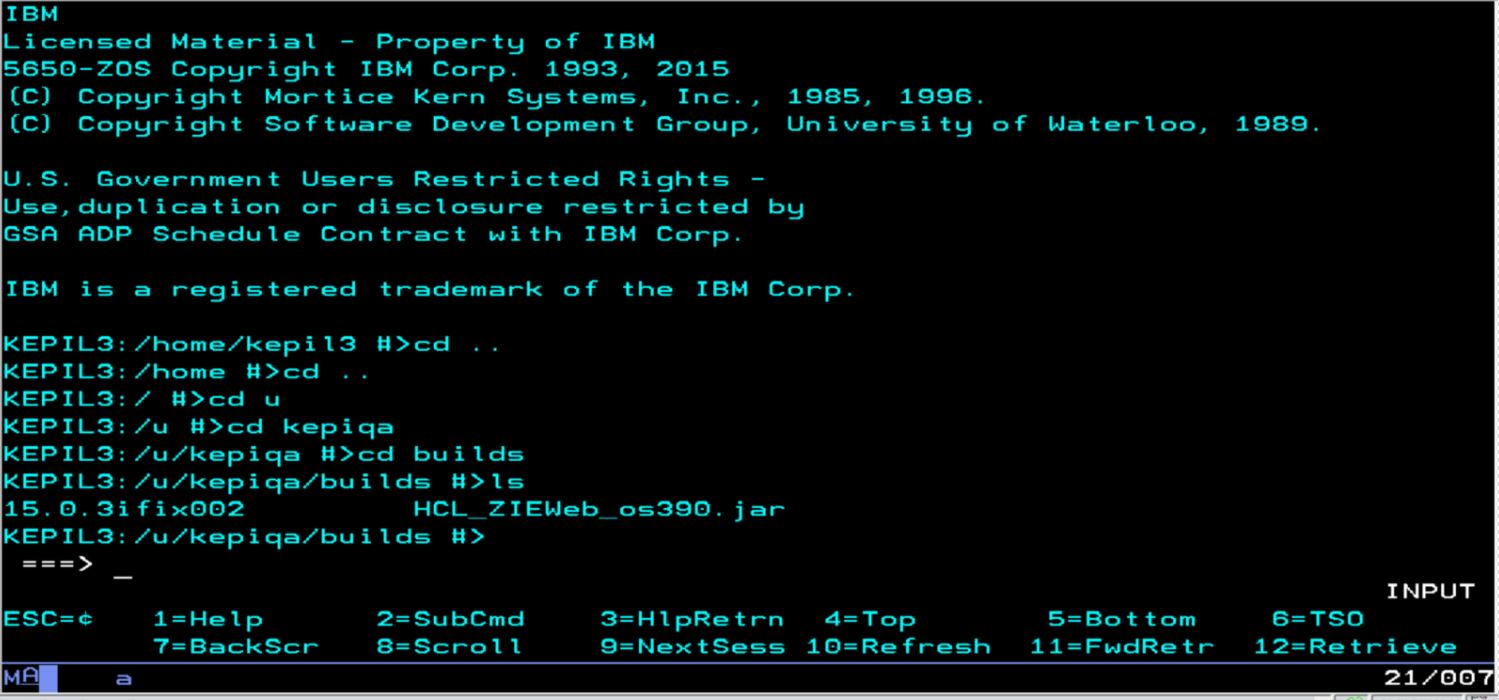
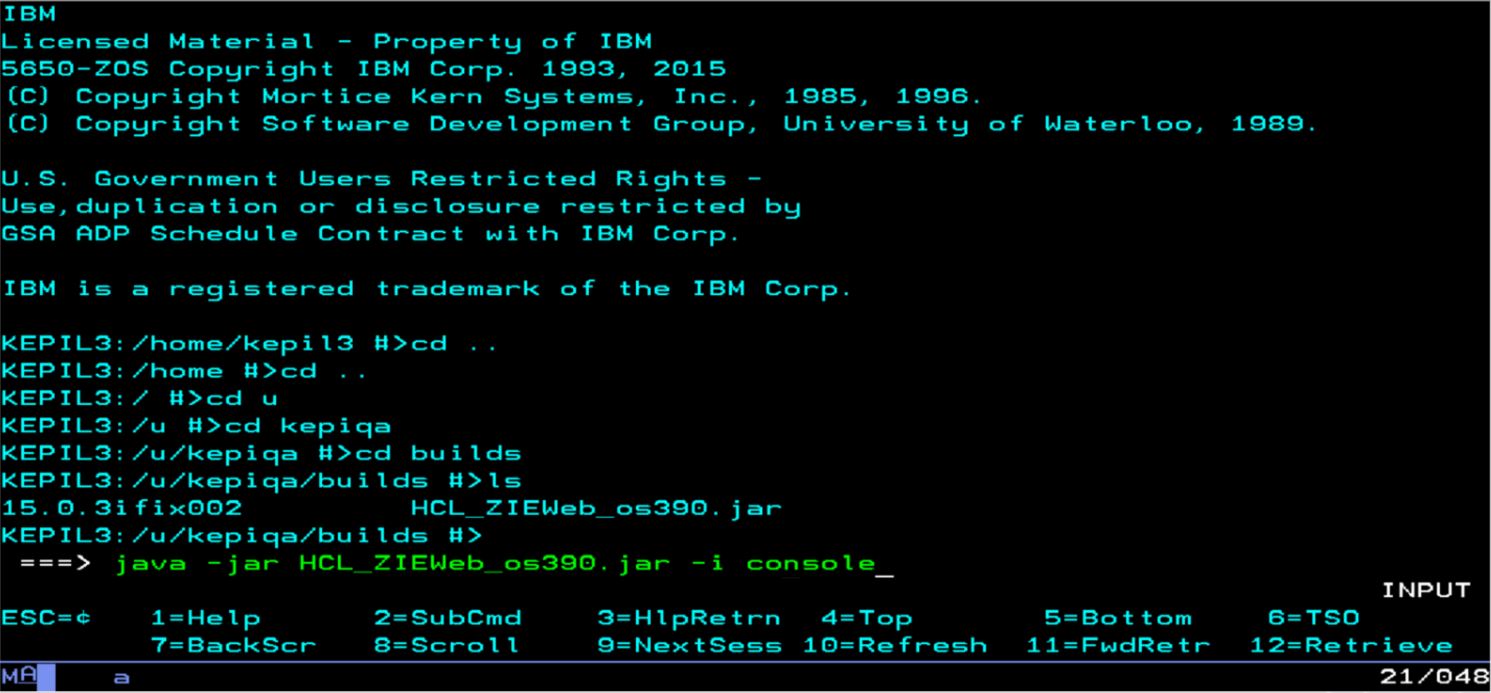
- Run the following command.

- Choose the Locale.
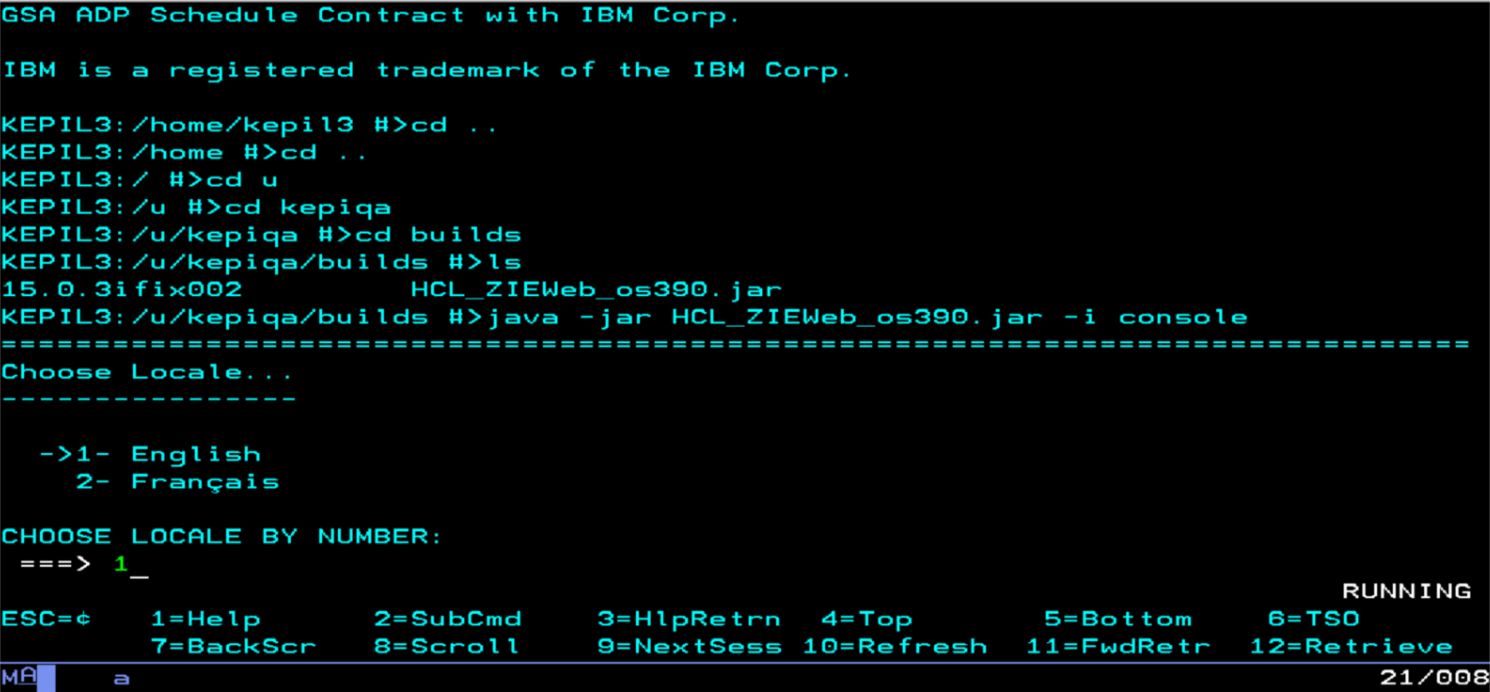
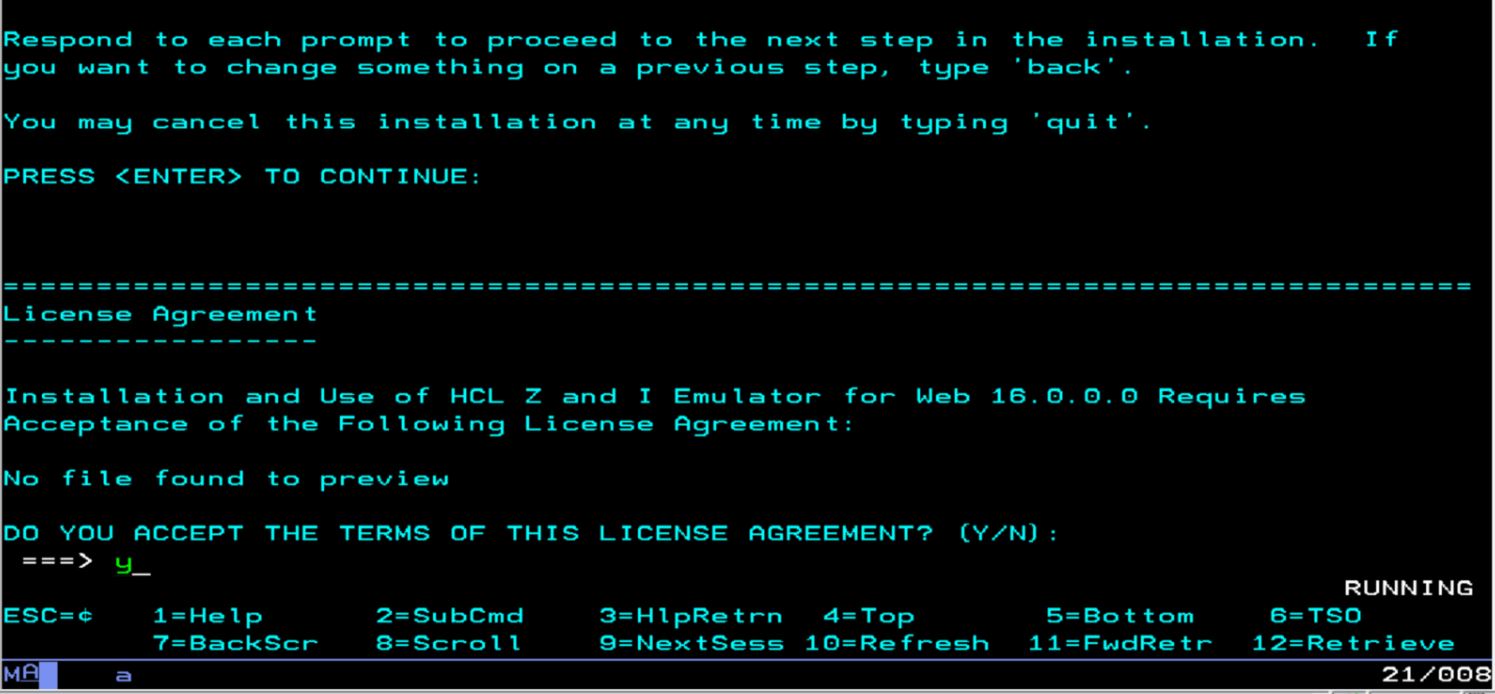
- Press Enter to continue the installation.

- Enter Y to accept the terms of License Agreement.
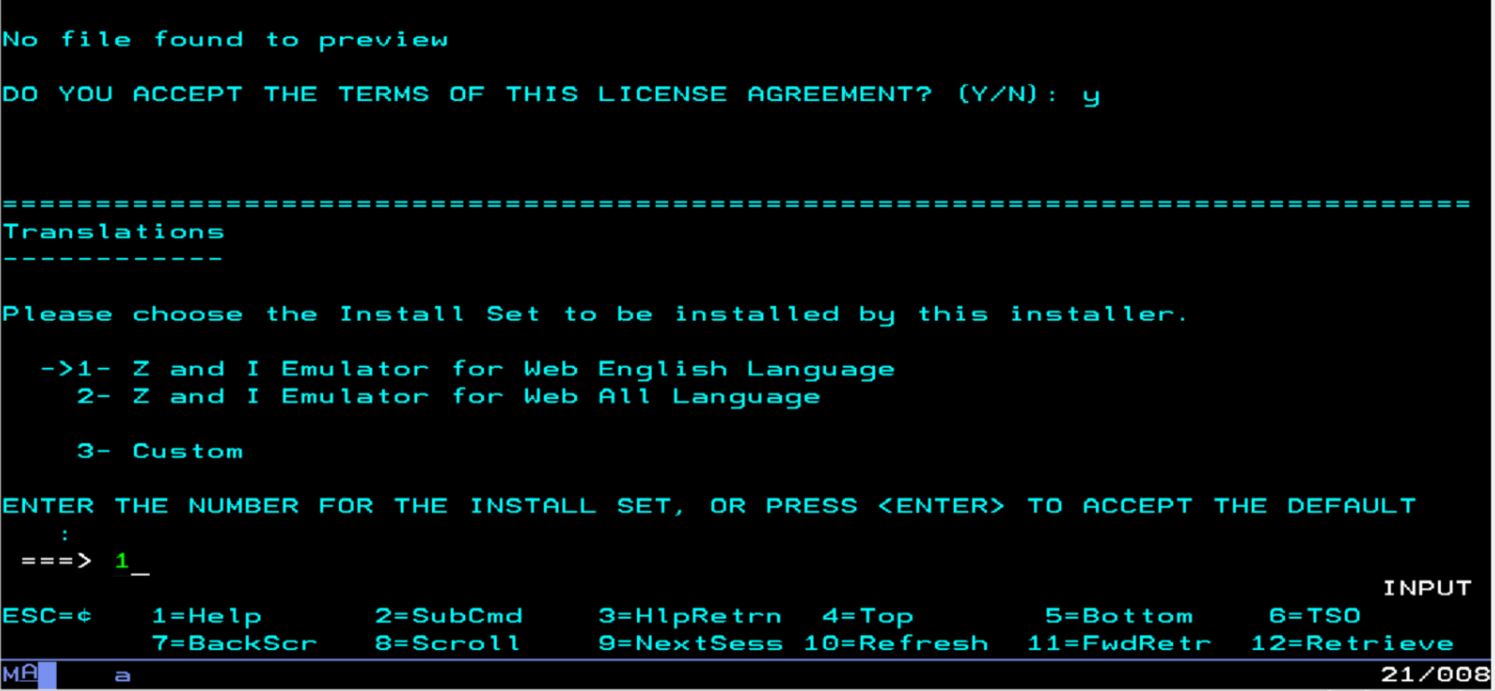
- Select the instance to Install.
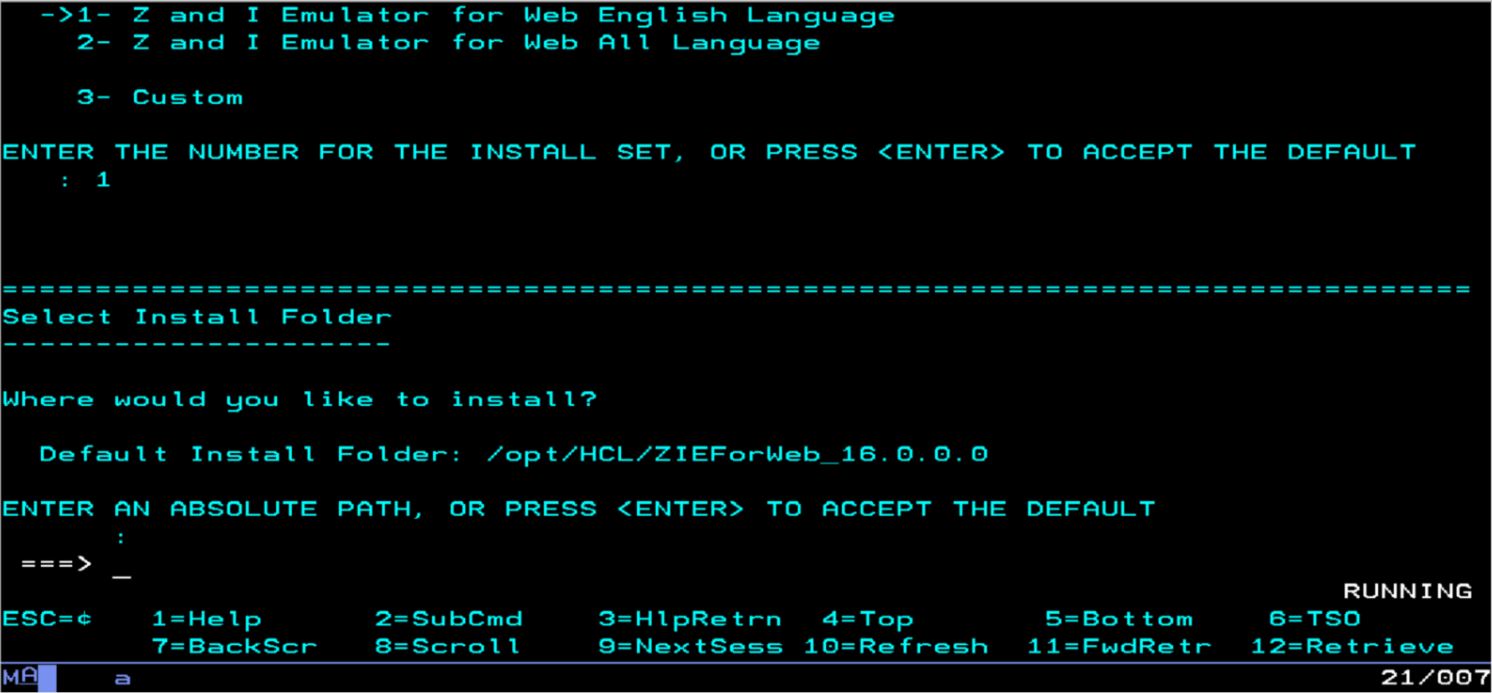
- Now, Choose Install Folder screen displays. Press
Enter to continue with default path.
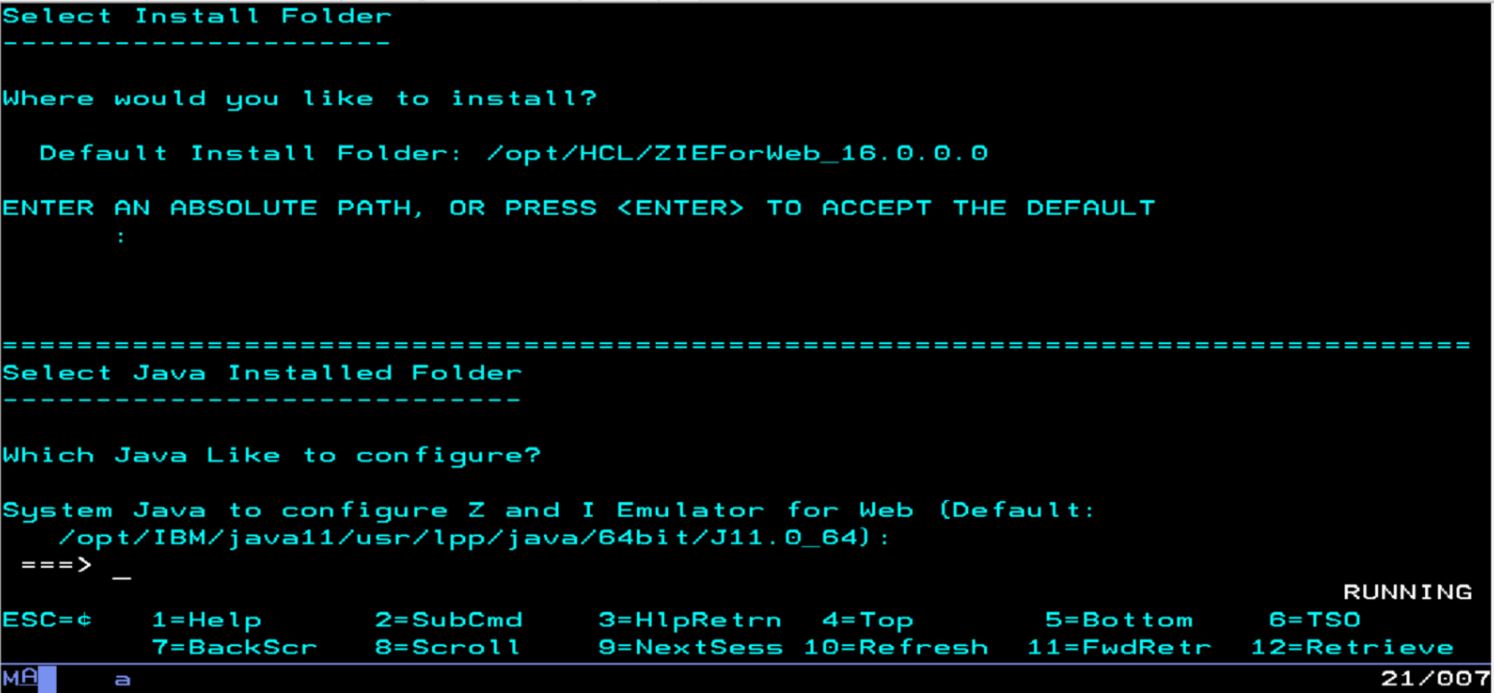
- Press Enter to use the default system java path.
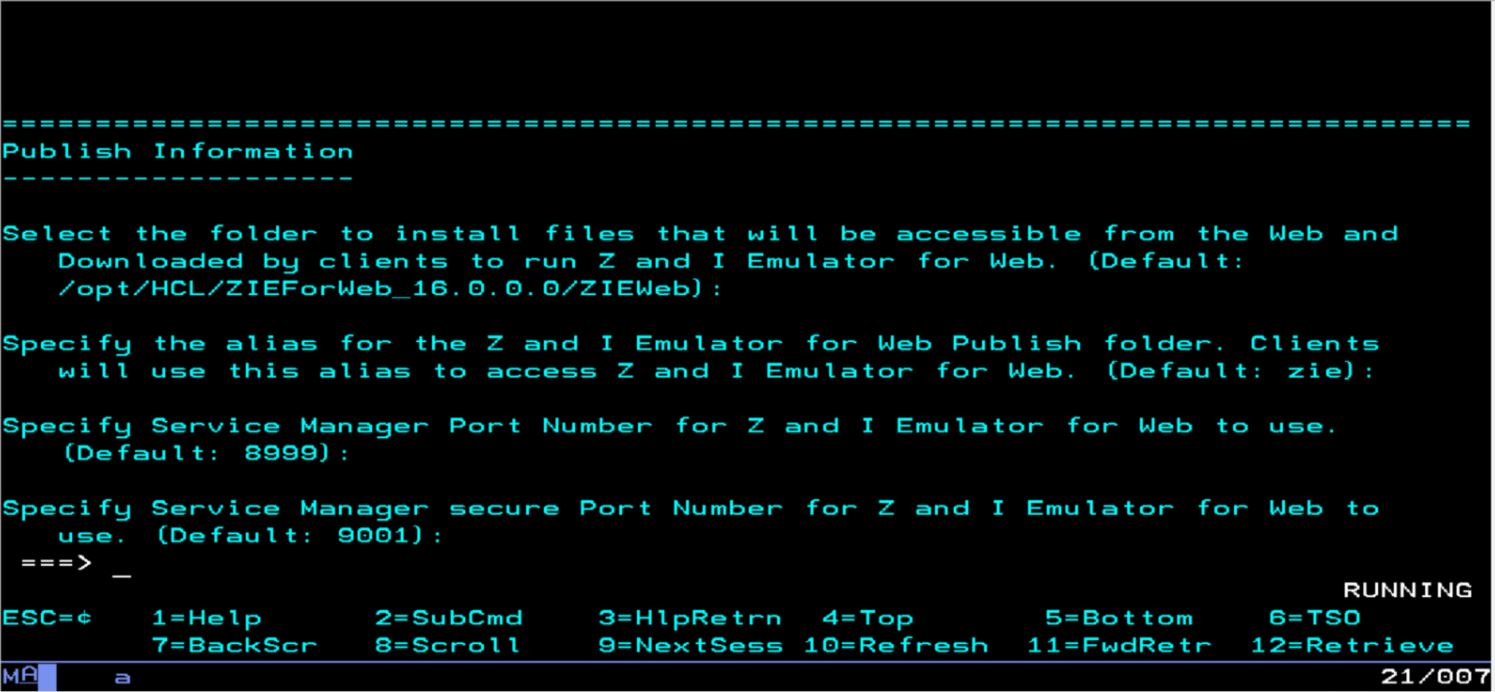
- Choose the folder to install files that will be accessible from
the Web and Downloaded by clients to run Z and I Emulator
for Web.

- Press Enter if you want to use the
default alias, Port Number and
Secure Port Number. (Here user can customize the
alias, Secure port number and Port number)
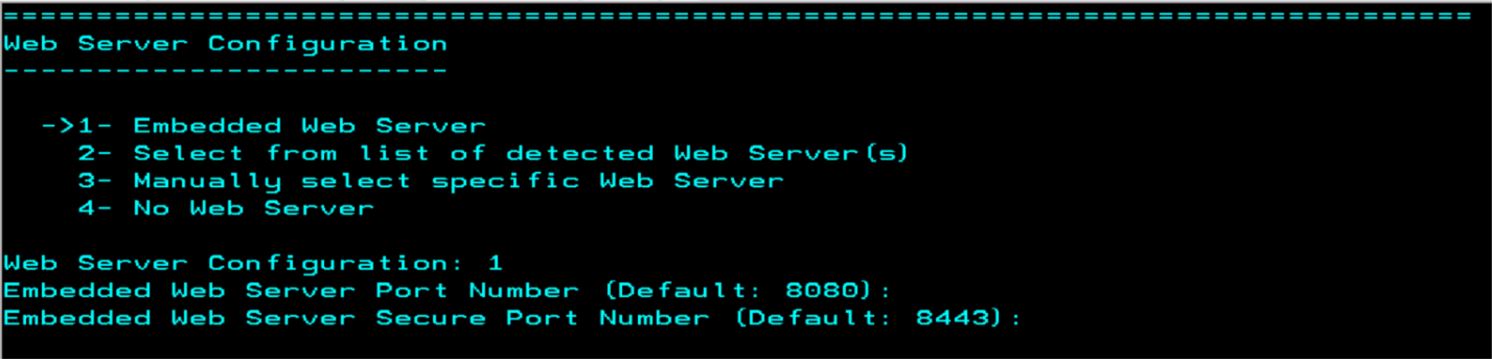
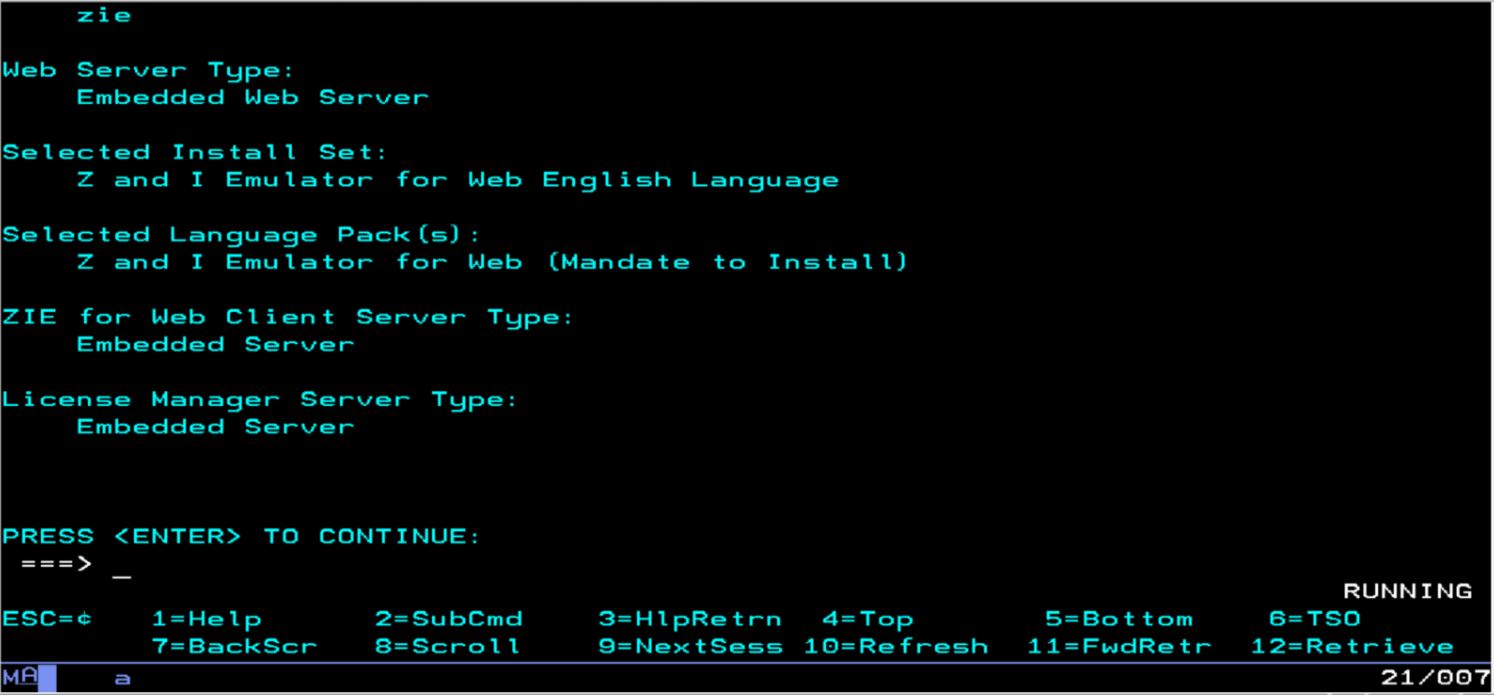
- The Web server configuration screen displays. Select the
Web server type and press Enter.
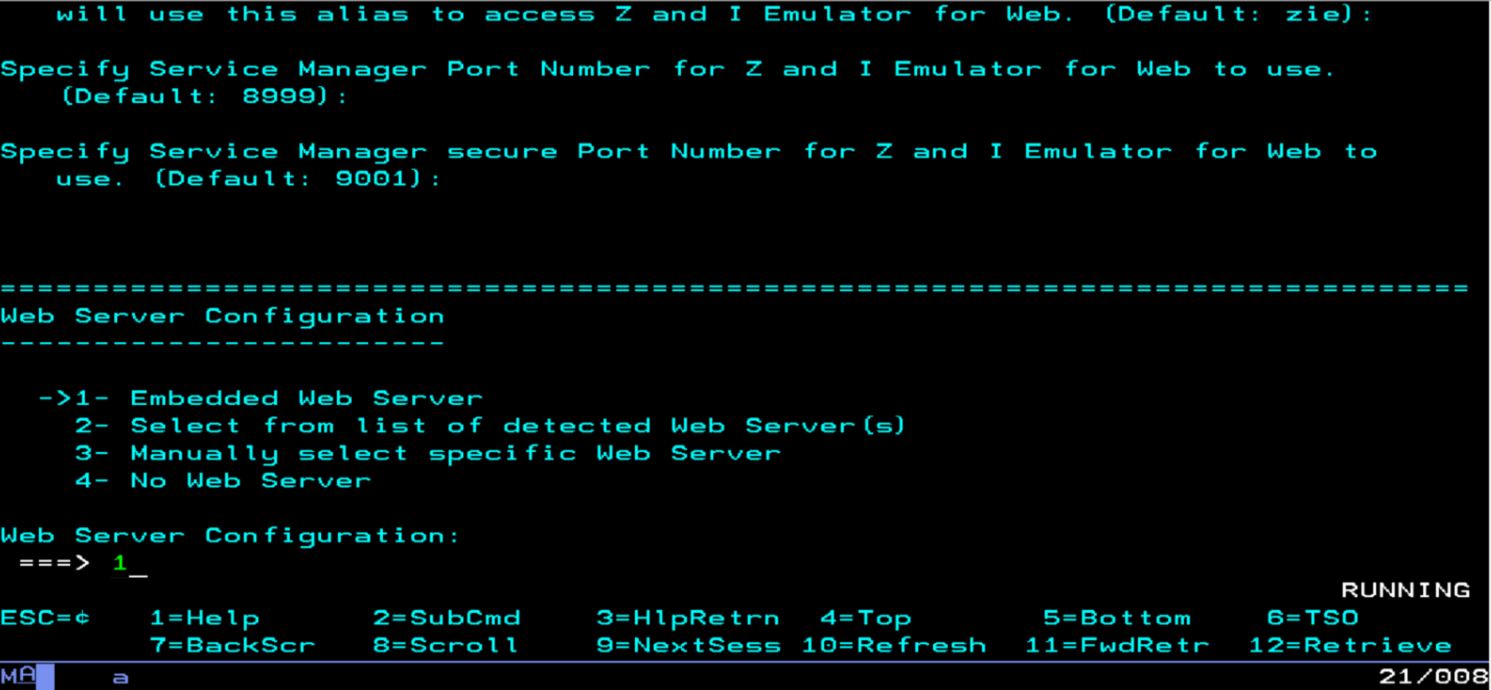
- Press Enter to continue with the default port numbers of
the server.
- Select “Y/N” to configure the HCL Z and I Emulator for
Web servlet in WebSphere Application Server.

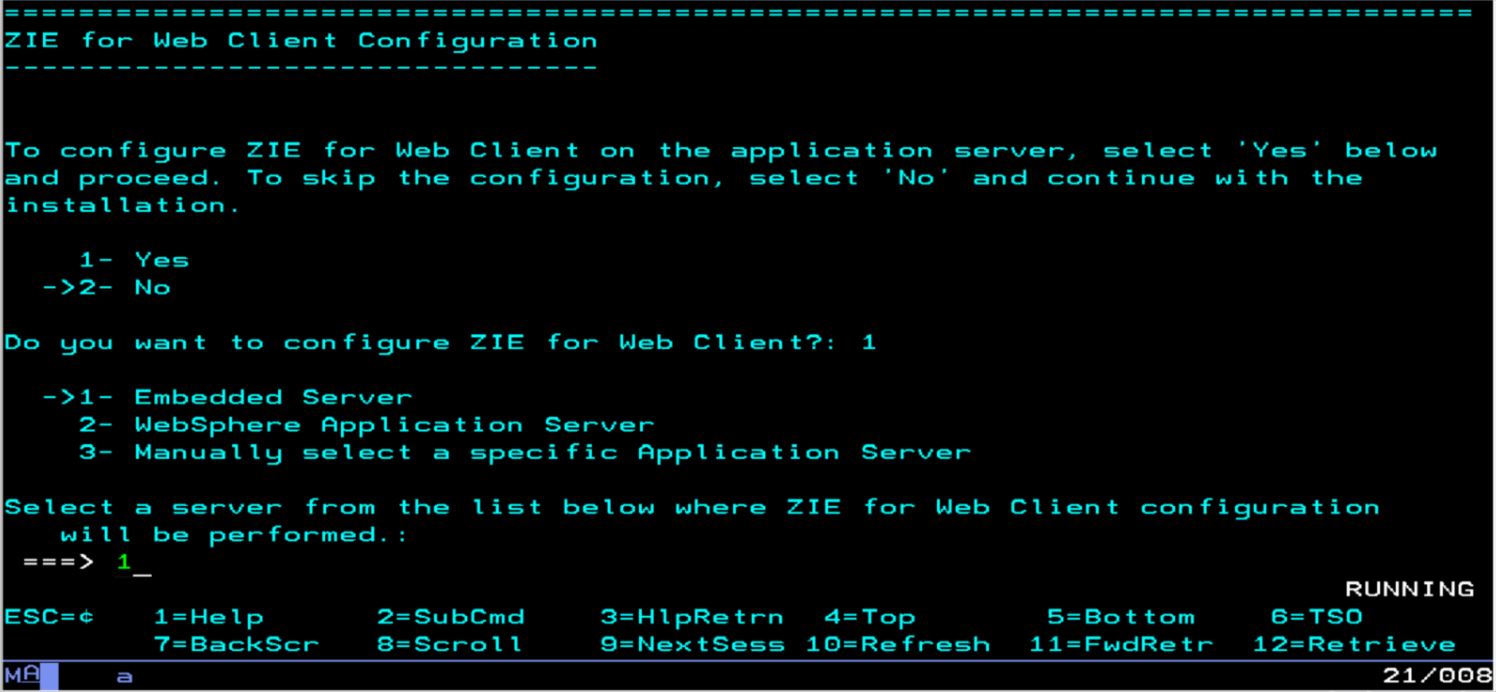
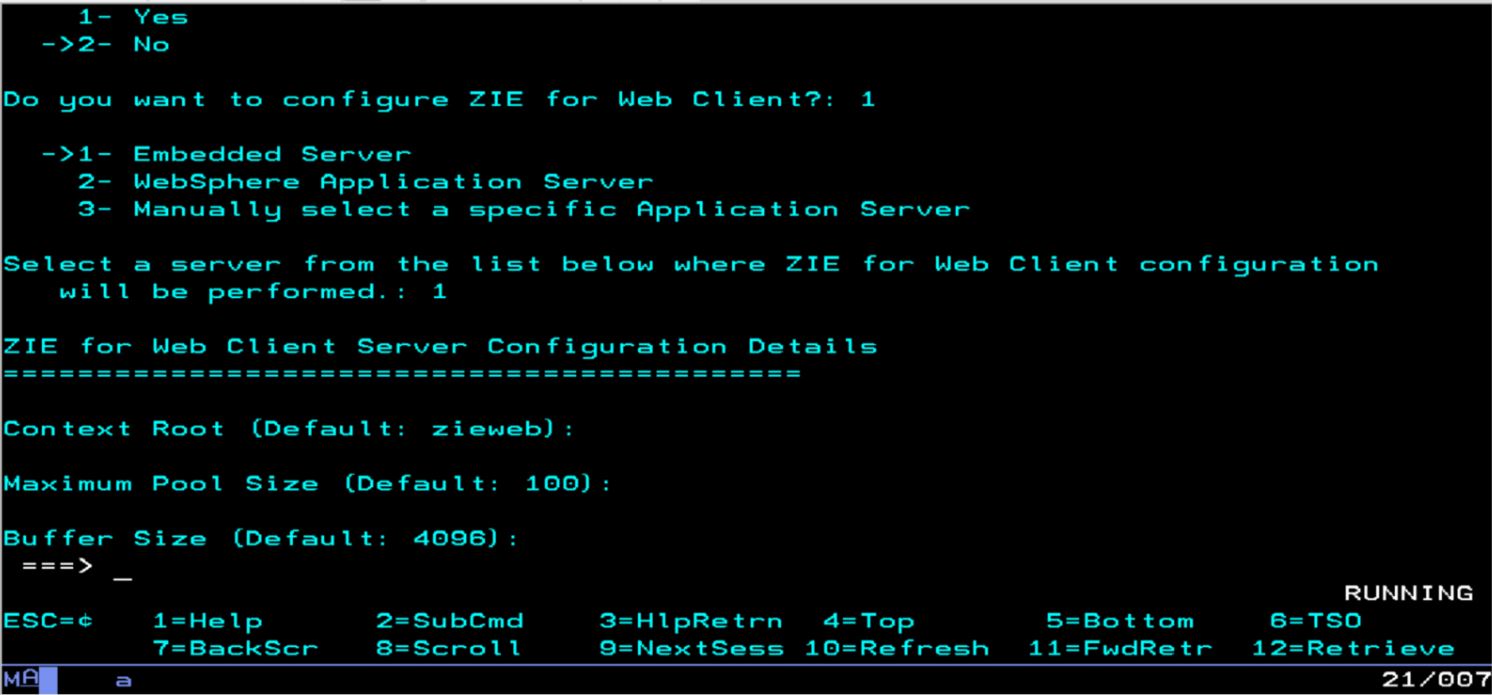
- Select “1 or 2” to configure ZIE for Web Client
and press Enter.

- Select an option to configure Application Server for ZIE for Web
Client.
- Press Enter to continue with default configuration or
manually enter the details.
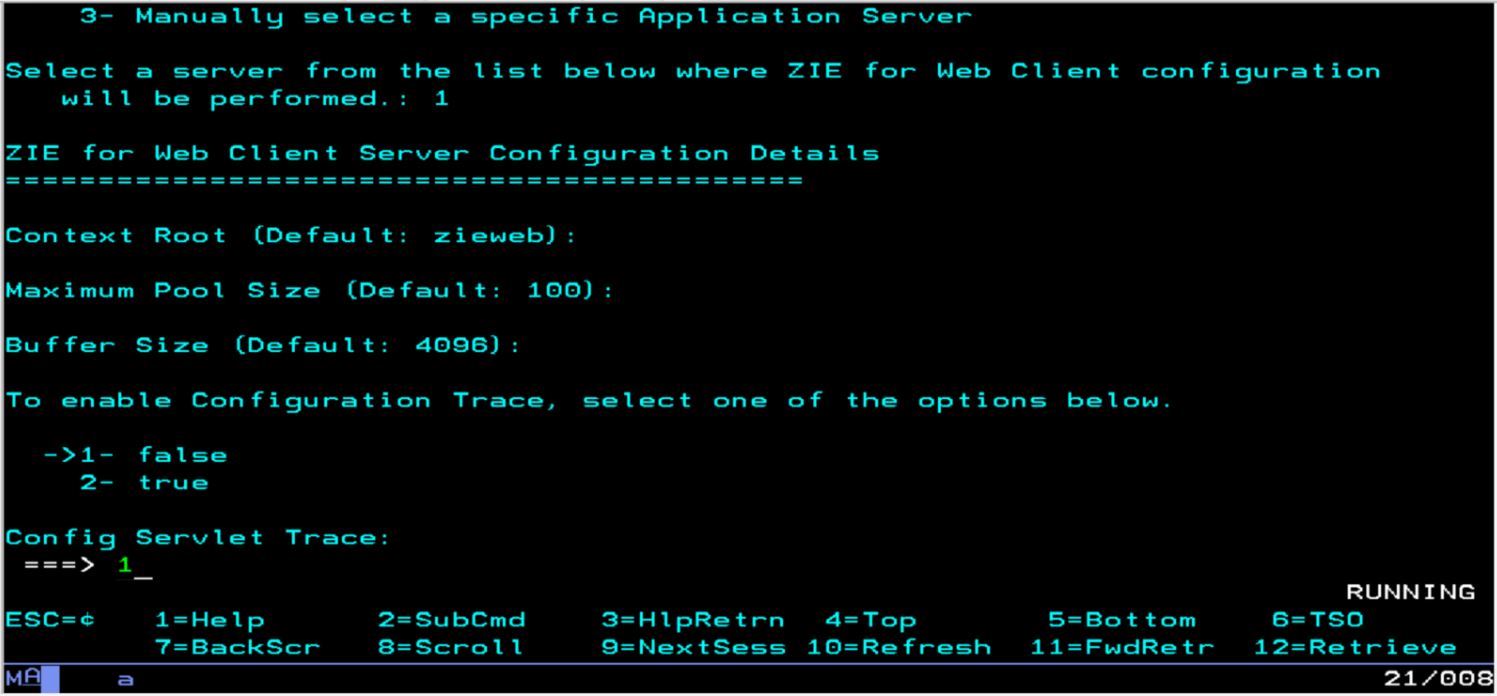
- Enter the option 1 or 2 to enable configuration
trace.
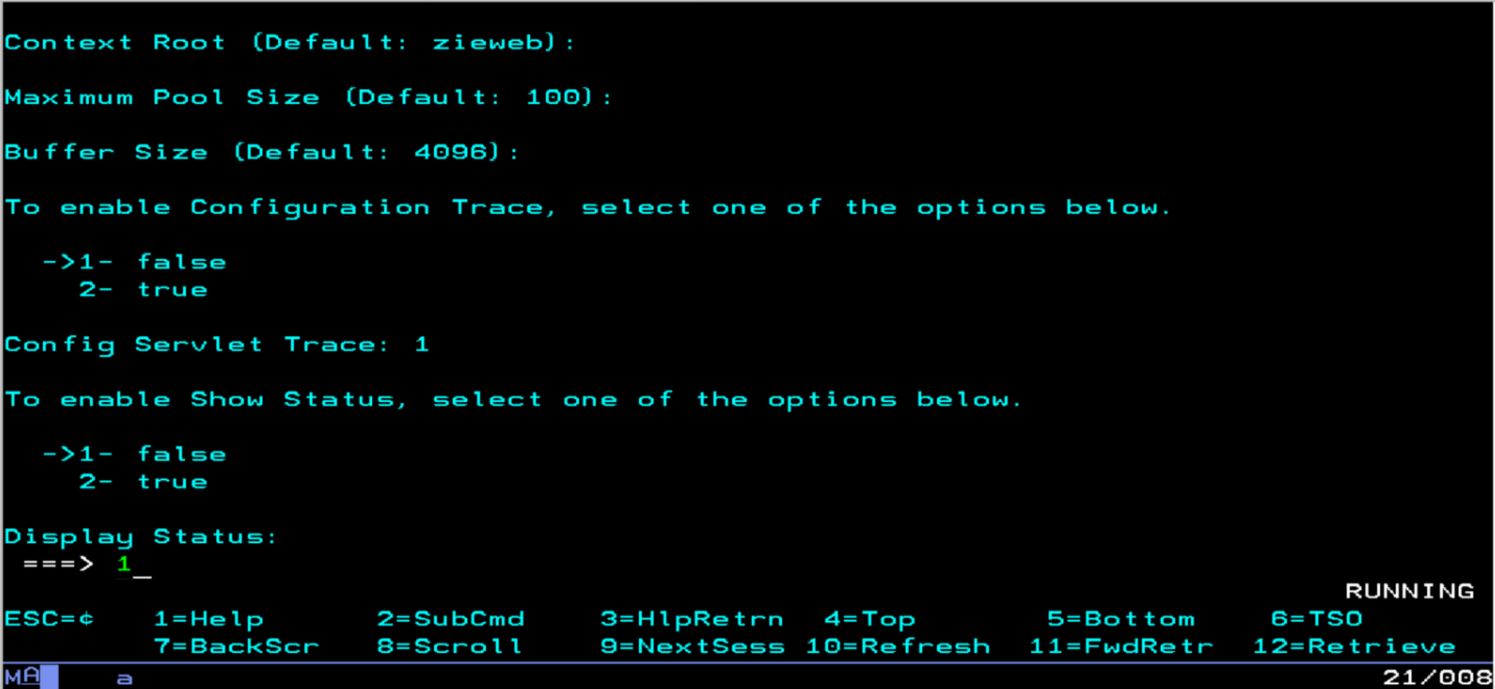
- Enter the option 1 or 2 to enable Show
Status.
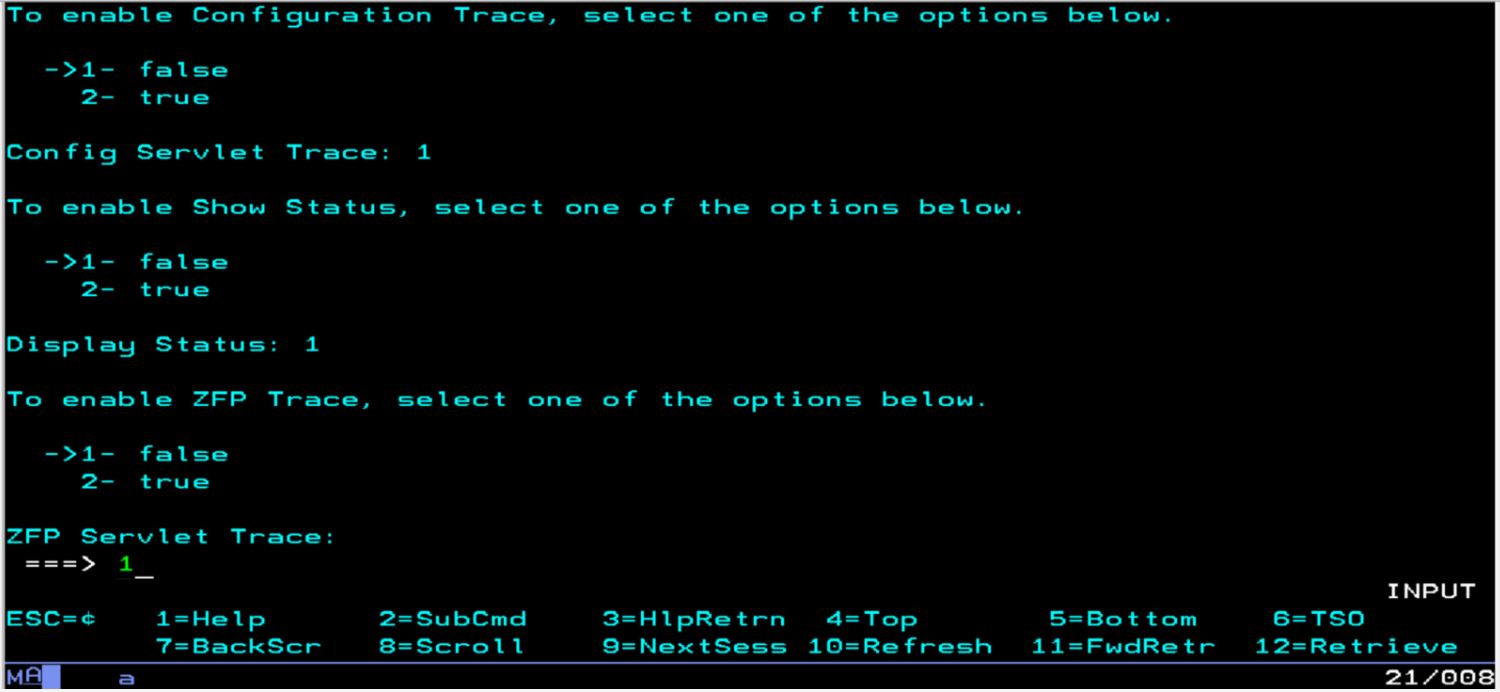
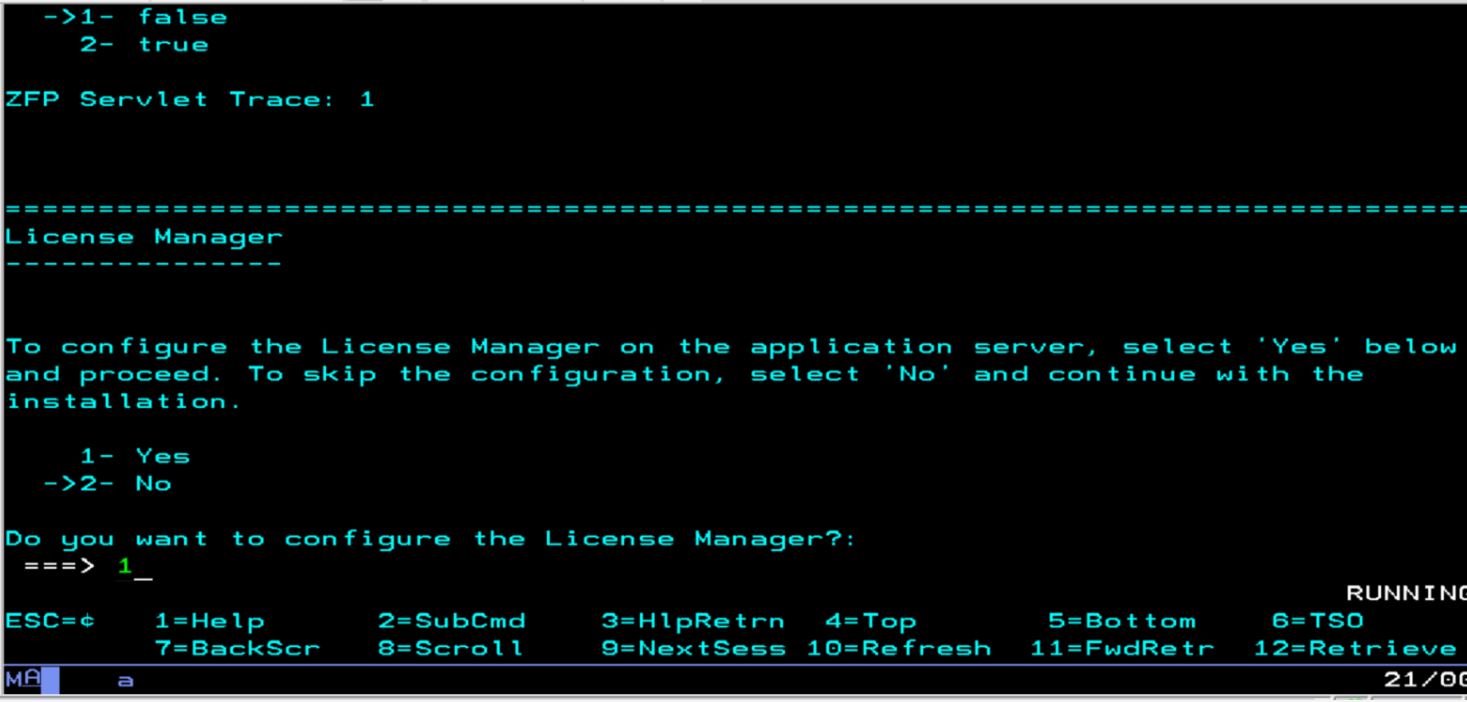
- To enable ZFP Trace select the option 1 or 2.
- Enter option 1 or 2 to configure the License
Manager on the application server.
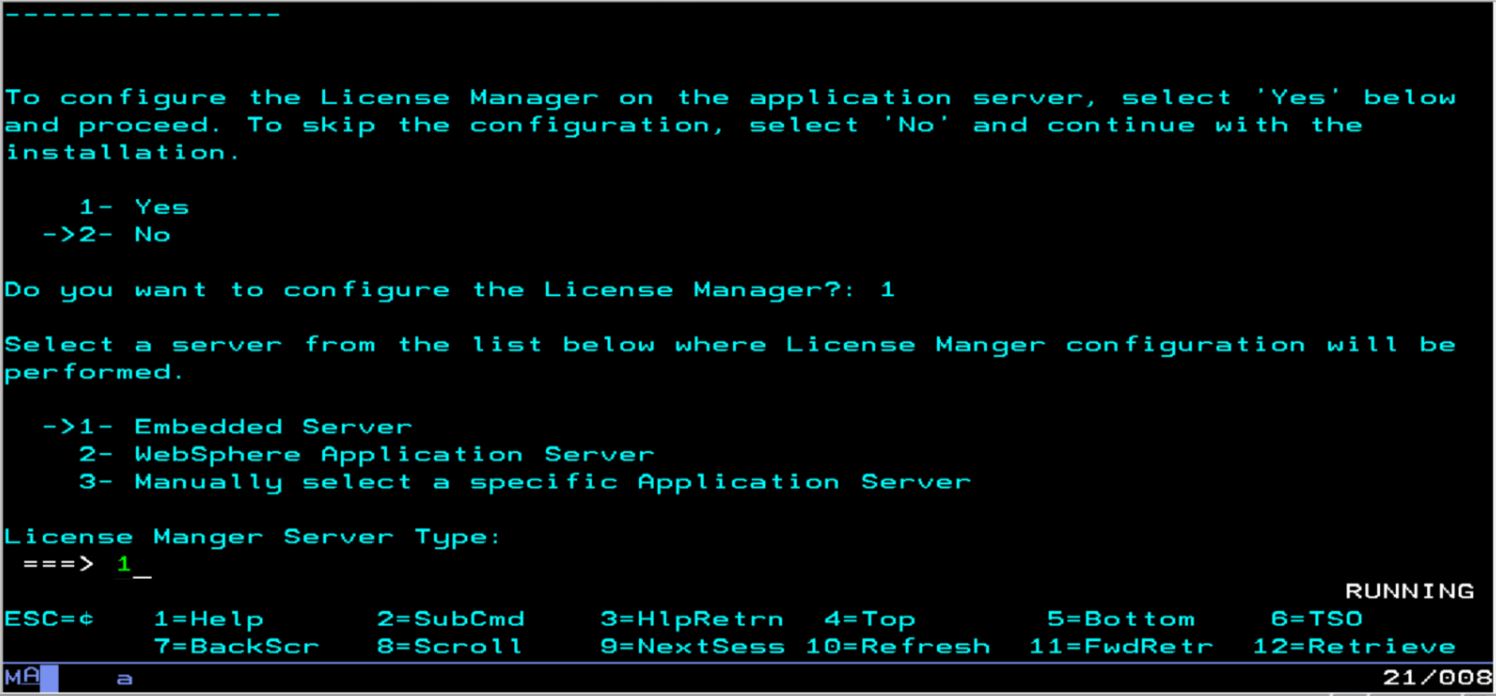
- Select a server from the list below where License Manager
configuration will be performed.
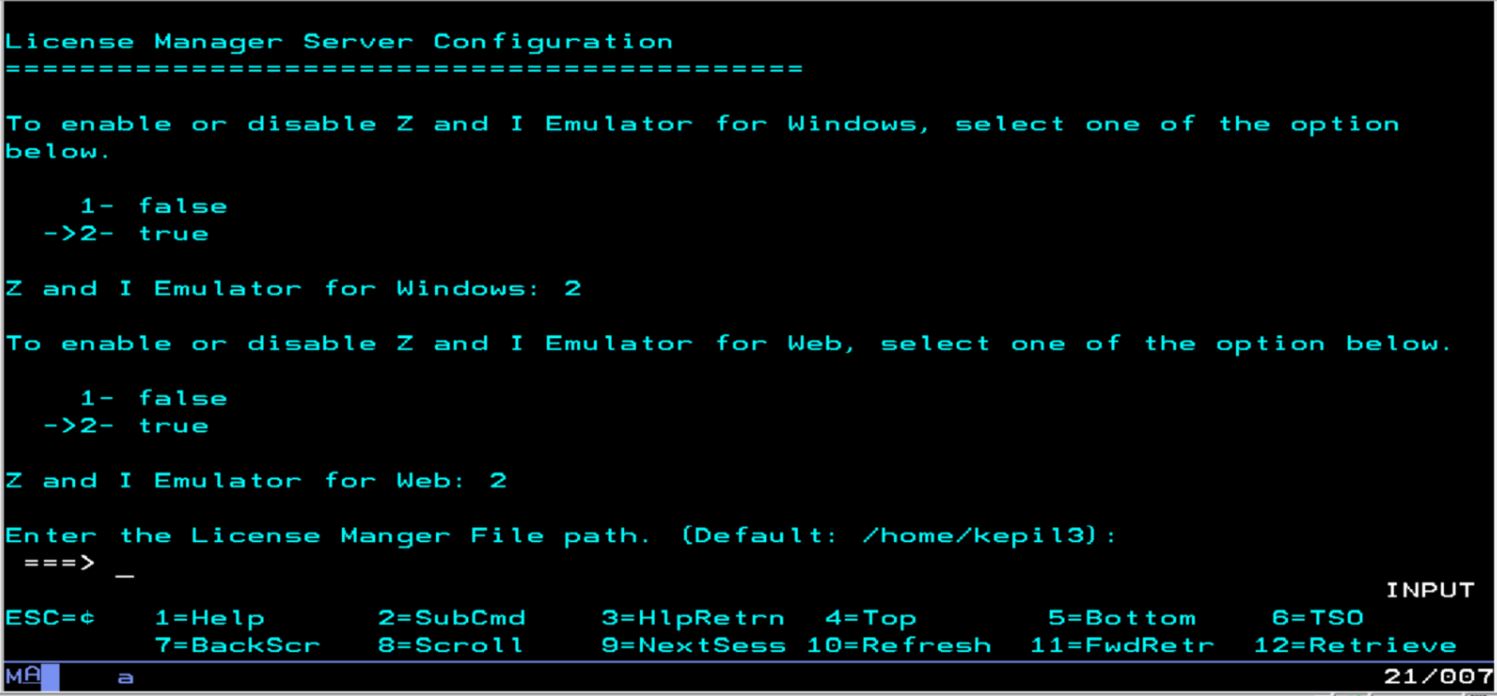
- To enable or disable Z and I Emulator for Windows, Select one of
the options.
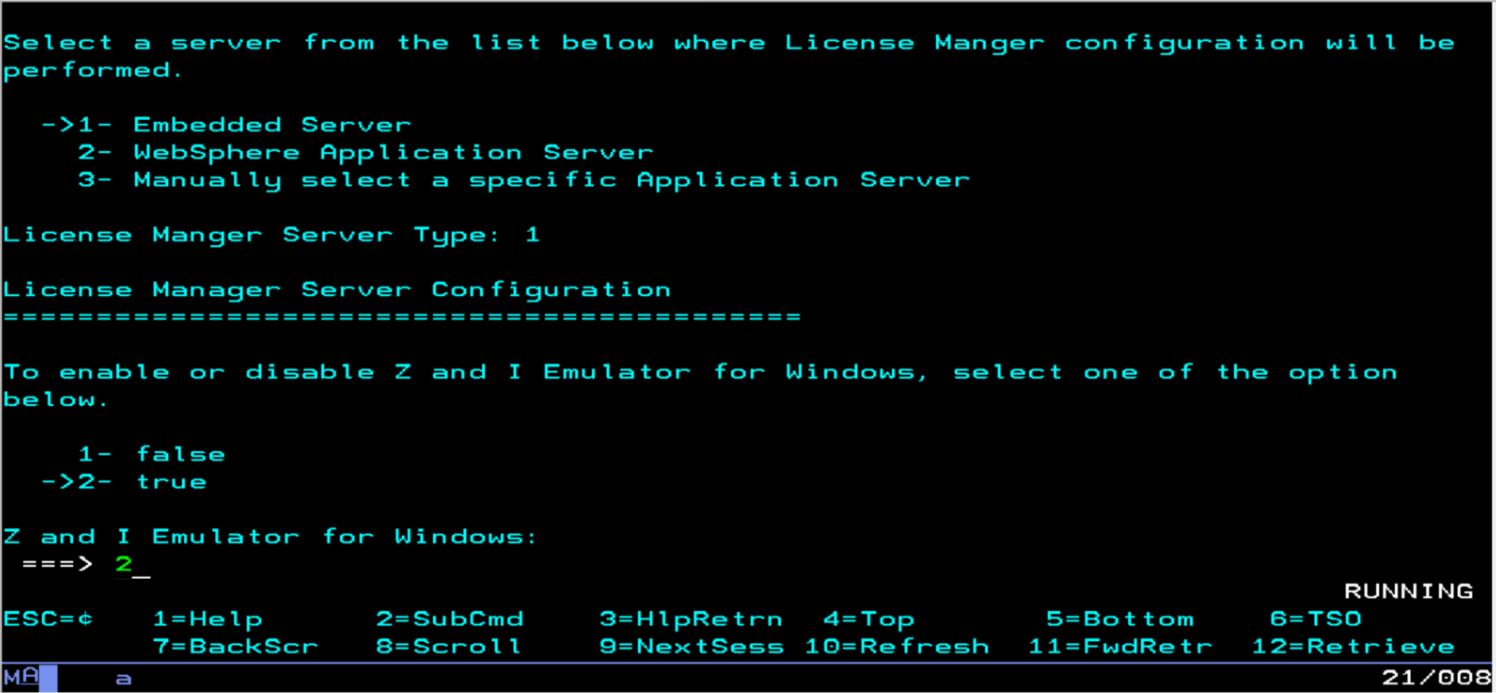
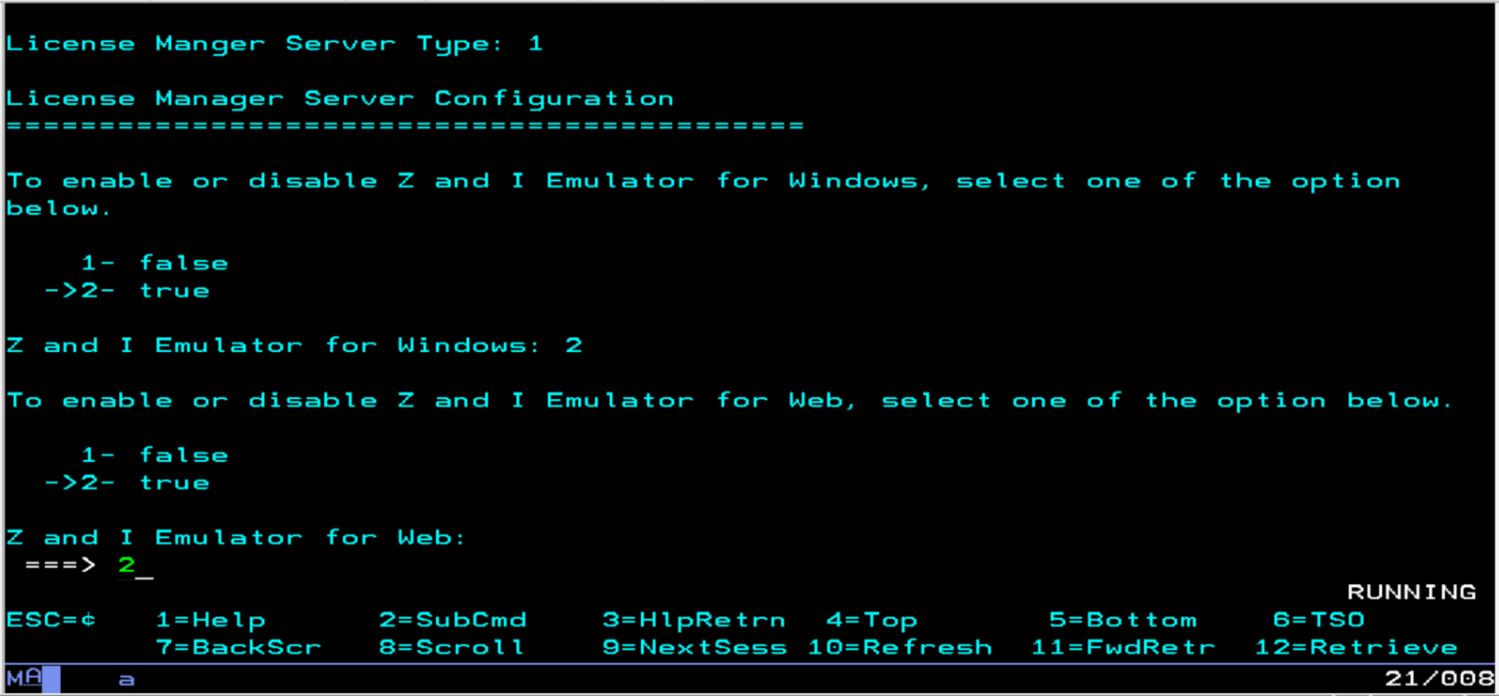
- To enable or disable Z and I Emulator for Web, Select one of the
option.
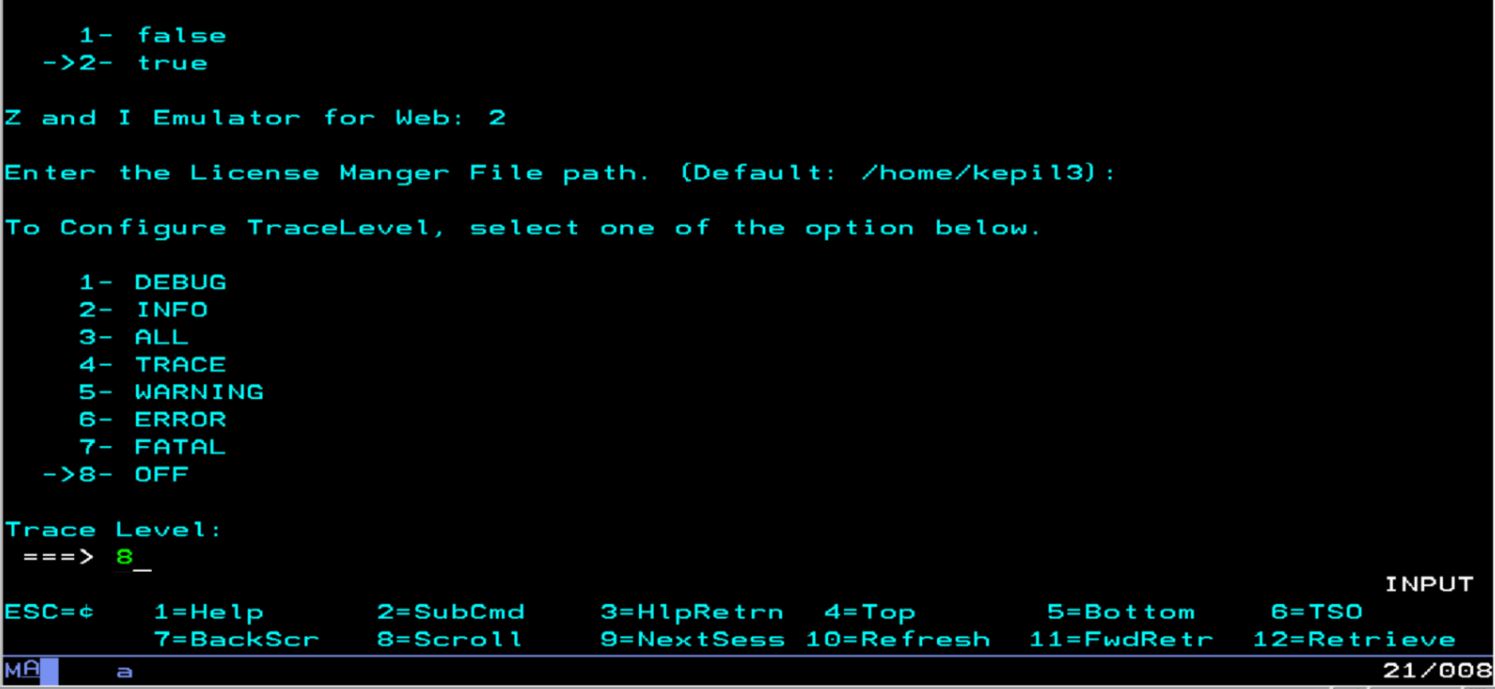
- Press Enter to continue to use default path to store License
Manager files.
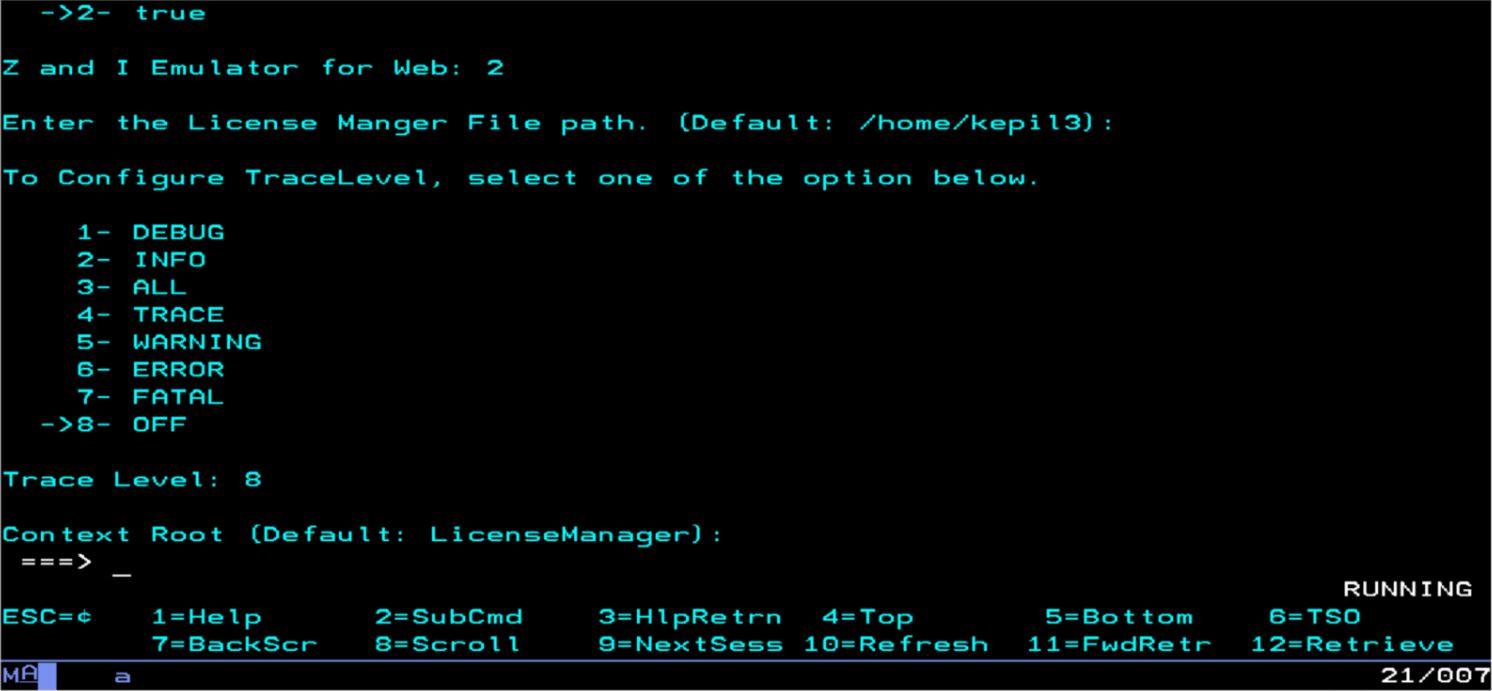
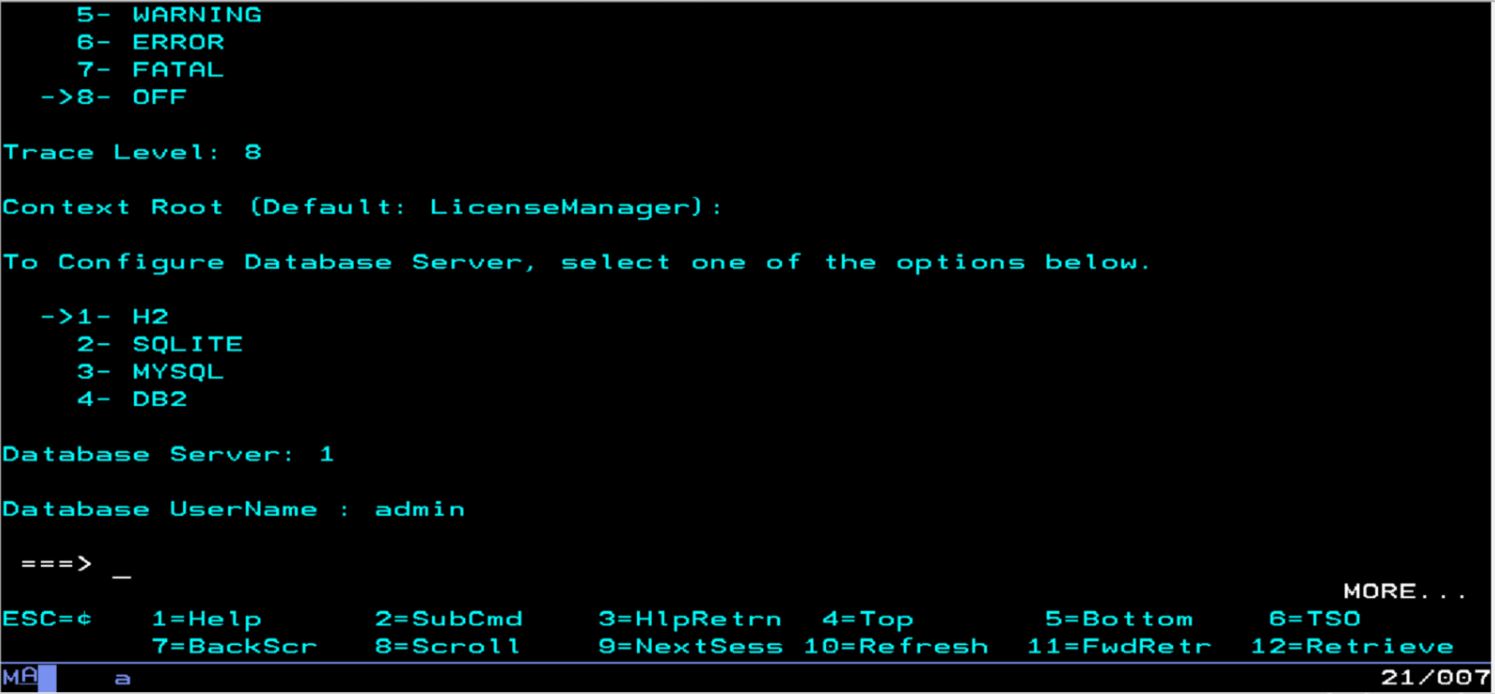
- Select an option from below to configure Trace Level.
- Select the context root which is used to access License
Manager.Press Enter to use default.
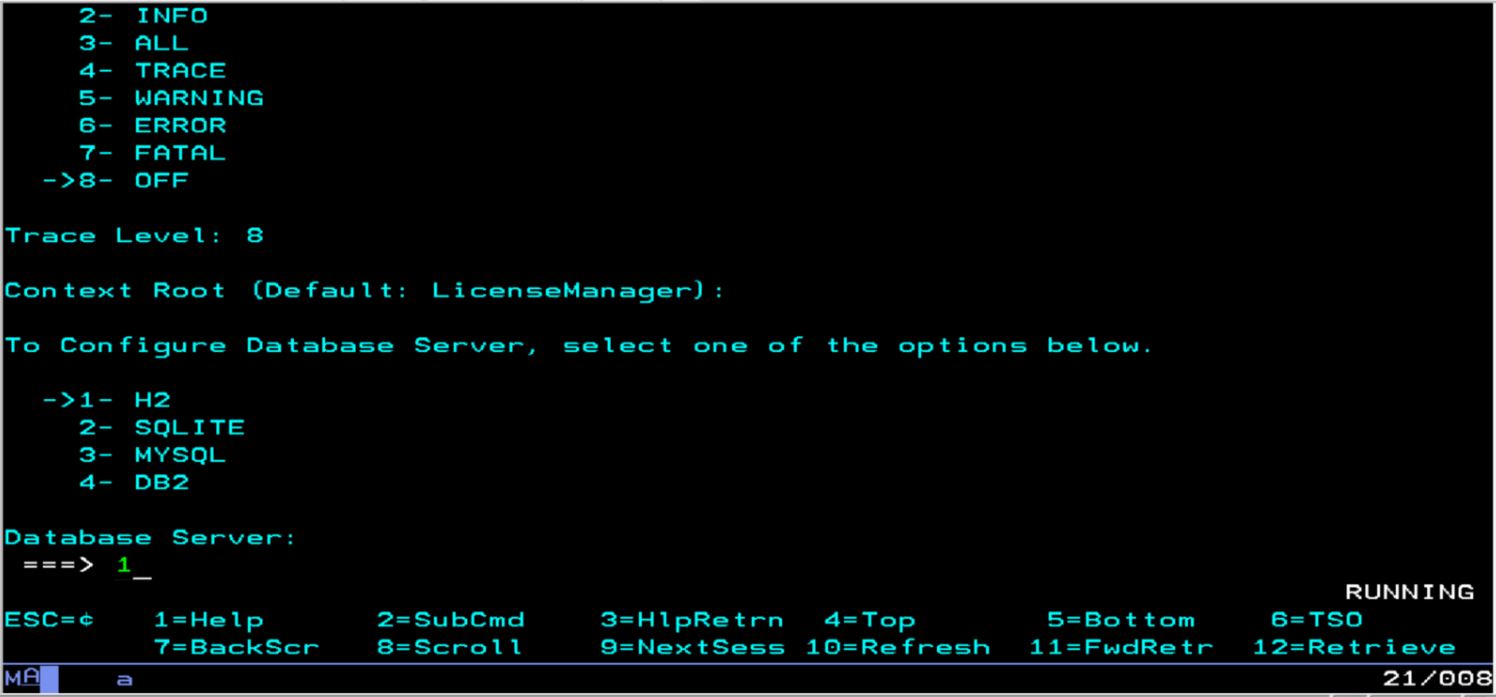
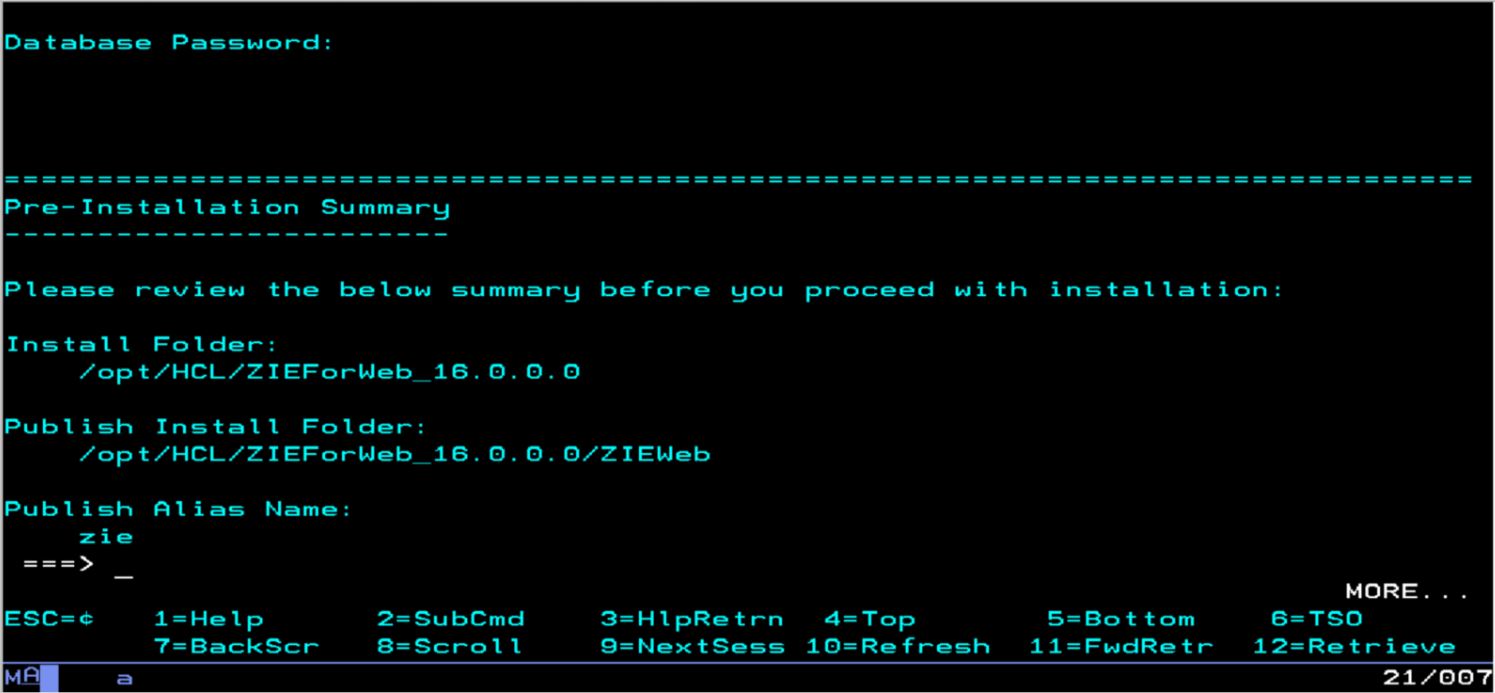
- Select the Database options and enter the username as admin and
Password as password.
- Enter the database username as admin and Password as password
when prompted.
- The Pre-Installation Summary is displayed to review the
product details. Press Enter to continue.
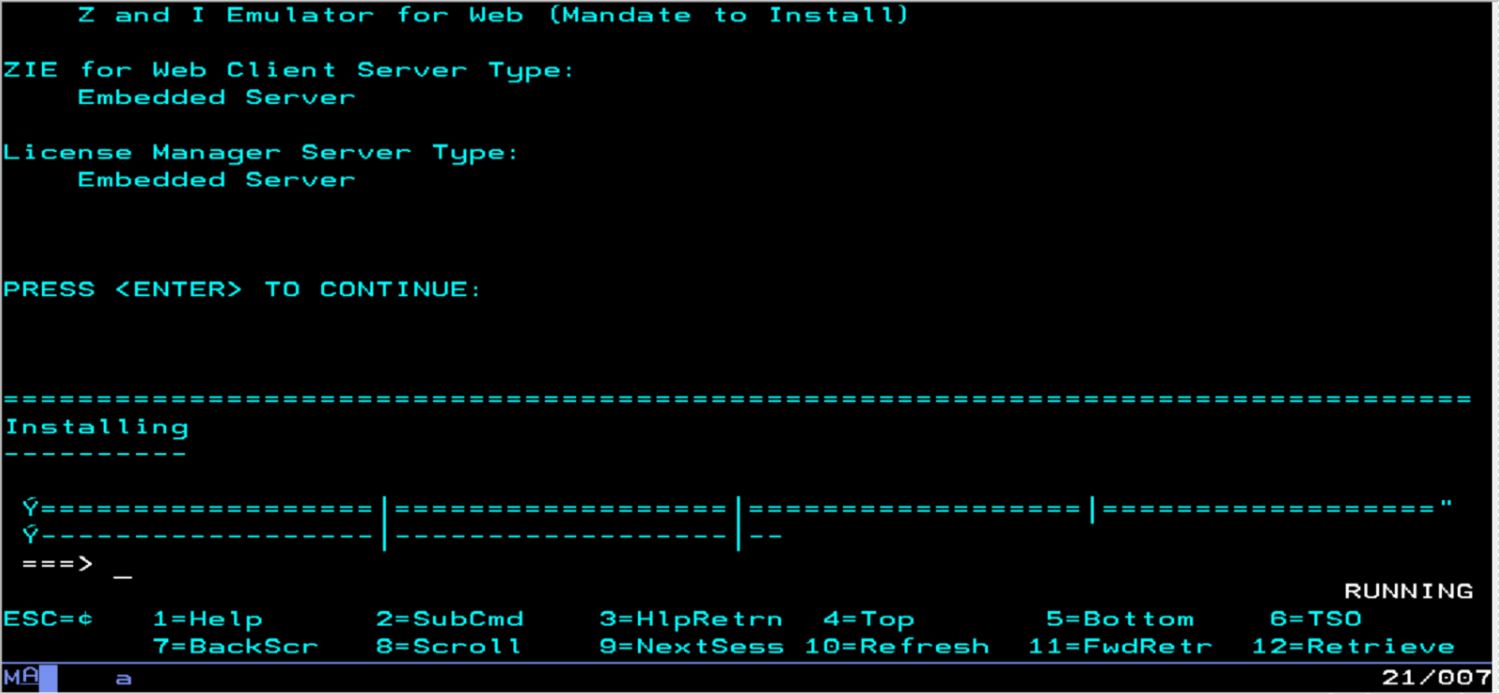
- Now, the configuration of the installation process gets started.
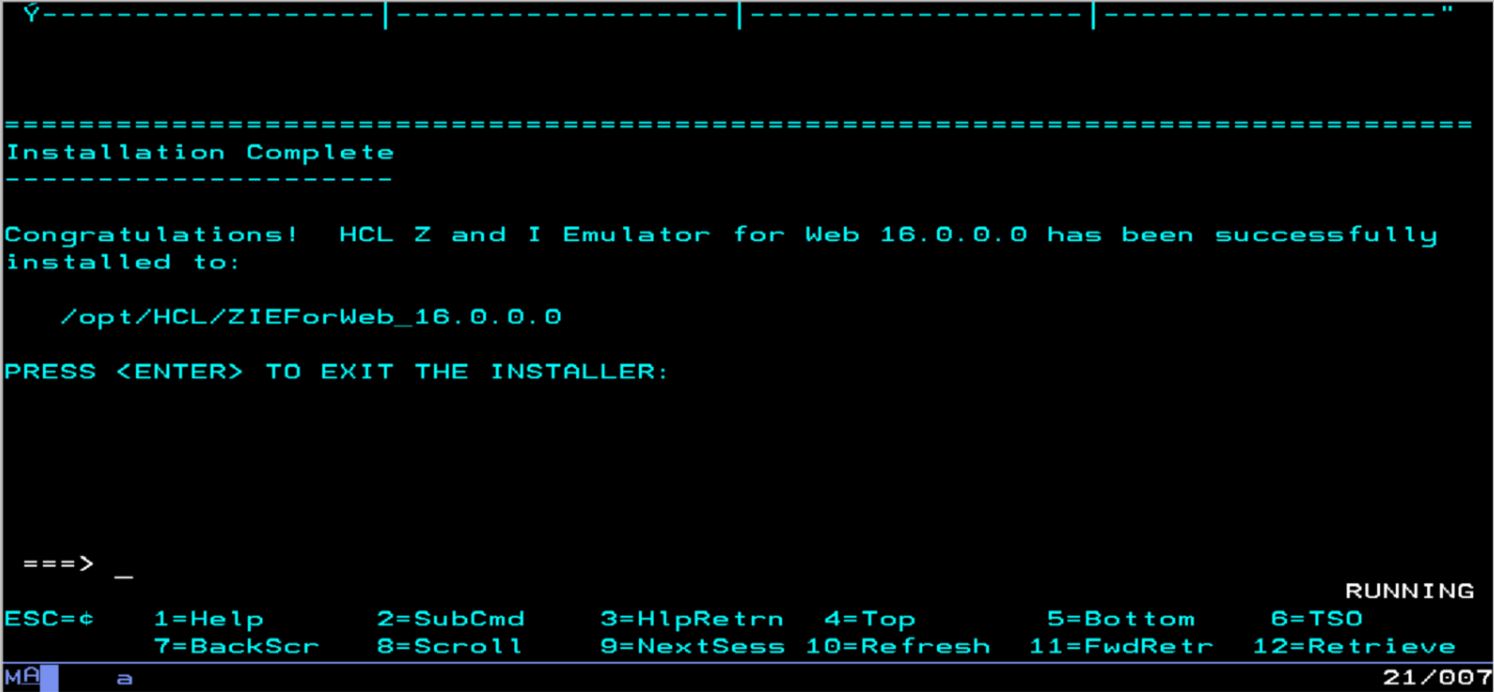
- Installation successful screen displays upon successful
installation.
- Press Enter to exit from the installer.