HCL Experience Studio Post-Installation Tasks
Launching Volt MX Iris
To launch HCL Experience Studio and access Volt MX Iris, follow these steps:
-
Double-click the HCL Experience Studio shortcut on the desktop to open the Volt MX Iris login screen.
Note: You can also navigate to the folder where Iris is installed and double-click Iris to launch it.
-
On launching Iris, the Volt MX Cloud Login screen appears for license validation.

-
Enter your Volt MX Cloud credentials and click Login. Iris validates the license associated with your Volt MX account.
- After you sign in, the New Project popup appears, letting you open one of the sample projects or create a new project right away. If you dismiss this popup, you can configure your Iris settings and access this option later from File > New Project.
Uninstalling HCL Experience Studio
To uninstall HCL Experience Studio, follow these steps:
-
Use one of the following options to open the Uninstall HCL Experience Studio window:
- Navigate to the folder where HCL Experience Studio is installed. For example,
<Install Drive>:\uninstaller. Double-click the Uninstall.app.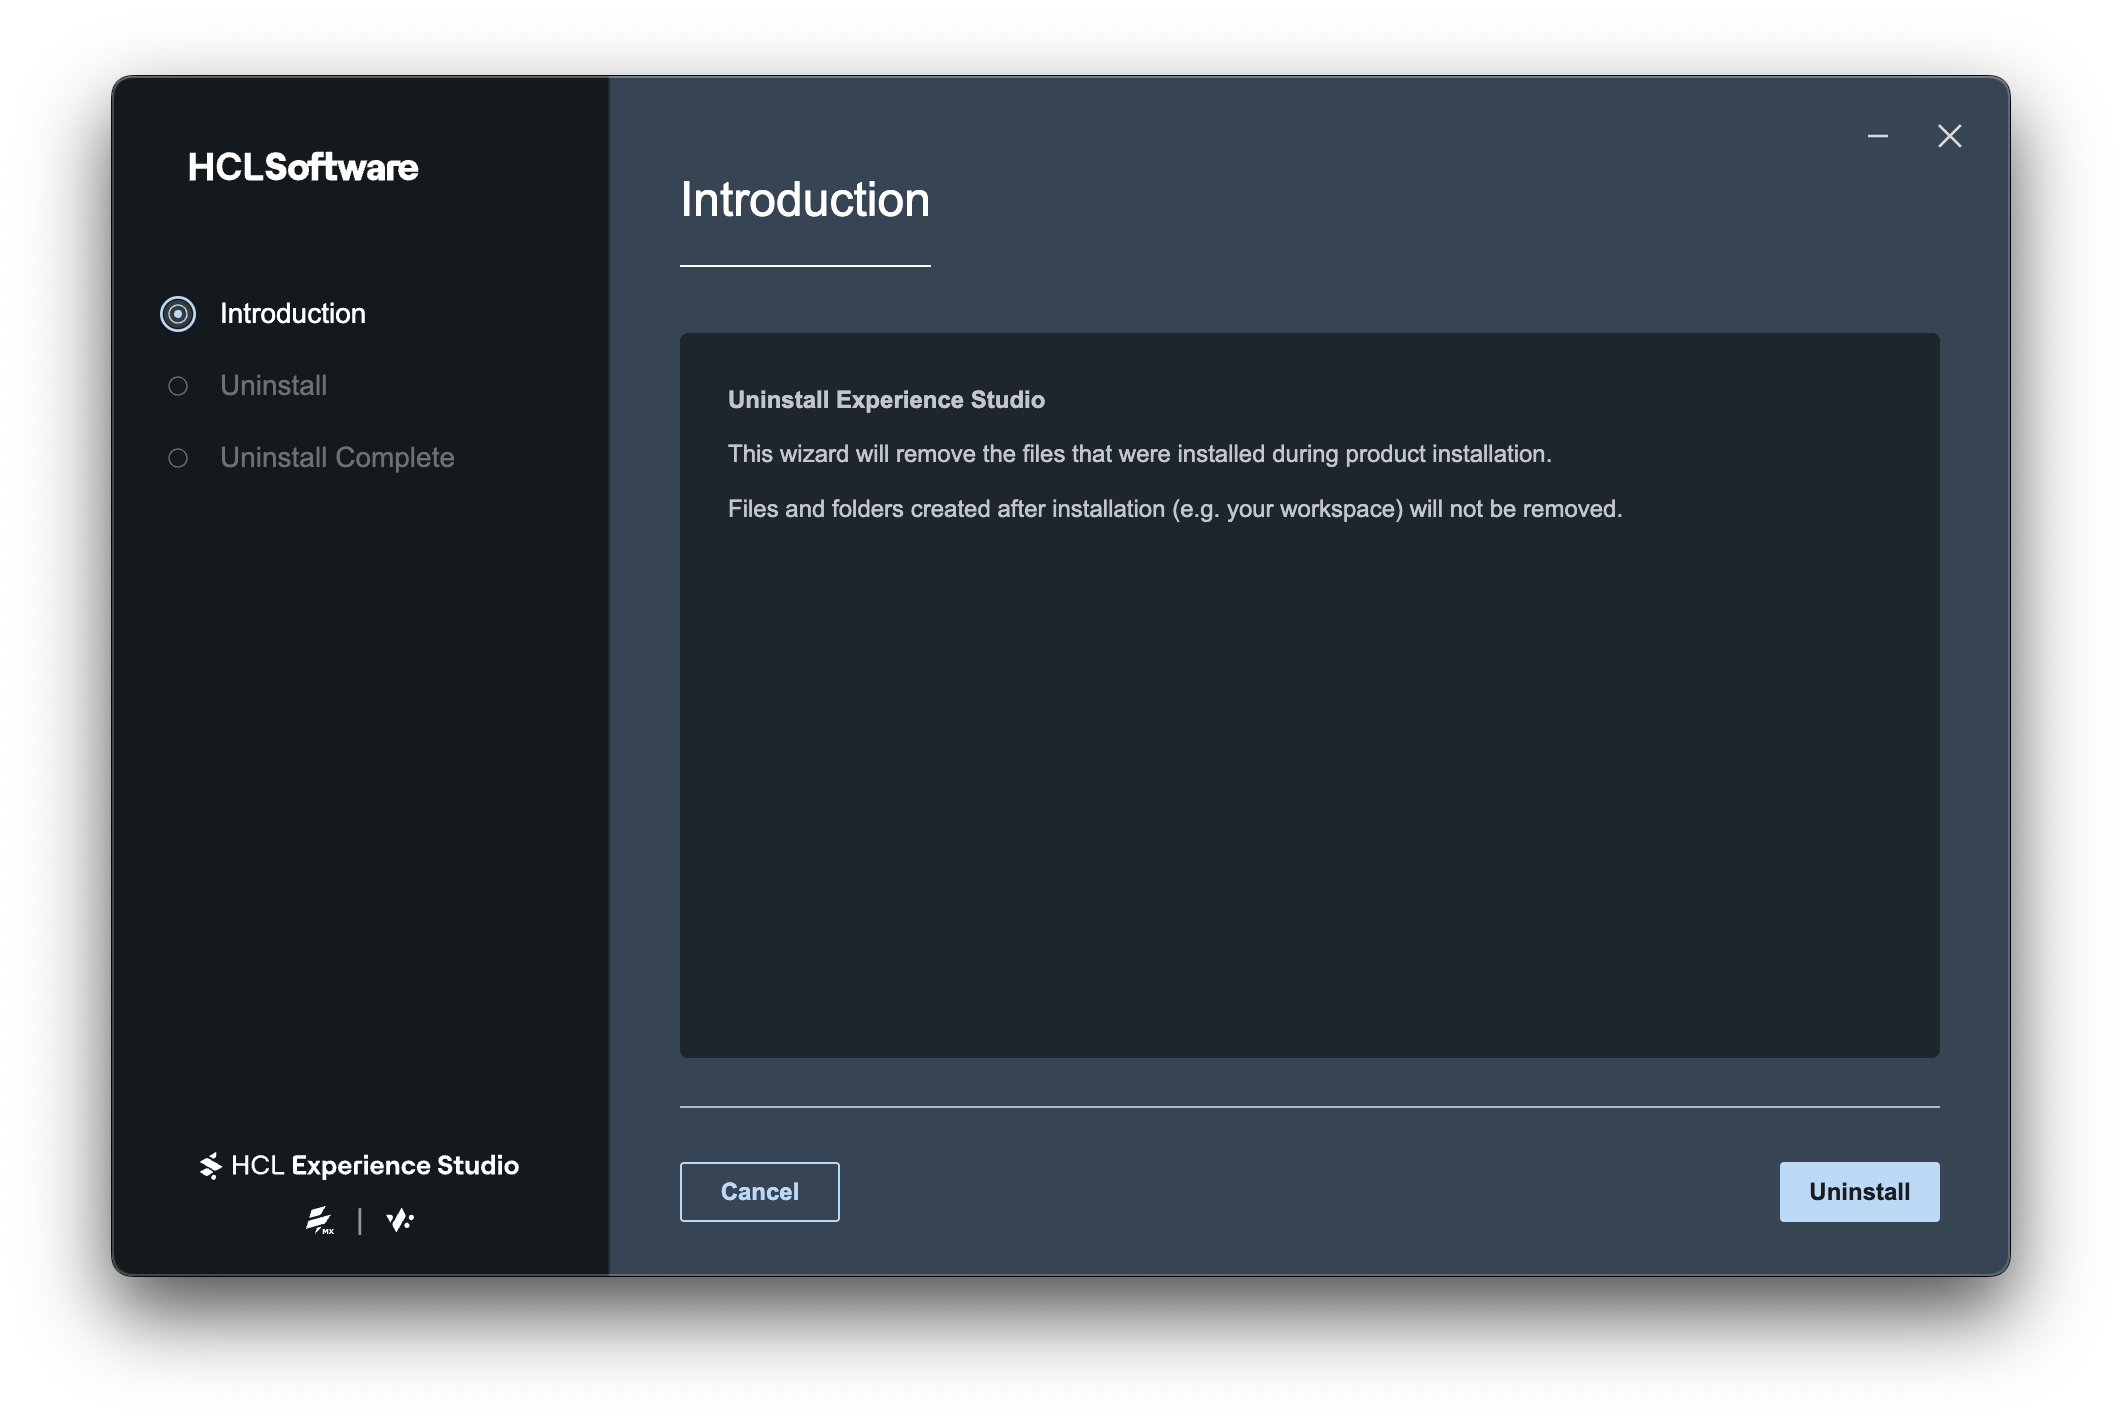
- Click Uninstall. The Uninstall confirmation popup appears.
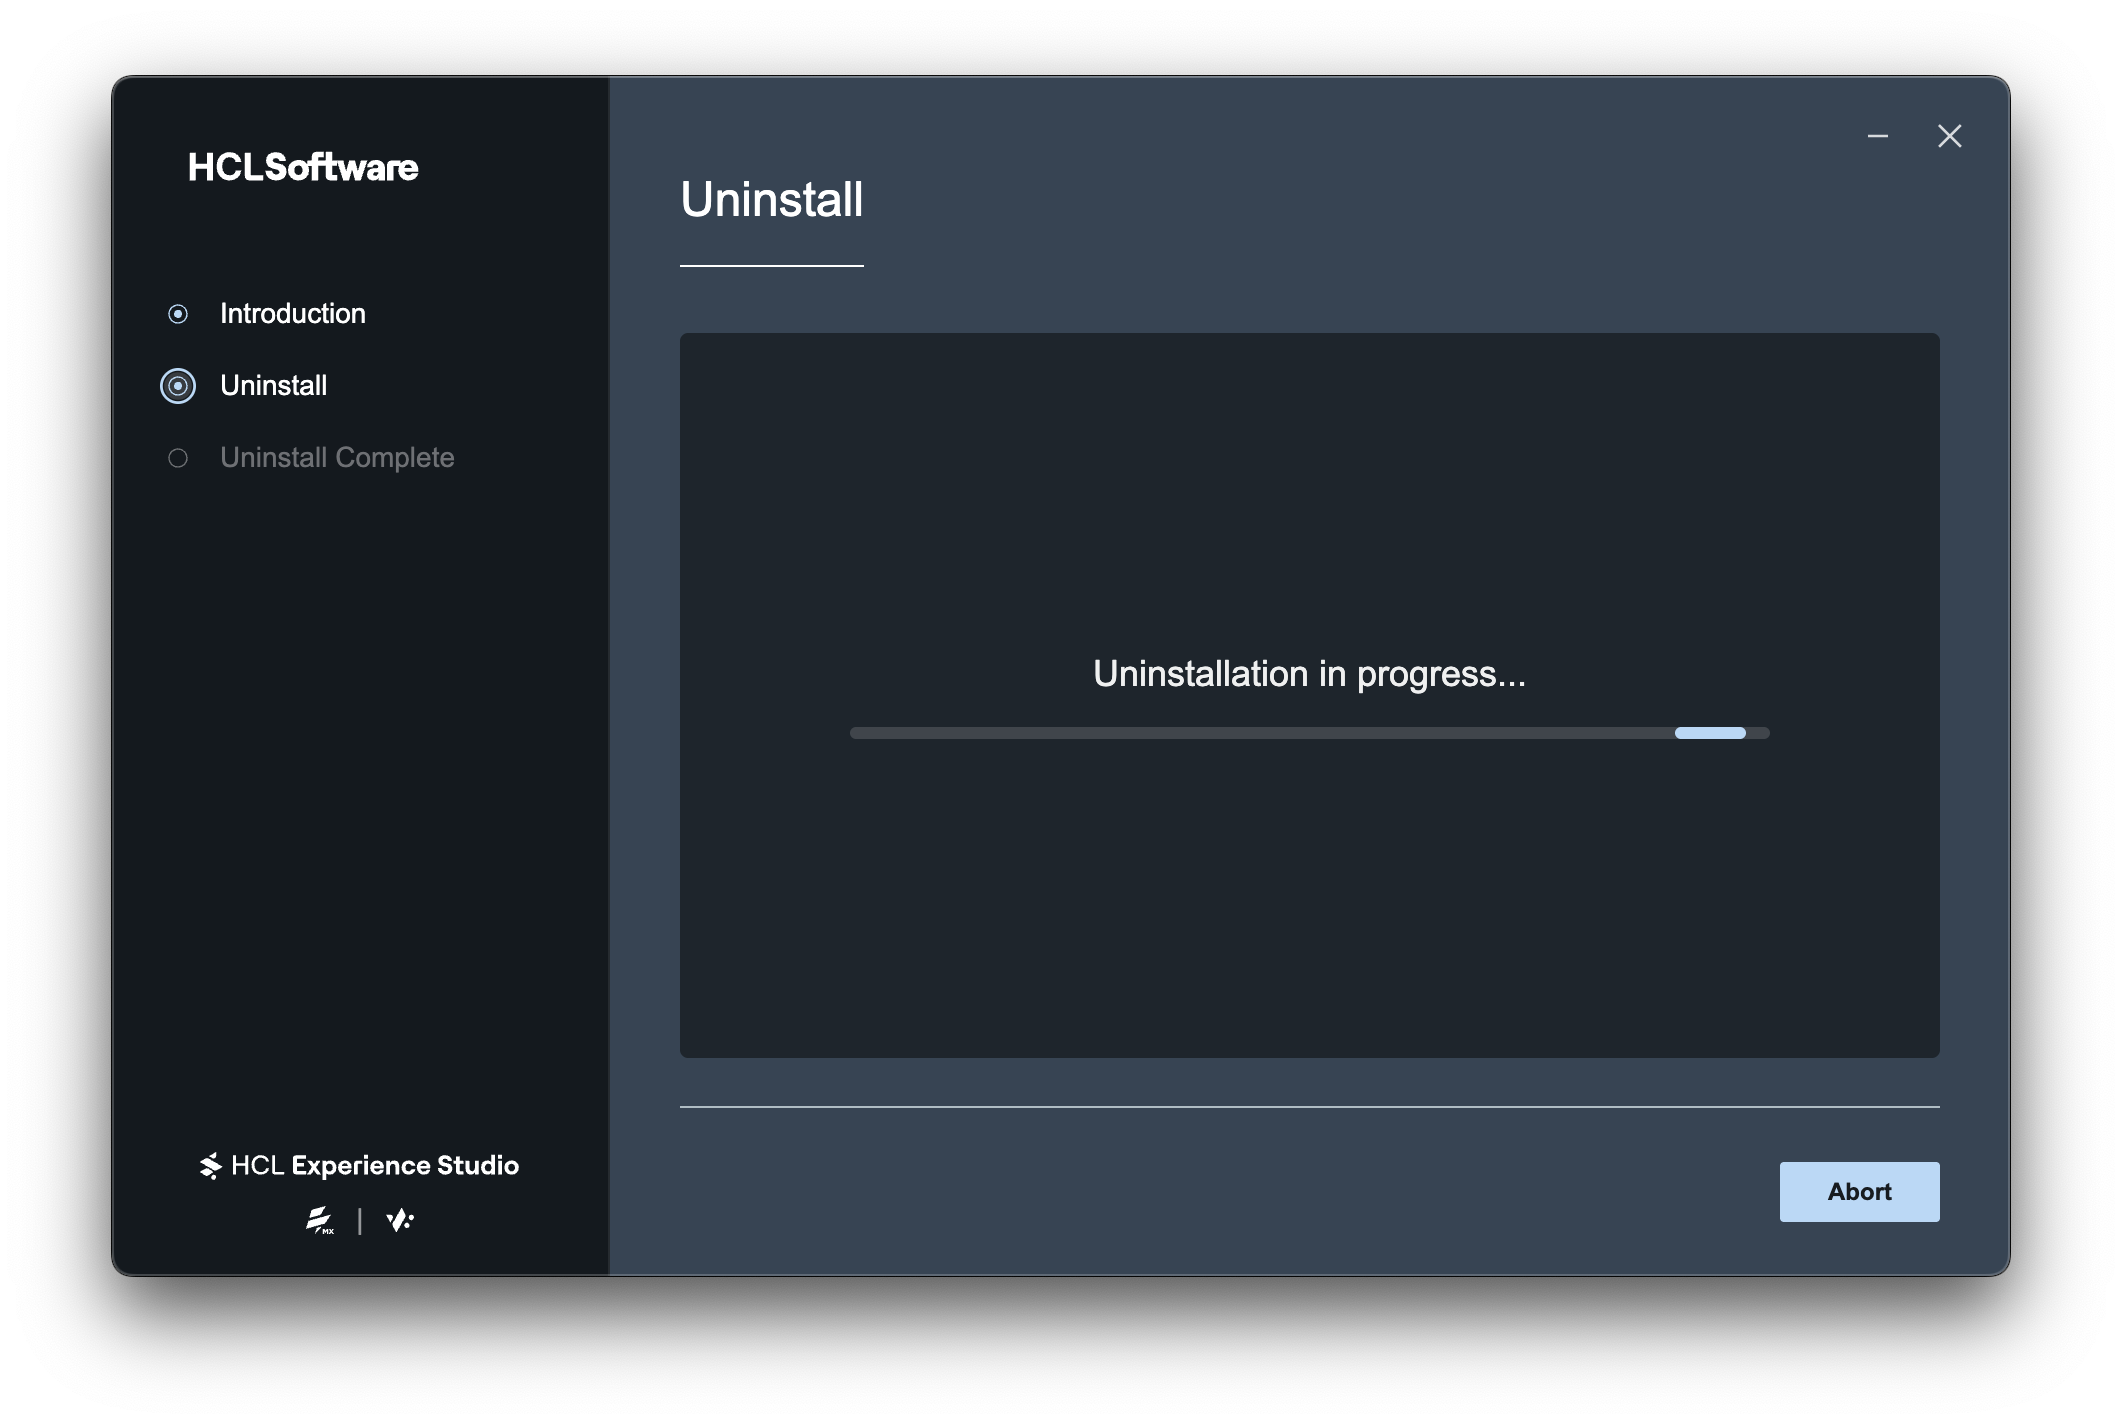
Click Yes. The Uninstall Progress pane appears.
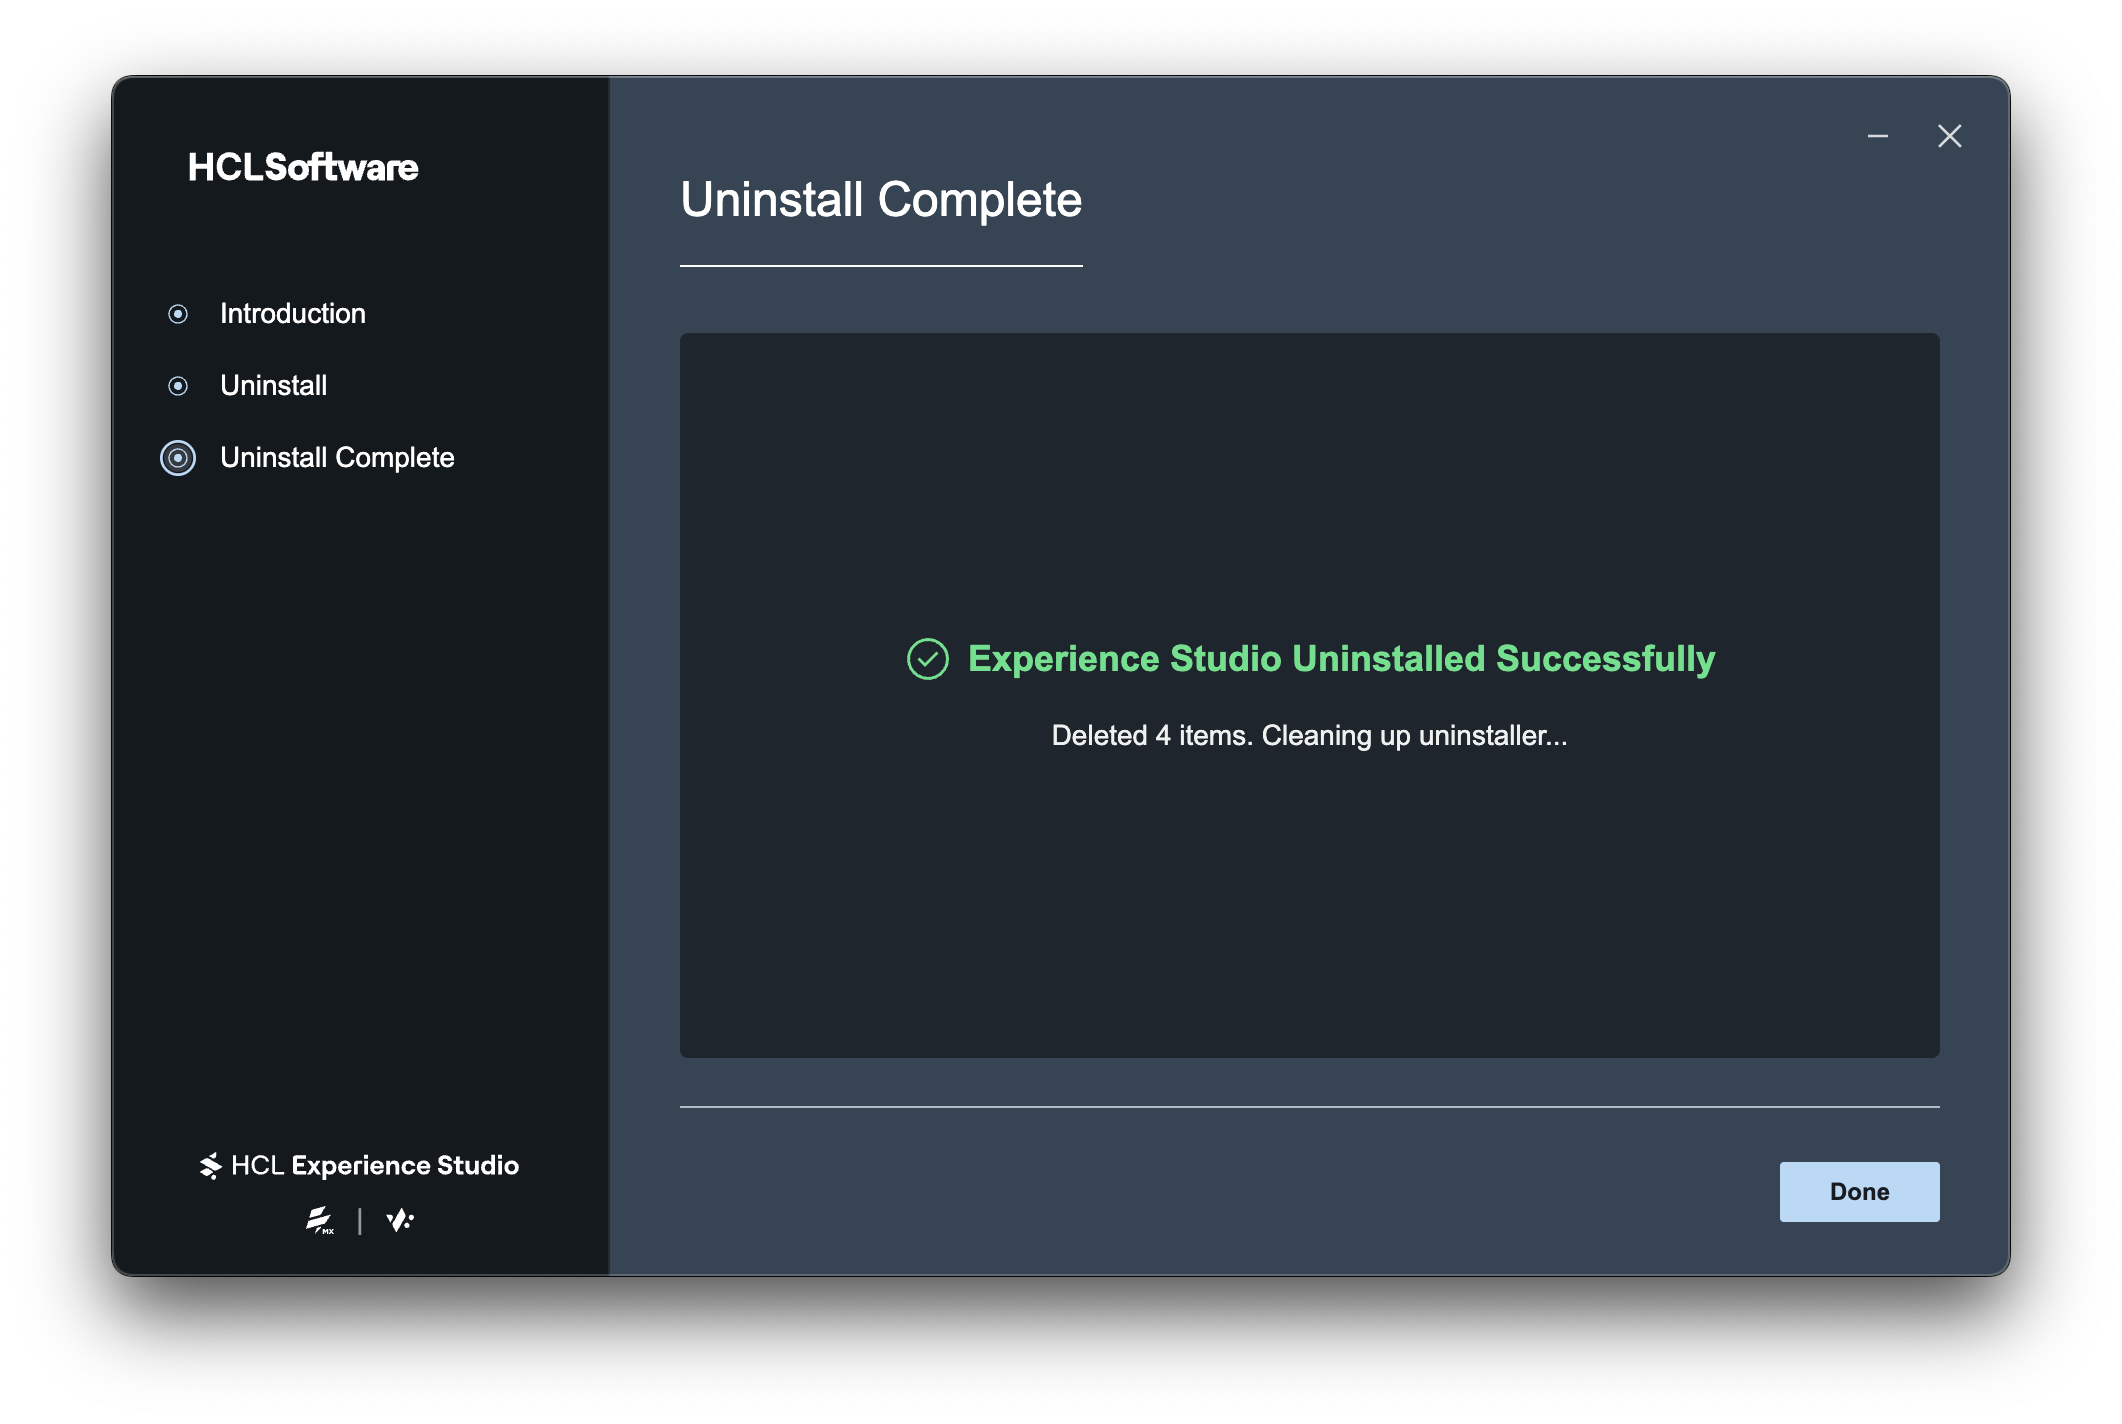
- After Uninstall Completed ** Click Done to close the Uninstall** window.
- Navigate to the folder where HCL Experience Studio is installed. For example,
Note: The uninstaller cannot remove the files or folders that were not installed or copied by the installer. These include files or folders that are created as you use HCL Experience Studio (for example, log files). You need to manually delete those files.