Install HCL Experience Studio
Installing HCL Experience Studio
To install HCL Experience Studio, follow these steps:
1. Welcome and Introduction
-
Navigate to the directory containing the downloaded installer file(Experience Studio Installer-mac-arm64.zip) and launch it to open the welcome splash screen.
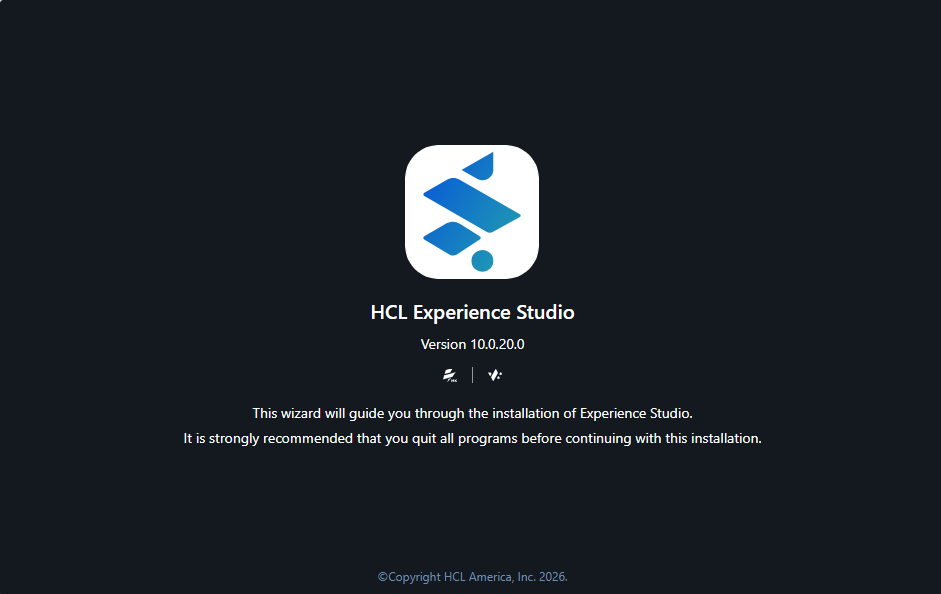
The initial splash screen displays the product name HCL Experience Studio, version details, product logos for Volt MX and Vibe Studio, and the copyright notice © Copyright HCL America, Inc. 2026.
The splash screen displays the following message:
"This wizard will guide you through the installation of Experience Studio. It is strongly recommended that you quit all programs before continuing with this installation."
-
Continue to the next screen after the initialization completes.
2. License Agreement
The License Agreement step presents the software terms and conditions for HCL Experience Studio.
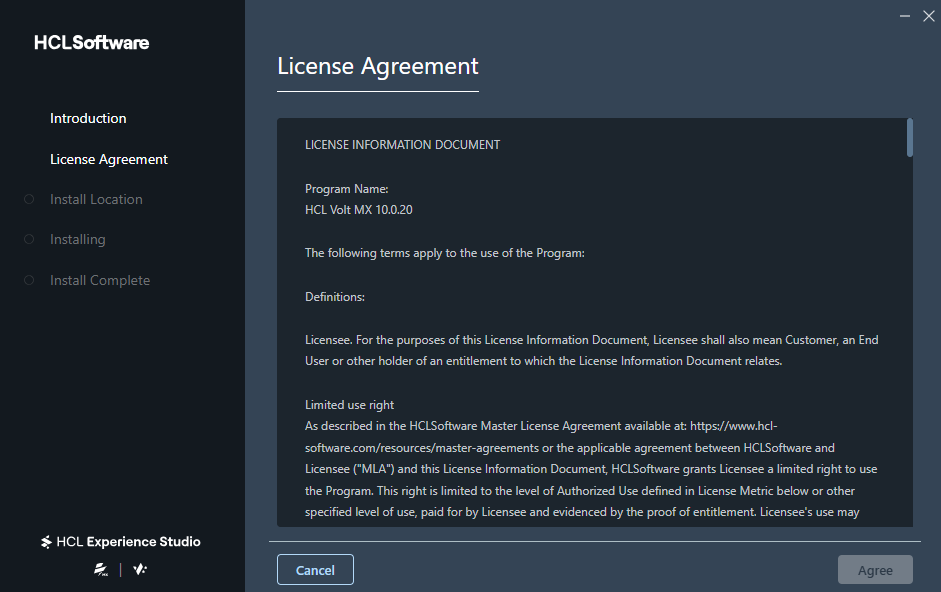
- Read through the scrollable license text box.
- Scroll to the bottom of the agreement to review the full text. The Agree button enables once the license terms have been reviewed.
-
Click Agree to accept the license agreement and advance to the next step.
Click Cancel at any point to abort the installation.
Note: You must accept the terms of the license agreement to install HCL Experience Studio.
3. Choose Installation Location
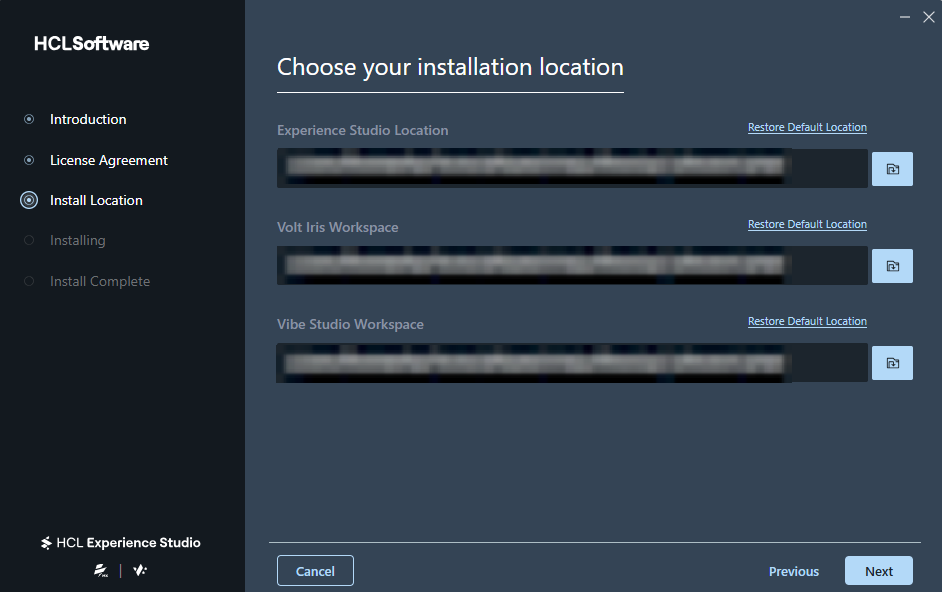
The Choose your installation location screen allows you to specify target directories for the main application and project workspaces.
-
Specify the directories for the following three fields:
- Experience Studio Location: Main installation directory for the Experience Studio binary files.
- Volt Iris Workspace: Directory used to store your Volt Iris projects.
- Vibe Studio Workspace: Directory used to store your Vibe Studio projects.
For each path field, you can:
- Click Choose (folder-browse button) to select a custom folder location on your system.
- Click Restore Default Location to reset the field path back to the default system folder.
-
Click Next to confirm your selection, Previous to review the License Agreement, or Cancel to quit.
Note: If a selected installation directory is not empty, an Installation Location Error dialog appears prompting you to select an empty folder before proceeding.
4. Installation Progress
The Installation in progress screen displays a visual progress bar and real-time status updates as files are unpacked and installed.
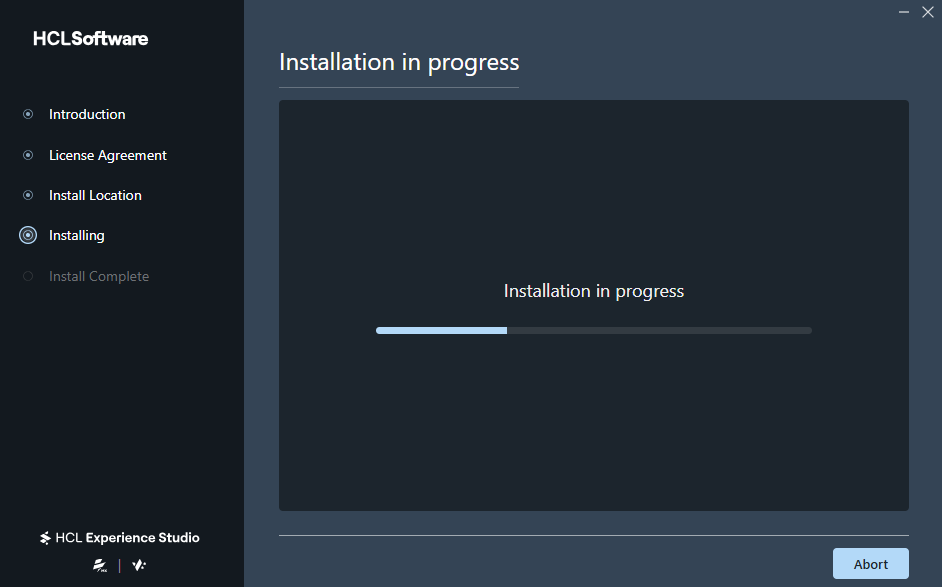
During installation, the bottom navigation panel provides an Abort button.

Note: Clicking Abort opens an Abort Installation confirmation dialog asking: "Are you sure you want to abort this installation? You will not be able to use Experience Studio, and you may have to delete residual files manually." Click No to cancel the abort and continue the installation, or Yes to exit the installer.
5. Complete the Installation
Once file extraction and configuration finish, the Installation Completed screen appears.
Successful Installation
Upon successful completion, the screen displays the message "Installation was successful." along with final setup details.
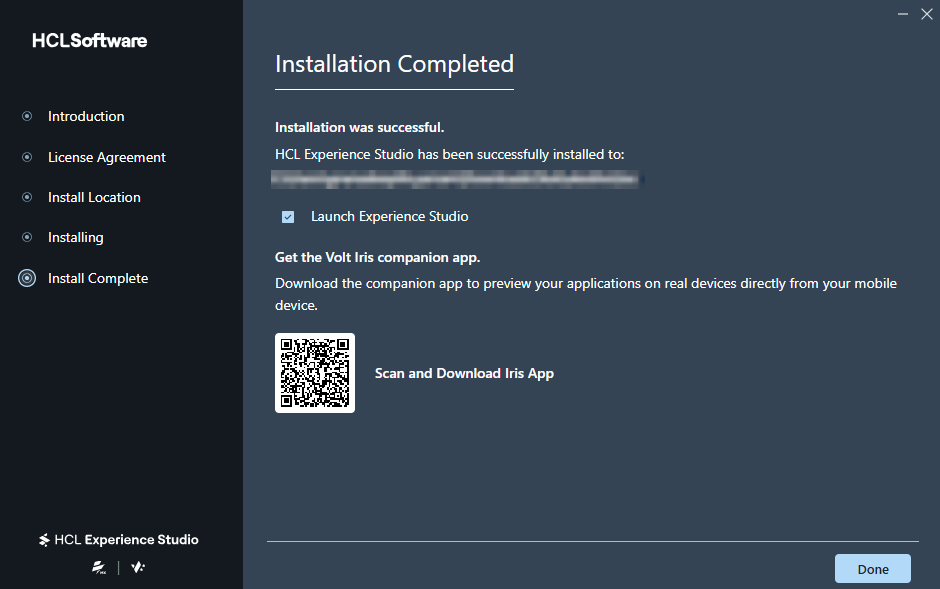
- Select the Launch Experience Studio check box if you want the application to start automatically after closing the setup wizard.
- Get the Volt Iris companion app: The screen provides a QR code labeled Scan and Download Iris App accompanied by the instruction: "Download the companion app to preview your applications on real devices directly from your mobile device."
- Click Done to close the installer.
Failed Installation
If the installation process encounters an error, the screen displays "Installation failed." along with an error message and a detail box explaining the cause of failure. Contact support or review the log files if this occurs.