Agent to Agent (A2A) Protocol
The Agent-to-Agent (A2A) protocol provides a standardized way to connect internal AI agents with external third-party agents and systems. It enables secure and structured communication, allowing external agents to exchange messages, trigger actions, and collaborate with internal agents.
By introducing this protocol, external systems can interact directly with the agent framework using defined message schemas and secure endpoints. It supports bidirectional communication, authentication, and optional streaming for long-running actions, enabling seamless integration and improved interoperability between different AI systems and automation platforms.
-
Access the Agent Studio console using the following URL:
- Select Add Child Agent
Figure 1. Select Add Child Agent 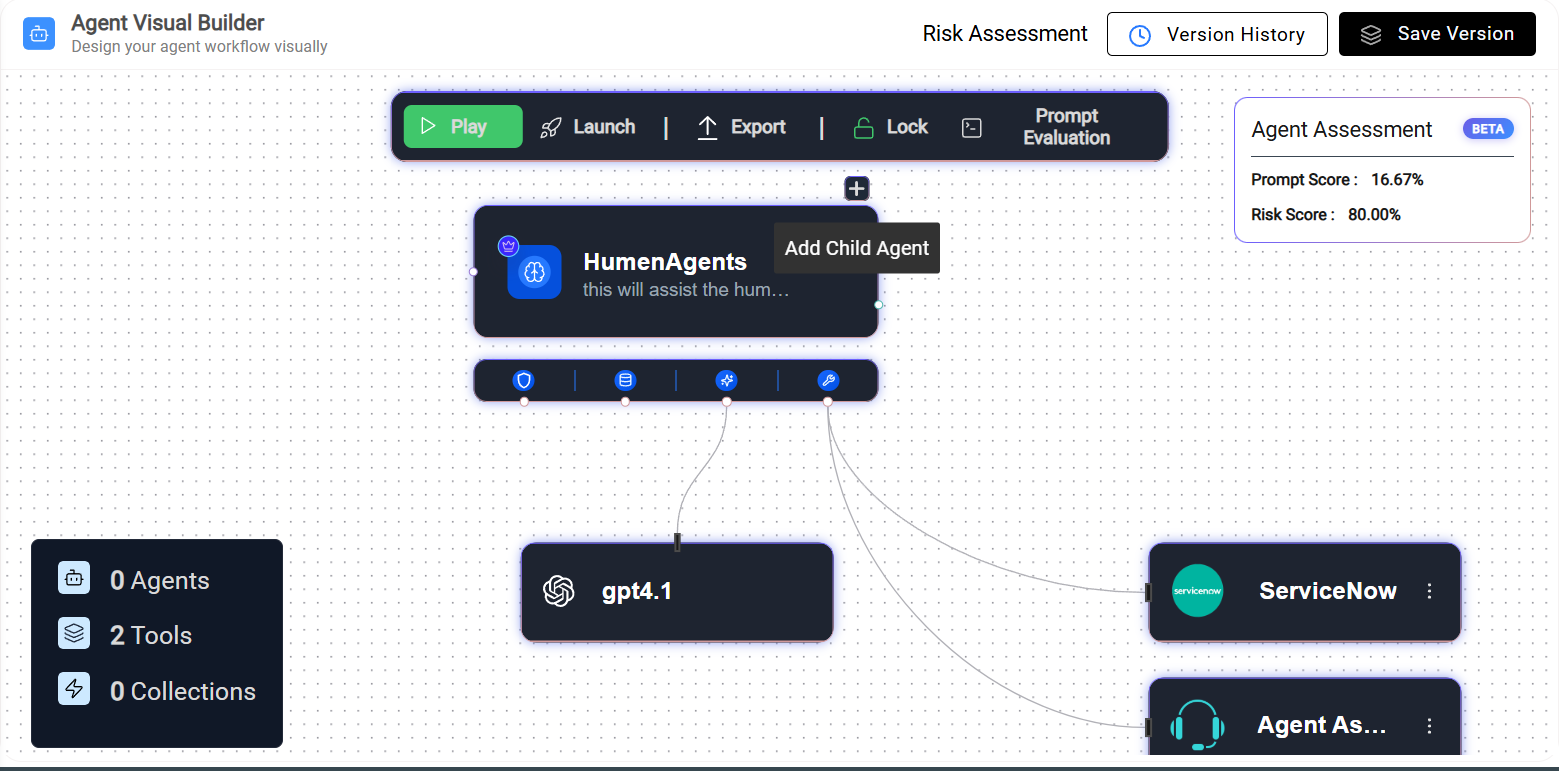
- The External Agents tab should be available as the third tab in
the Manage Agents section.
Figure 2. External Agent 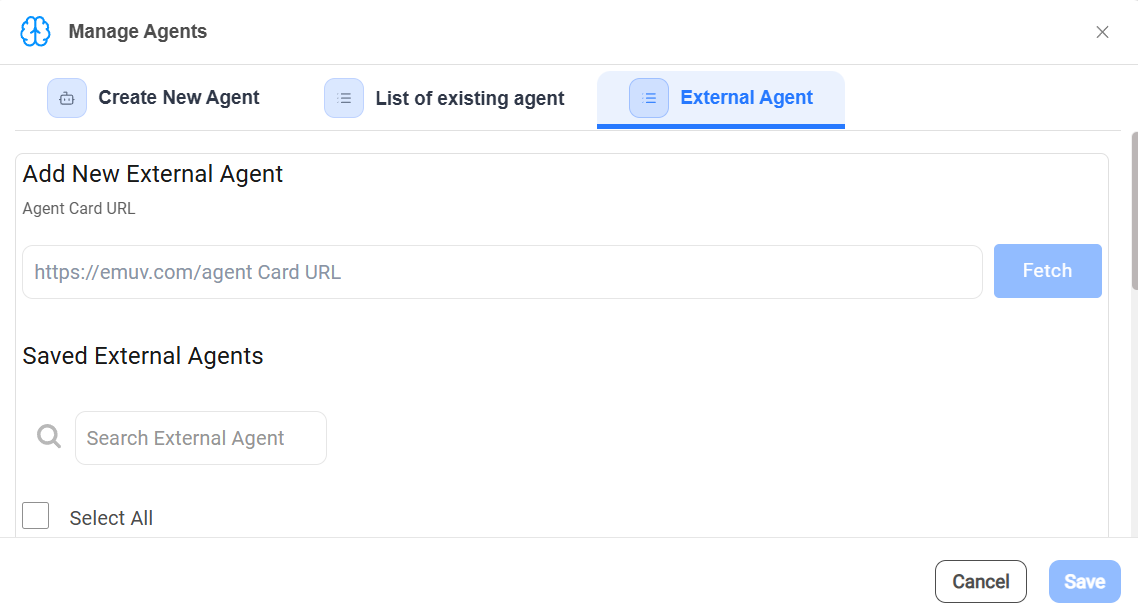
Configure External Agent
The External Agent tab allows users to connect and manage third-party agents within the system.
To add a new external agent, enter the Agent Card URL in the provided field and click Fetch. The system retrieves the agent details from the specified URL and validates the configuration. Once the agent information is successfully fetched, it can be added to the platform for integration.
Below this section, the Saved External Agents list displays all previously added external agents. Users can search for a specific agent using the Search External Agent field or select agents from the list for further configuration or management.
This feature enables seamless integration of external AI agents, allowing them to communicate and collaborate with internal agents through the standardized A2A protocol.
- Enter the Agent Card URL and click Fetch.
- Based on the Agent Card security scheme, provide the required authentication credentials (such as HTTP Basic, HTTP Bearer, or API Key) and click Save.
- After clicking Save, the configuration will be stored successfully.
Figure 3. Enter Agent card URL and API Key Value 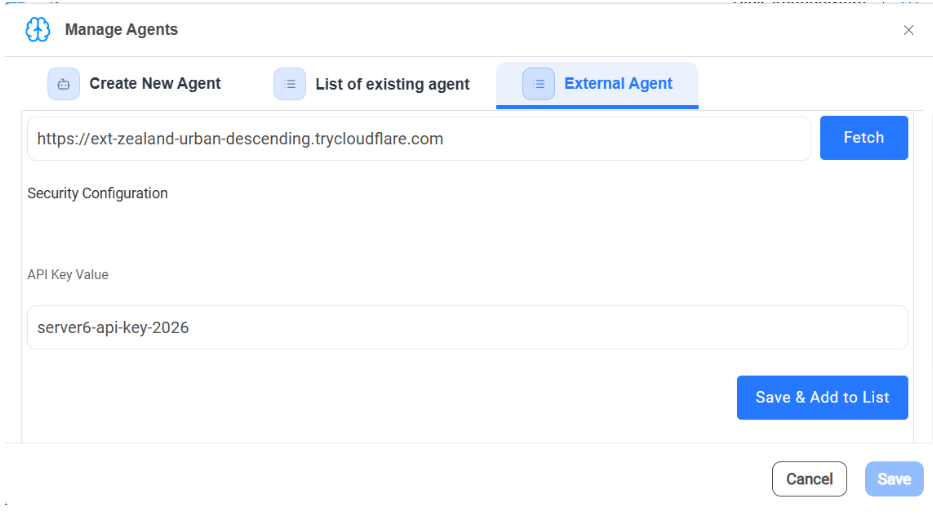
- A “Duplicate External Agent cannot be used” error message will be displayed,
stating that an external agent with this name already exists.
Figure 4. Validation Error 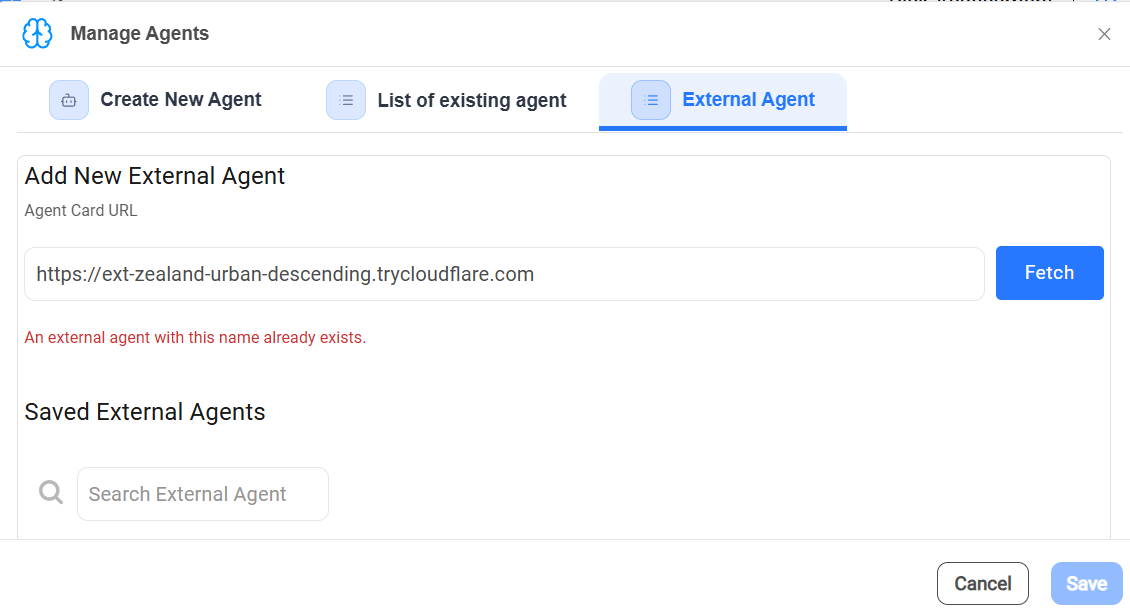
- After clicking Save and Add to List, the external agent will be displayed
in the Saved External Agents section.
Figure 5. Select Save & Add to List 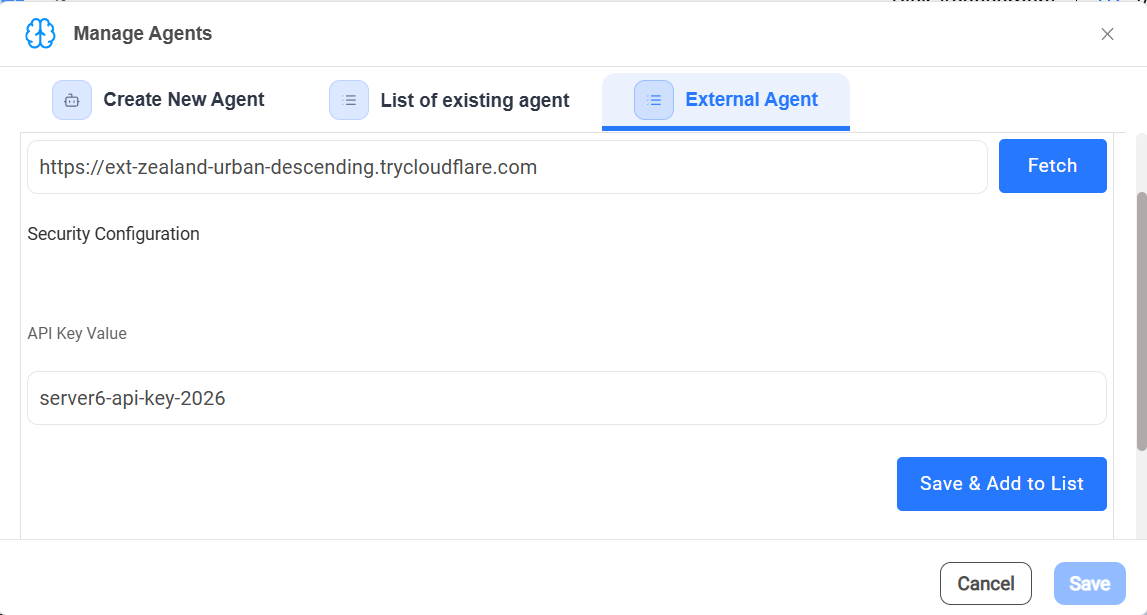
- Click Save to successfully save the external agent.
Figure 6. Select Save 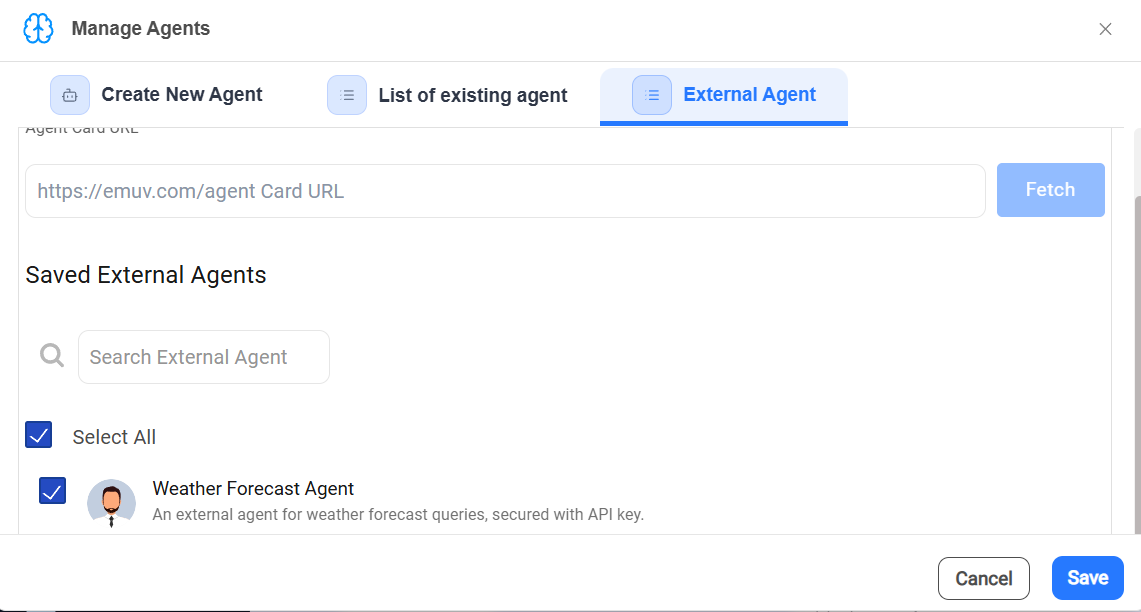
- For example, if the external agent is saved as Weather Forecast Agent, it
will be added as a child node. Select Launch; it will redirect you
to the web chatbot.
Figure 7. External Agent Added as a Child Agent. 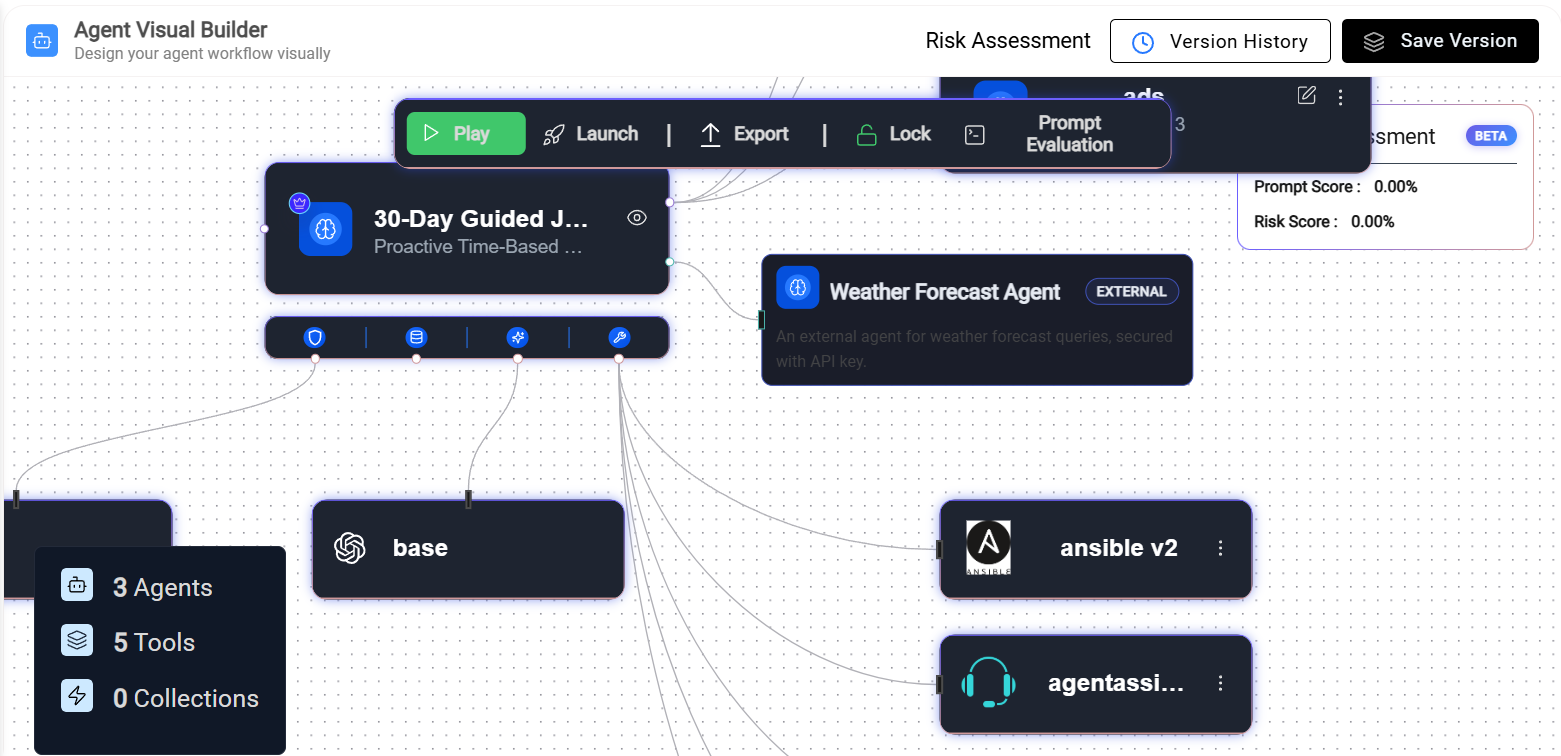
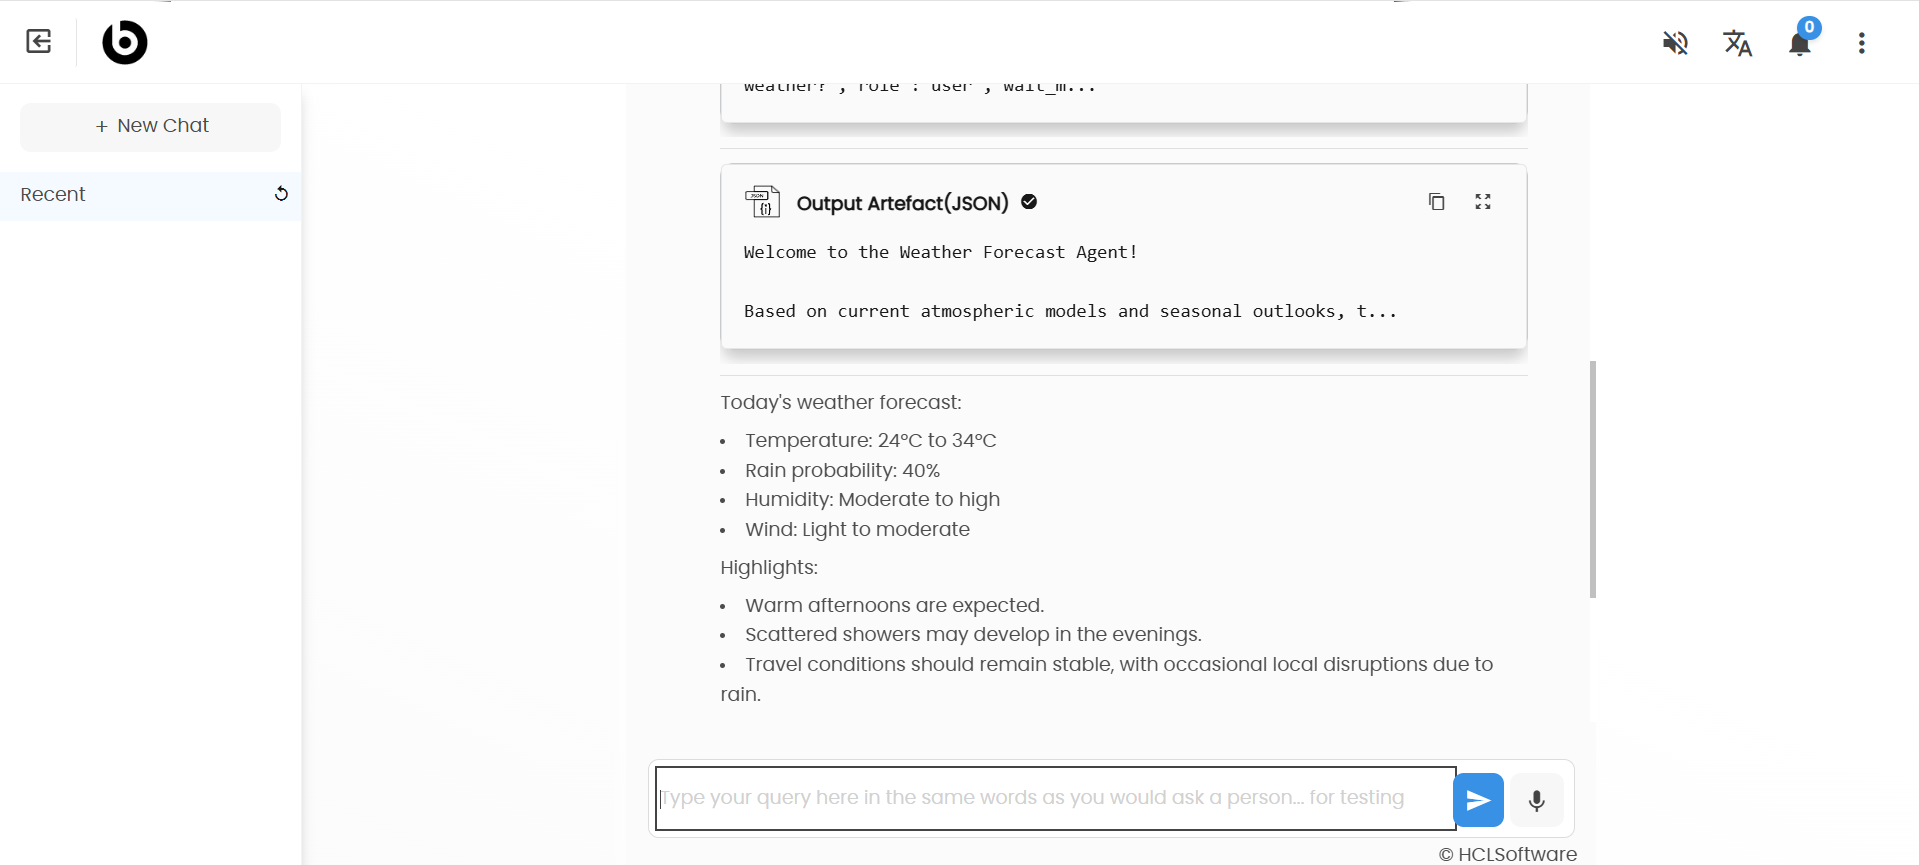
- For example, if the external agent is configured as a Weather Forecast
Agent, provide a weather-related intent. The chatbot will return a
response related to the weather.
Figure 8. Response from agent