Managing Custom Events
This topic describes how to create new custom event definitions manually or upload multiple definitions using a CSV or Excel file within the Event Dictionary.
Custom events allow you to track specific customer actions relevant to your business that are not covered by standard event definitions. After defining a custom event, you must configure its properties and specify the destinations (like Unified Profiles or Kafka) that will receive the event data.
You can add custom events through two methods:
- Manual Creation: Define a single event's name, description, and properties in the user interface.
- CSV/Excel Upload: Upload a CSV/Excel file to define and import multiple
custom events and their associated properties and destination IDs.Note: The custom events data must be in the "Track" Sheet of the Excel file.
Creating a Custom Event
You can create a custom event directly in the Event Dictionary and define the event properties and details.
To create a custom event in the Event Dictionary:
- On the Event Dictionary page, select the Custom Events
tab.
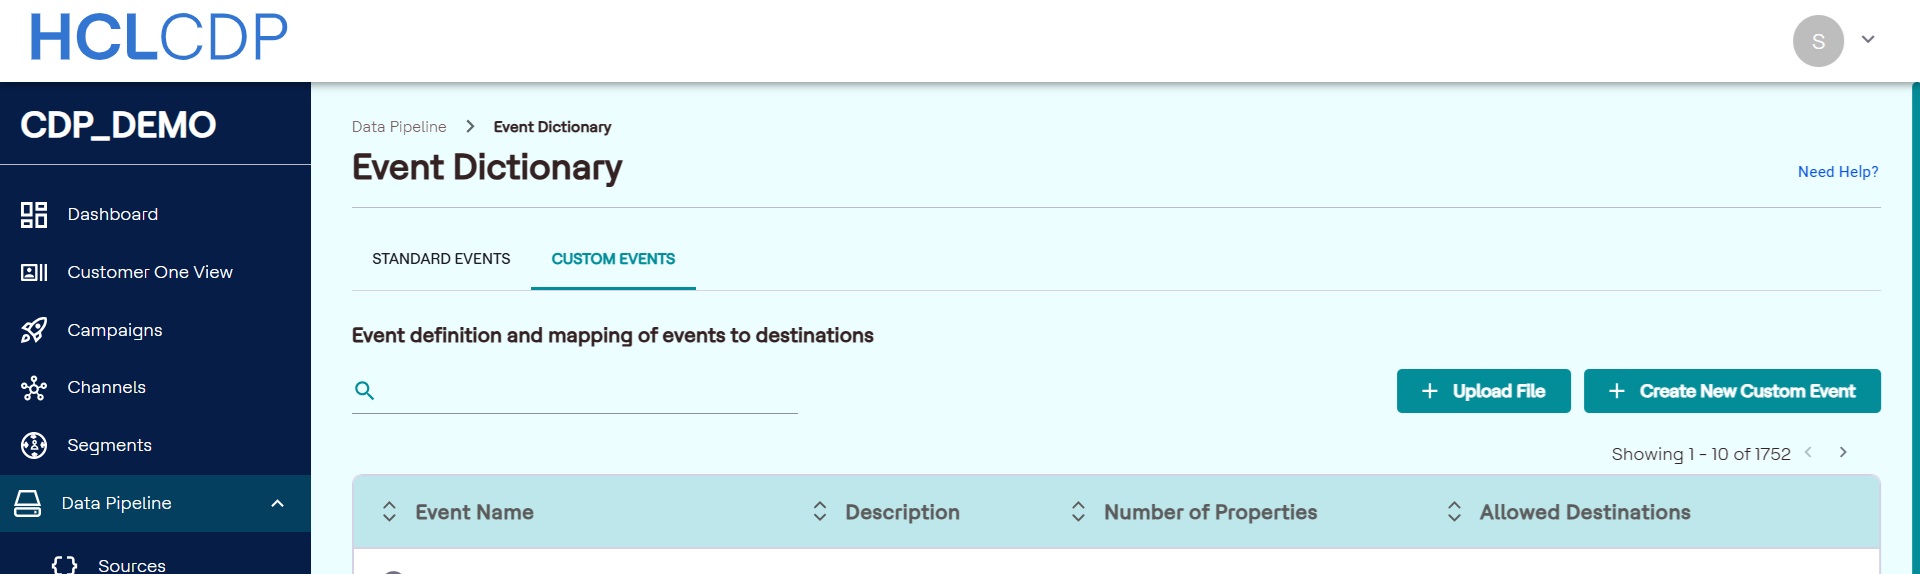
- Click + Create New Custom Event. As a result, the Event Dictionary
page refreshes, displaying the fields to define the event.
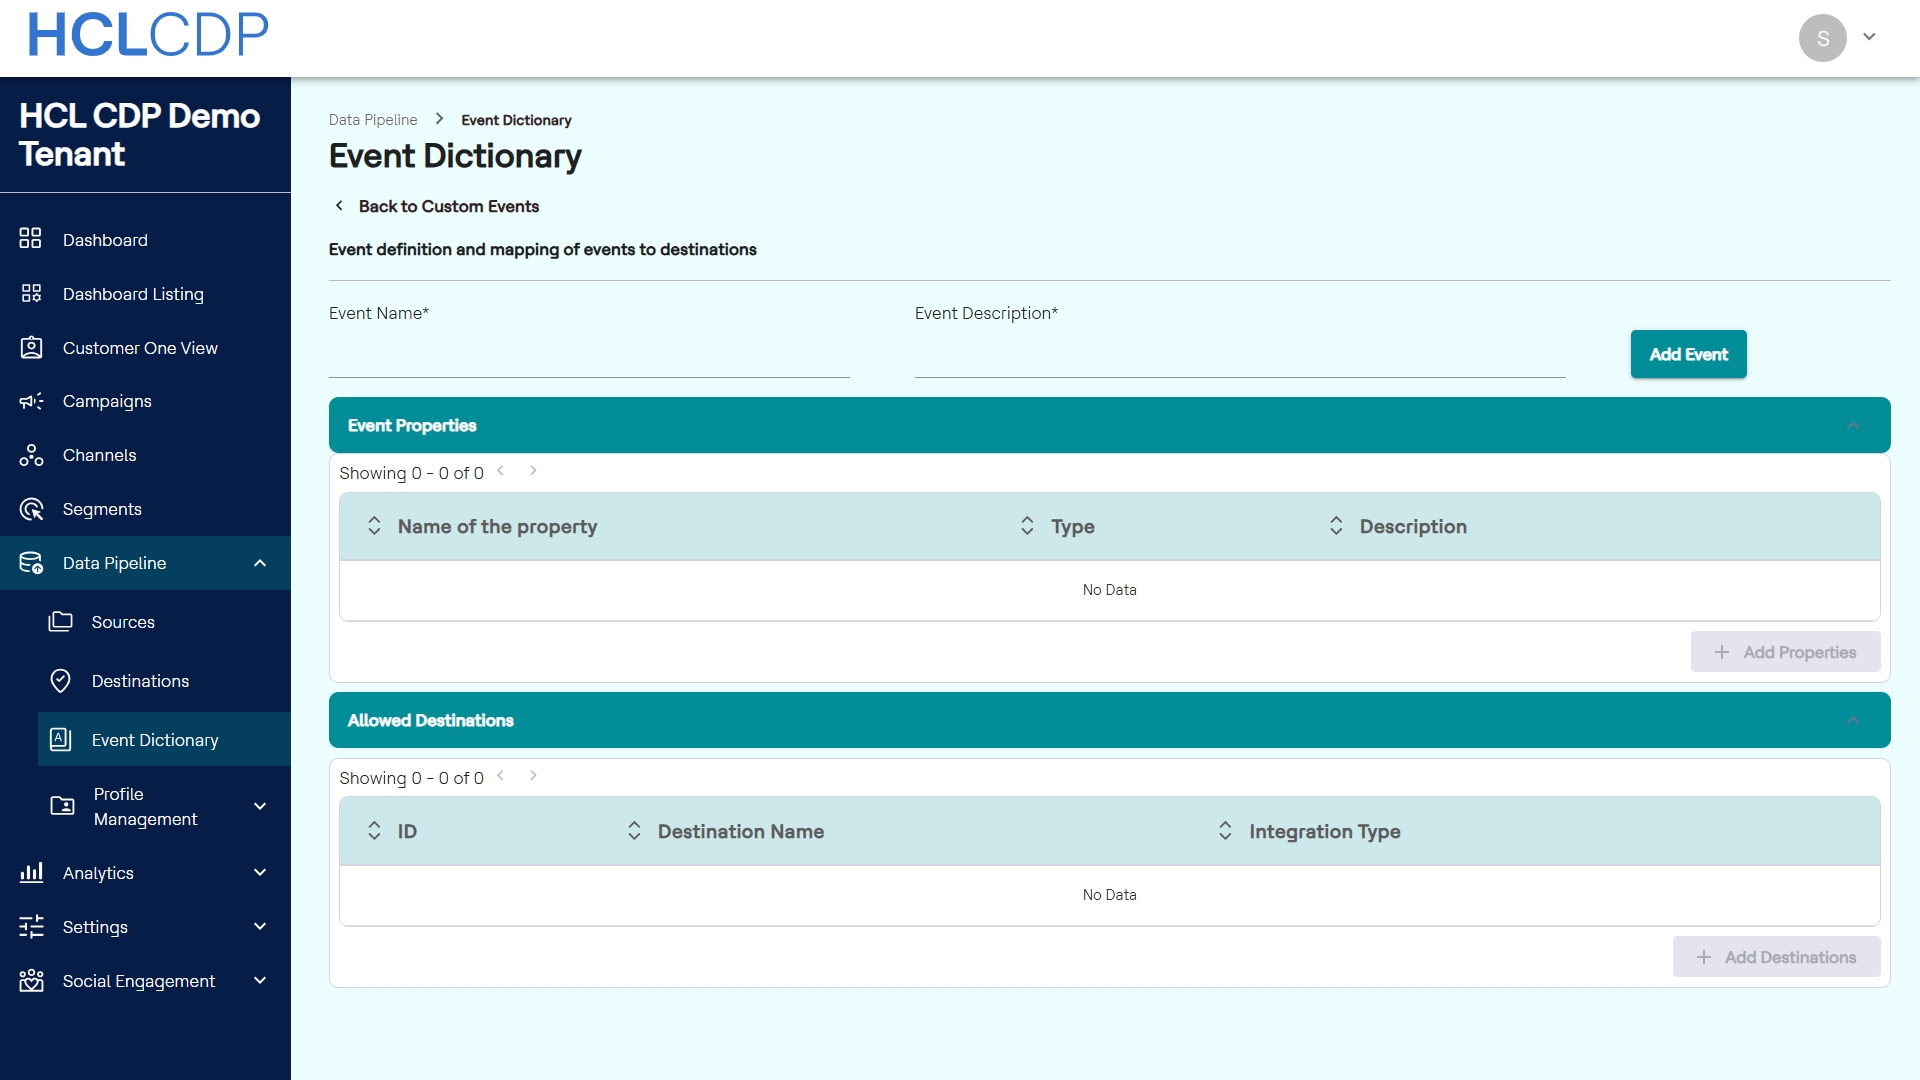
- In the Event Name* field, enter a unique name for the custom event.
- In the Event Description* field, enter description of the event's purpose.
- Click Add Event to save the base event definition. As a result, the event
is created, and you can now define its associated properties.

Define Event Properties
Event properties are the data attributes passed along with the event.
- In the Event Properties section, click + Add Properties.
- In the new row, specify the details for the property:
- In the Name of the property field, enter the key name for the
data attribute (e.g.,
productID). - Select the Type from the dropdown list. Available data types include STRING, NUMBER, JSON and ARRAY.
- In the Description field, enter an explanation of the data the property holds.
- In the Name of the property field, enter the key name for the
data attribute (e.g.,
- Click Save to add the property to the event.
- Repeat steps 1-3 to add all necessary properties for the custom event.
Configure Allowed Destinations
Allowed Destinations define which connected platforms or services (e.g., Unified Profiles, Kafka) will receive this custom event's data.
- In the Allowed Destinations section, click + Add
Destinations.
The Add Destinations modal opens, displaying a list of available destinations including the Destination Name, Destination Type, and Created On date.
- Select one or more destinations by clicking the checkbox next to the desired destination name.
- After selecting all required destinations, click Add Destinations in
the modal.
The selected destinations are added to the custom event. You can verify the Destination ID, Destination Name, Destination Type, and Integration Type in the table.
Manage Event Properties
You can manage existing properties directly from the Event Properties section:
- To edit a property: Click the Edit icon ($\text{✏}$) corresponding to the property. Update the Name of the property, Type, or Description, and click Save.
- To delete a property: Click the Delete icon ($\text{🗑}$) corresponding to the property to remove it from the event schema.
Upload Custom Events
You can rapidly define and add multiple custom events and their associated properties by uploading a CSV/Excel file.
Prerequisites
Ensure your CSV/Excel file contains the following six mandatory fields in the header:
- Event Name
- Event Description
- Property Name
- Property Type
- Property Description
- Sample Code
- Allowed Destination Instance
Upload CSV/Excel file
To upload a custom event definition:
- On the Event Dictionary page, select the Custom Events tab.
- Click Upload File.
- Locate and select the CSV/Excel file containing your custom event
definitions.
The application processes the file and displays the Review Events page, where you can verify the imported details.
- Verify the Event Name, Description, No. of Properties, and Allowed Destinations for each event listed.
- To immediately activate an event after confirmation, use the toggle button corresponding to the event's row. Alternatively, toggle Activate All to activate all events.
- Optional: To edit an event's details before confirmation:
- Click the Edit button in the Action column for the
desired event.
The Event Details page appears.
- Edit the Event Description as required.
- To add a new property:
- Click + Add Properties.
- Enter the Property Name, select the Type from the dropdown list, and enter the Description.
- Click Save to add the property.
- To delete an Allowed Destination:
- In the Allowed Destinations section, click the Delete icon corresponding to the Destination ID.
- Confirm the deletion.
- Click Back to Review to return to the Review Events page.
- Click the Edit button in the Action column for the
desired event.
- After confirming the event details and activation status, click Confirm to complete the upload and add the custom events to the event dictionary.