From the toolbar, click the arrow on the right side of the Create New icon; then select
Layout. The New Layout Template Selection window
opens.
Select Any page, single slot. Click OK.
On the Manage Layout tab, enter Test in the
Layout name field.
In the Layout Assignments section, enter * in the
Find and Add field. Click Find and Add.
The search results that contain the list of available pages, displays in the utilities
view.
Drag the HelpPage page from the search results into the
Pages table for your new layout.
Your Pages table can resemble the following image:
Click the Design Layout tab.
In the Wireframe, click slot 1. The Add
Widgets to Slots window displays.
If you copied the icon for the Content Recommendation widget to be the
ShopCartDetail.png icon for your widget, your widget within the Add
Widgets to Slots window can resemble the following image:
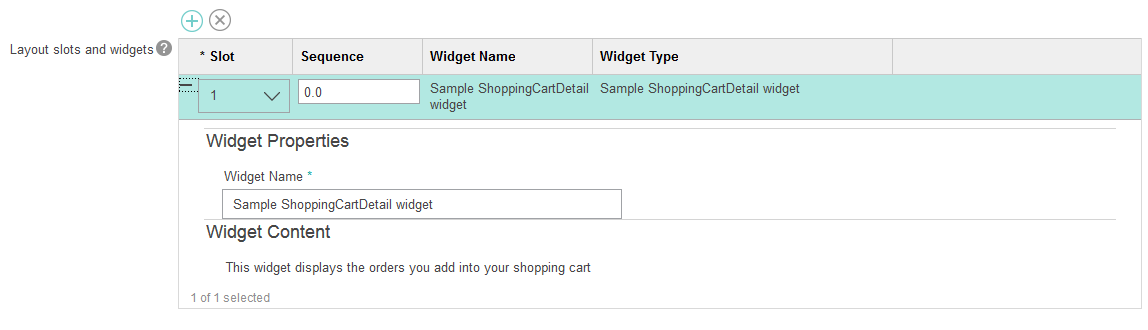
In the Add Widgets to Slots window, select your new Sample
Shopping Cart Detail widget. Click OK. The information for your
widget is added into the Layout slots and widgets table.
The widget-related information in the table matches the information that your included within
the CSV files that you loaded into the database. The entry for your widget within the table can
resemble the following image If you updated your widget to add configurable properties, you can set the properties for your
widget within the table.
Click Save.
Click Launch Store Preview. Configure the store URL with your server
name.
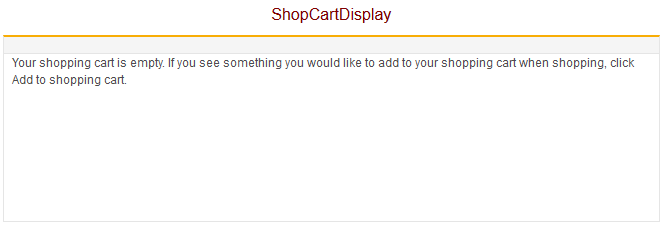
In your store, add a product to your Shopping Cart and add a product to your Shopping
Cart. Go to the Help page for your store to view the
Shopping Cart widget and cart contents.
Your Help page can resemble the following image:
Results
You can use your new widget on any page that is supported within the Commerce Composer tool.
In the following lessons, you define a template that you can include your widget within to compose a
page layout for the Shopping Cart page.

 Create New icon; then select
Layout. The New Layout Template Selection window
opens.
Create New icon; then select
Layout. The New Layout Template Selection window
opens.