Installing IBM HTTP Server and Web Server Plug-ins
Before you begin
- Download the IBM WebSphere Application Server Supplements from IBM website.
- Unzip the downloaded supplement files.Note: The supplement files come in different parts as shown in the image below. Make sure you download all the supplements files.

Procedure
- Once the contents are add in part1 of the supplement file, open the IBM Installation Manager.
-
Go to
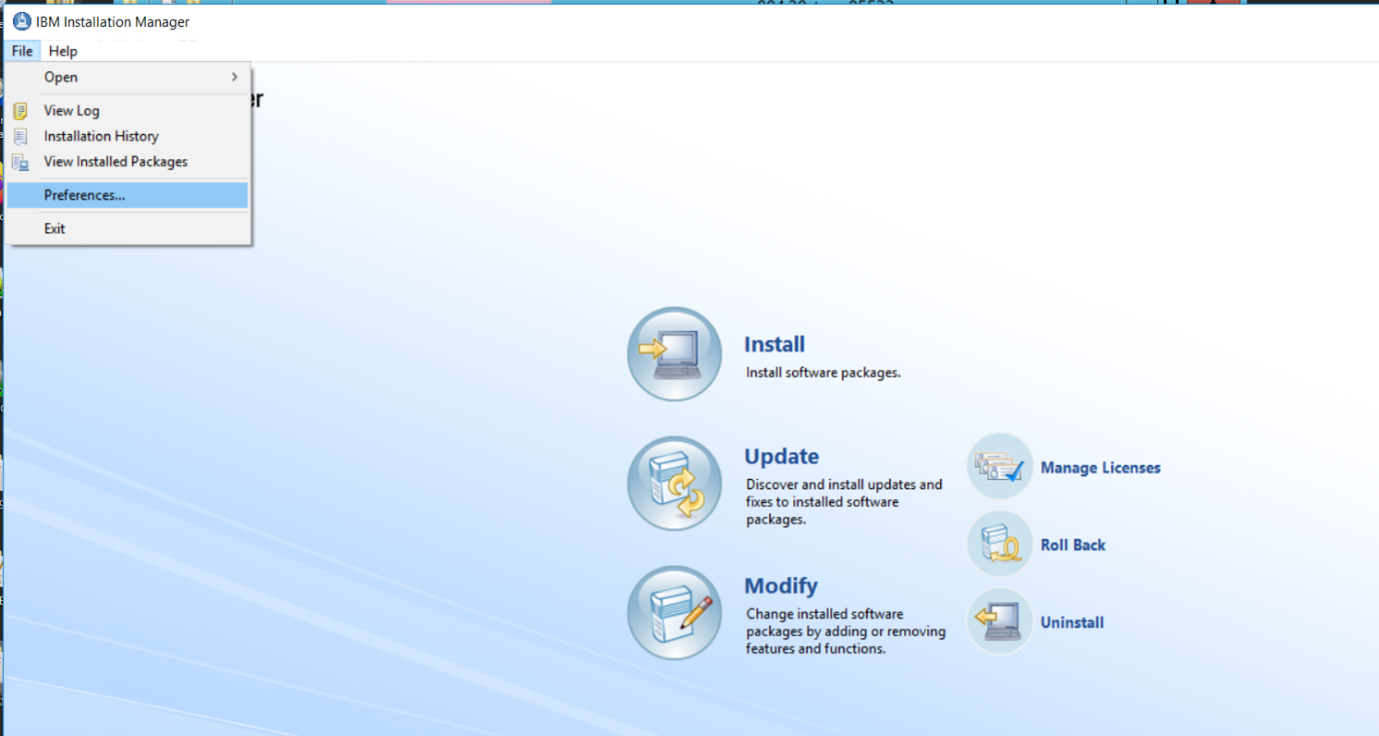 A pop-up window opens.
 - Go to .
- Select the location of the WAS supplement files are downloaded.
-
Select the unzipped file which contains the
repository.config file. (It might be in part1)
Generally the repository.config file is kept in part1 of the WAS supplement files.

-
Select and open the repository.config file.
The selected WAS supplement file is visible in the list of repositories.
-
Click the Apply button and then click the
OK button.

-
Click the Install button.
 The application displays a list of products available for installation.
 -
Uncheck the IBM HTTP Server for WebSphere Application
Server and the Web Server Plug-ins for IBM WebSphere
Application Server checkbox button.

-
Click the Next button.
A new pop-up window opens asking to insert disk2 or disk3.
-
Browse to the location for disk2.
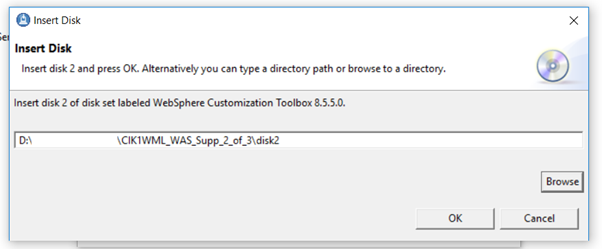
- Click the OK button.
-
Keep selecting the disks as per the prompts till the system stops displaying
the insert disk prompt.
Note: Read through the prompt that validates the perquisites as shown in the image below.

- Click the Next.
-
Read the license agreement and click the I accept the terms in the
license agreements radio button.

-
Click the Next button.
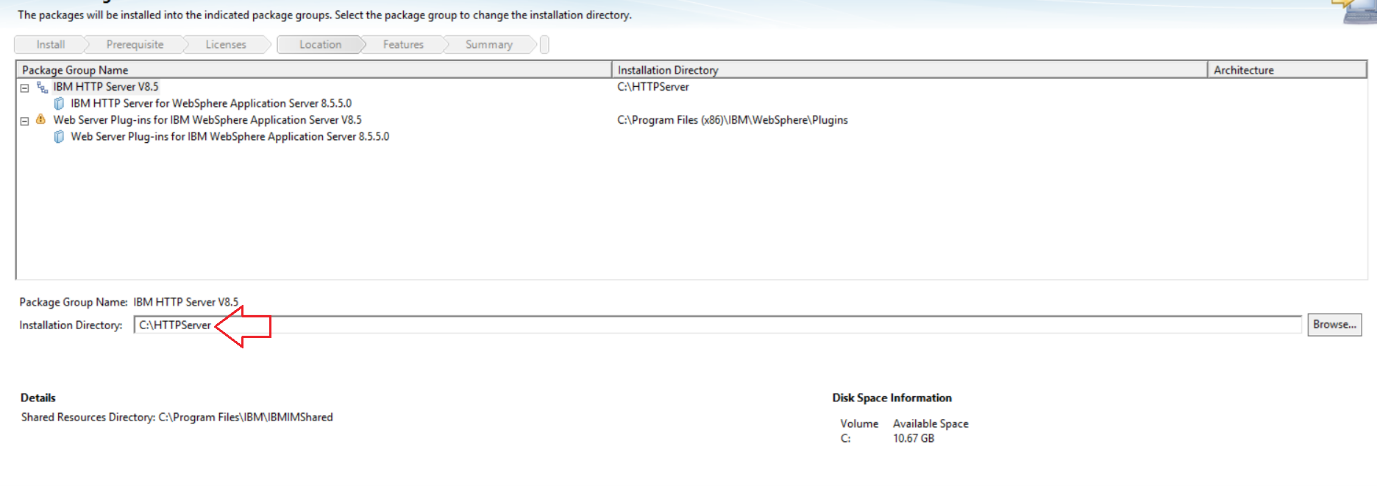
The application displays a window to choose a location to install the IBM HTTP Server.
-
Select the location and click the Next button.
-
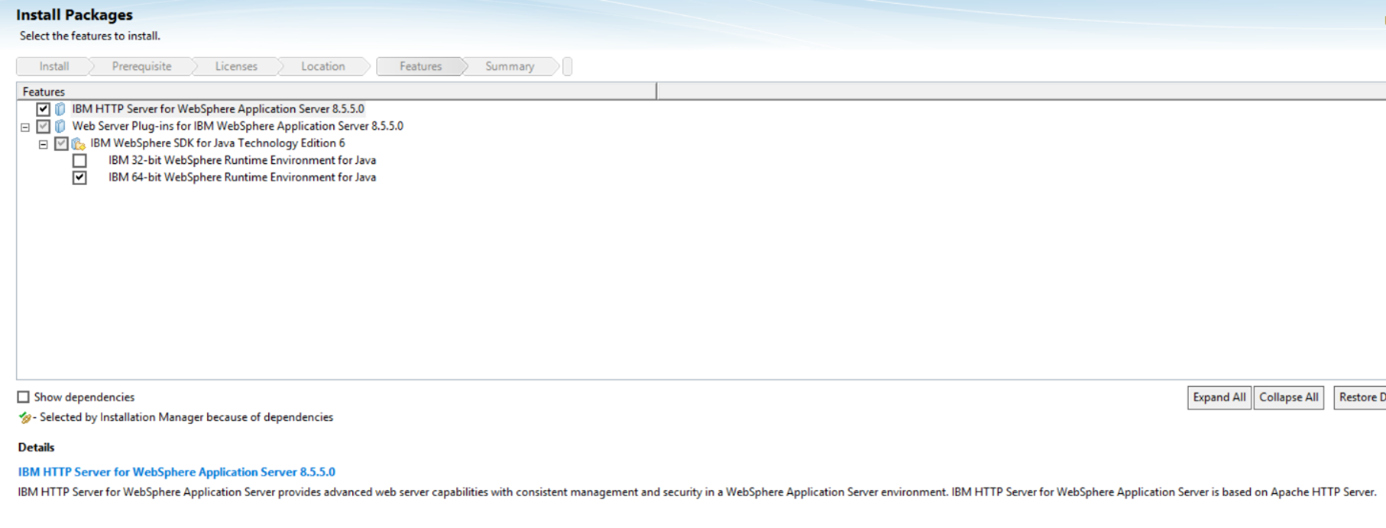
Select the features to be installed and click the Next
button.
-
Configure the HTTP Server and click the Next
button.

-
Click the Install button.
