
Configure HTTPS Certificates
This task explains how to set up or update the HTTPS certificate and key required for secure communication in the BigFix UI Configuration Manager.
About this task
Procedure
- After completing database configuration, click Next to open the HTTPS Certificates Configuration screen.
-
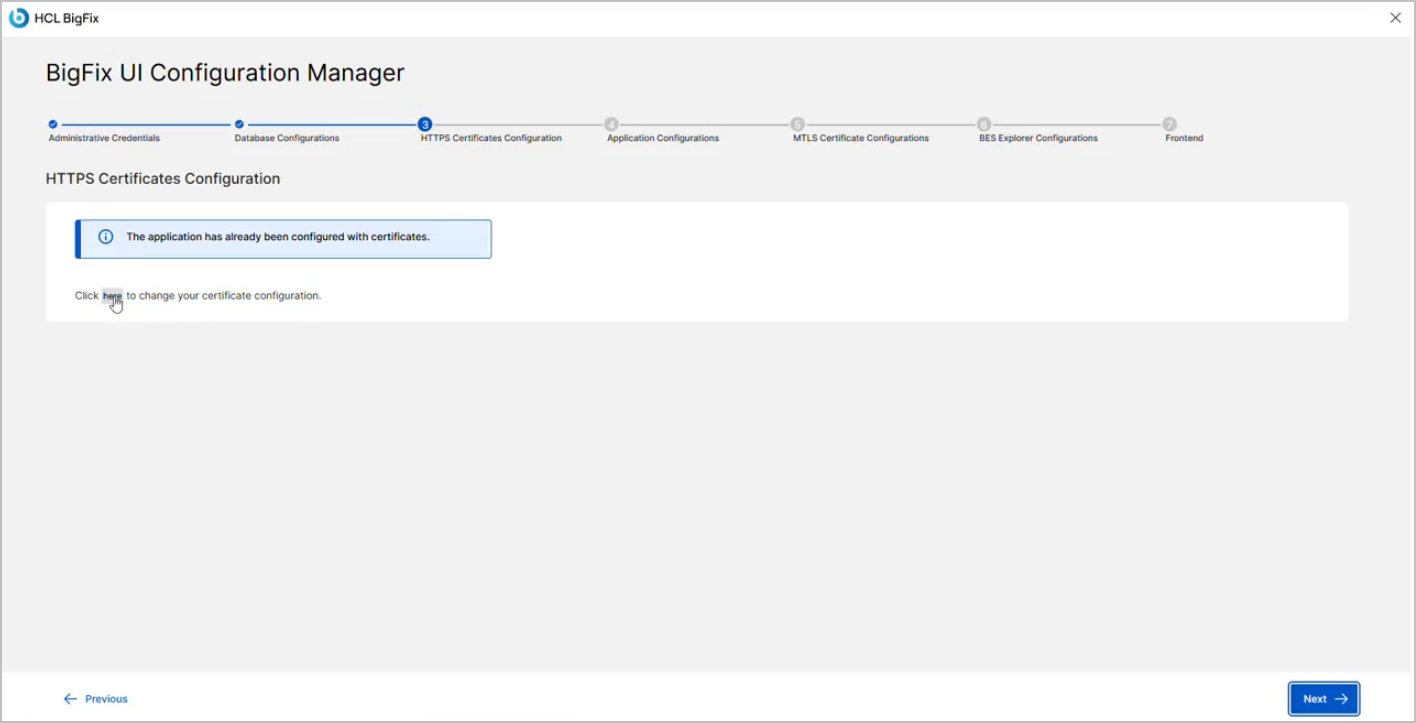
If the system detects existing certificate settings, a message is displayed indicating that the application is already configured with certificates.
Click the provided link to change your certificate configuration, if needed.
-
If there is no existing certificate, a Certificate Configuration setup screen
displayed.
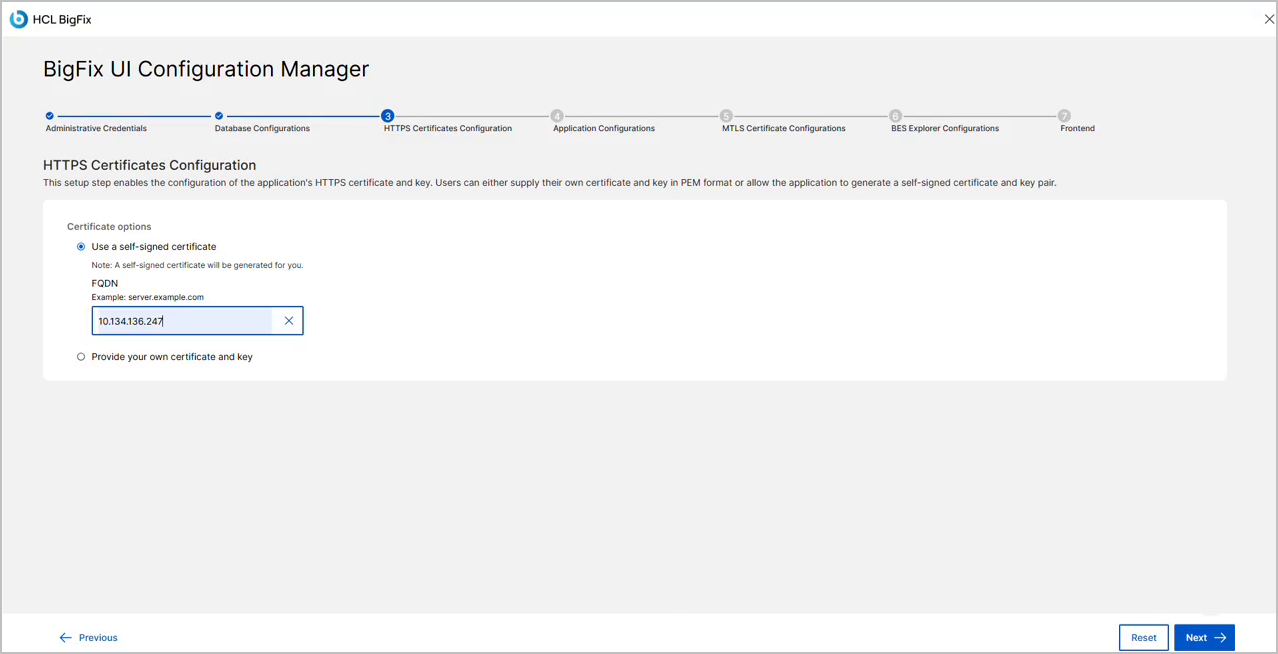
Under Certificate options, select one of the following:
- Use a self-signed certificate: The system generates the certificate automatically. Enter the FQDN for the certificate, for example server.example.com. You can also enter an IP address.
- Provide your own certificate and key: You must manually enter the required details.
Enter a fully qualified domain name that resolves to the host on which you install BigFix UI, for example
mylocal.domain.com. The certificate is issued for this name, so browsers must be able to resolve it to the BigFix UI host.Tip:If the FQDN is not registered in DNS, for example on a test or development system, map the name locally. Edit the following file as an administrator:
C:\Windows\System32\drivers\etc\hosts
Add an entry that maps the FQDN to the host. For a local development system, use the loopback address:
127.0.0.1 mylocal.domain.comSave the file, then enter the same FQDN in the FQDN field. Use the loopback address only for development. For a production or shared system, register the FQDN in DNS or map it to the reachable IP address of the host.
-
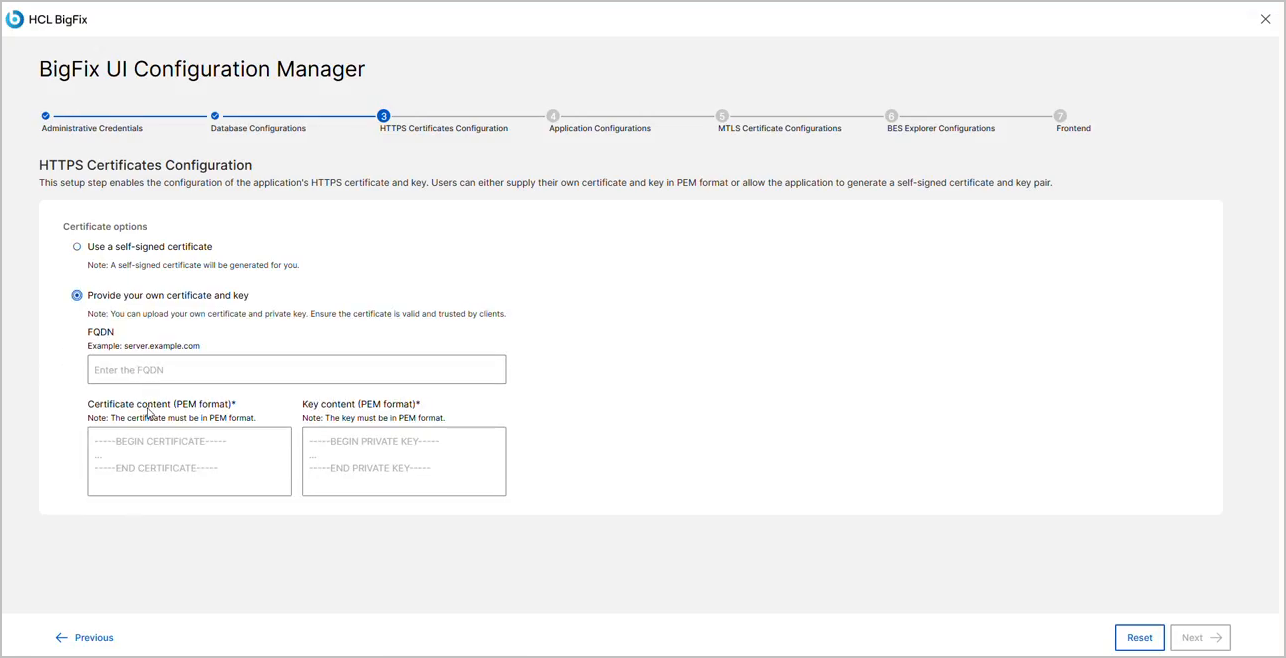
When Provide your own certificate and key is selected,
enter:
- FQDN – Fully qualified domain name for the certificate
- Certificate content (PEM format) – Paste or upload the PEM certificate text.
- Key content (PEM format) – Paste or upload the
PEM key text.
Note:-
All mandatory fields are marked with an asterisk (*).
-
Certificates and keys must be in PEM format.
-
A self-signed certificate option is recommended only for testing or non-production environments.
-
After filling in all mandatory fields, click Next
button.
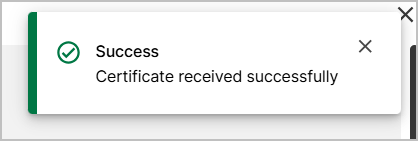
If the certificate is accepted, a success message such as "Certificate received successfully" appears, and you proceed to the next setup step.
If the certificate is invalid, an error message is displayed, and you remain on the same screen until the issue is resolved.
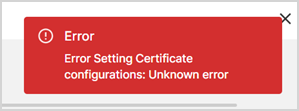
-
If there is an error, click Reset button to clear all
the entered information. A confirmation dialog appears with the options:
- Reset - Clears all fields and reverts them to default values.
- Cancel - Closes the dialog without resetting
fields.
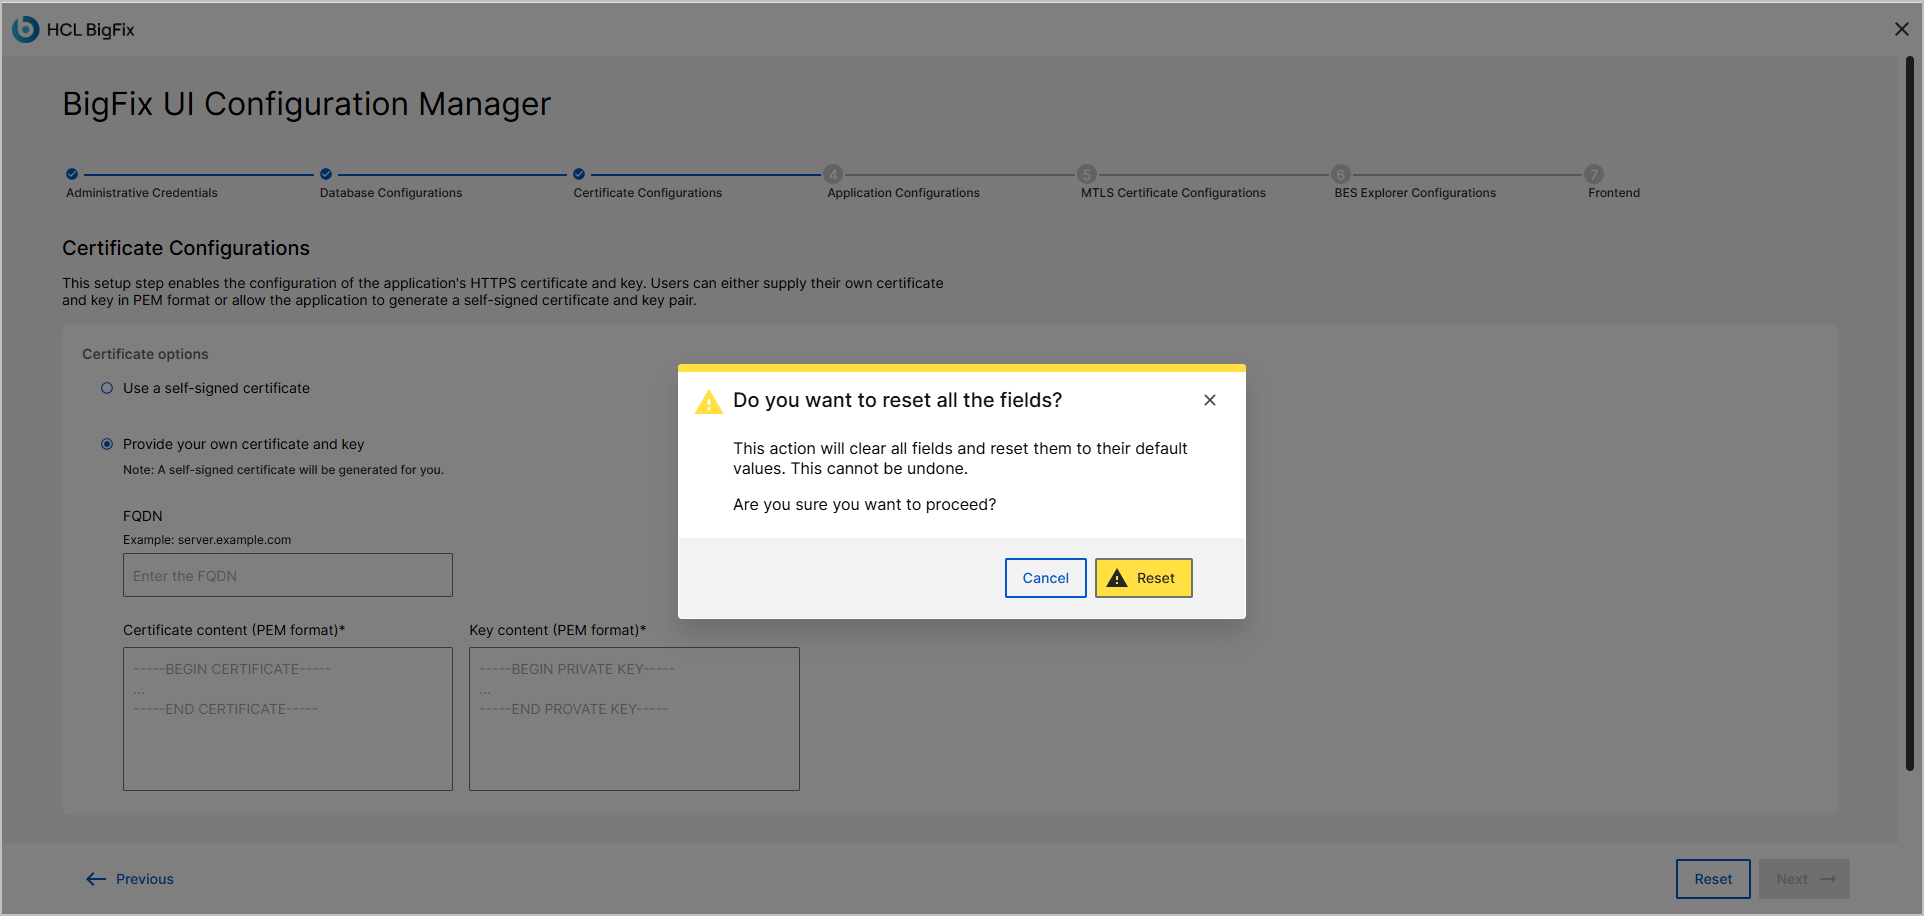
-
If you want to exit the setup process, click the X icon
in the top-right corner of the screen. An exit confirmation dialog
displayed.
- Click Okay, Exit to terminate the setup and close the application window.
- Click Cancel to remain on the current screen.