Power Management Quick Start
Get BigFix Power Management up and running in four steps: verify system requirements, subscribe to the Power Management site, deploy Quick Start Fixlets, and enable Power Tracking and Wake-on-LAN.
Step 1 — Verify System Requirements
Confirm that your endpoints run a supported operating system before proceeding with setup.
Supported Windows versions: Windows 7, Windows 8, Windows 8.1, Windows 10, Windows 11, Windows Server 2008, Windows Server 2008 R2, Windows Server 2012 R2, Windows Server 2016, Windows Server 2019, and Windows Server 2022.
Supported Mac versions: Mac OS 10.4 through macOS 10.15.
Your BigFix Server must be version 9.0 or later. Version 9.0 or later is required for the Wake-on-LAN Medic and REST API features to function correctly.
Step 2 — Subscribe to the Power Management Site
In the BigFix console, go to . Locate BES Power Management and click Enable. If the site does not appear, click Check for license update.
After enabling, click the site name to open it. In the Computer Subscriptions tab, define the endpoints to target and save your changes. By default, no clients are subscribed to a newly enabled site.
Step 3 — Run Quick Start Fixlets
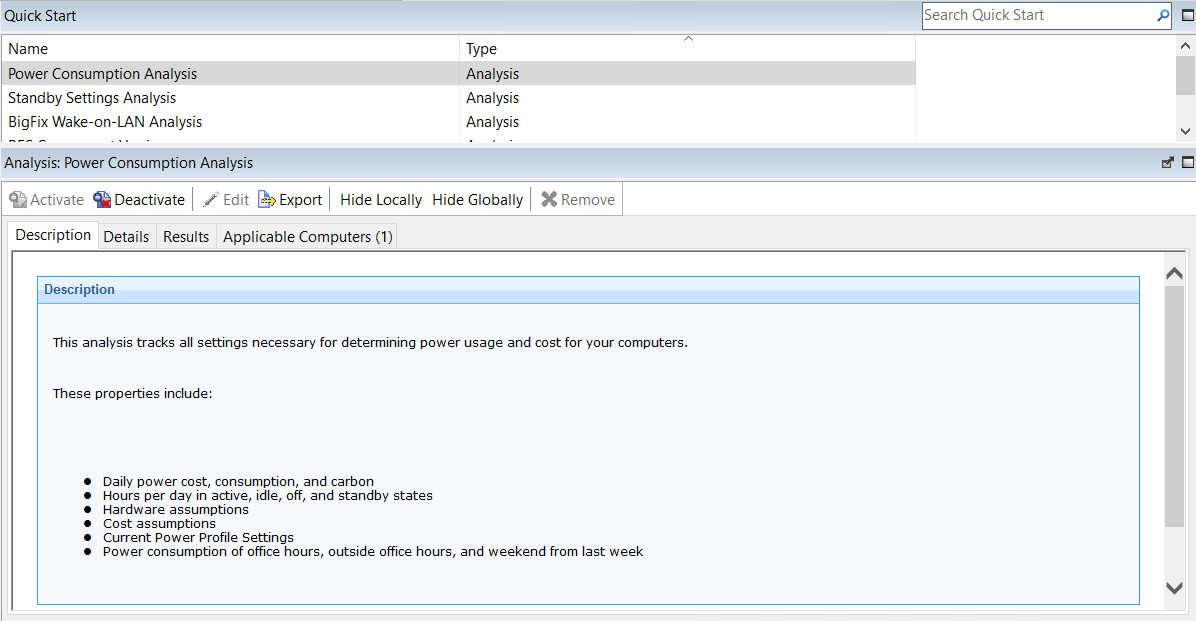
Navigate to in the console. This subnode includes analyses and Fixlets for your core settings.

Use the List Panel in the top right of the console to access each item. Click the applicable analysis or Fixlet, then click the action link at the bottom of the work panel to deploy. Configure the following settings:
- Wake-on-LAN — Enable remote wakeup of endpoints.
- Power Consumption — Set power draw parameters for your hardware.
- Standby — Define standby thresholds and idle timeouts.
- Power Tracking — Begin collecting power state data across your deployment.
Step 4 — Enable Power Tracking and Wake-on-LAN
Go to and enable tracking so that the system begins collecting power consumption data across your endpoints.
To activate Wake-on-LAN, go to Enable Wakeup in the navigation tree and enable the Wake-on-LAN Medic Utility. Ensure you are using BESWolMedic.exe version 1.5.30 or later, which supports directed broadcast without requiring Wake-on-LAN forwarders.
Optional Next Steps
After completing the initial setup, consider the following optional configurations to extend your deployment:
- Configure Historical Reporting — Install the BES Server Plugin Service and enable history tracking to capture power data trends over time for auditing and reporting.
- Manage Assumptions — Override default power-draw and cost-per-kWh values with figures specific to your hardware and energy tariffs for accurate savings calculations.
- Client-Side Dashboard — Deploy the dashboard so end users can view their own power footprint and apply approved power profiles directly from the BigFix client UI.