Multiple Instance or Upgrade Installation
Z and I Emulator for Web supports multiple installation from v2.1.0.0.
- Z and I Emulator for Web Version 3.0 search the previous installed release of Z and I Emulator for Web v3.0 and displays on Multiple Instance dialog.
- Z and I Emulator for Web Version 3.0 supports multiple instances, suppose user wants to install latest release as separate product whichever version is already installed needs to select "Z and I Emulator for Web New Instance" in multiple instance dialog and provide different installation path and port to configure as multiple instance installation.
- Z and I Emulator for Web
Version 3.0 supports upgrade
instance from v2.1.0.0, suppose user wants to perform upgrade installation from
v2.1.0.0 to v3.0, then needs to select "Z and I Emulator for Webv2.1.0.0" in
multiple instance dialog and it performs upgrade installation with base product
configurations.Note: In case Upgrade installation fails, the user needs to install v3.0 in separate path and different portals multiple instance type installation and then copy the user configured files from previous installed Z and I Emulator for Web location to v3.0 installation path manually.
GUI Mode Multiple Instance or Upgrade Installation
The Z and I Emulator for Webv2.1.0.0 is installed on the host. Z and I Emulator for Web Version 3.0 displays a multiple instance dialog with Z and I Emulator for Web New Instance and Z and I Emulator for Webinstalled product list. If the user selects "Z and I Emulator for Web New Instance," it is installed as New Instance (Multiple versions installed on same host with different configurations). If the user selects Z and I Emulator for Web
v2.1.0.0, it performs upgrade installation with base configurations.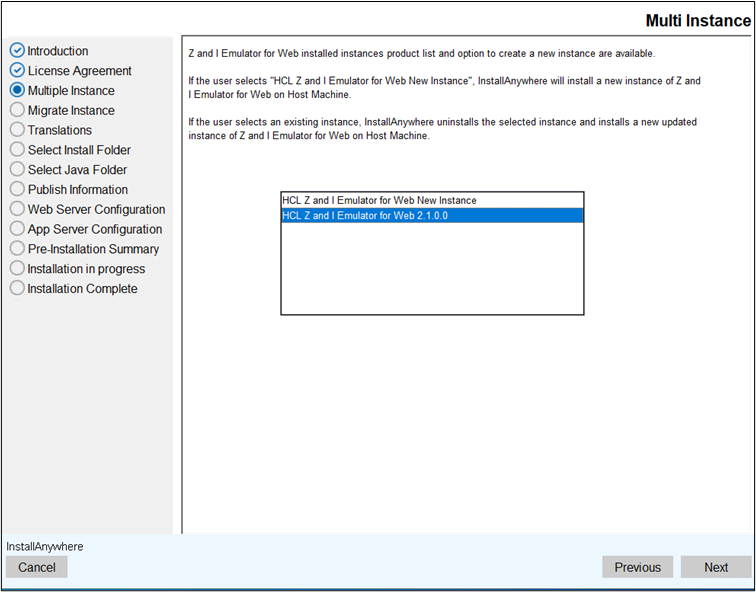
Console Mode Multiple Instance or Upgrade Installation
The Z and I Emulator for Web v2.1.0.0 is installed on the host. Z and I Emulator for Web Version 3.0 displays a multiple instance console dialog with Z and I Emulator for Web New Instance and Z and I Emulator for Web installed product list. If the user selects "Z and I Emulator for Web New Instance," it is installed as New Instance (Multiple versions installed on same host with different configurations). If the user selects Z and I Emulator for Web
v2.1.0.0, it performs upgrade installation with base configurations.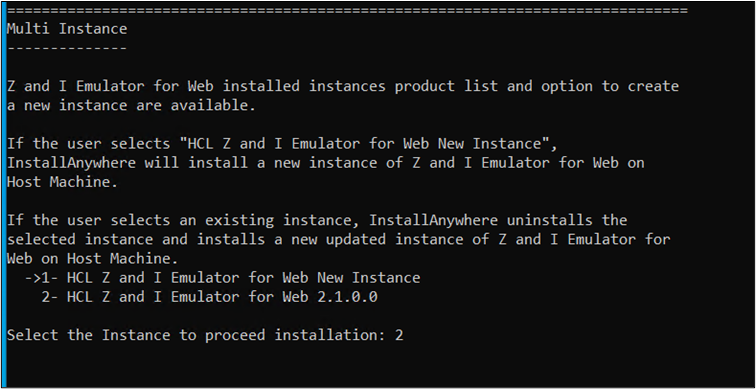
Silent Mode Multiple Instance or Upgrade Installation
The Z and I Emulator for Web Version 3.0 supports silent mode installation either upgrade scenario or multiple instance type installation.
For more information, refer to Installing in Silent Mode.
Deployment Wizard Upgrade Installation
Z and I Emulator for Web supports upgrade installation from v3.0.
- Launch the v3.0 Deployment Wizard installer.
- TheZ and I Emulator for Web
Wizard window appears, click OK.

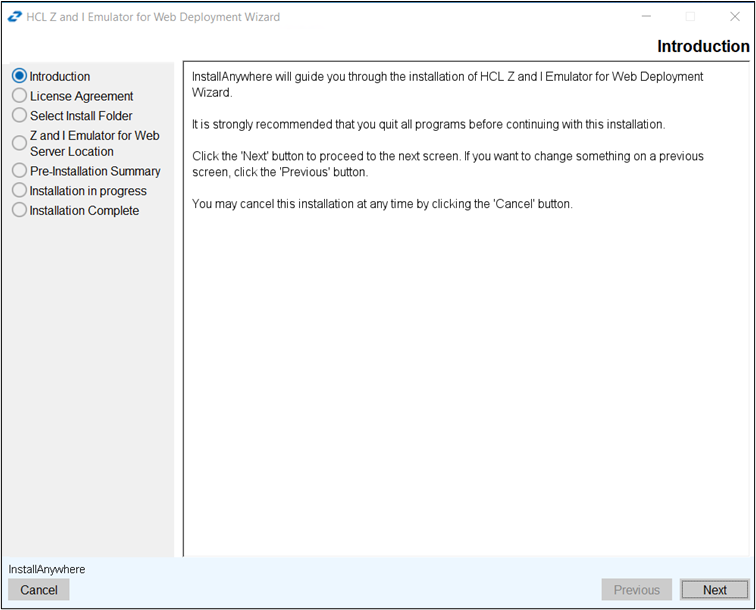
- The Introduction screen appears, click Next.
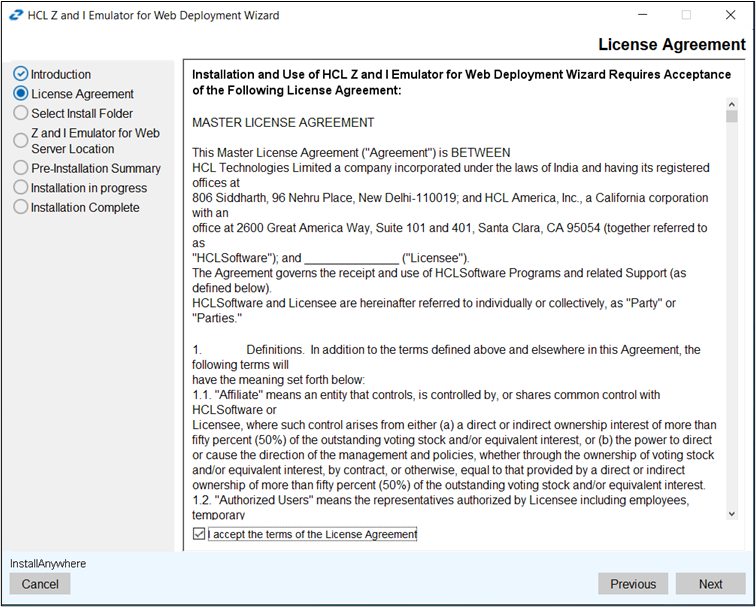
- The License Agreement screen appears. Click the I accept the terms of the
License Agreement check box and click Next.
- The Select Install Folder screen appears, click Next.
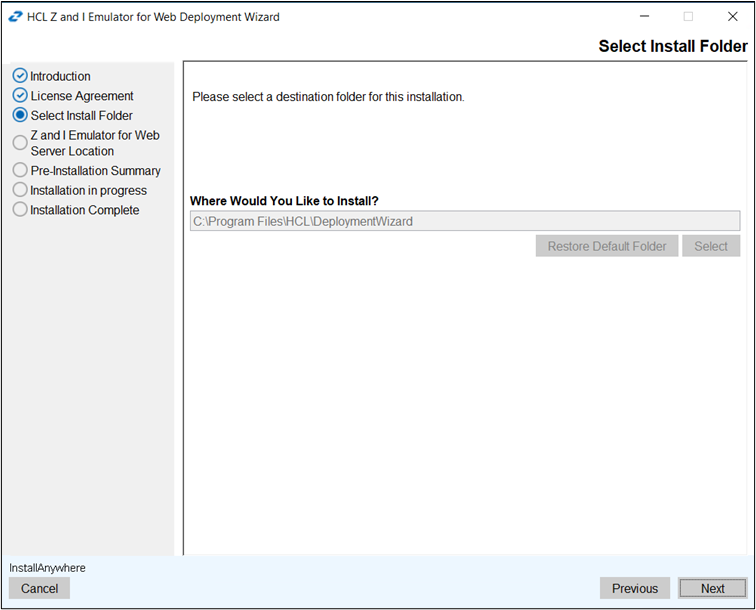 Note: During upgrade, a user will not able to change the installation path.
 - The Z and I Emulator for WebServer Location screen appears. Enter the Z and I Emulator for Web server
location in the field and click Next.
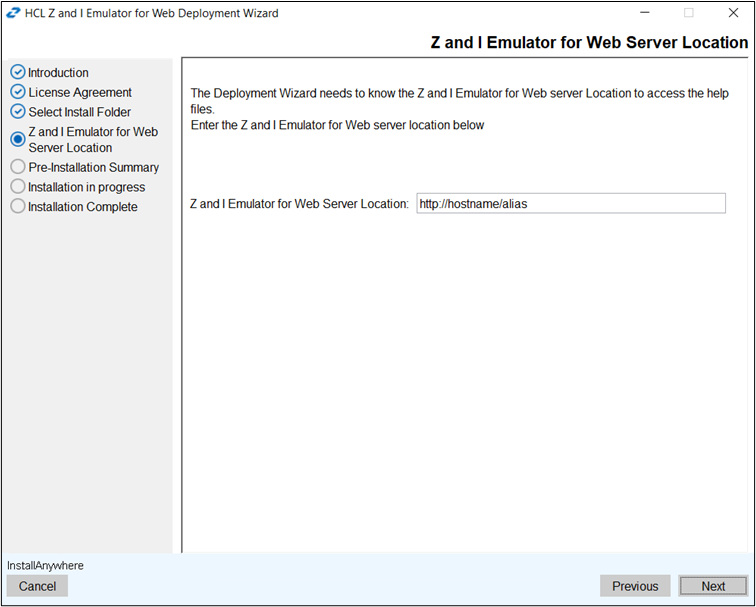 Note: Previous configured Z and I Emulator for Web server location will be retained.
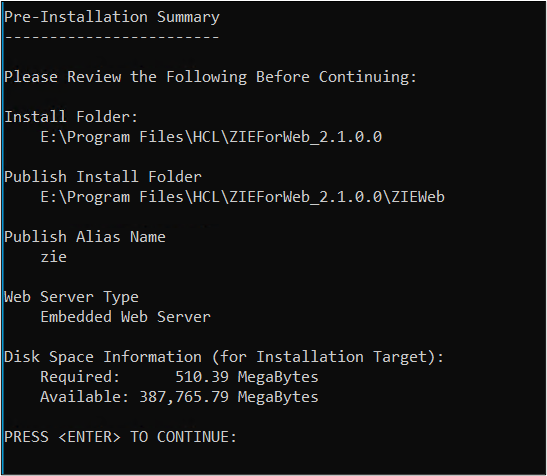
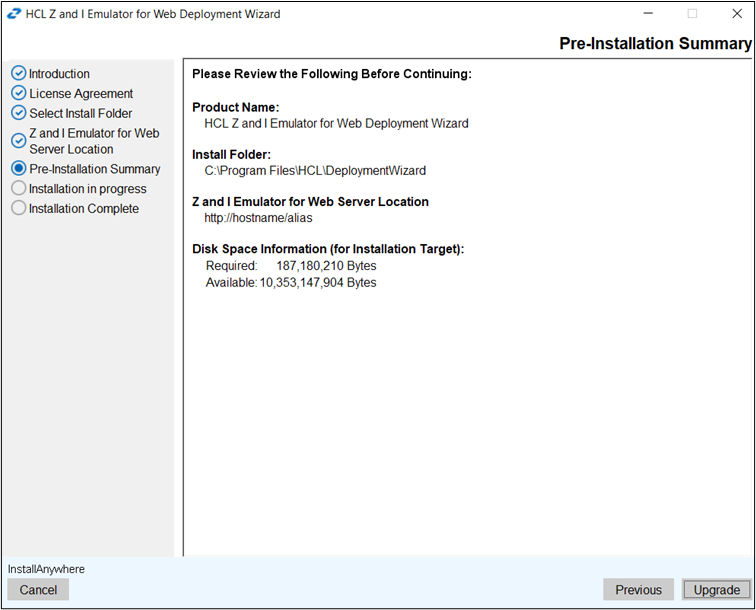
 - The Pre-Installation Summary screen appears. Review the summary
details and click Upgrade.
- The upgrade process gets start.
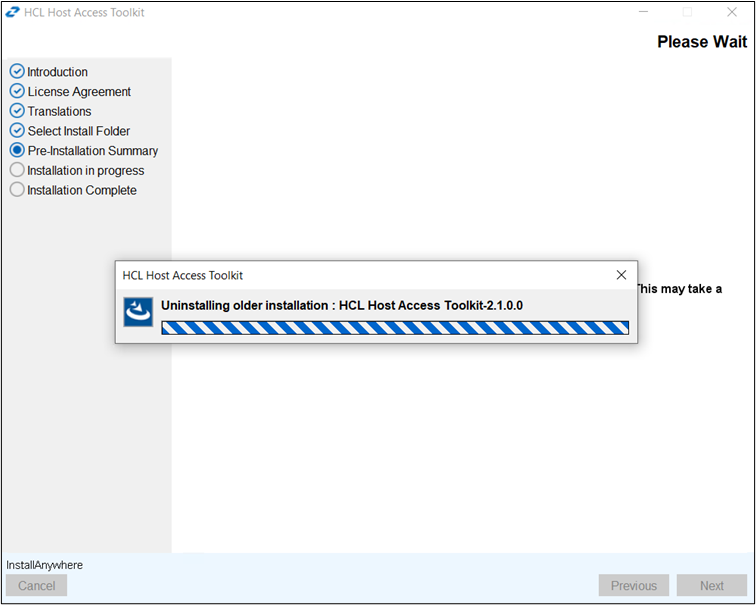
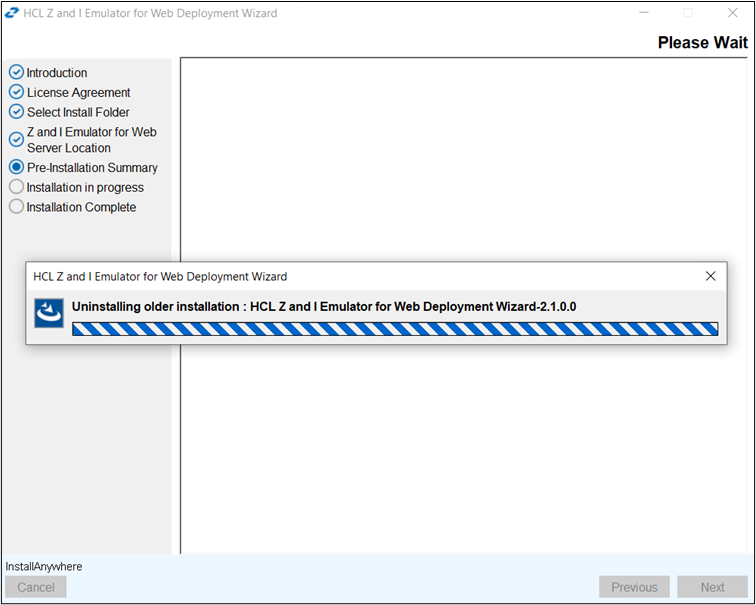 Note: During an upgrade, the installer uninstalls the existing version and installs the latest version.
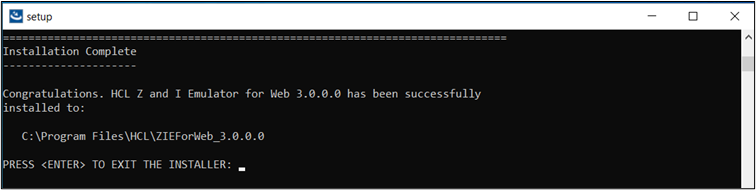
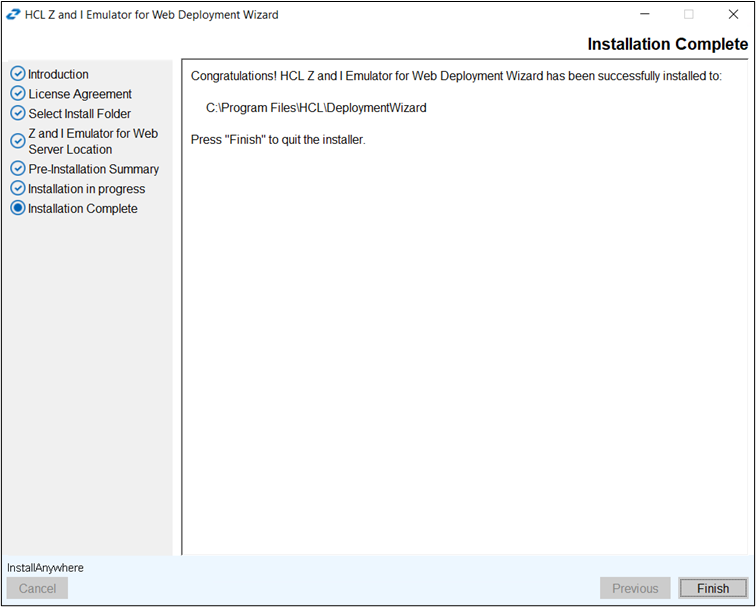
 - After successful upgradation, the Install Complete screen appears.
Click Finish.
Host Access Toolkit Upgrade Installation
Z and I Emulator for Web Toolkit supports Upgrade installation from v3.0.
- Launch the v3.0 IBM Host Access Toolkit installer.
- The Z and I Emulator for Web
Deployment Wizard window appears, click OK.
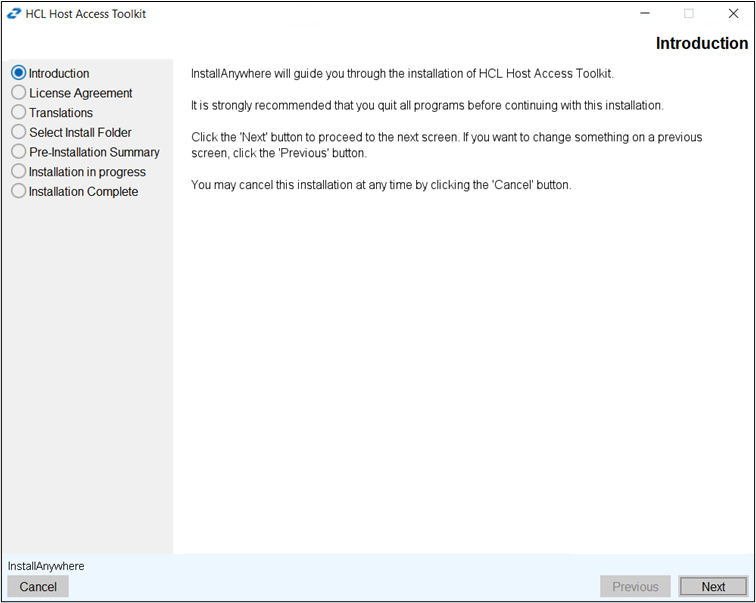
- The Introduction screen appears, click Next.
- The License Agreement screen appears. Click the I accept the terms
of the License Agreement check box and click Next.

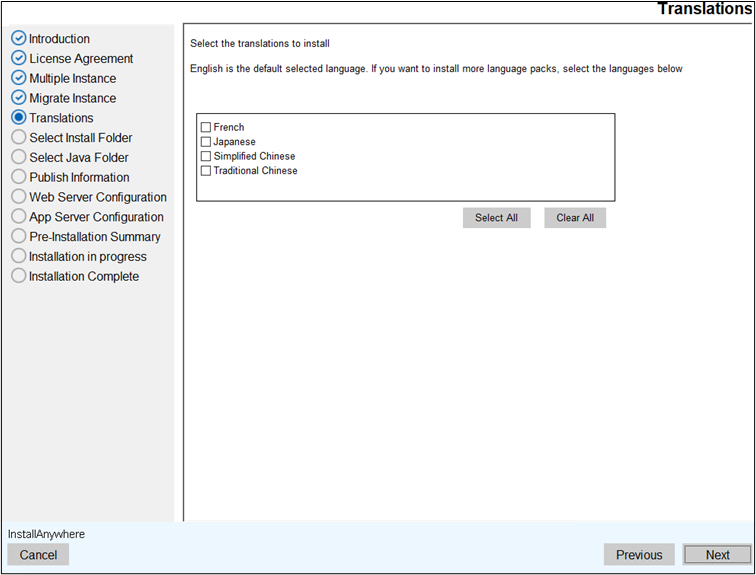
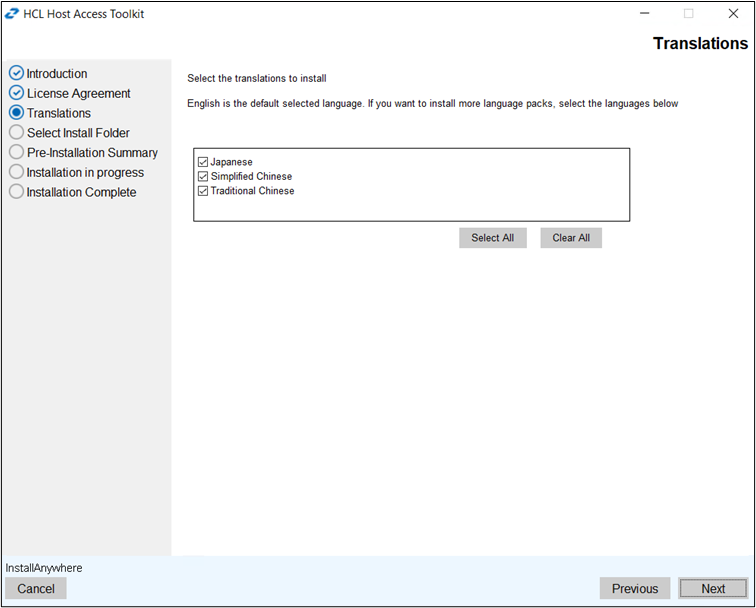
- The Translation screen appears. Select the translations and click
Next.
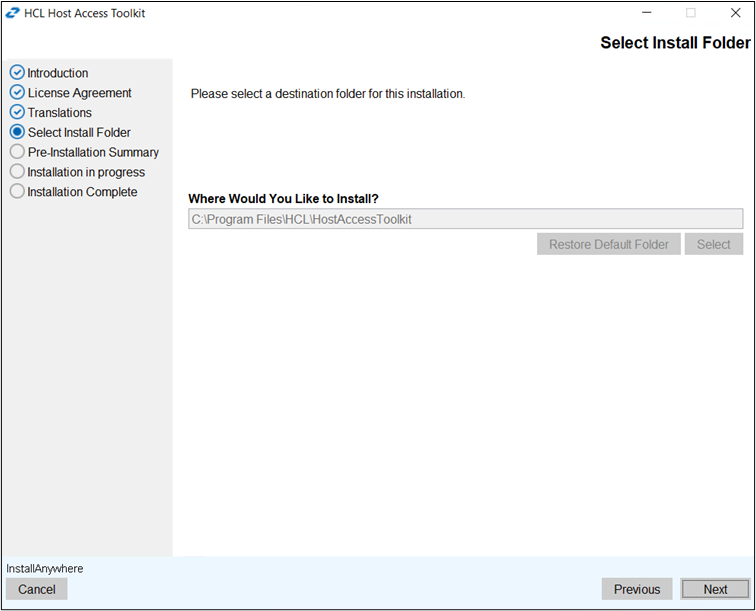
- The Select Install Folder screen appears. Select the required folder
path and click Next.
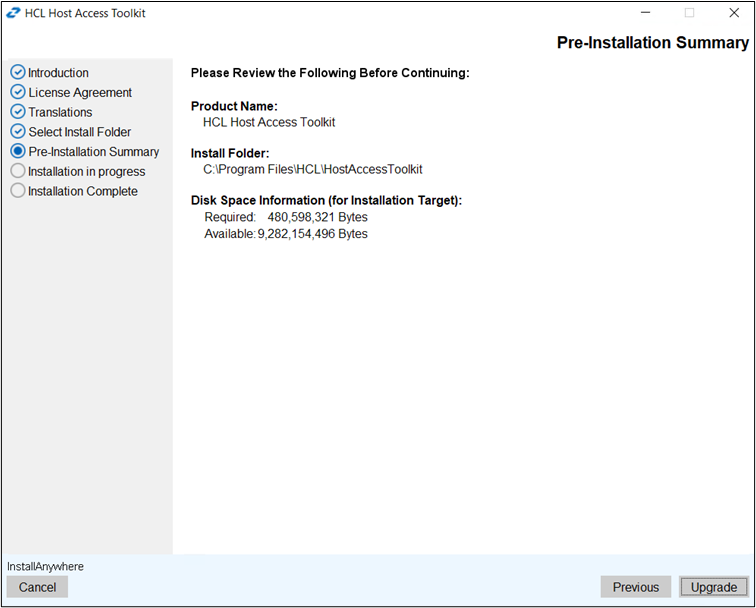
- The Pre-Installation Summary screen appears. Review the summary
details and click Upgrade.
- The upgrade process gets start.
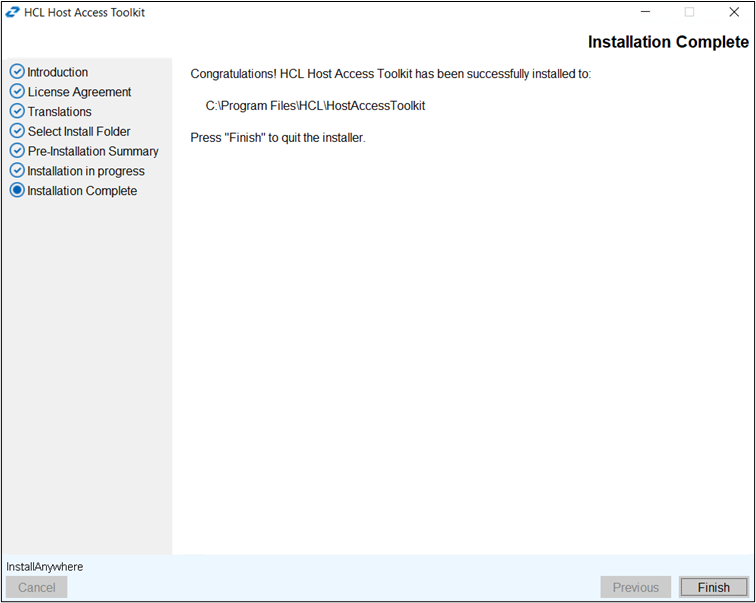
- After successful installation, the Install Complete screen appears.
Click Finish.