Starting the Project Explorer
The Project Explorer is available on Linux, UNIX, and Windows platforms.
You start the Project Explorer as follows:
- On Windows, by clicking Project Explorer.
- On Linux and UNIX by typing clearprojexp & at the system prompt in a
terminal window.
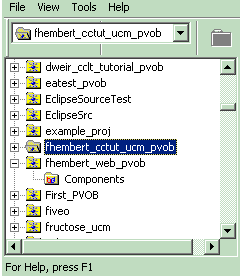
Figure 1. The project's root folder 
- Start the Project Explorer by clicking Project Explorer.
- Navigate the left pane until you see "fhembert_cctut_ucm_pvob" and select it.
- Take a screen shot and save it as a gif file (tut_ucm_proj_root_folder.gif)
- Go to the next instructions for tut_ucm_projexplorer.gif
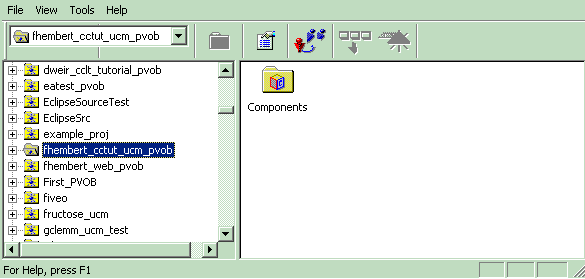
The left pane of the Project Explorer lists folders for all PVOBs in the local HCL VersionVault domain. Each PVOB has its own root folder. All VOBs shown in the example are UCM PVOBs.
In Figure 1, the selected root folder is the tutorial's PVOB: fhembert_cctut_ucm_pvob. HCL VersionVault creates the root folder using the name of the PVOB.

Figure 2 also shows the empty folder called Components that HCL VersionVault created when you created the PVOB. HCL VersionVault uses this folder to store the project components that you are going to create in the next exercise.
The following sections guide you in creating a project component baseline.
Follow the directions of the platform of interest to you: