Configuring the MEP settings to create producer-driven Contract tests
You can configure the message exchange pattern (MEP) for an operation in HCL OneTest™ API so that you can create producer-driven Contract tests for the application based on the MEP settings that you configure.
Before you begin
You must have completed the following tasks:
- Created a project. See Creating a project.
- Created a logical resource and bound it to its corresponding type of physical resource.
- Created a service component under the logical resource. See Creating a service component.
- Created an operation under the service component. See Creating an operation.
- Added a schema that is used to validate the incoming messages. See Adding a schema.
About this task
When you want to test a producer-driven Contract test, you must configure the MEP settings
for the operation that the test can use at runtime. You can select from the following
messaging actions:
- Publish/Subscribe
- Request/Reply
Important: The MEP settings that you configure are
used in the messaging action in the tests and stubs that you create in the Test
Factory view. You can either use the same configuration or modify the
settings before you run the tests.
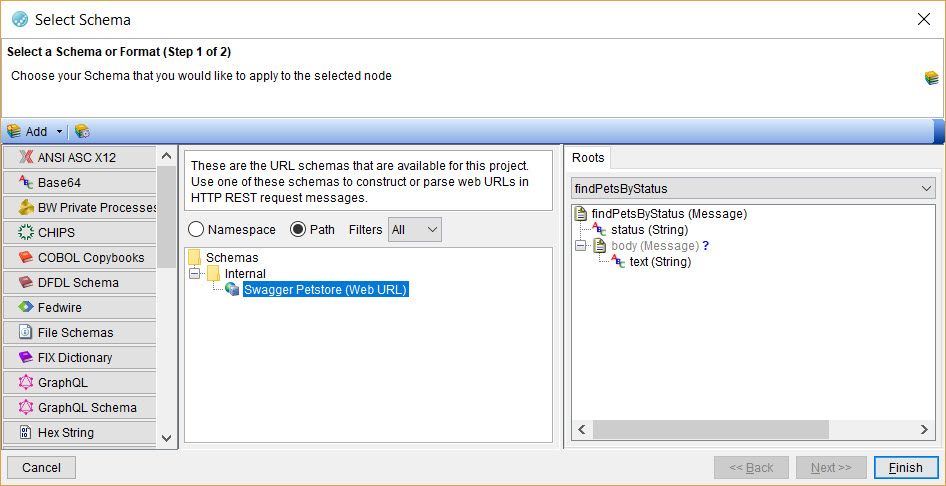
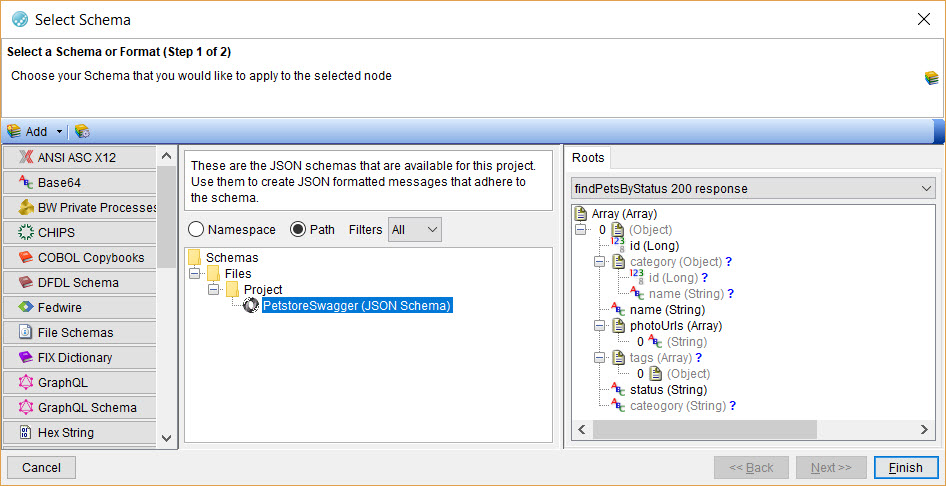
You must specify the schema and root for the schema, which is used to validate the schema in incoming messages with the schema in the expected message, and then validates the contract as adhered when both the schemas match.
You can configure the MEP settings of the operation that you created for the logical resource from the Logical View.
Procedure
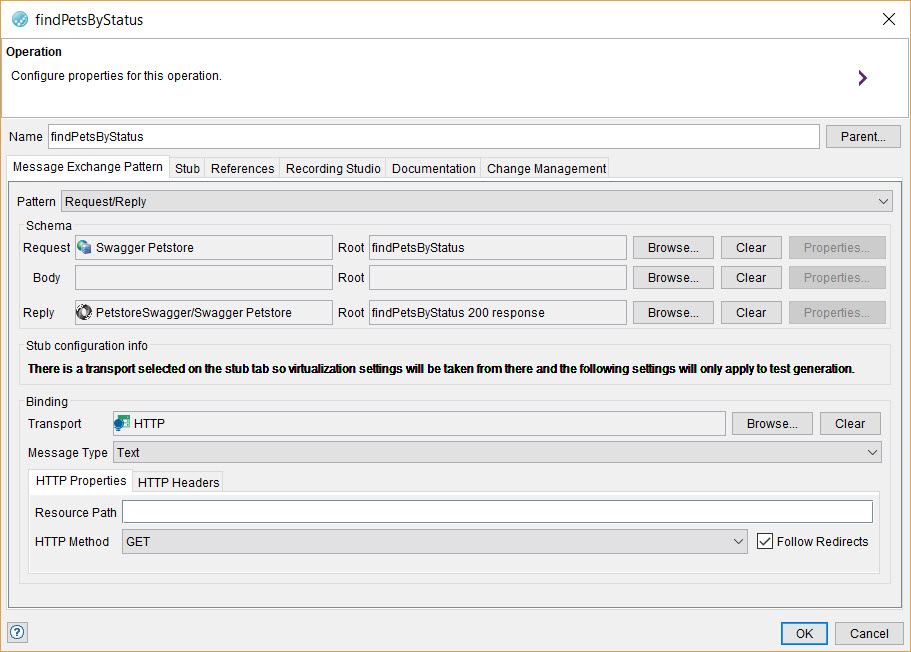
- Double-click the operation to open the Operation dialog.
- Click the Message Exchange Pattern tab, if it is not already open.
-
Select the messaging pattern that you want to use in your
tests from the list in the Pattern field.
You can select from the following options for the MEP that are listed for selection in the Pattern field:
- Request/Reply
- Publish/Subscribe
For example, you can select the Request/Reply MEP.
-
Complete the following steps in the Schema panel:
-
Complete the following steps in the Bindings panel:
- Click OK to save the MEP settings and exit from the Operation settings dialog.

