Enabling Right to Delete Console
The Right to Delete console is a feature in the BigFix AEX admin console that allows tenant admins to enable or disable the Right to Delete functionality as well as check logs for previous invocations of the Right to Delete functionality.
- Go to the Master Configuration Console.
Figure 1. Master Configuration Console 
- Find the Data Security tab in the master configuration.
Figure 2. Master Configuration Page 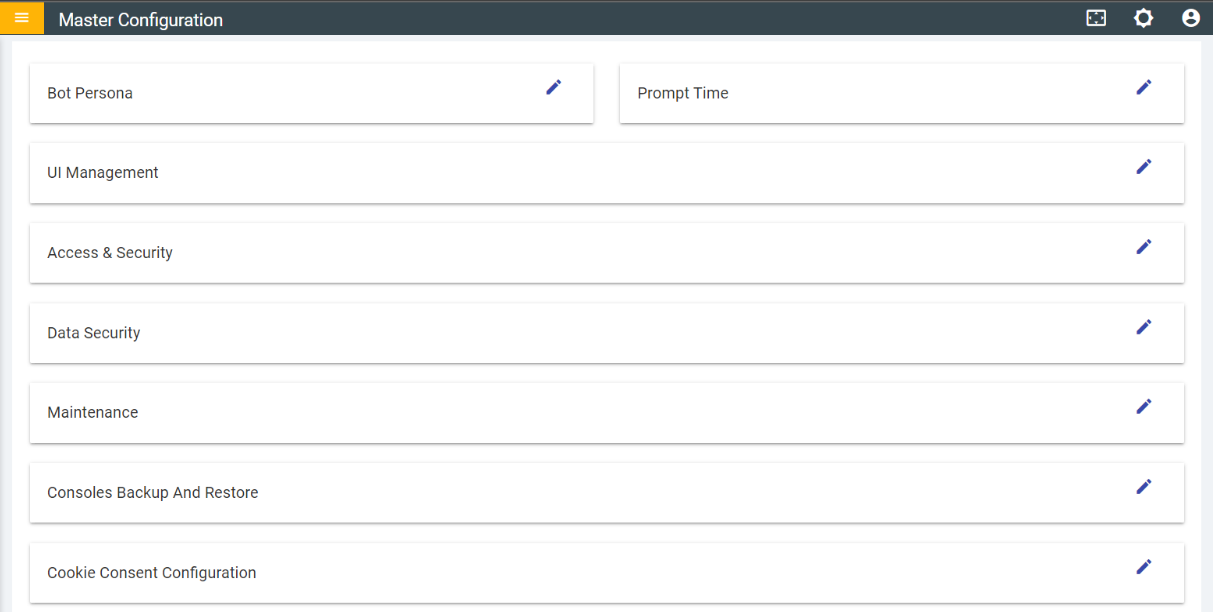
- Click on the edit icon
 corresponding to the Data Security tab.
Figure 3. Data Security Tab – Edit 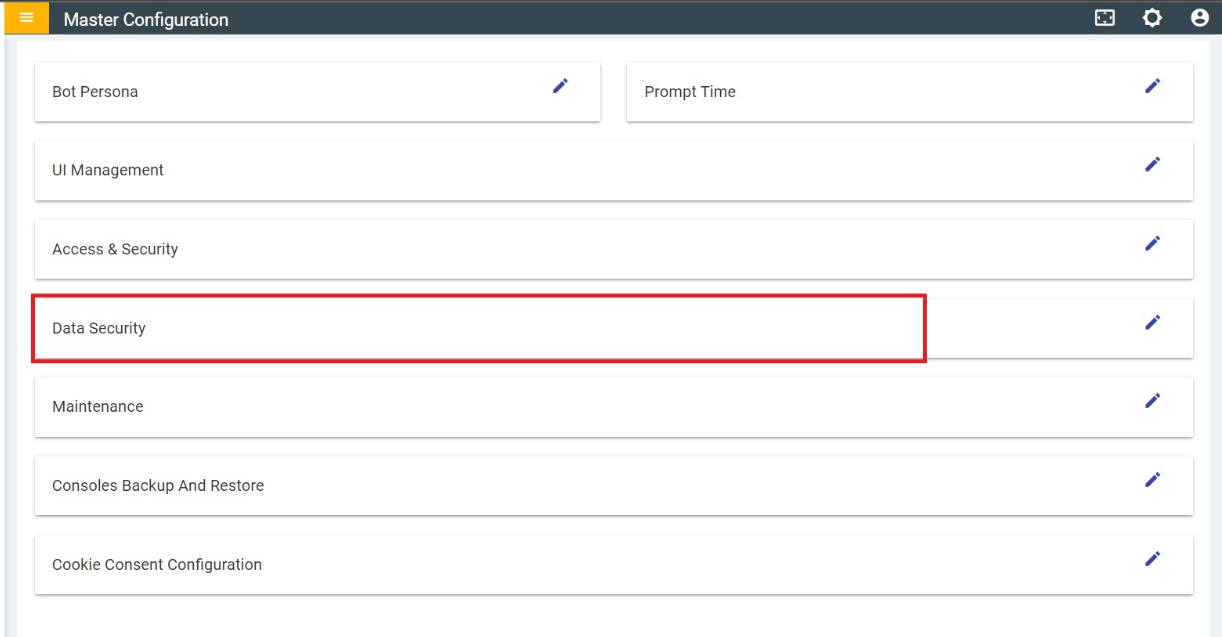
- The following screen appears, containing multiple fields. Find the Right to Delete
field and enable this functionality by selecting Enabled from the drop-down.
Figure 4. Data Security Page 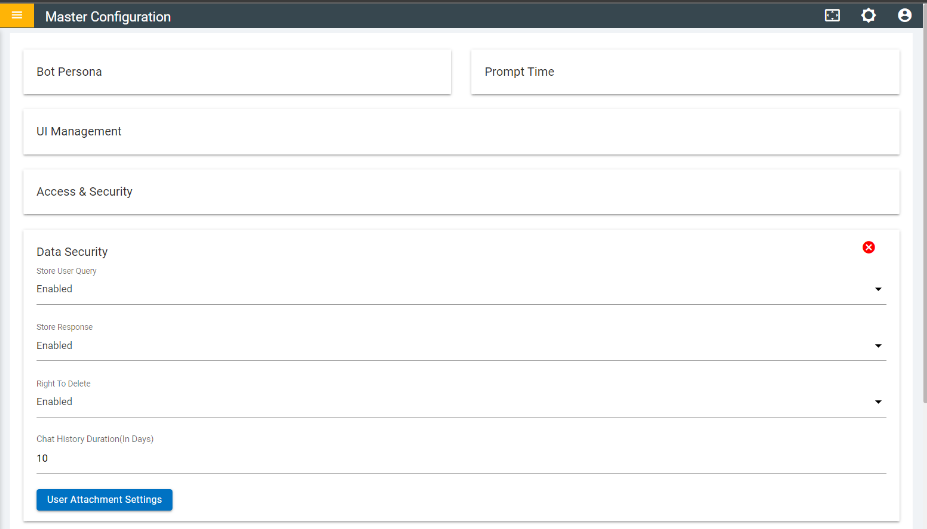
- Click on the save icon on the top right corner of the tab. A confirmation message
appears:
Figure 5. Confirmation Message 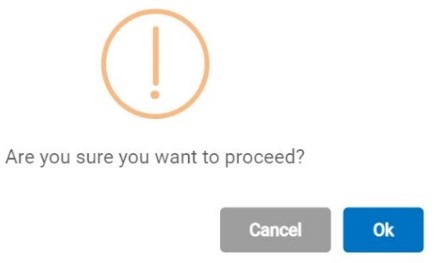
- Confirm the action by clicking OK. A message for successful configuration appears as
follows:
Figure 6. Success Message 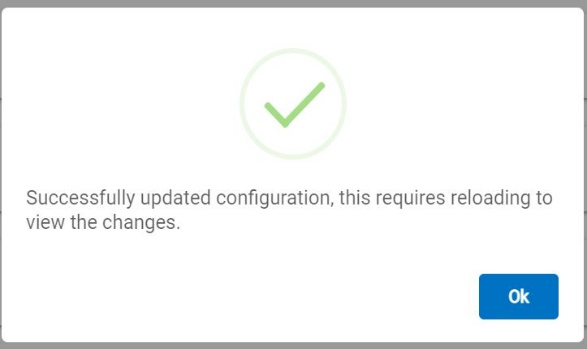
- Users can now see the Right to Delete Console on the home page of the Cognitive
Console.
Figure 7. BigFix AEX’s Cognitive Console – Right to Delete Console Enabled 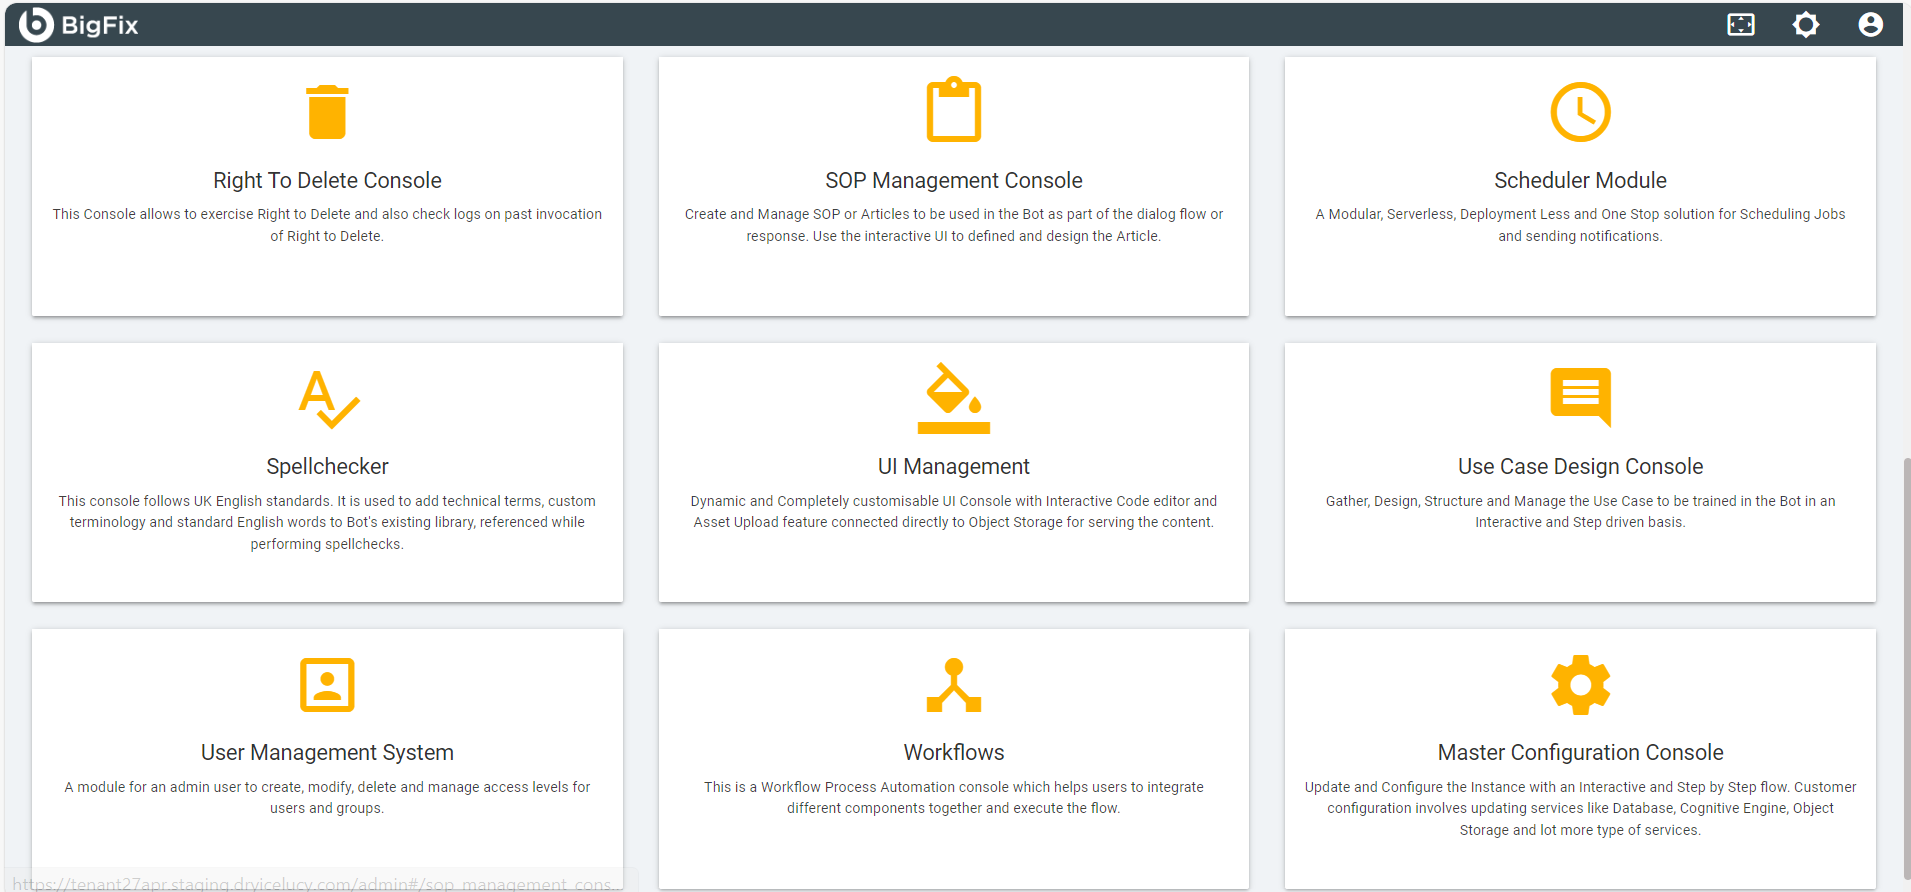
Users can have logs of all the past invocations of the Right to Delete in this console along with sorting, searching, and pagination. Also, from here, we can implement the Right to Delete on specific users of choice by performing the following steps:
- Navigate to the Right to Delete console and click on Delete User
Information button on the top right corner of the console.
Figure 8. Right to Delete Console 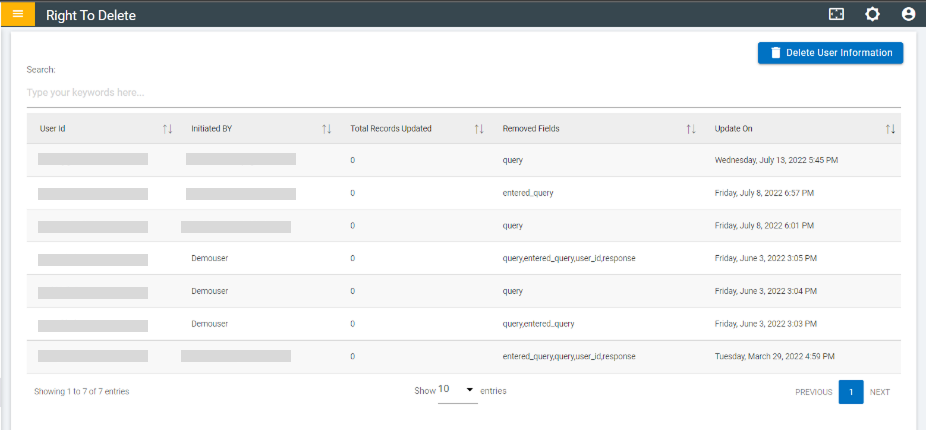
- This opens the following screen to add the details for the deletion, like the email of the
user, and select the fields to remove.
Figure 9. Delete Users Information 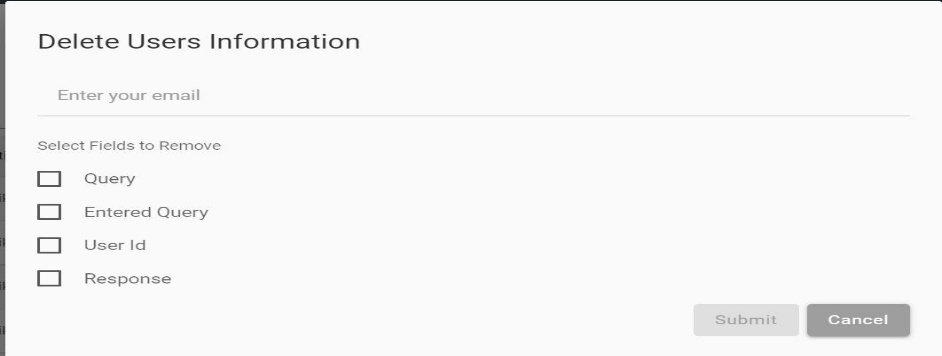
- After populating the fields with appropriate data, click on the Submit button to
delete the user’s information.
Figure 10. Delete Users Information (Cont.) 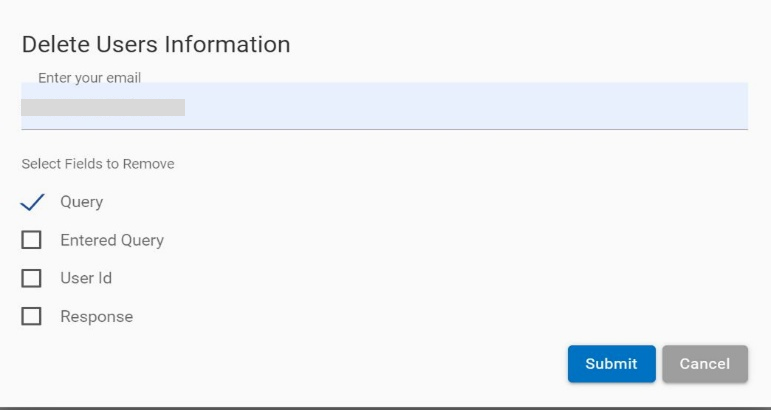
- A confirmation that the process has been initiated appears and you can refresh the page to
see the updated list after some time.
Figure 11. Confirmation Message 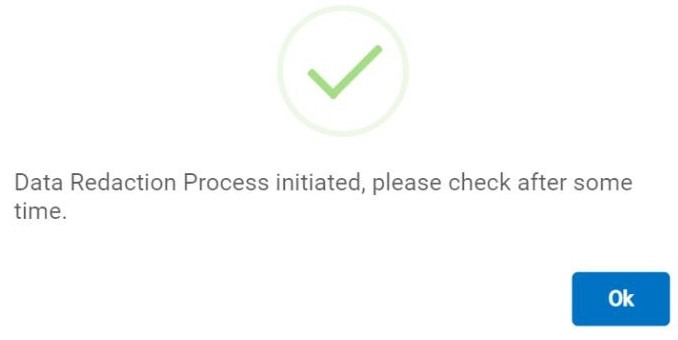
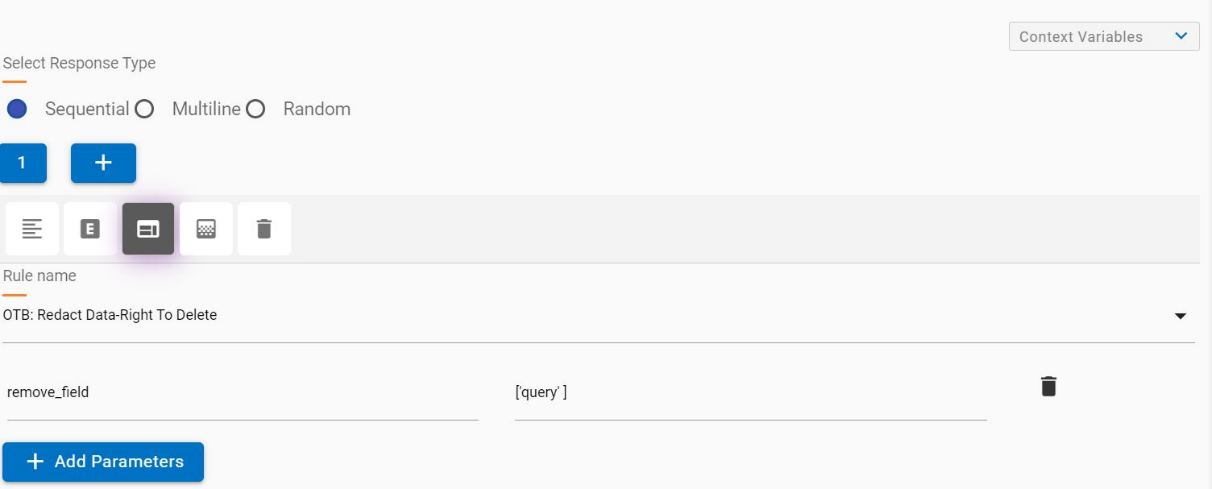
Users can also add Right to delete into a use case by calling OTB: Redact Data-Right to Delete
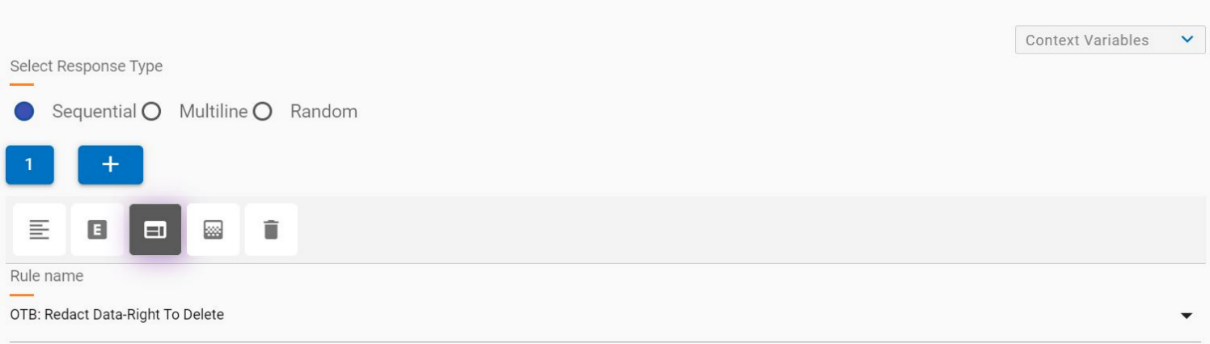
When a user calls this OTB rule, he/she gets two choices: he/she can either remove the data from all these fields (“query”, “entered_query”, “user_id”, “response”) or choose among these fields which field data he/she wants to delete.
If all the data is to be removed, there is no need to pass anything in the rule's parameters.
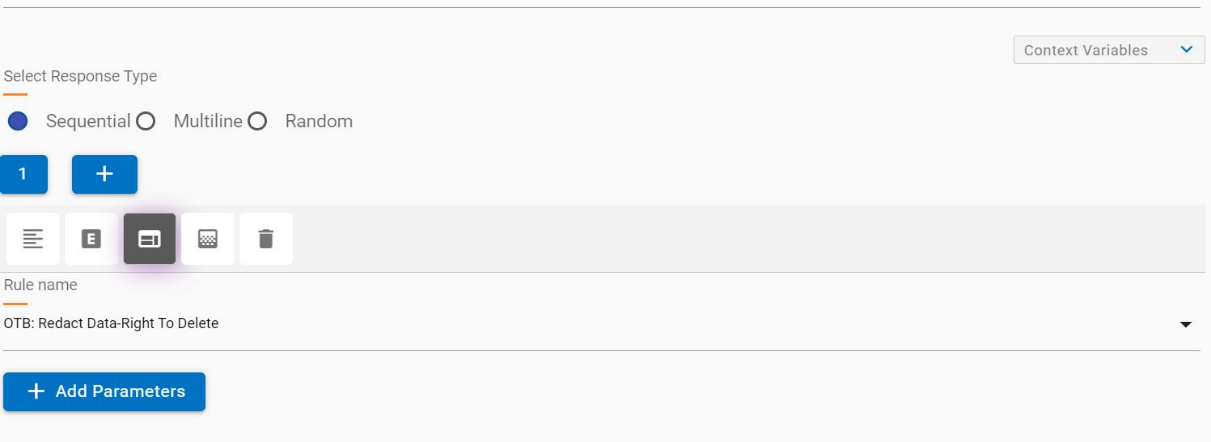
If the data of specific fields is to be removed, the user needs to pass the fields in the array as parameter values and “removed_field” as a parameter variable.