Custom Reports
About this task
InformixHQ provides many built-in reports to monitor Informix server effectively. To provide further flexibility, there is an option of creating customized reports to meet specific needs of the users. Using the Custom Reports option, users can create a report from any query that they want to analyse the data for. Once such custom report is created, this report is made available in System Reports, from where users can easily access the report and analyse the data.
- System Settings -> Report Management
- Server Page -> System Reports
- Custom report can ONLY be created by InformixHQ user with system administrator privileges.
- Normal InformixHQ user (without admin privileges) created by admin user, will NOT be able to create new custom report. However, such user will be able to run custom report and view data.
Procedure
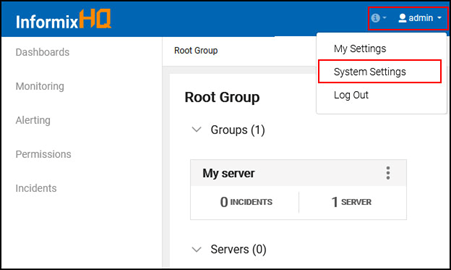
- Login to InformixHQ as user 'admin' (any user with administrative privilege in InformixHQ)
-
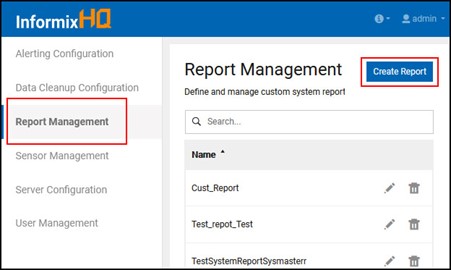
Navigate to System settings -> Report Management -> Create Report
-
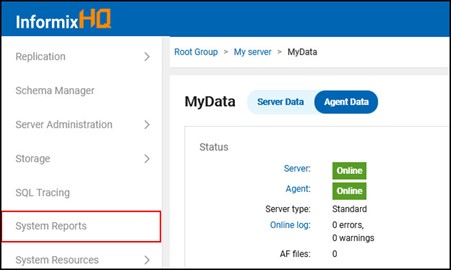
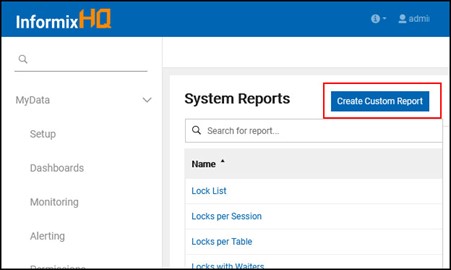
Alternatively, navigate to Open Server page -> System Reports from side menu.
-
Click on Create Custom Report button on System Reports page.
-
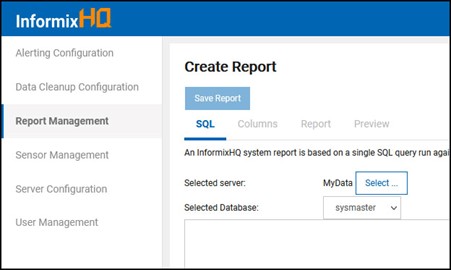
After clicking on Create Custom Report button, user will navigate to Create
Report page.
-
In SQL tab, select server from Selected Server dropdown & Selected Database
from dropdown.
Note: While creating a custom report, user needs to select server and database to validate and run query to create the report.

-
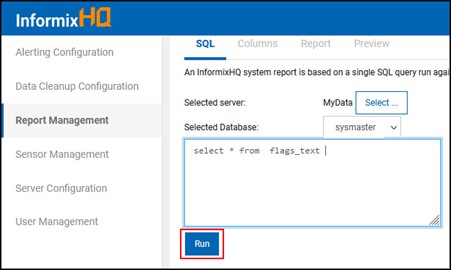
Type customized query in text area & click on the Run button.
-
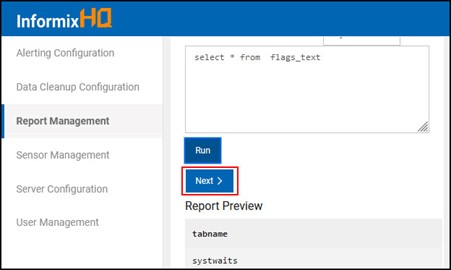
Output of the query will be shown after clicking Run button. Validate query result &
click on the Next button.
-
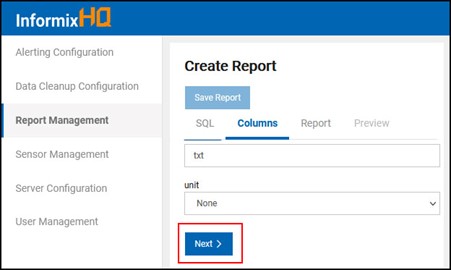
On clicking Next button, screen will navigate to Columns tab.
-
In Columns tab, there is an option for users to select specific column to show in a
report or Show ALL option to include all the columns in a report.
-
Also, there is an option to rename columns (the way user wants them in a report) and select
unit as desired. Click Next button.
- : Name - The display name of this column.
- : Unit - The unit determines how this column will be displayed in the report. A byte value is converted in human readable value (KB, MB, GB etc.). A unit time value (seconds since the unit epoch) will be converted in timestamp.
-
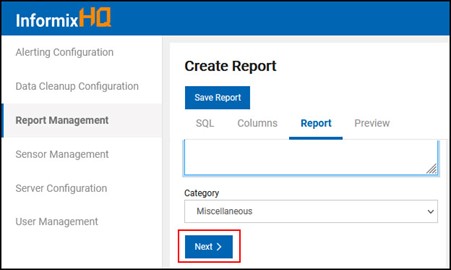
On clicking Next button, you will navigate to Report tab.
-
From Report tab, add ID, Name, Description & select Category from
dropdown.
- ID - The ID to uniquely identify this report. Can only use lowercase characters, digits, and single underscores (e.g.: my_custom_report)
- Name - The display name of this report
- Description - Add detailed description of purpose of the report
- Category – Select report category e.g. lock , storage, miscellaneous, etc.
-
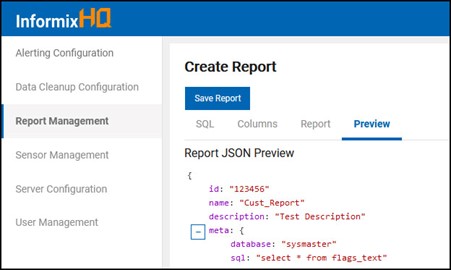
On clicking Next button, screen will navigate to Preview tab. Preview tab
will show report query and columns in JSON format.
-
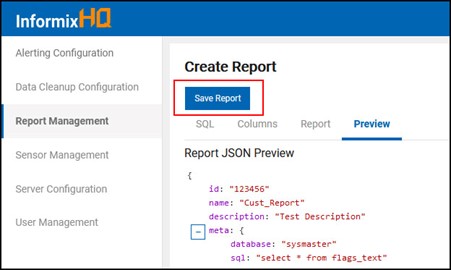
View and verify the changes on Preview tab, then click on Save Report button. If
user wishes to change anything, navigate back to respective tabs, do the correction and come back to
the Preview tab.
-
On clicking Save Report button, you will navigate back to System Reports
page.
-
Find newly created custom report on System Reports page.
Note:
- Though the report was created by selecting one server, once custom report is successfully created, this report will be available for all the servers added in InformixHQ.
-
In case, the database used to create custom report does not exist (or doesn't have permissions) on another server and user tries to run custom report on such server, InformixHQ will report an error similar to this:
"Could not connect to Informix: jdbc:informix-sqli://<server>:<port>:<database>. Database (<database>) not found or no system permission.

Editing and deleting custom reports
About this task
It is very easy to modify or delete custom reports.
Procedure
-
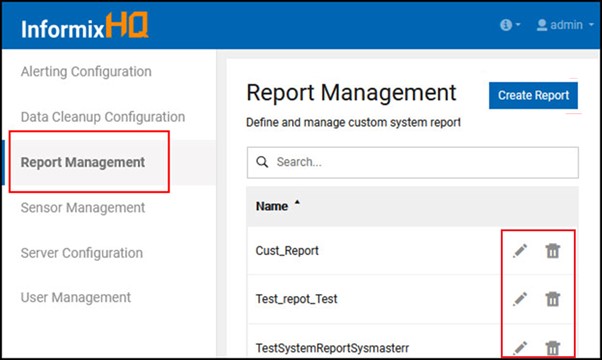
Similar to create report, admin user needs to login into InformixHQ and navigate to Report
Management. System Settings-> Report Management, where user can find list of all the
custom reports created. Edit and Delete icons are available for each of the custom
reports.
- If user chooses to edit, same navigation will have to be followed as that of Create Report as detailed out above.
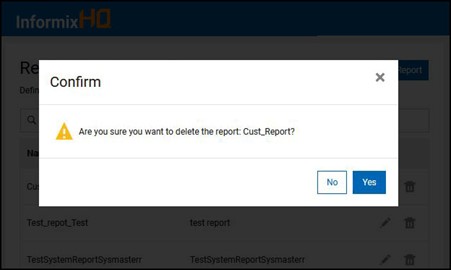
-
If user chooses to delete, there will a confirmation pop-up, if clicked yes, report will be
deleted.