Manage collections
Learn more about creating, configuring, and deleting media asset collections in Digital Asset Management (DAM).
What is a collection unique-name?
Collection unique names are the unique identifier for each collection and can be used in the friendly URL instead of the collection UUID to access DAM assets. Collection unique names support all languages supported by the system. A collection unique name does not support URL-reserved characters (for example, "?!#$&%'*+/;:,=@()[]").
How are collection unique-names generated?
- While creating a collection, the user can enter a custom collection unique name.


-
Collection unique name is an optional field. If it is not provided, the system generates a collection unique name based on the collection name by replacing URL-reserved characters (for example, "?!#$&%'*+/;:,=@()[]") with underscores.
-
Collection unique names follow a simple format by appending “_Number” to collections with the same name.
- For existing collections, the system generates a collection unique name based on the collection name using a migration script.
How can the user change the collection unique-names?
After the collection unique name is generated, the user can view or edit it in the collection Properties panel.


What happens if a collection unique-name already exists while creating or editing a collection?
When creating or editing a collection, DAM checks for duplicate unique names and displays an error message. It also suggests an available unique name if a duplicate is found in another collection.


When the user clicks the suggested name, the unique-name field is automatically populated with the suggested unique name.
Browsing and searching for media assets in a collection
Follow these steps to work with collections in HCL Digital Experience (DX) 9.5 Digital Asset Management (DAM).
-
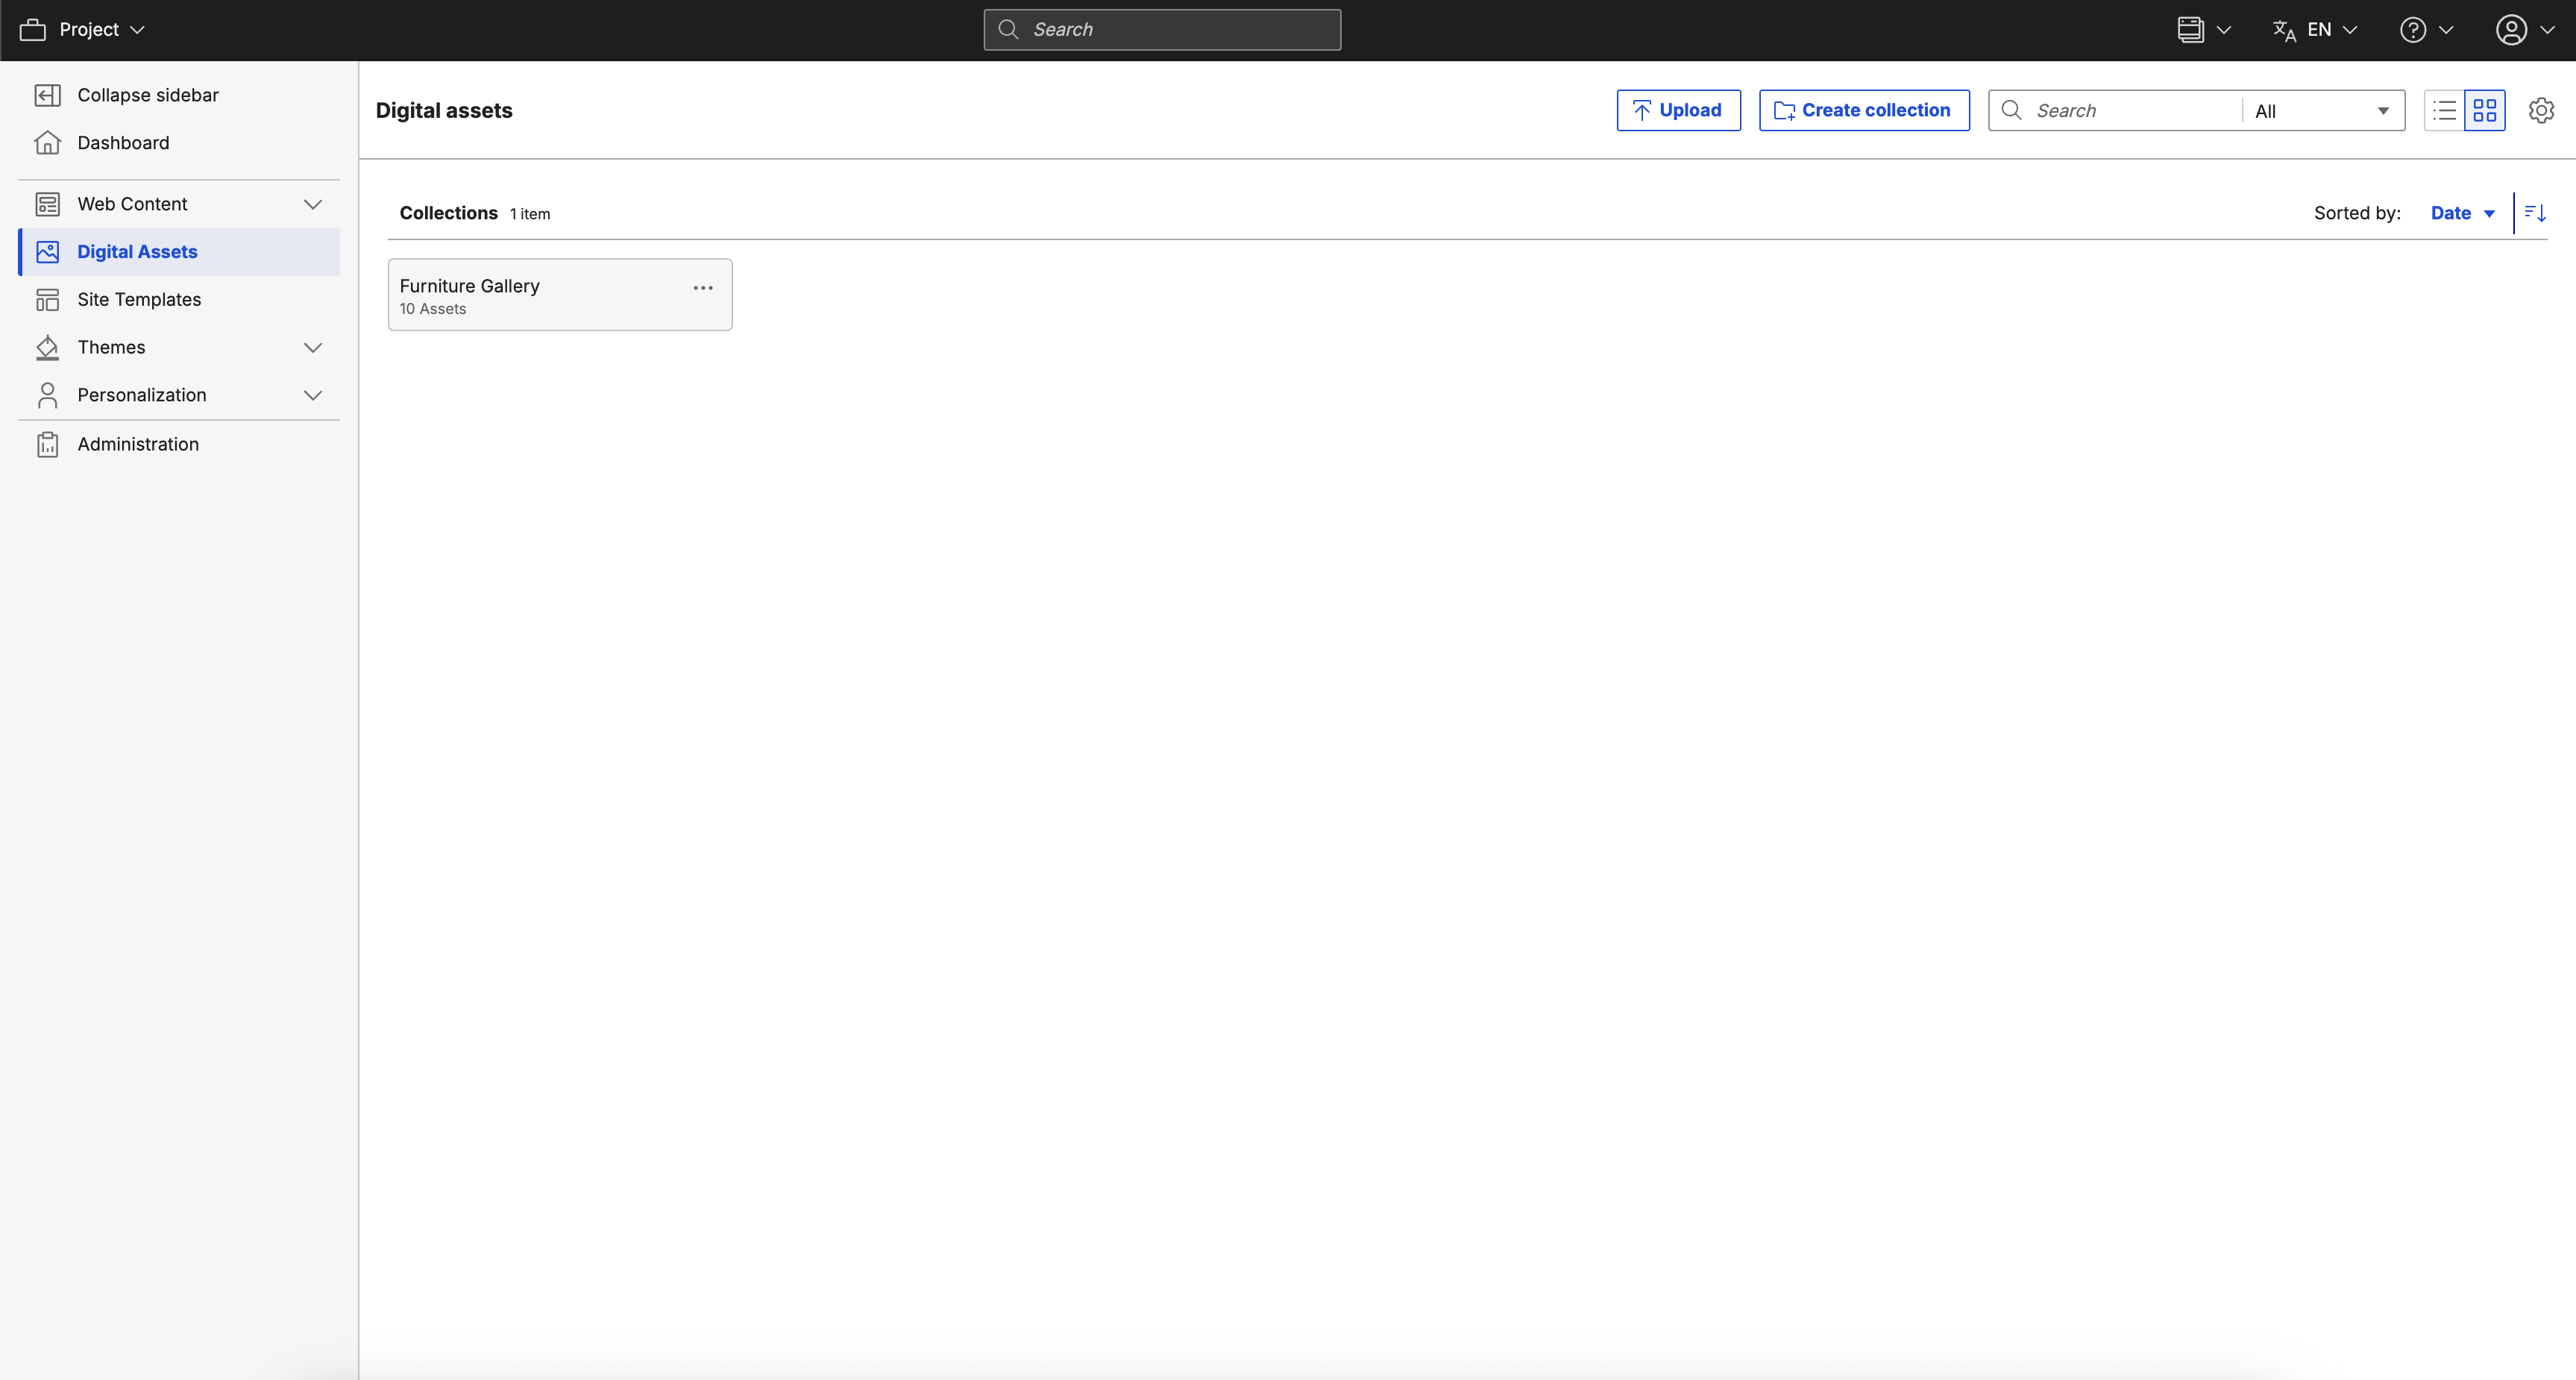
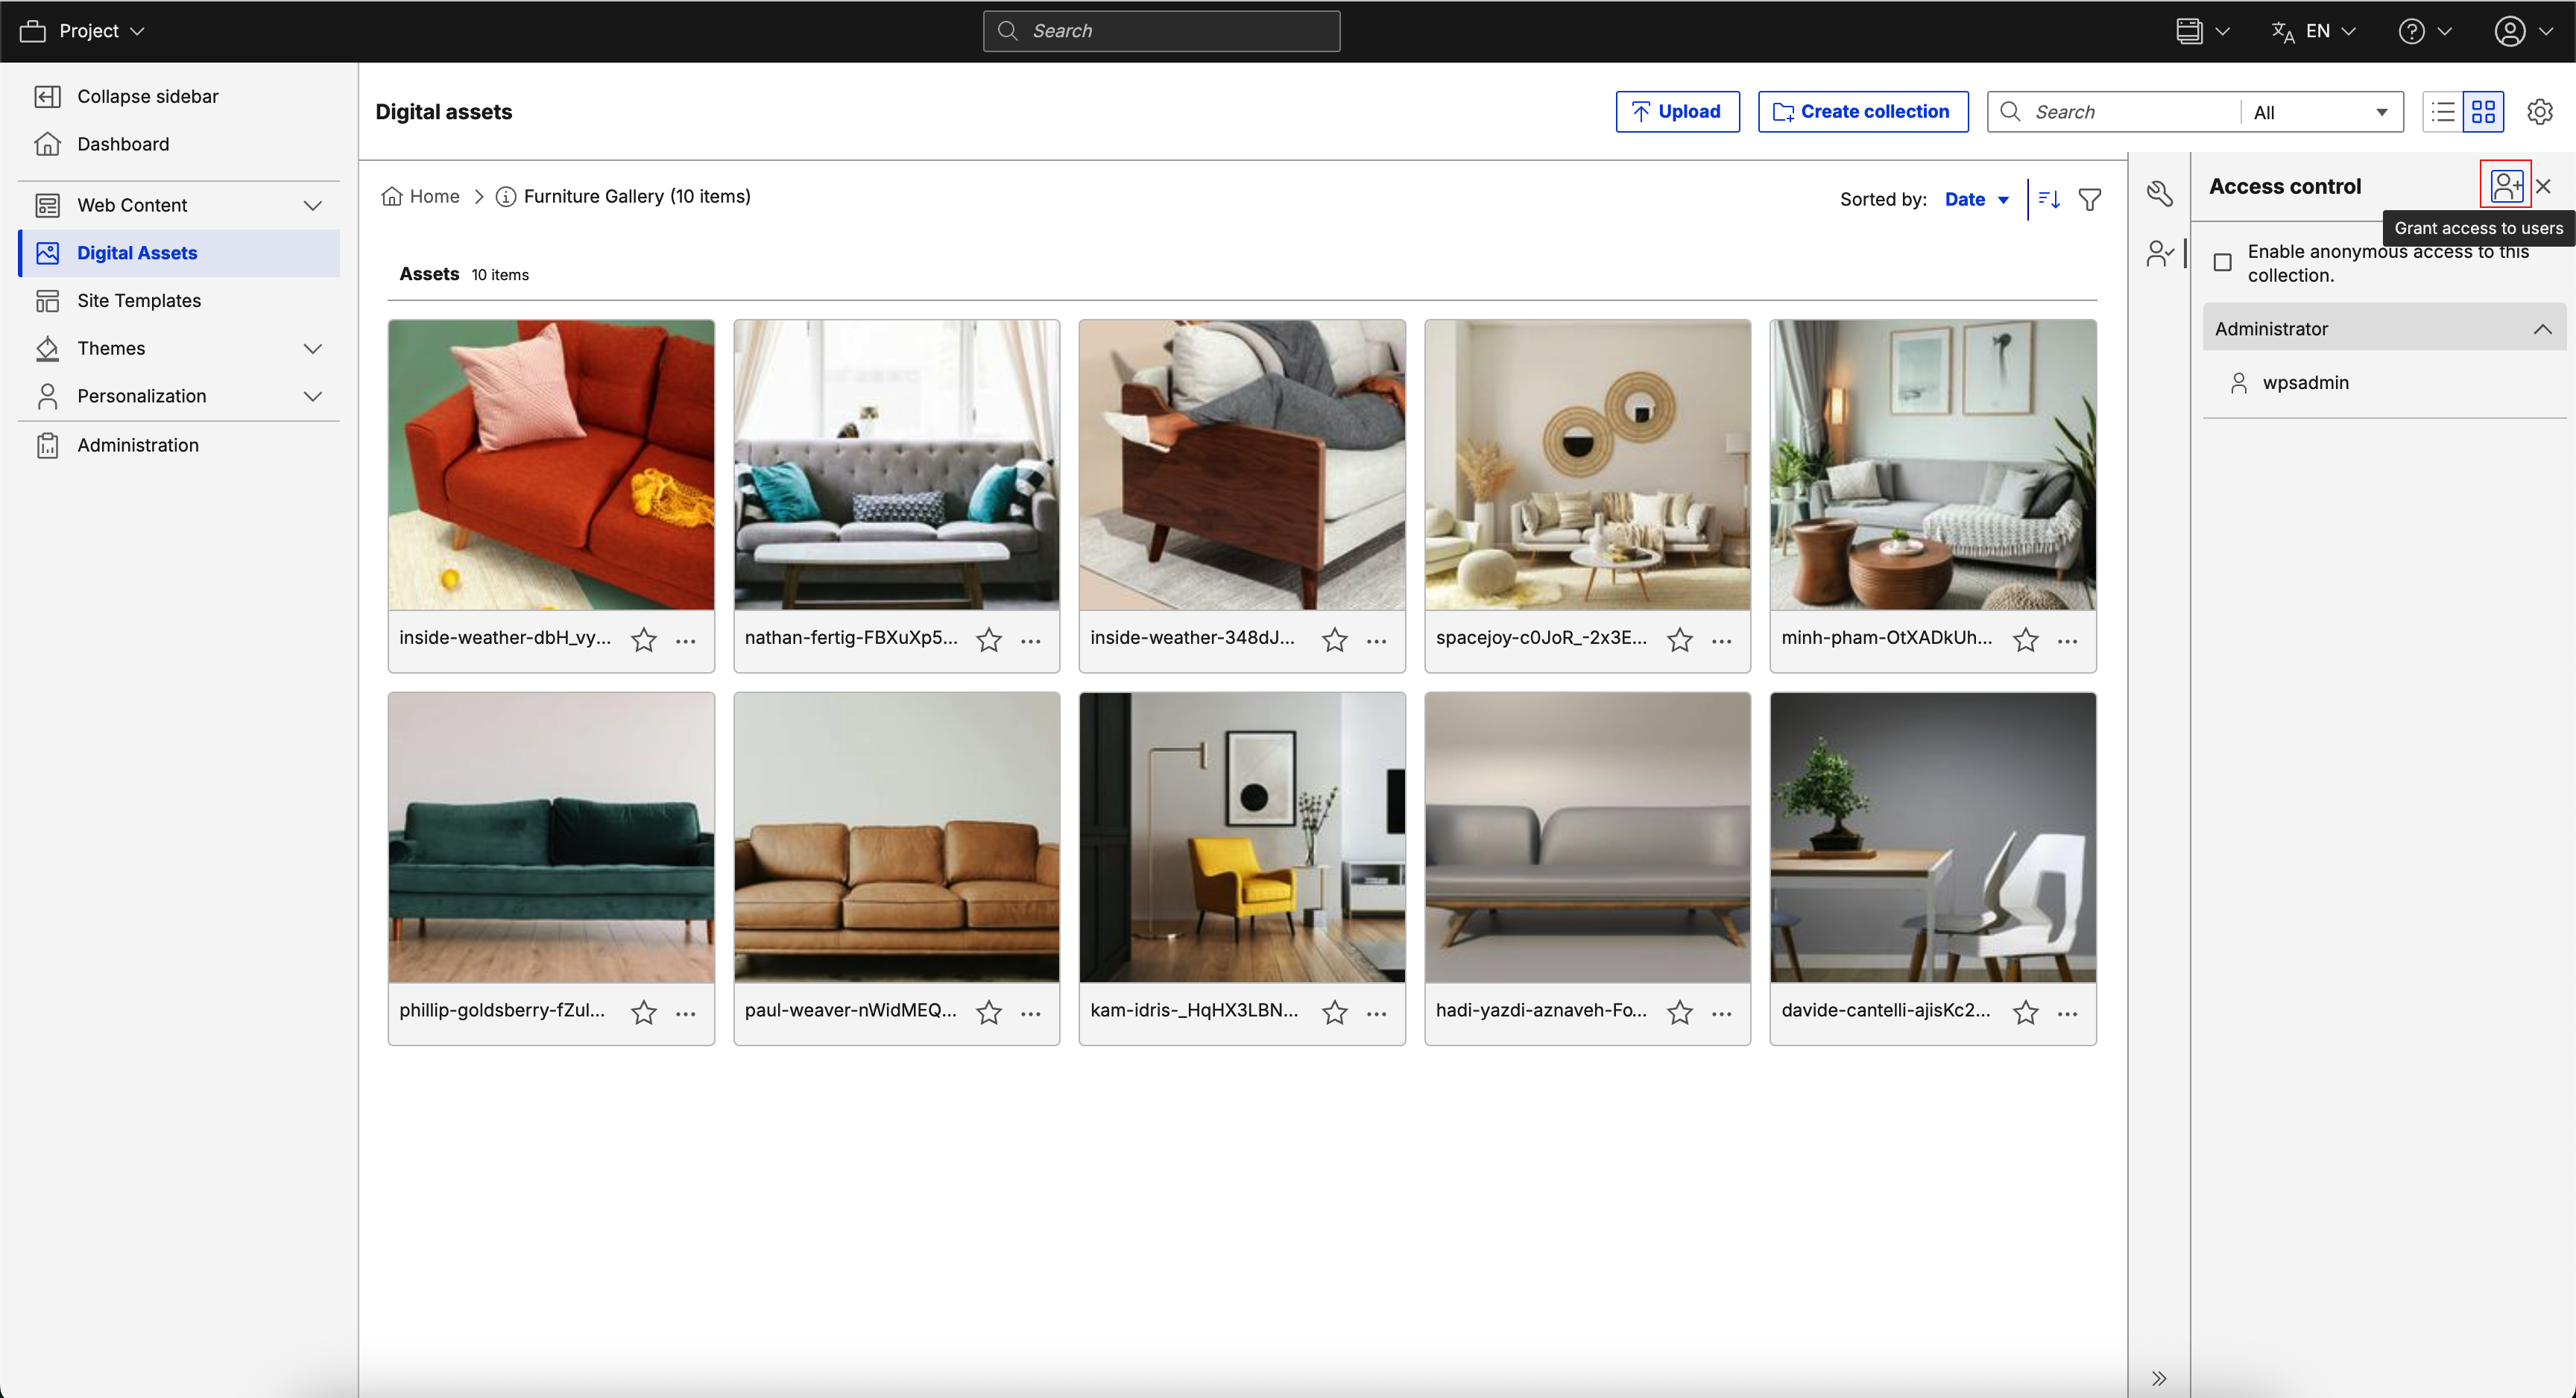
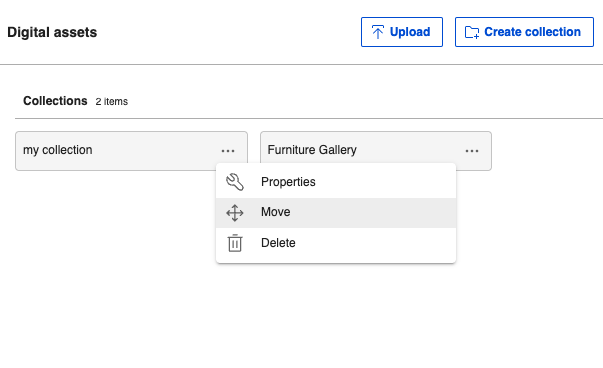
From the HCL DX 9.5 DAM user interface, click Collections. The DAM user interface displays previews of media assets in the selected collection. For example, a curated set of media assets is grouped in a collection named Furniture Gallery, as shown below.
The following options are displayed in Collections interface:
-
Create collection - Create a new collection or a nested collection within an existing collection.
-
Properties - Opens the Properties panel. The Properties panel has two tabs: Properties and Access control.

- Properties tab - Allows you to update the name and description.
-
Access control tab - Allows you to set who can access the media assets in the collection.
-
Move - Moves the selected collection into another location.
- Move to trash - Moves the selected collection to trash.
-
Select the Filter option to filter media asset results by Favorites, Asset types, or Asset size.
- Favorites - Filters media assets added to your favorites.
- Asset types - Filters media assets by type. You can further refine search results by selecting a specific file type.
- Asset size - Filters media assets by size.

Note
Asset size filter is available in HCL DX CF192 and later.
-
On the top right, click the Grid or List icon (Open view options) to change how the media assets or collections are displayed:

- View as - Lists options to view media assets or collections.
- Grid - Shows media assets in an equal-sized thumbnail view. This is the default display view.
- List - Shows media assets in a standard list. Use this view to access a media asset when you can recognize the asset by its attributes, such as its file name.
- Sort by - Lists options to sort media assets or collections:
- Date
- Name
- Type
- Size
-
Order - Lists options to sort order of media assets or collections depending on the selected Sort by option:
-
Date

- Order by file name by Older to newer date
- Order by file name by Newer to older date
-
Name
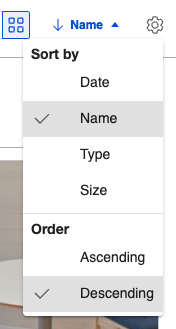
- Order by file name from A-Z
- Order by file name Z-A
-
Type
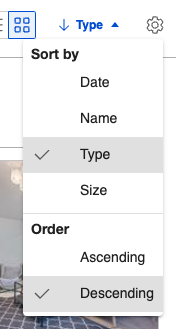
- Ascending
- Descending
-
Size
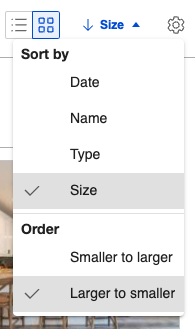
- Smaller to larger
- Larger to smaller
-
- View as - Lists options to view media assets or collections.
Modify information metadata of a media asset collection
-
From the HCL DX 9.5 DAM user interface, click the More actions menu (three horizontal dots icon) of a collection and click Properties.

-
On the Properties panel, edit the Name and Description as applicable.
- Click Save to save changes.
Manage user access permissions of a media asset collection
Video: Configuring user access permissions to Digital Asset Management assets
- From the HCL DX 9.5 DAM interface, click the More actions menu (three horizontal dots icon) of a collection and click Properties.
- Click Access control.
-
Assign access levels for users to access media items in the collection by clicking Add user.
-
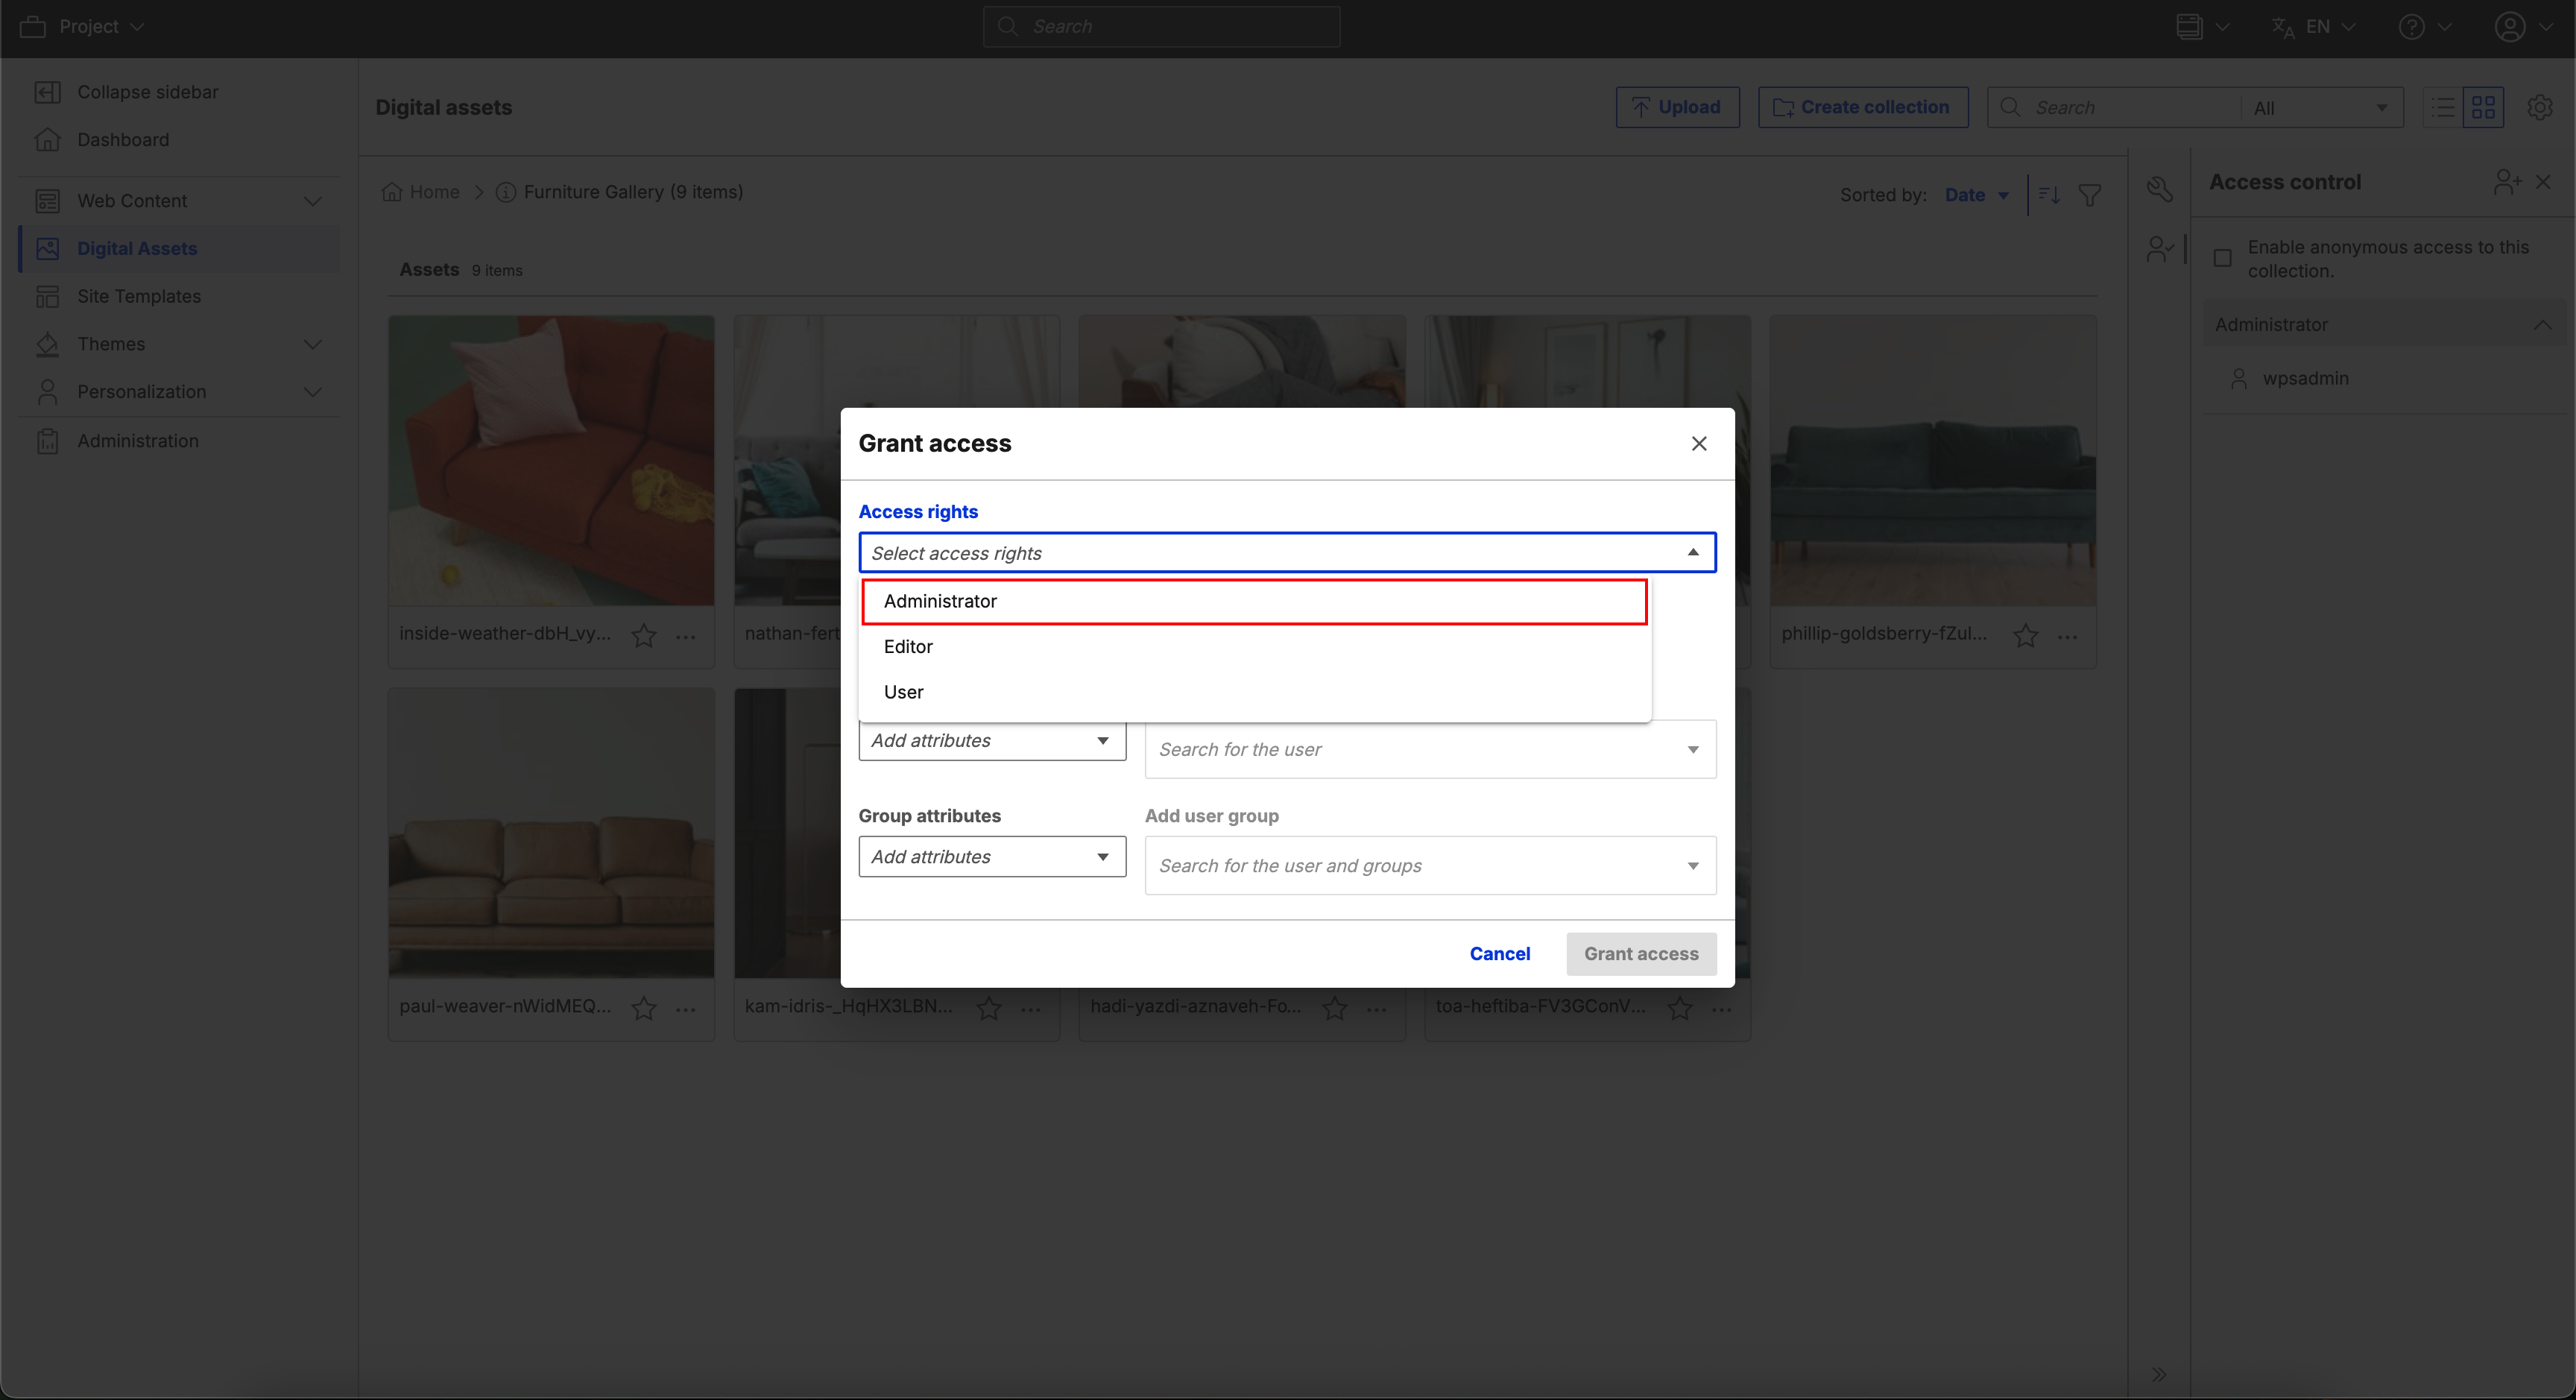
When you click Add User, a pop-up appears with options to add user access levels for individuals and groups defined in the user directory integrated with your DX platform. Select the appropriate member. In this example, click Administrator.
-
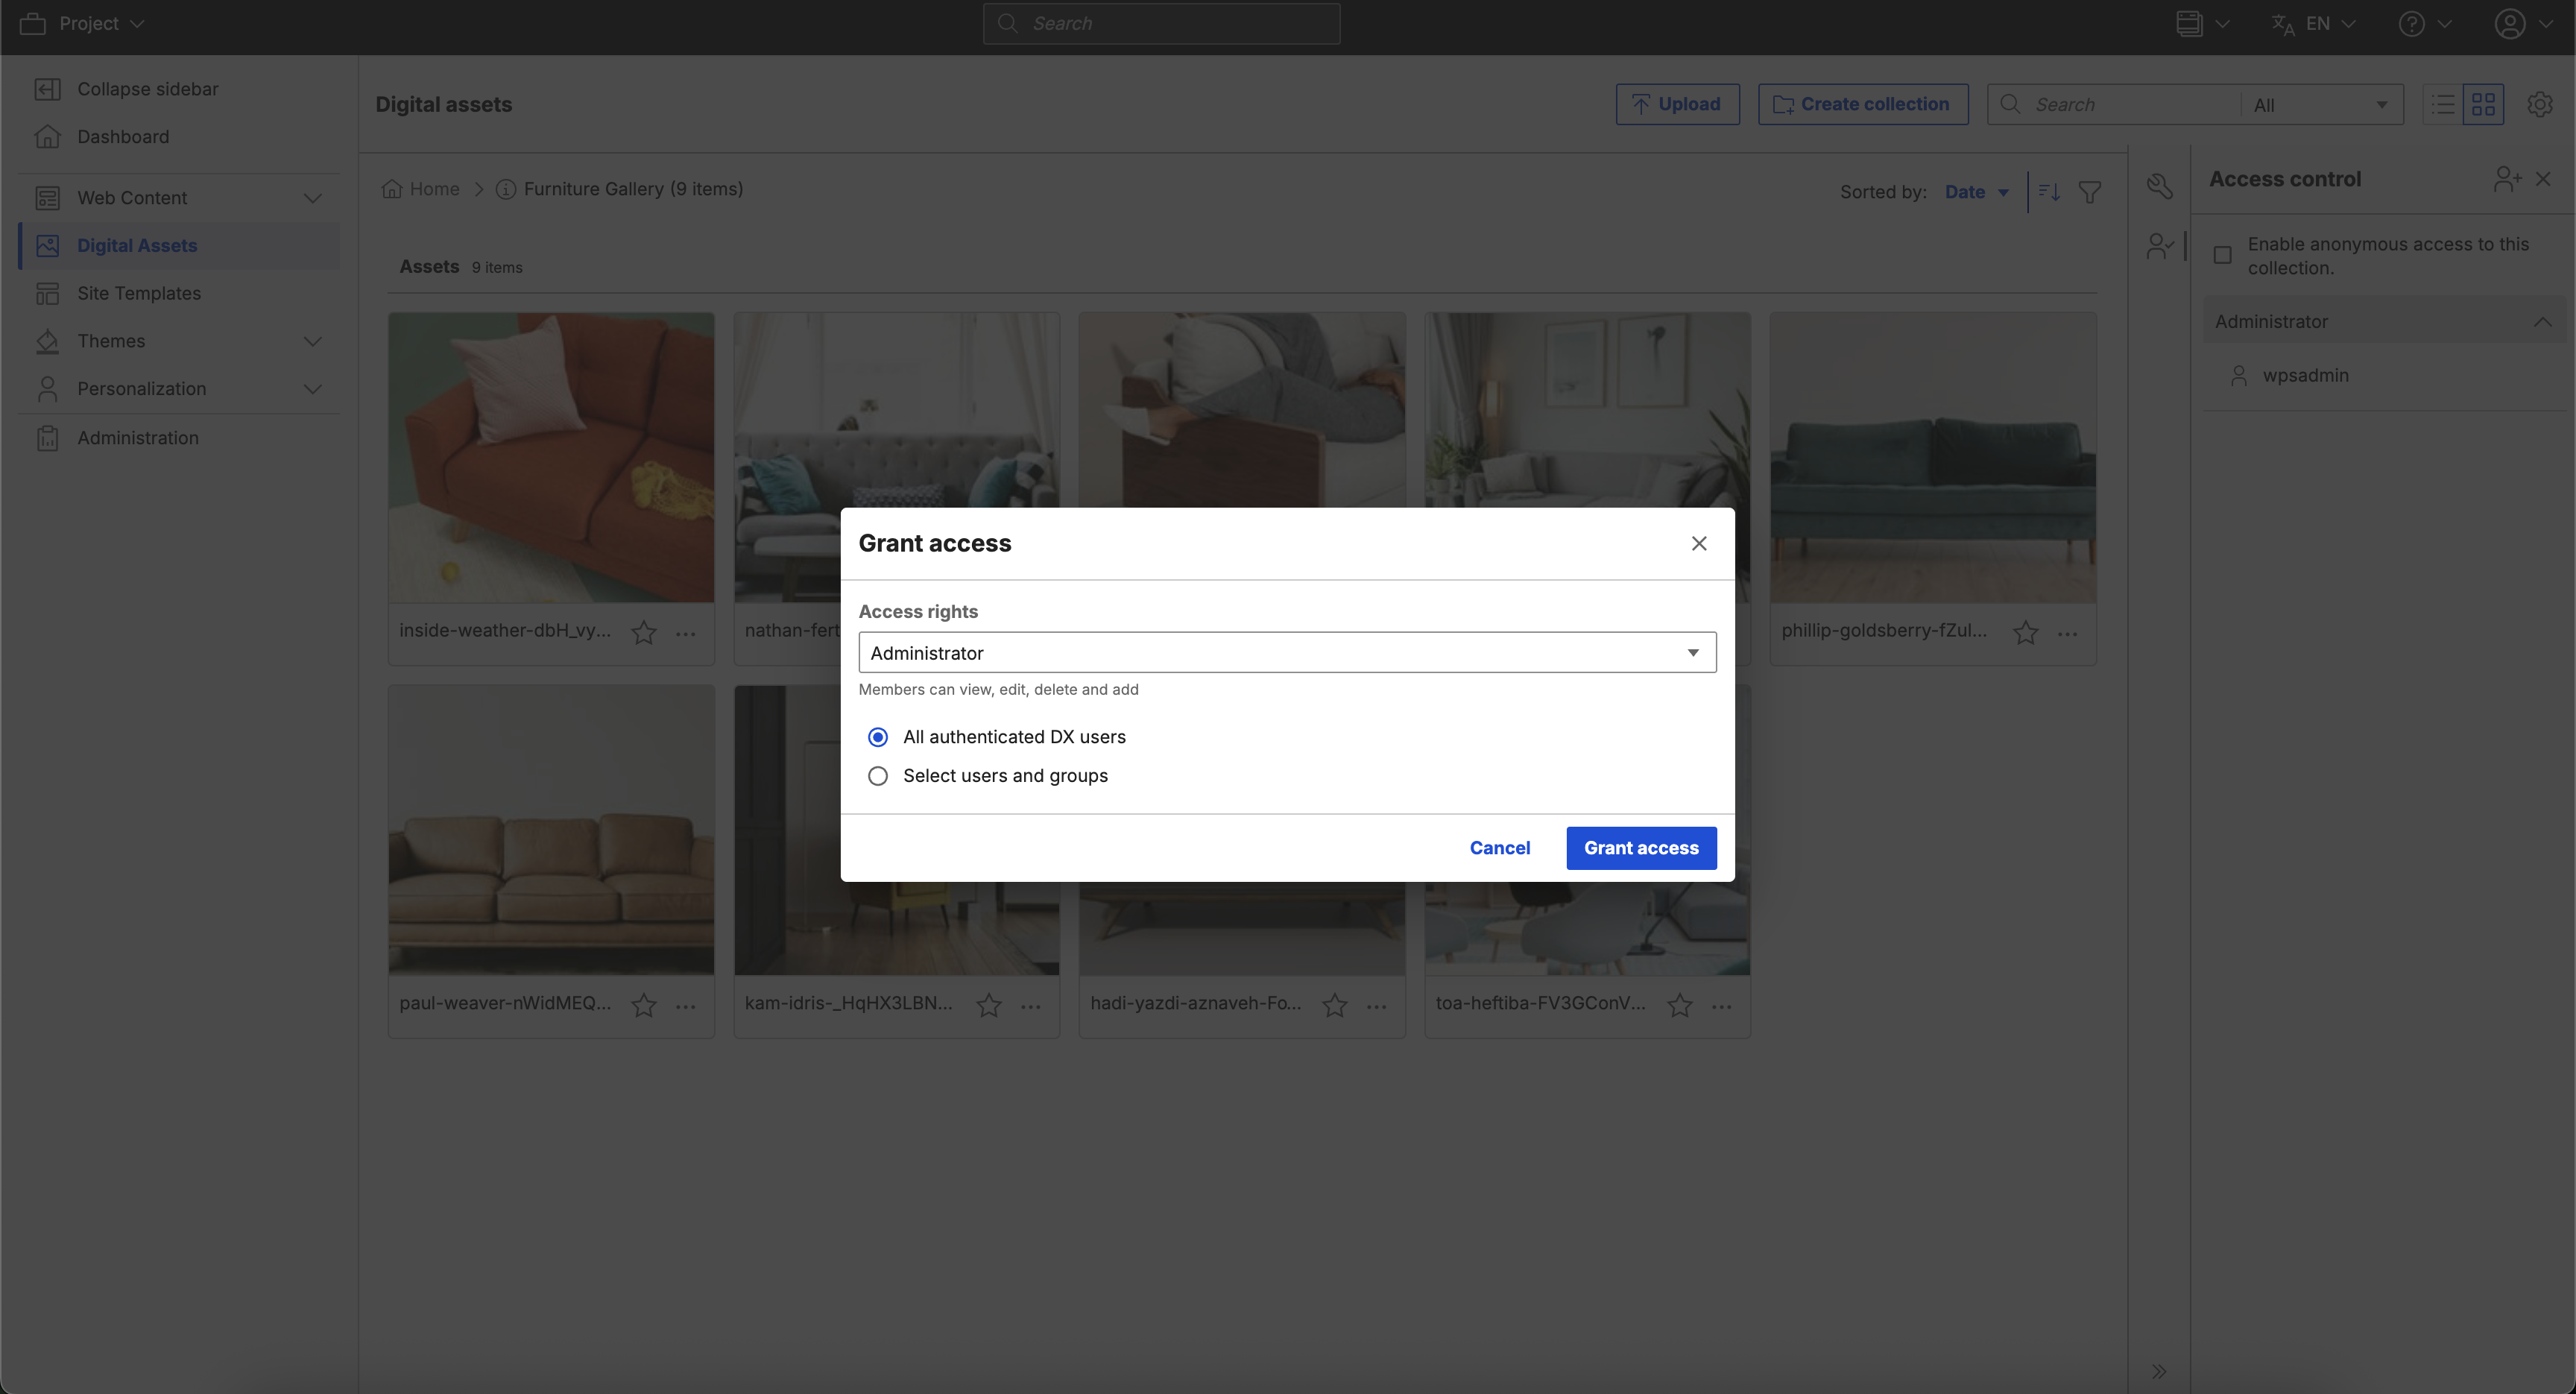
Select the appropriate Access rights. For this example, click All authenticated DX users.
-
Click Add users and groups to save changes.
Moving a collection to trash
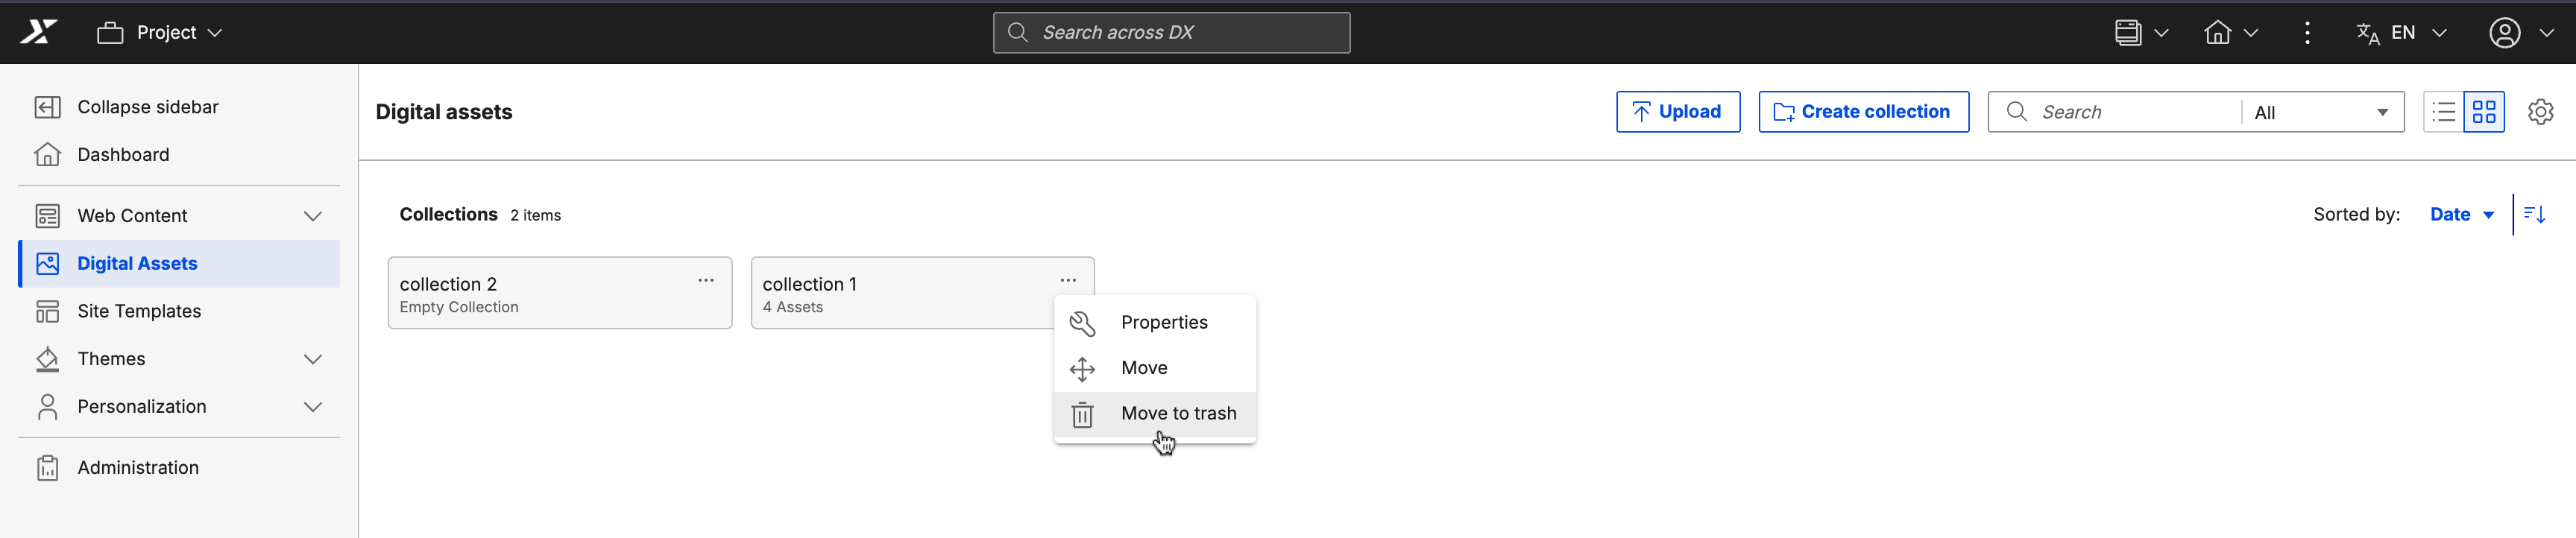
- From the HCL Digital Experience 9.5 Digital Asset Management interface, click the More actions menu of a collection and click Move to trash.
 2. A message appears to confirm your action. Moving a collection to the trash also moves all associated subcollections, media assets, renditions, and versions. Note that moving referenced items to the trash makes them unavailable in web content.
 3. Click Move to trash to confirm the action.
Note
To permanently delete a collection, see Deleting an asset or collection permanently.
Moving a collection
Refer to the following steps if you want to move a collection from one location to another.
Note
If a collection is moved to another collection, the permissions and access restrictions for the collection and its contents align with the permissions of the destination location. If the collection is moved to the root level, the permissions align with the source permissions.
-
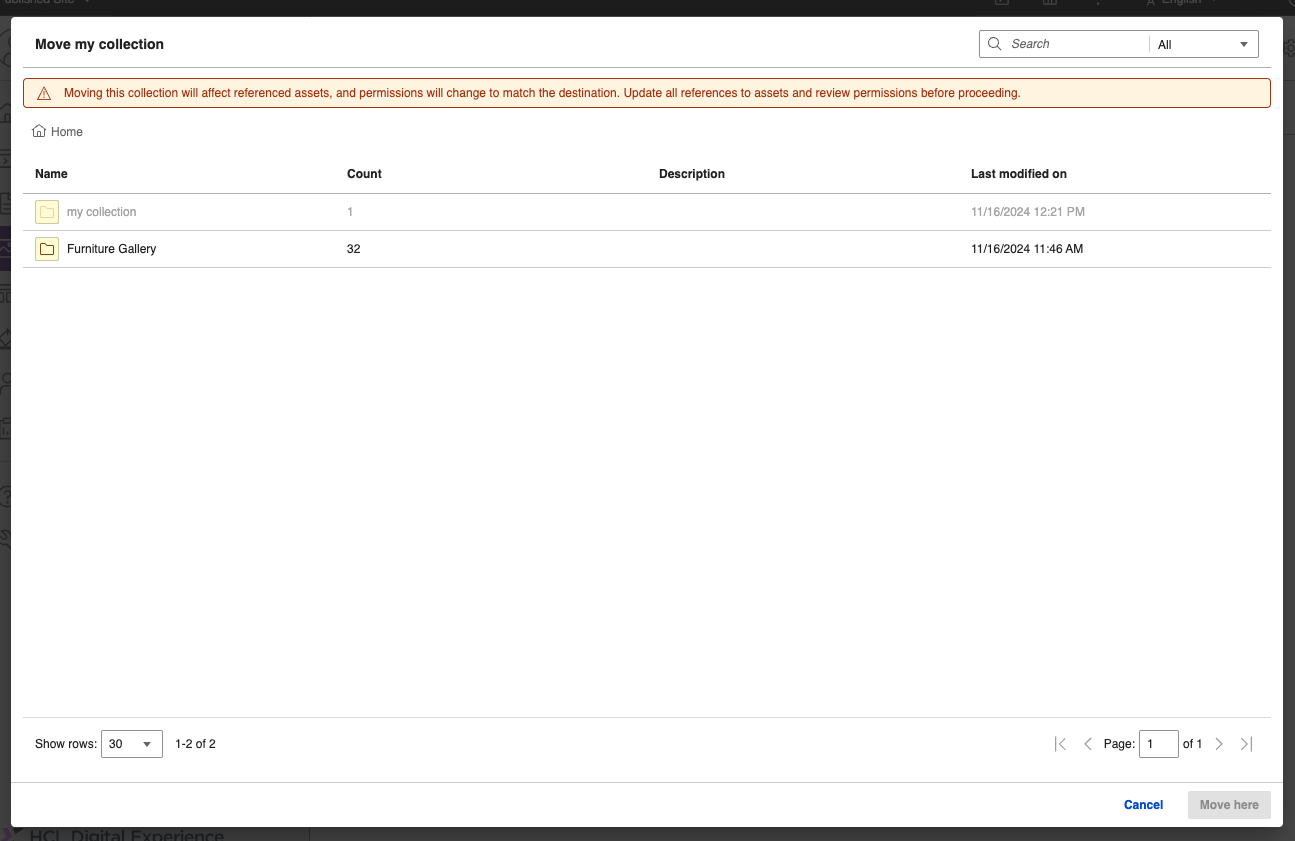
From the HCL DX 9.5 DAM interface, click the More actions menu of a collection and click Move.
A dialog box appears that shows the list of collections. You can search for a specific collection or navigate inside a collection.
Note
If the user does not have edit access for the collection, the row for that collection is disabled in the dialog.
-
To move a collection, use one of the following options depending on the target location:
-
Navigate to the target collection where you want to move the collection and click Move here. IIf a collection with the same name exists in the target location, a dialog box appears prompting you to rename the collection.
-
To move the collection to the root level, do not select any collection in the dialog box. Click Move here to move the collection to the root level.
-
-
Click View Location to navigate to the collection.