Install on Windows
The Window installation uses a Windows installer program.
Before you begin
- The host server.
- The WebSphere Application Server Console.
Procedure
-
Determine the Connections paths (customization_path and provision_path).
-
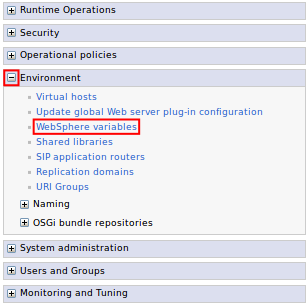
Expand Environment and click the WebSphere variables link.
-
Find the CONNECTIONS_CUSTOMIZATION_PATH in the variables list and record the value which will be referred to as customization_path from this point.

-
Find the CONNECTIONS_PROVISION_PATH in the variables list and record the value which will be referred to as provision_path from this point.

-
Expand Environment and click the WebSphere variables link.
-
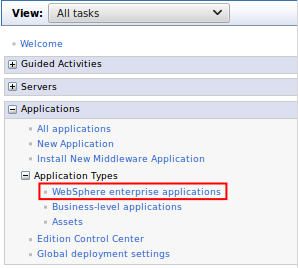
Stop the Common WebSphere enterprise application.
-
Navigate to .
-
Select the checkbox for Common from the list of applications and click Stop.
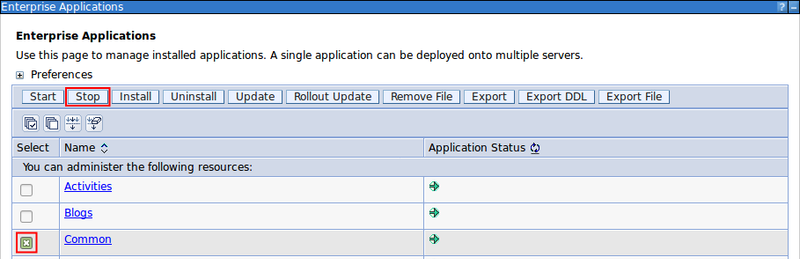
Figure 1: Dialog shown when Common application is stopped 
-
Navigate to .
-
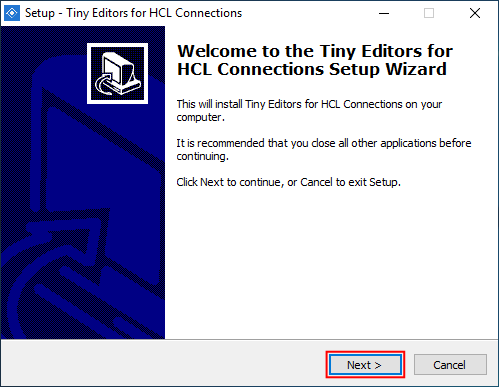
Run install.exe.
The installer, install.exe, is located in the root directory of the Tiny Editors for HCL Connections package.
Note: The installer may require System Administrator privileges. If prompted, click Yes.Figure 2: Accept UAC prompt 
-
Click Next on the Welcome screen.
-
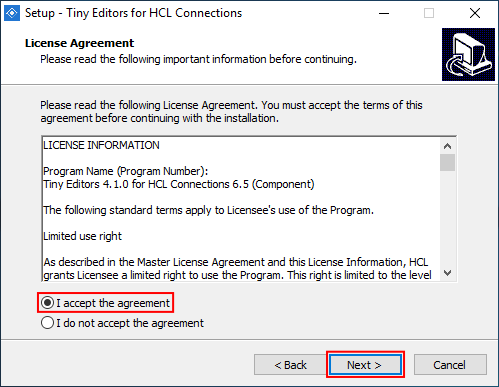
Review the license agreement, select I accept the agreement and click Next.
-
Add the customization_path and provision_path to the relevant input fields and continue.
Note: Default paths are initially provided.
- Input provision_path\webresources into the Web Resources Provisioning field.
- Input customization_path into the Customization field.
- Click Next.

-
Review the installation details and click Install.

-
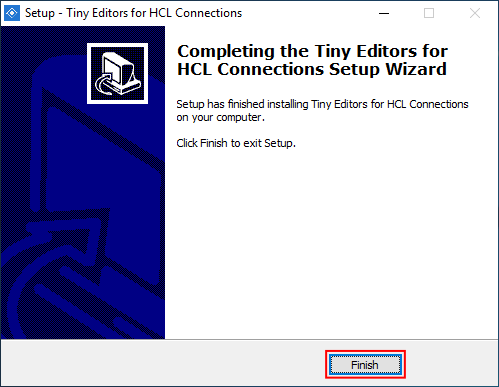
Once the installation process is completed, click Finish.
-
Start the Common WebSphere enterprise application.
-
Navigate to .
-
Select the checkbox for Common from the list of applications and click Start.
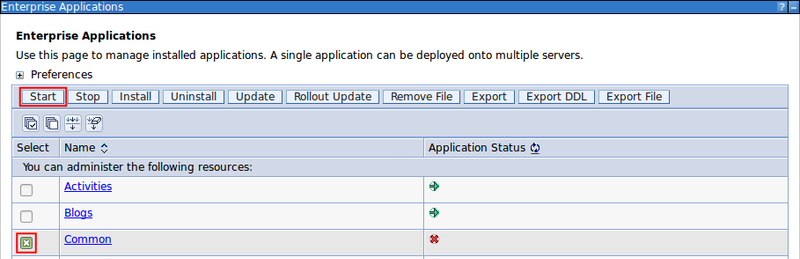
Figure 3: Dialog shown when Common application is started 
-
Navigate to .