Updating the order shopping flow
This section explains how to update the order shopping flow.
Procedure
Register the your
new commands
- Add the overlay engraving
objects to the mapping files
- Navigate to WC_eardir\xml\messaging\component-services
folder. Create a copy of the ChangeOrderSOIBODMapping.xml file and
rename it
CustomizedChangeOrderSOIBODMapping.xml.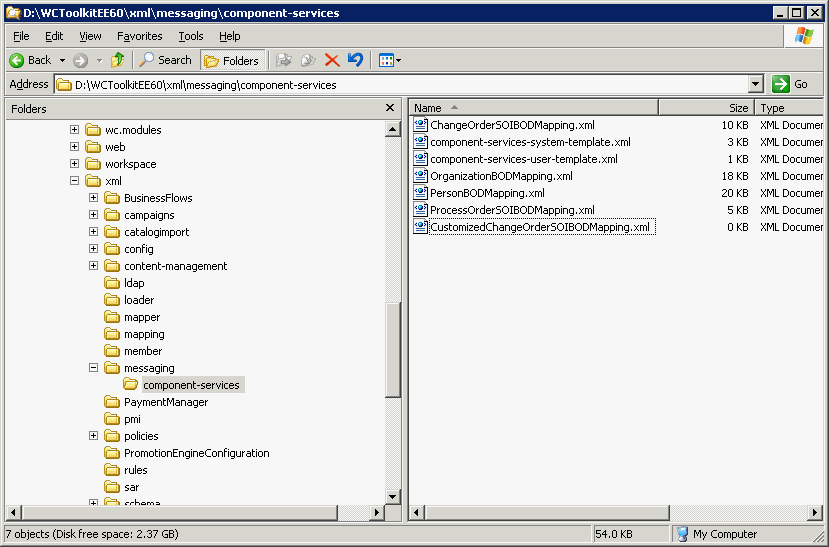
- Open CustomizedChangeOrderSOIBODMapping.xml
inside an editor and
add the following text to the bottom of the file but before the </TemplateTag>.
Save and close the file.
<Tag XPath="DataArea/Order/OrderItem/EngravingText" Field="engravingText"/> <Tag XPath="DataArea/Order/OrderItem/EngravingText@font" Field="engravingFont"/> <Tag XPath="DataArea/Order/OrderItem/EngravingText@size" Field="engravingSize"/> -
Open the file component-services-user-template.xml inside of an editor. Copy the text below and replace the entire contents of the file. This will add the entry for your new CustomizedChangeOrderSOIBODMapping.xml. The component-services-user-template.xml should look like this:
<?xml version="1.0"?> <!-- *=================================================================== * Licensed Materials - Property of IBM * * WebSphere Commerce * * (c) Copyright IBM Corp. 2000, 2004 * US Government Users Restricted Rights - Use, duplication or * disclosure restricted by GSA ADP Schedule Contract with IBM Corp. *=================================================================== --> <!-- If you are viewing with browser (IE for example), select View Source to see actual source of file --> <!DOCTYPE ECTemplate SYSTEM '../ec_template.dtd' [ <!-- Source comment: this [ is required, do not remove --> <!ENTITY CustomizedChangeOrderSOIBODMappingDefinition SYSTEM 'CustomizedChangeOrderSOIBODMapping.xml'> ]> <!-- Source comment: this ]> is required, do not remove --> <ECTemplate> &CustomizedChangeOrderSOIBODMappingDefinition; </ECTemplate> - Navigate to WC_eardir\xml\messaging\component-services
folder. Create a copy of the ChangeOrderSOIBODMapping.xml file and
rename it