When the user runs the solution for a specific category, it will
create a backup of bookmarks and preferences on local machines.
Once the user uninstalls and reinstalls the category on the
machine, he/she can restore the category using the
Restore option.
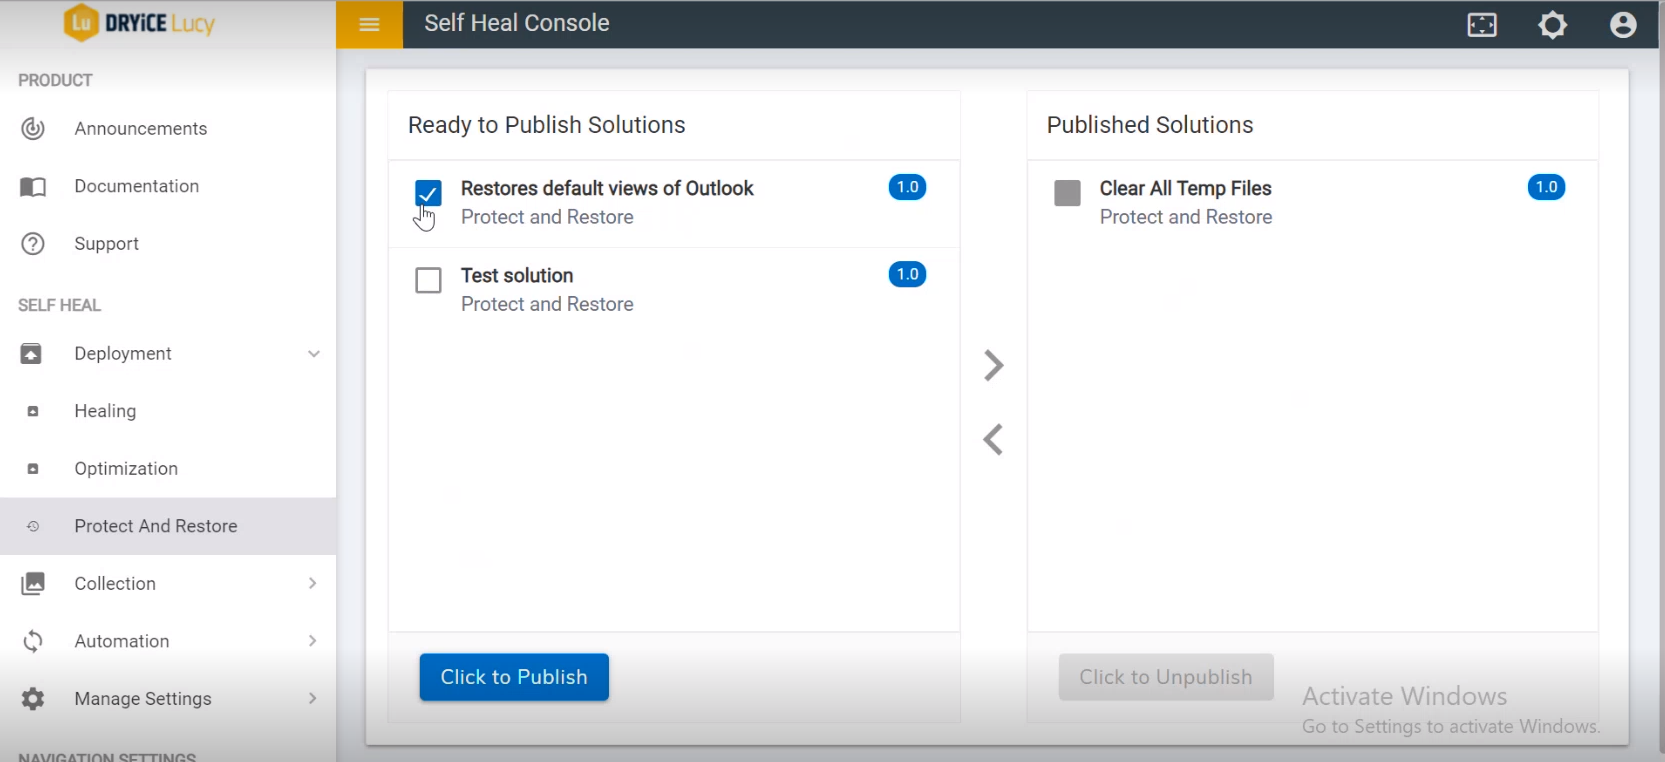
When the automation module is created with “Protect and
restore” as Solution Type, ‘it comes
under the Ready to publish section. To publish a
solution, the admin clicks on the Click to publish
button.
Figure 1. Figure 59 - Ready to Publish
Solution Section for Protect and Restore
The following success message appears:
Figure 2. Figure 60 – Success
Message
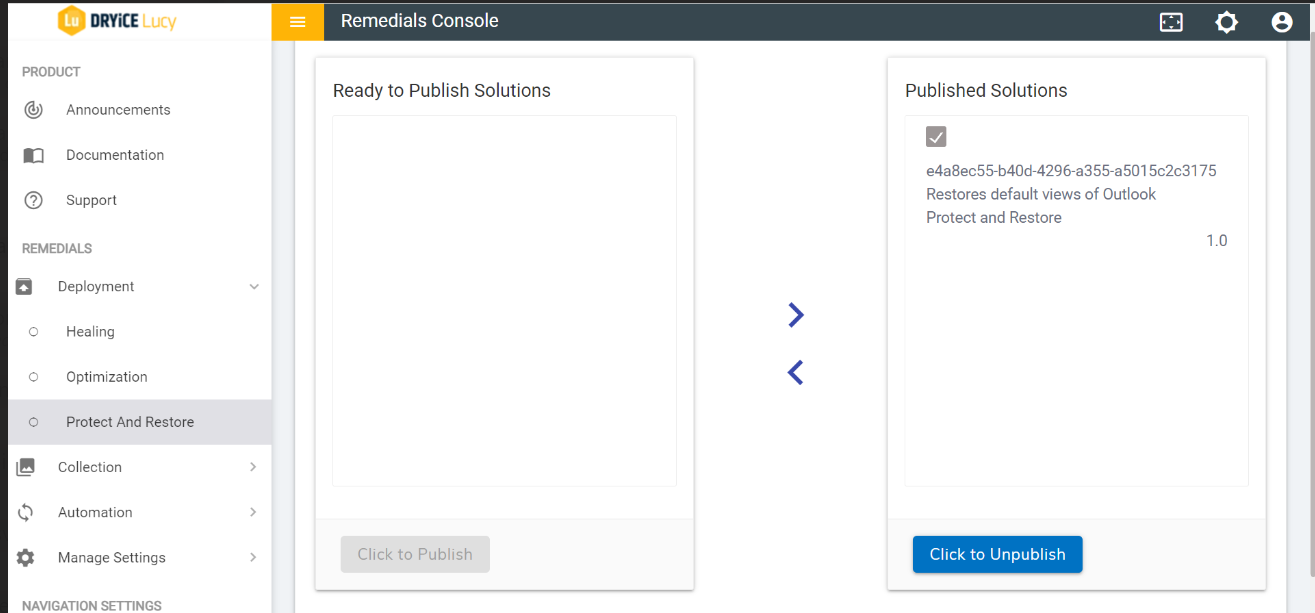
When a solution is published successfully, it moves to the
Published Solution section.
Figure 3. Figure 61 - Published
Solutions Section for Protect and Restore
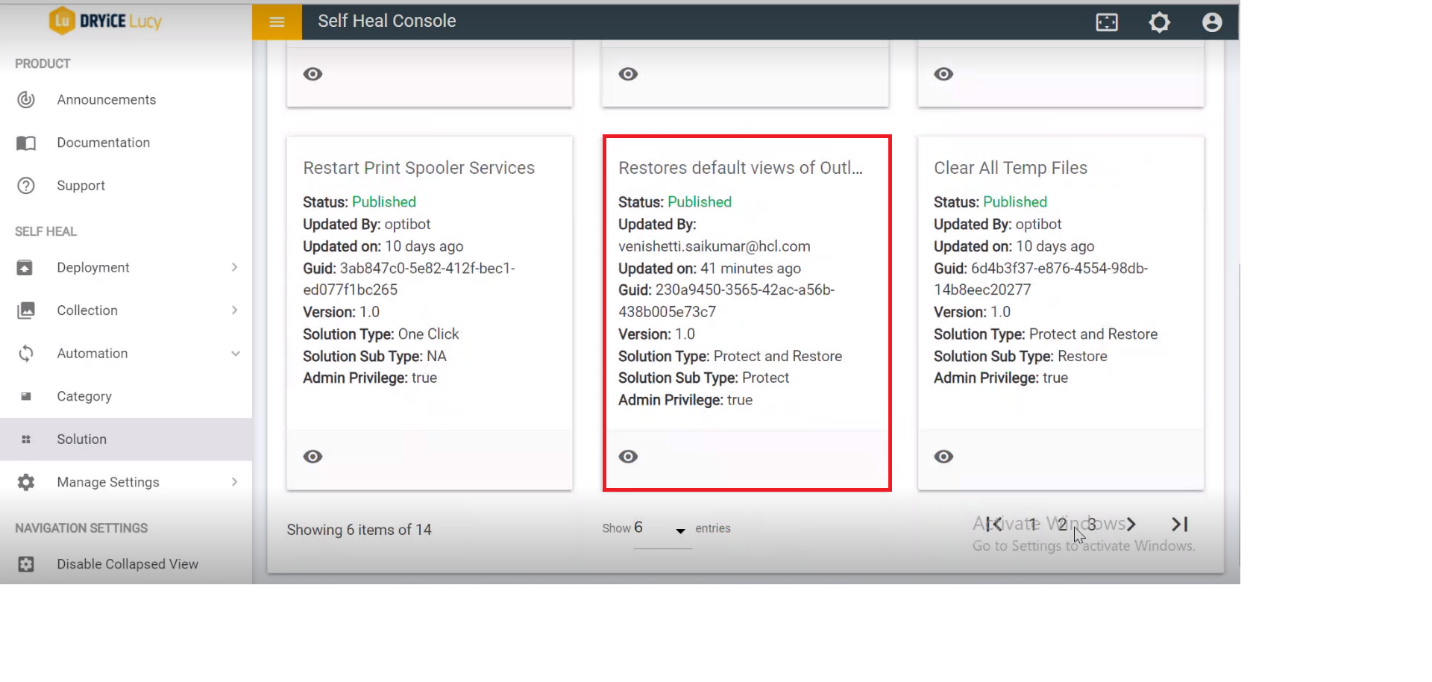
A successfully published solution starts reflecting in the
automation module with Status as
“Published”.
Figure 4. Figure 62 – Published
Status in the Automation Module
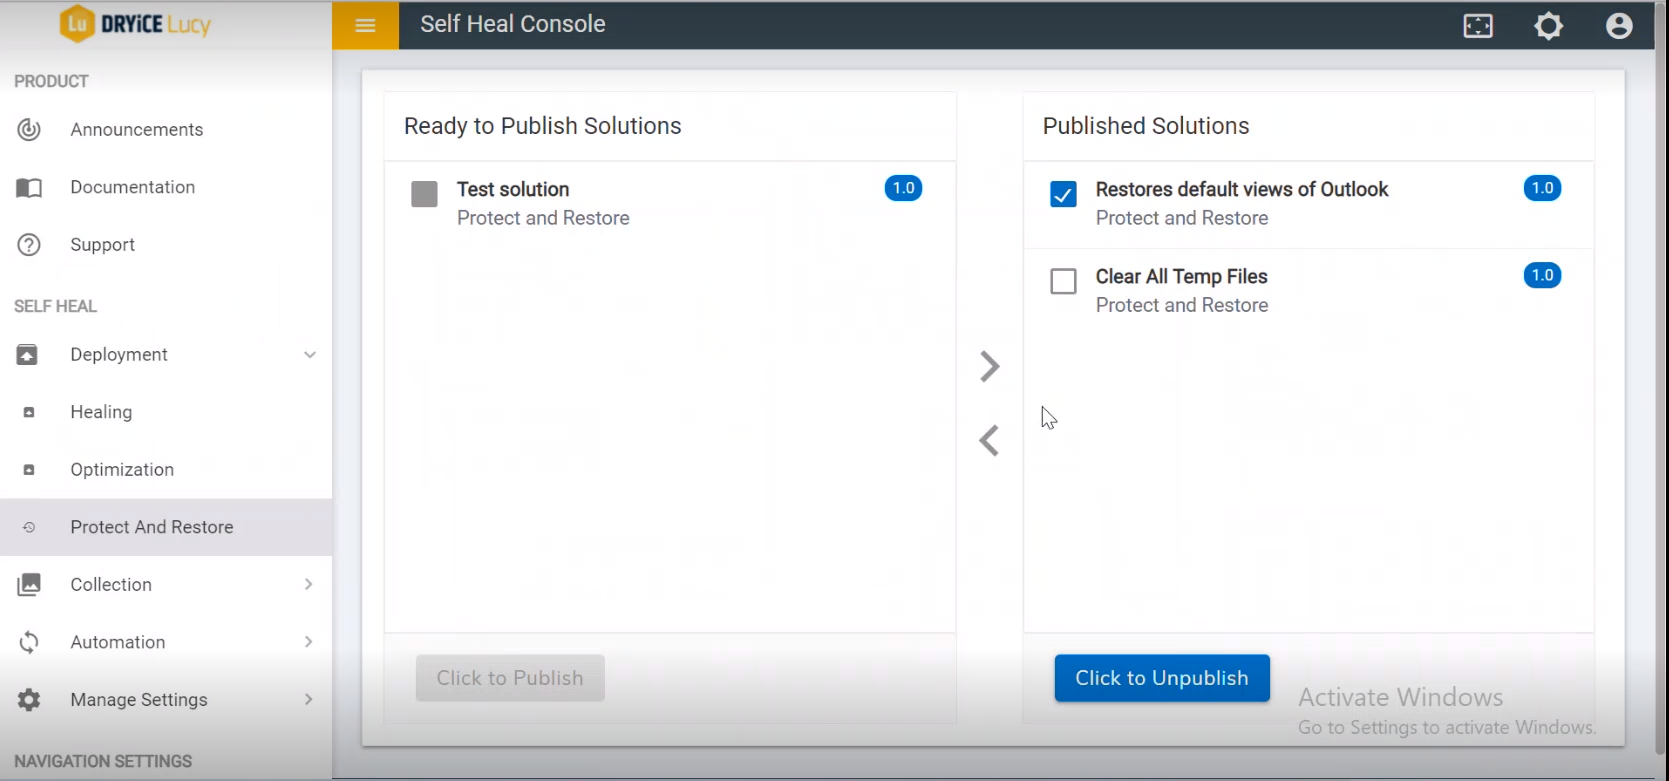
To edit the solution, the admin must unpublish the solution by
clicking on Click to Unpublish.
Figure 5. Figure 63 – Click to
Unpublish to Edit a Solution
The following message appears on successful unpublishing the
solution.
Figure 6. Figure 64 – Success
Message
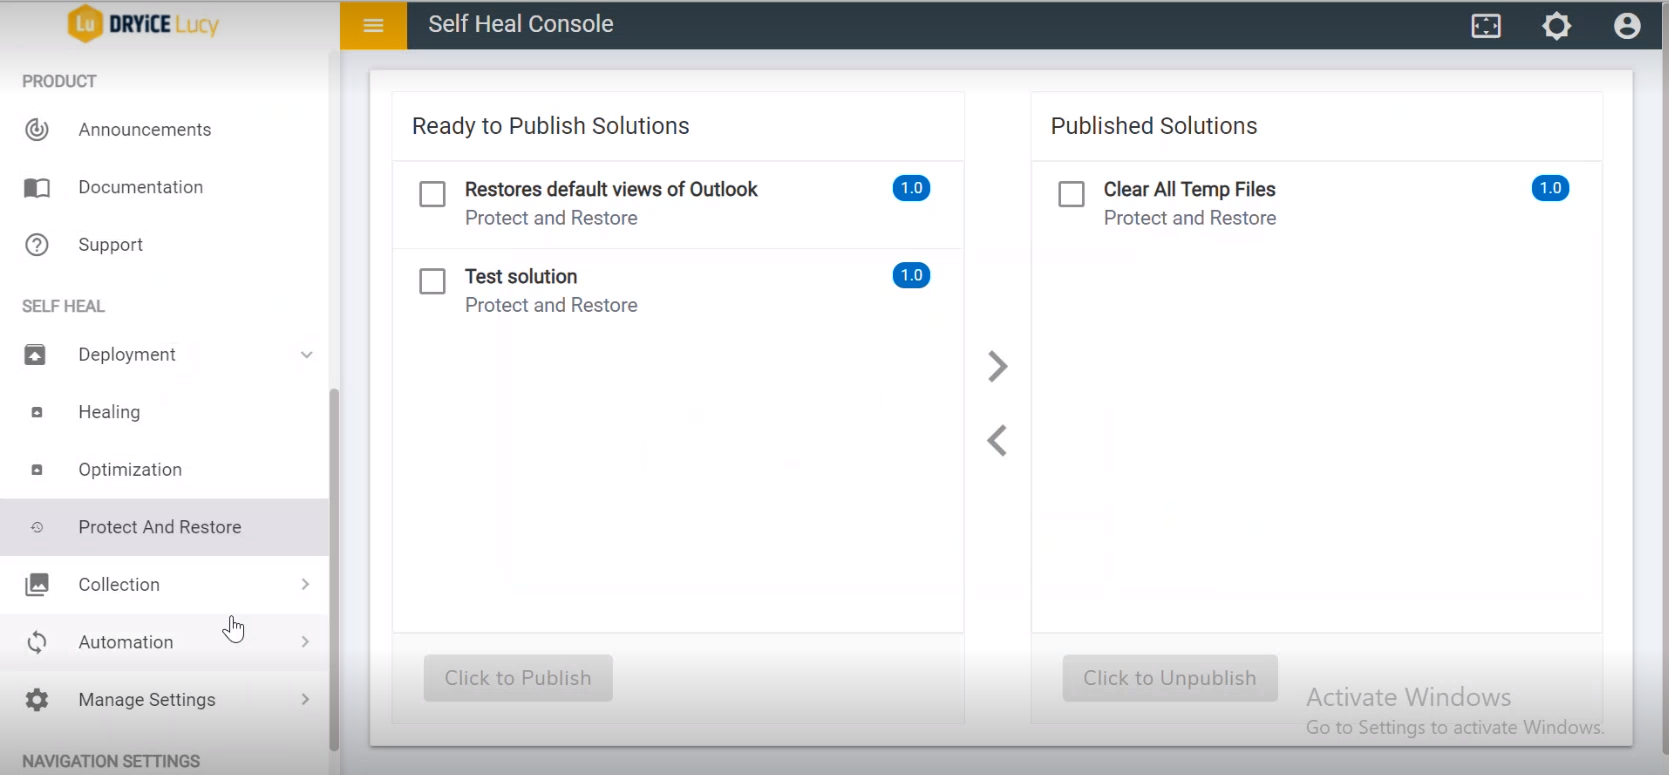
The solution moves to the Ready to Publish
Solution section.
Figure 7. Figure 65 - Ready to Publish
Solution Section for Optimization
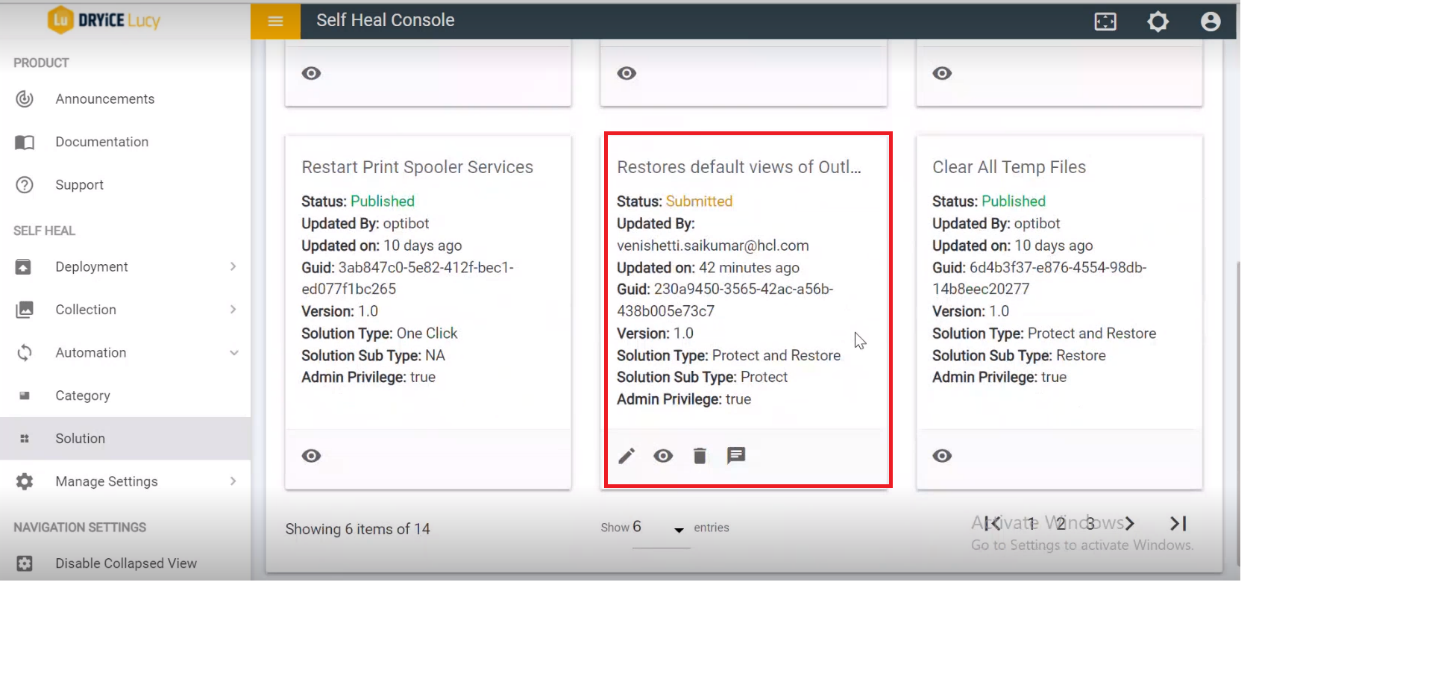
Once the solution is unpublished successfully, it comes with
the Submitted status in the Automation
Module.
Figure 8. Figure 66 – Submitted
status in the Automation ModuleManage Settings
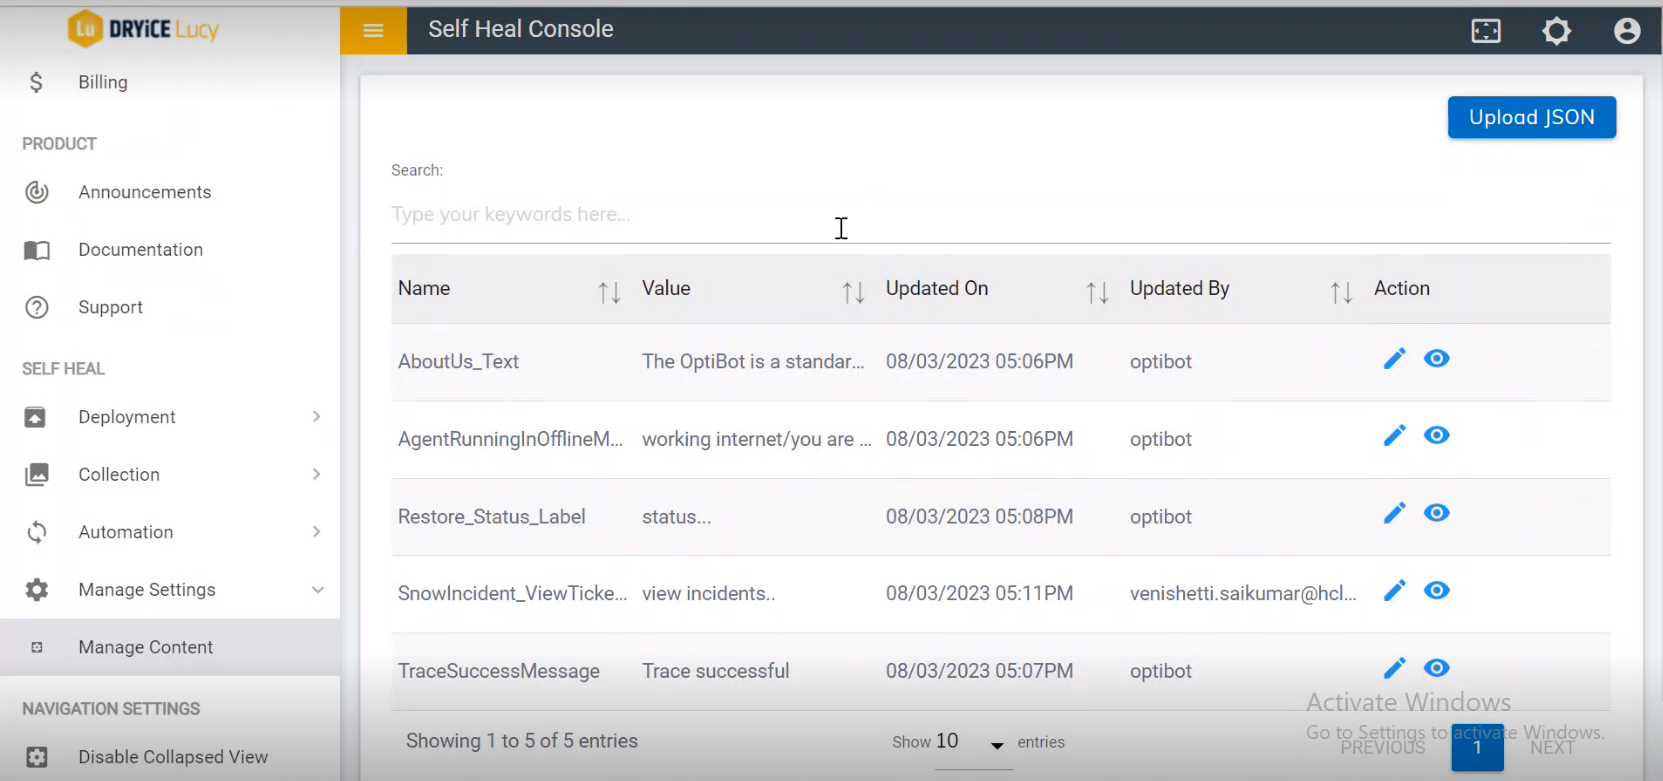
The section has all the predefined messages stored. The user can
manage content of predefined messages from here.
Figure 9. Figure 67 – Manage
Settings
The admin ca upload JSON file by clicking on the Upload
JSON button at top right corner of the manage content
page. The Manage Content screen appears:
Figure 10. Figure 68 – Manage
Content
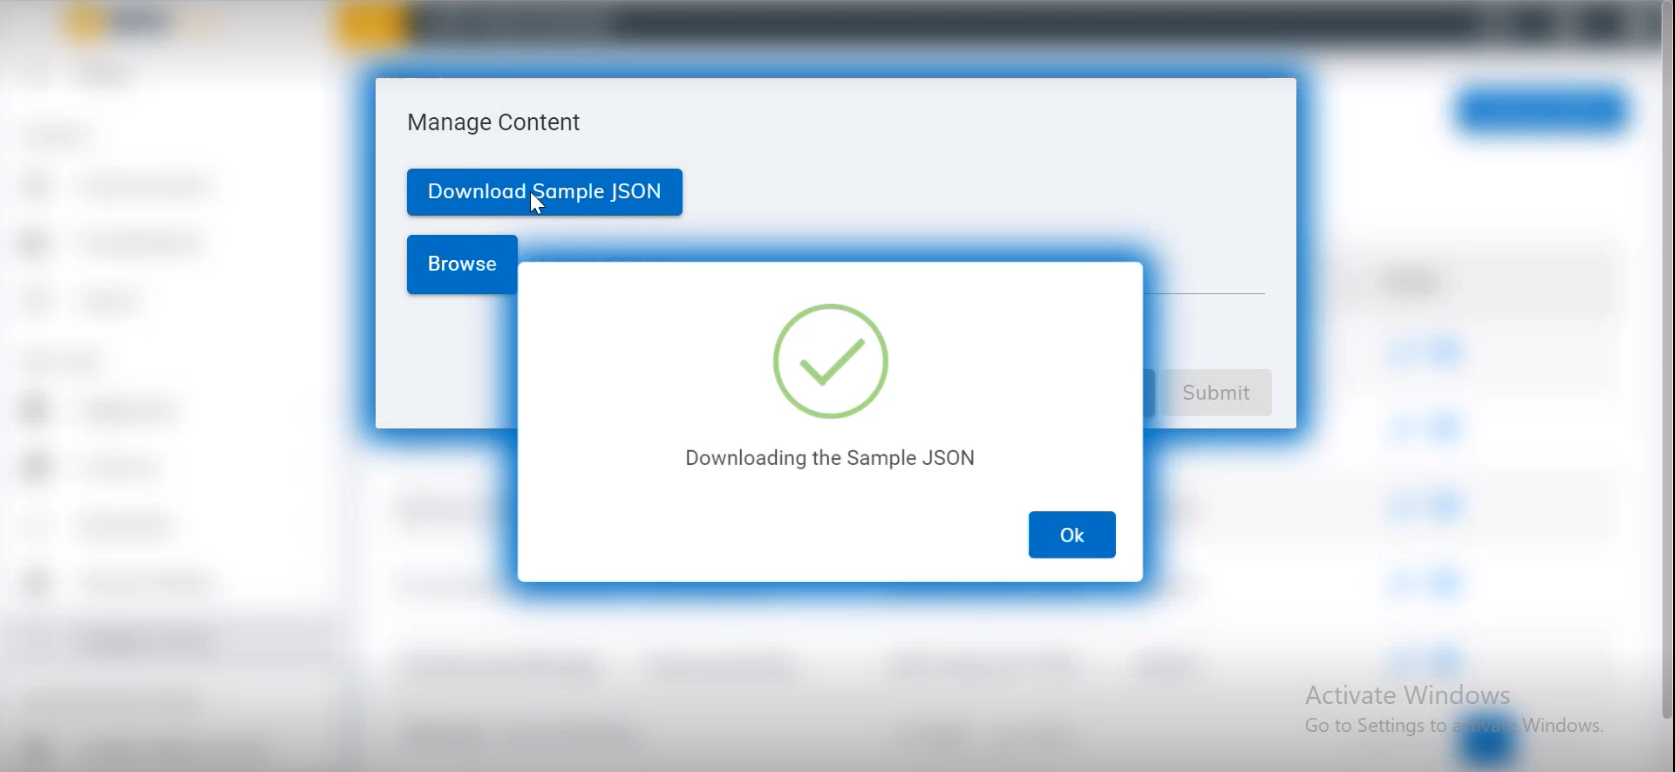
Click Download Sample JSON if you wish to
download a sample JSON file. The following message pops up:
Figure 11. Figure 69 – Download
Sample JSON
To upload a JSON file, click on Browse to
browse the file to upload.
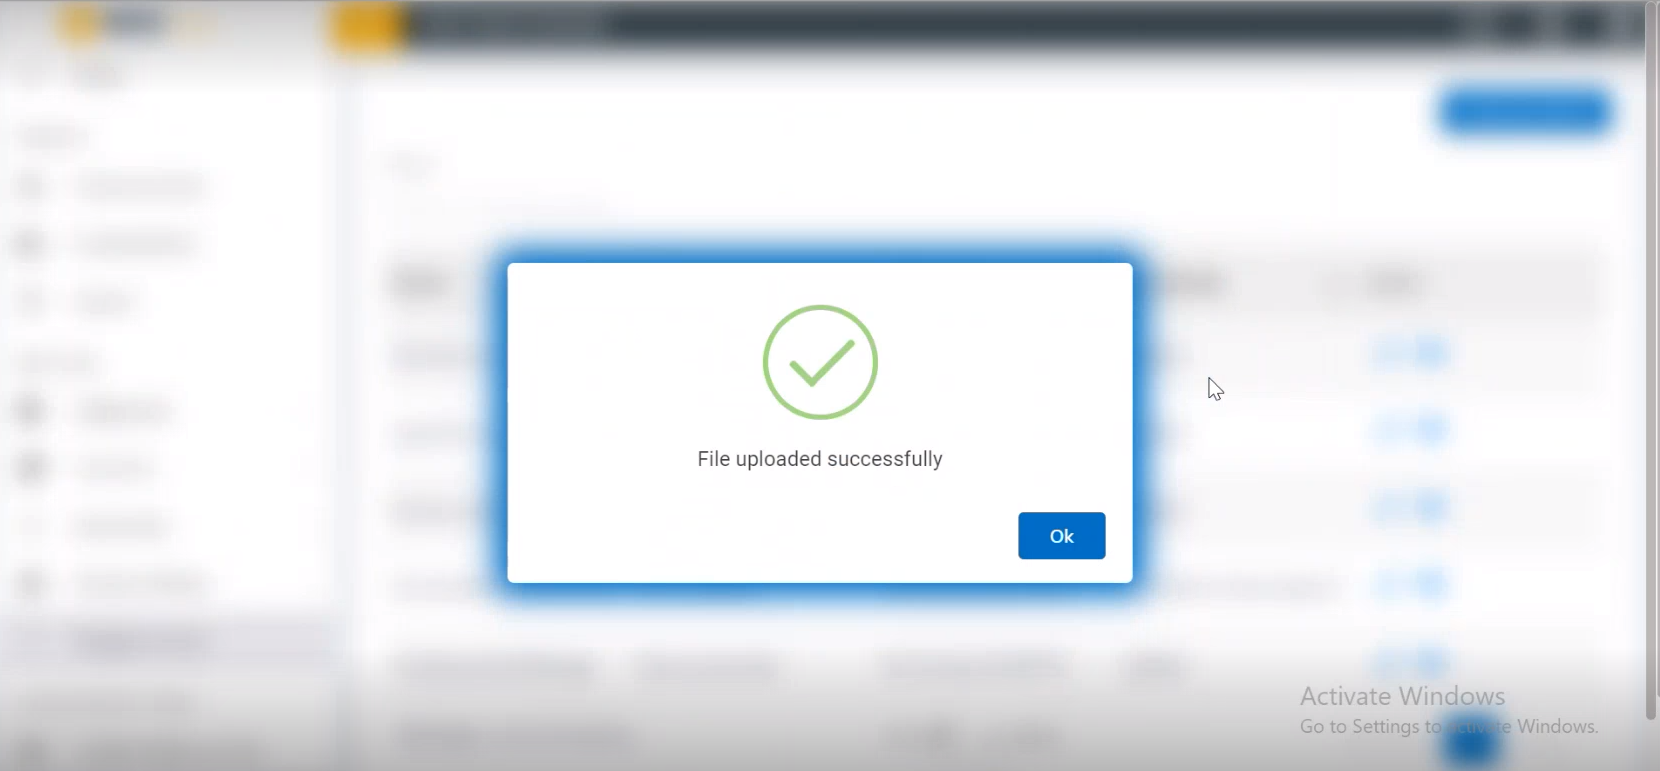
Once done, click Submit. The following success
message appears:
Figure 12. Figure 70 – Success
Message
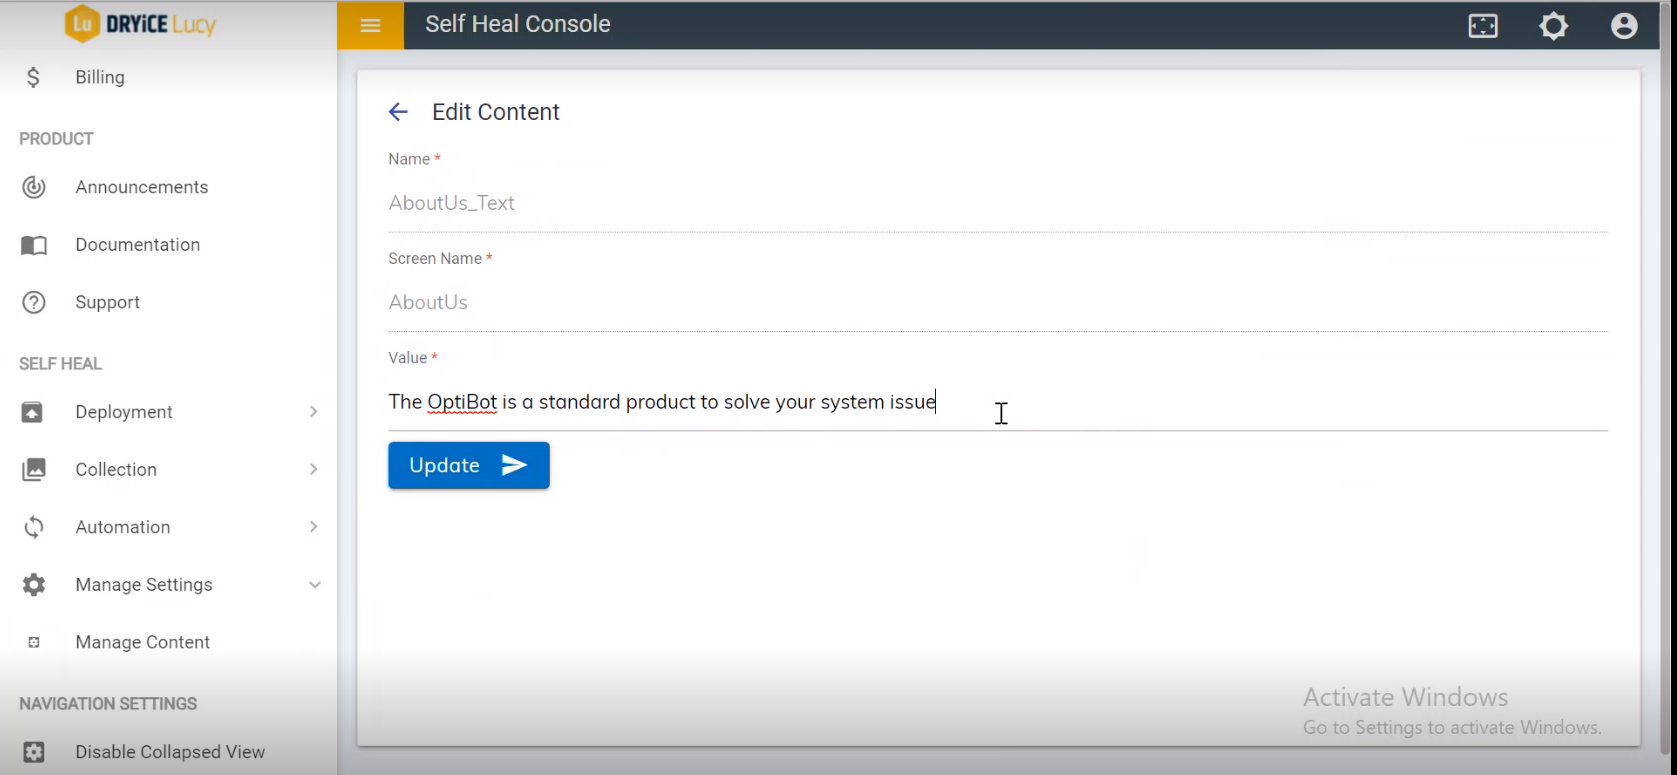
The admin can edit the message content by clicking on the edit
icon under the Action column on the Manage
Content page. The admin must click the edit icon
associated with the message that he wishes to modify.
Figure 13. Figure 71 – Manage
Content Page
The Edit Content screen appears:
Figure 14. Figure 72 - Edit
Content
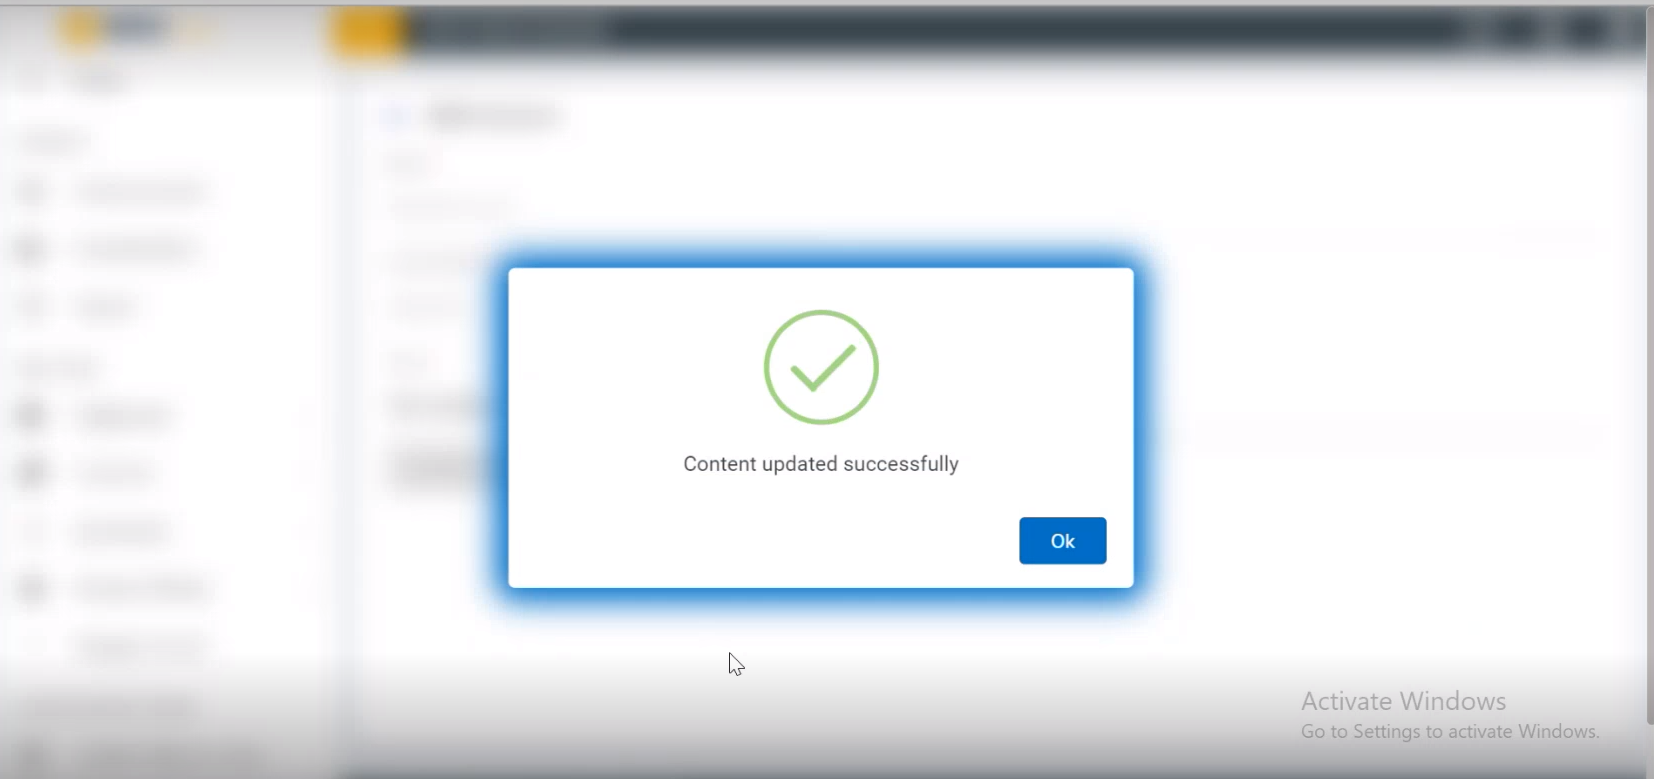
Modify the fields as required and click Update. The following
success message appears:
Figure 15. Figure 73 -
Success Message
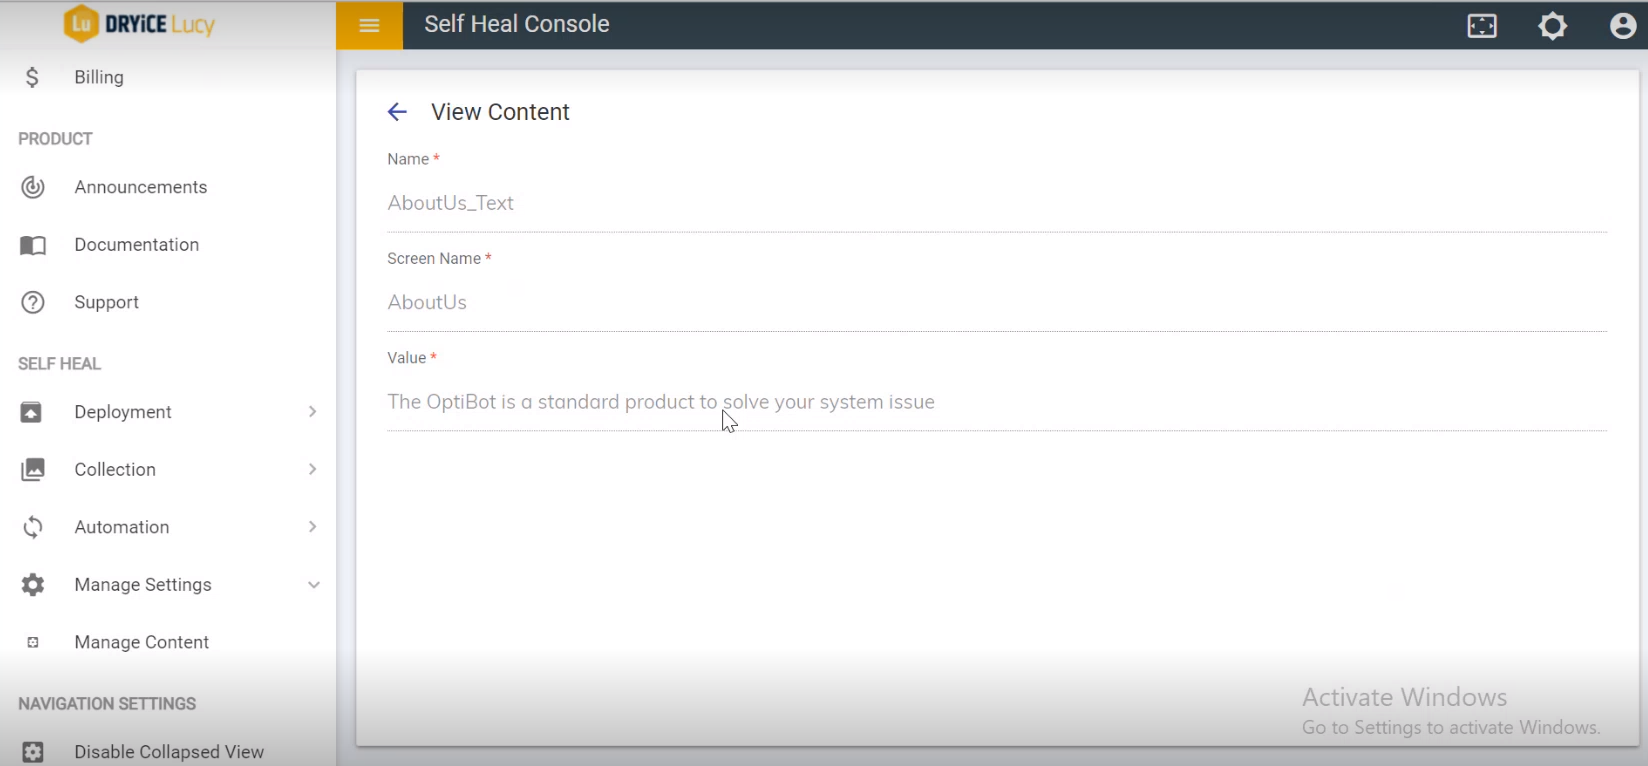
To view the content, the admin must click the view icon under
the Action column on the Manage
Content page. He must click the view icon corresponding to
the message that he wishes to view. The View Content page appears
where the admin can view the content of an existing message:
.png)
.png)

.png)