Create custom copies of the Linux checklist content if you want
to modify the checks based on a specific corporate
policy. You can manually create a custom site to
host the Linux checklist or use the Create Custom
Checklist wizard to create copies of the Linux
checklist and save them in a custom
site.
Before you begin
You must subscribe to the SCM Reporting
external site.
About this task
You can use custom
checklists to fine-tune your ability to customize Configuration Management parameters, which
gives you control over your security status. Custom checklists target specific sets of
computers with tailored content using the subscription mechanism. This allows statistics to be
gathered with finer granularity. For more information, see Modifying check parameters.
Procedure
Creating custom checklists by using the Create Custom Checklist wizard:
From the Security Configuration Domain, go to Configuration Management > Checklist Tools > Create Custom Checklist.
Enter the name of the new checklist.
Select the target platform.
Click the drop-down menu to select which external checklist you copy the checks
from. As you select the checks, they are shown in the staged list at the lower part of
the window.
Click the Activate Measured Value analyses after copying
check box to activate all analyses that were copied.
Click Create Checklist.
The console begins copying the checks in the selected lists into your new custom
checklist. The process might take several minutes, depending on the number and size of the
checklists selected.
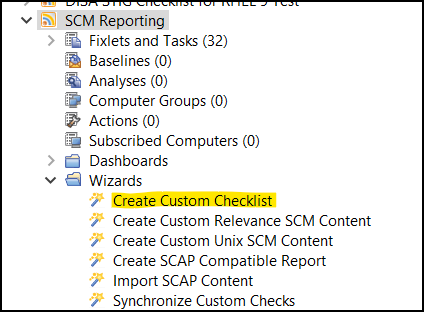
Use the Create Custom Checklist wizard located in the
SCM Reporting site under the wizard section.Figure 1. Create custom checklist
Creating custom checklists manually:
Select Tools > Create Custom Site.
You are prompted for a name for your custom site. Enter a name and click
OK.
From the Domain panel, find your site under Sites > Custom and click it to describe your site.
From the Details tab, enter a description of your site.
From the Domain pull-down menu, select a Domain to house your
site.
From the Computer Subscriptions tab, indicate which subset
of your BigFix client computers you want to subscribe to this site.
From the Operator Permissions tab, you can grant specific
access permissions to specific operators.
Click the Save Changes button above the work area to
complete the description of your site. You must enter your password to propagate your
new custom site.
Subscribe computers to the custom
checklist.
Note: Custom
checklists do not support site relevance, so take
extra precaution when you subscribe computers to
custom checklists.Figure 2. Create custom checklist
Run or Schedule your checklist:
Schedule or run the Deploy and Run Task. Select the
Deploy and Run Task and click the Take
Action button.
Set up or modify the global filesystem scan parameters.
Specify the amount of points to skip during the filesystem scan.
Choose the targeted computer or group of computers from the target section.
Configure the execution criteria based on your environment and click "OK" to
schedule or set up the Deploy and Run task.