v2.1.5+On overlap
You can define or control the behavior of a workflow instance when it is scheduled to start but the previous instance has not yet completed. The different values for the on overlap attribute customize whether the upcoming instance runs concurrently, waits for the previous one to finish, or is canceled.
Overview
This attribute takes effect when you configure a workflow to run
multiple times by using a run cycle, or when you manually submit the workflow while
the previous instance is running. When you define a run cycle to run a workflow multiple
times, you specify the start time and the repeat interval. The on
overlap attribute takes effect when the start time for the next
workflow
instance arrives, or when you manually submit the workflow for the
second time. You can control how these overlapping instances behave by customizing
the following on overlap values:
- parallel
- The next workflow instance starts at the defined time regardless of the status of the previous workflow, allowing the two instances to run concurrently. This is the default behavior if you do not specify any value for on overlap.
- enqueue
- The next workflow instance does not start and waits until the previous instance has completed its run successfully. To achieve this, the system creates an external dependency in the plan unless it already exists.
- donotstart
- The next workflow instance starts or is canceled based on the status of the previous instance. When you select this option, the system sets a timer. At its scheduled run time, the workflow instance waits for a specified duration and then checks the status of the previous instance. If the previous instance is still running, the next instance is canceled. If the previous instance has finished, the next instance starts. When a workflow is canceled, the system creates an audit log that contains the reason for the cancellation.
Managing the on overlap attribute by using the UI
You can add the on overlap attribute when you create a new workflow or update an existing one. To add the on overlap attribute, complete the following steps:
- Navigate to the desired workspace.
- Drag a new workflow or an existing workflow to the canvas.
- In the Workflow panel, under Scheduling
options, select the required option from the On
overlap list.
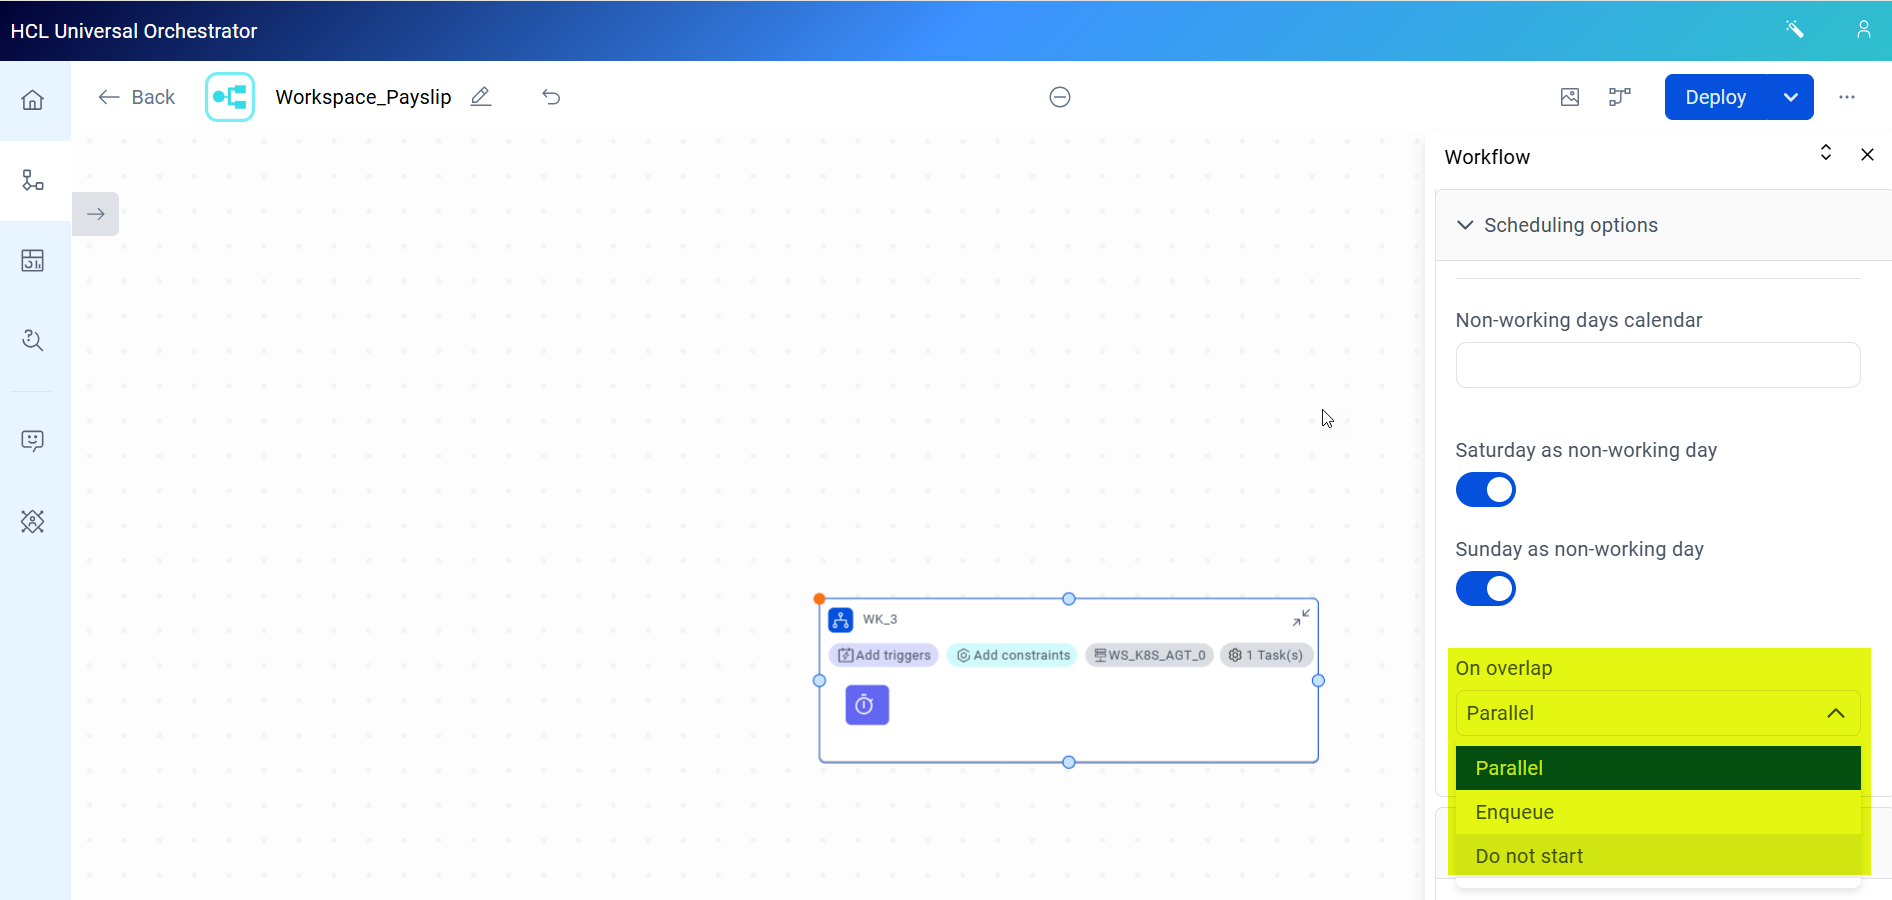
- Deploy the workflow.Note: If you are creating a new workflow, ensure all the mandatory attributes are added. For more information, see Workflow definition.
Managing the on overlap attribute by using Orchestration CLI
Enter the keyword as follows to a workflow
definition:
onoverlap {parallel | enqueue | donotstart}Example
- To create the workflow
WK_wait with the on overlap
attribute set to enqueue, enter the definition as
follows:
---
kind: JobStream
def:
  folder: /
  name: WK_wait
  workstation: /WS_K8S_AGT_0
  saturdayIsFree: true
  sundayIsFree: true
  priority: 10
  onOverlap: enqueue
  asap: false
  perJobLatestStart: false
  lateStartAction: doNotRun
  matchingCriteria:
    type: previous
  resourceDependencies: []
  jobs:
  - name: WT_2
    workstation: /WS_K8S_AGT_0
    jobDefinition:
      type: wait
      task:
        wait:
          Action:
            actionInfo:
              duration: ""
      recovery:
        action: STOP
        repeatAffinity: false
    priority: 10
    asap: false