About this task
This topic explains the steps to create an external type table.
Procedure
-
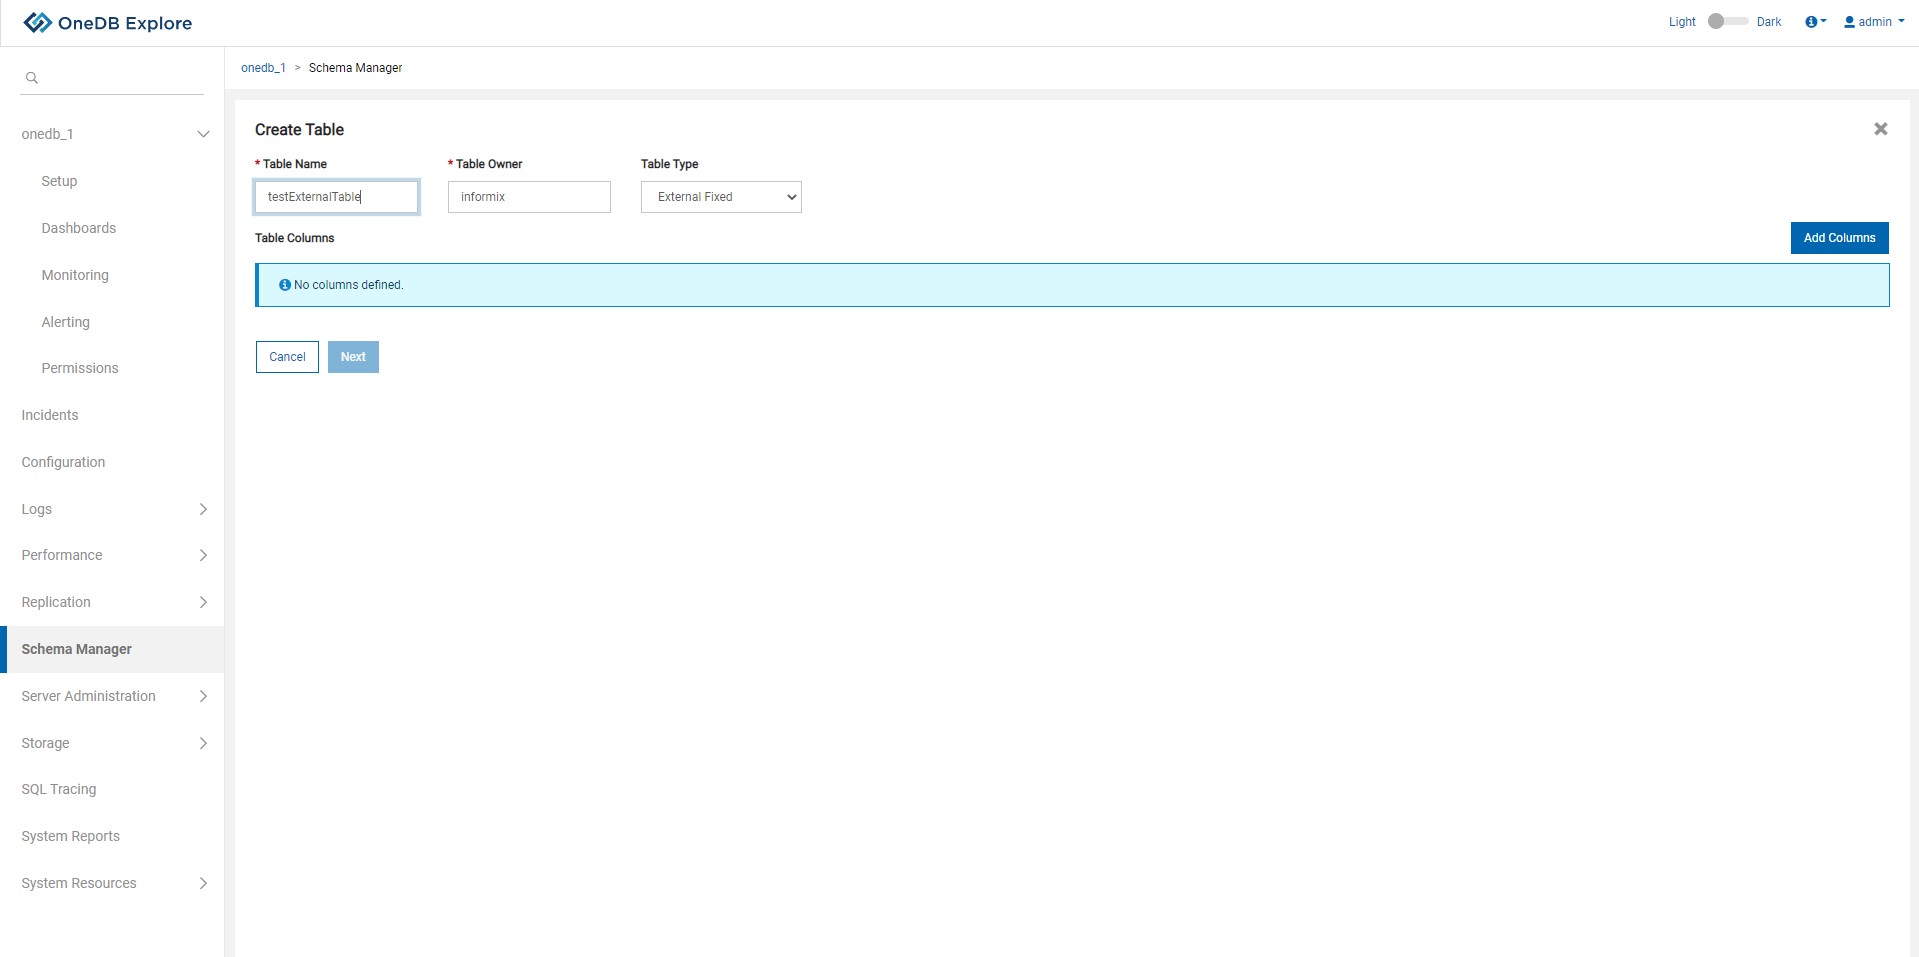
Enter mandatory fields such as Table Name and Table Owner.
-
Select one of External Fixed, External delimited, External Informix
table type from Table Type dropdown.
-
Click on Add Columns for adding columns to the table.
-
To cancel Create Table operation, click on Cancel button.
-
Next button will be enabled once user adds columns to the table.
-
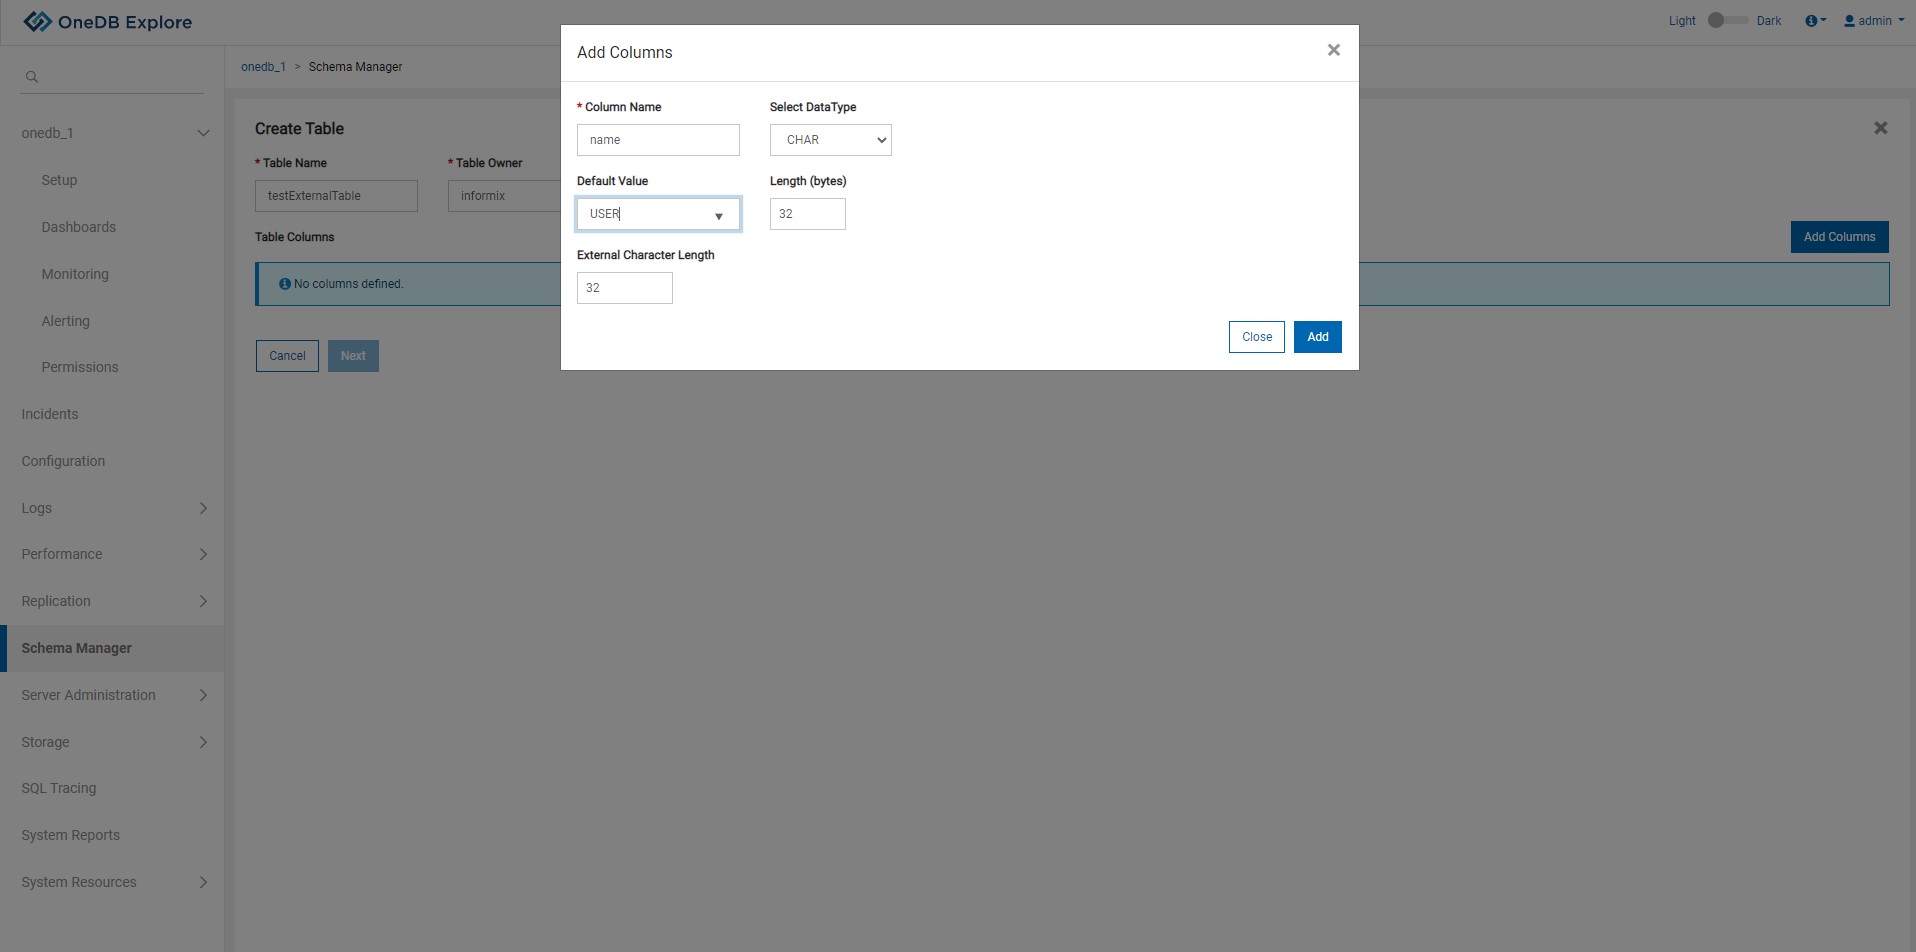
By clicking on Add Column button, a pop up will appear to add column details.
-
Enter all the mandatory field values(*).
-
User can add multiple columns using the same pop up.
-
To go back to the main screen, click on Close button or Cross icon.
-
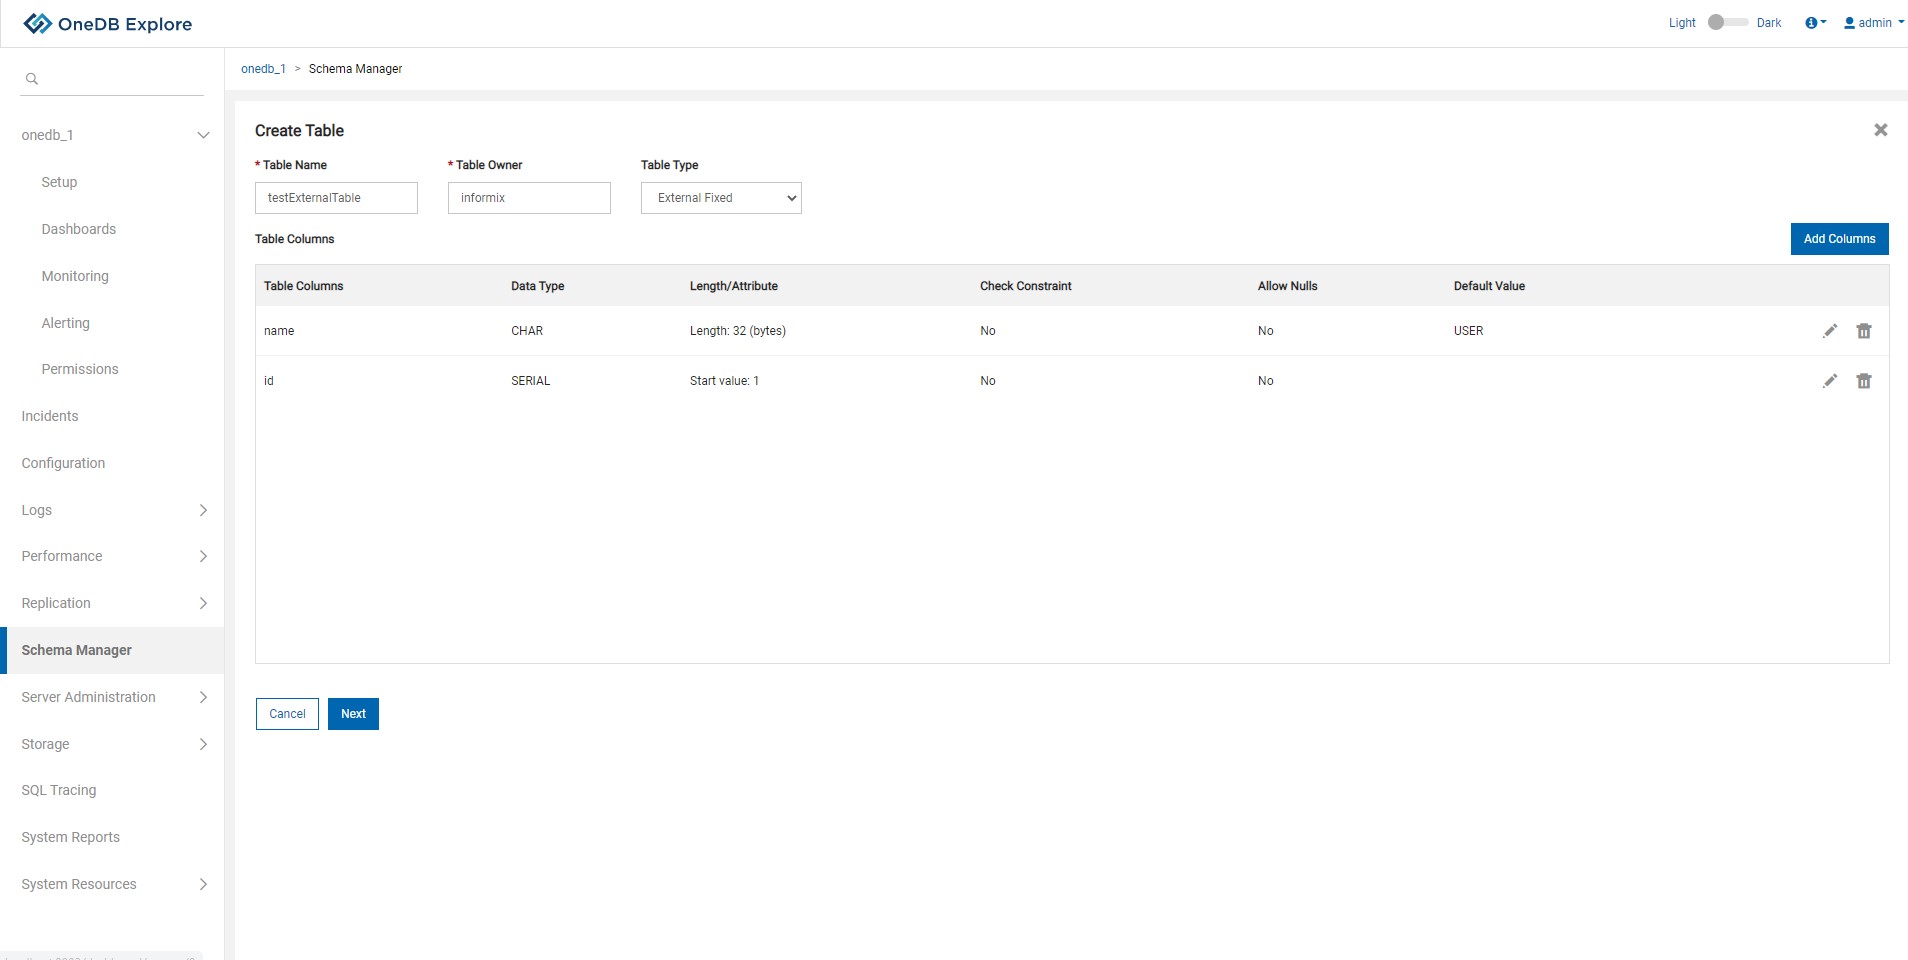
Once columns are added, user can view, edit , delete any of the columns.
-
Once column details are finalized click on Next button to go to External Table
Options.
-
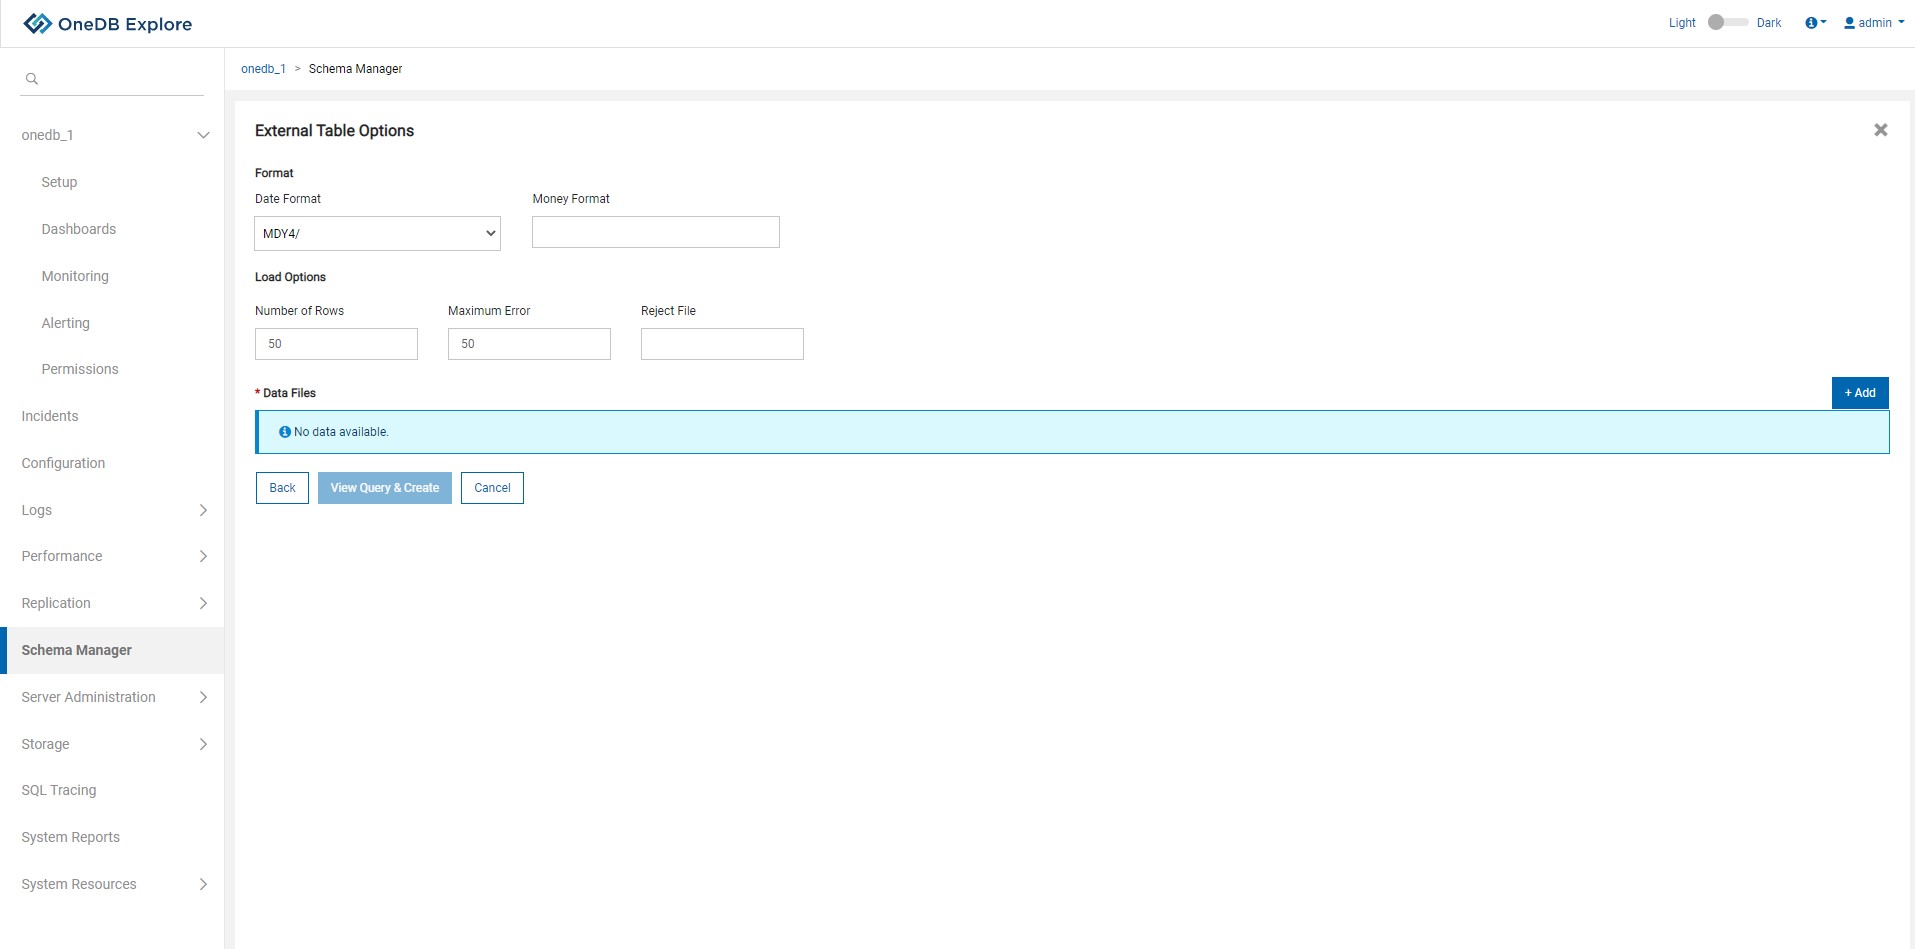
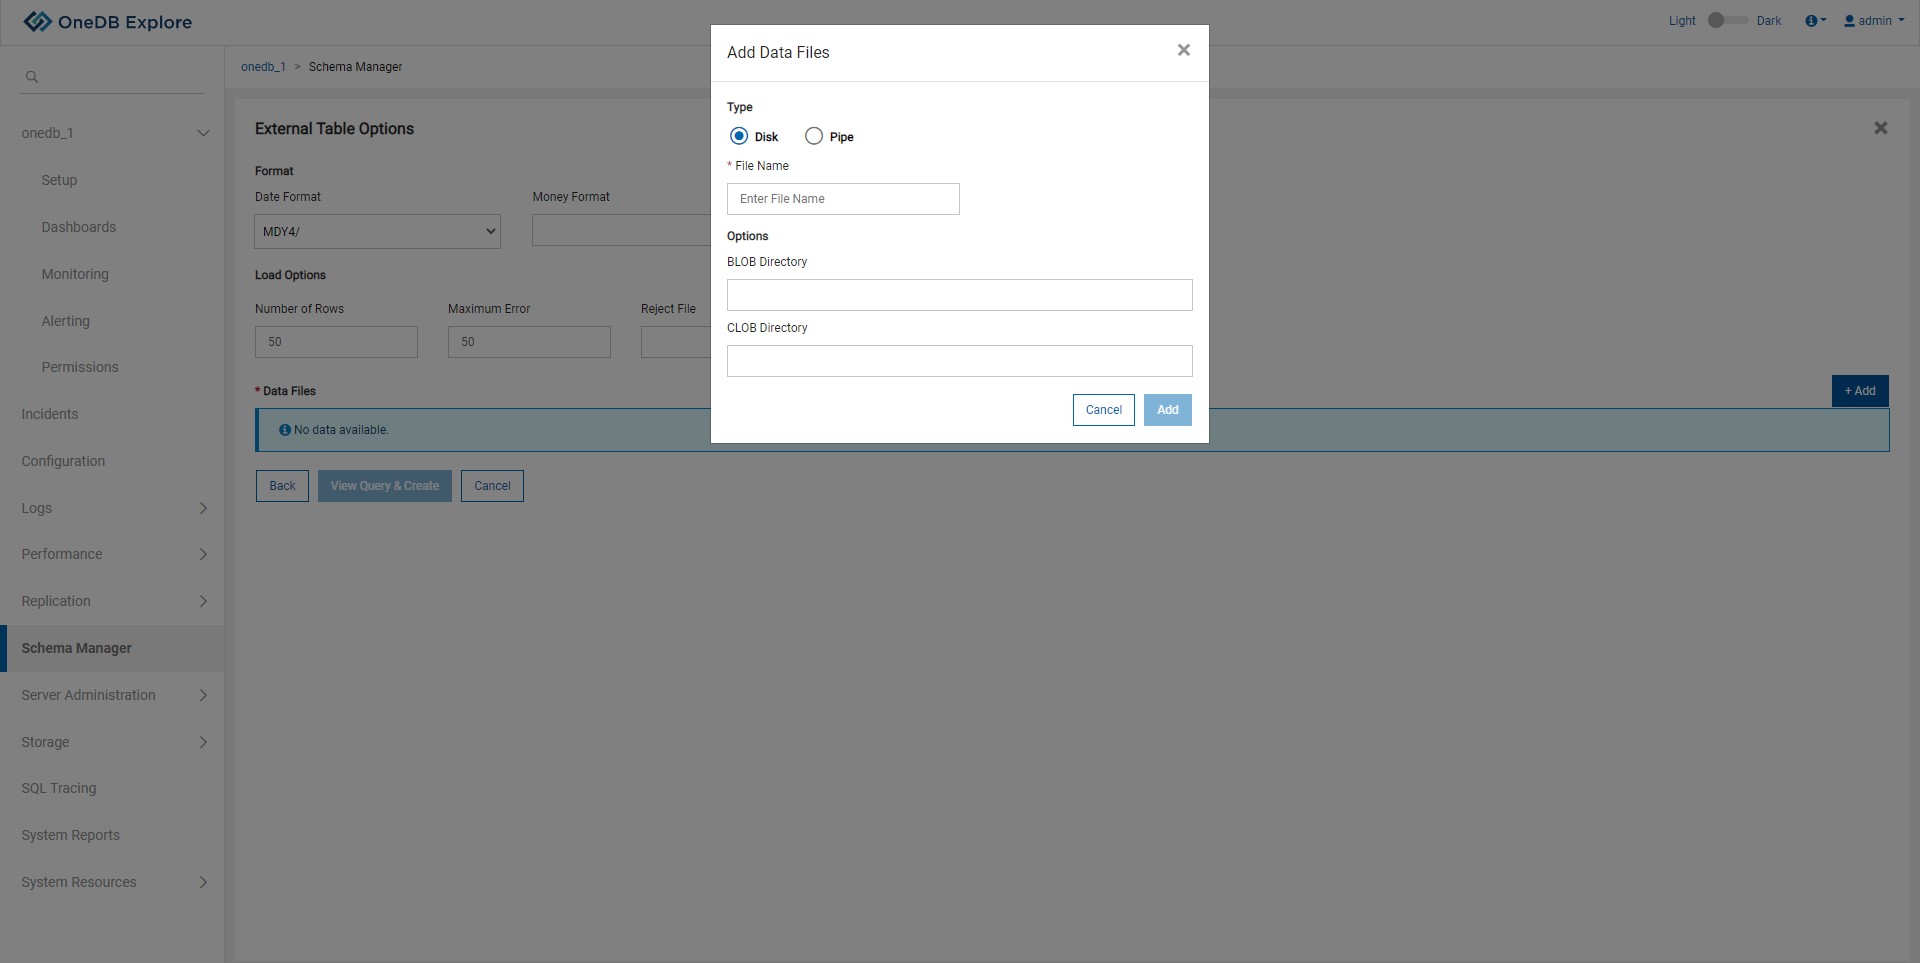
Provide information for external table options & add mandatory data file by clicking on
+Add button.
-
Following pop up is used to add data files to an external table.
-
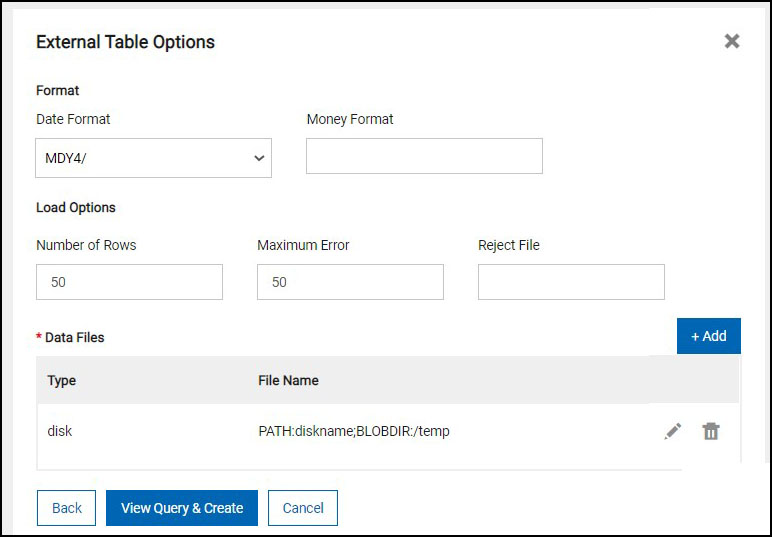
Once data files are added, user can view, edit , delete any of the data files.
-
Once External table options are finalized click on View Query & Create button to
view SQL query for creating the table.
-
User can either go Back or Cancel the operation using respective
buttons.
-
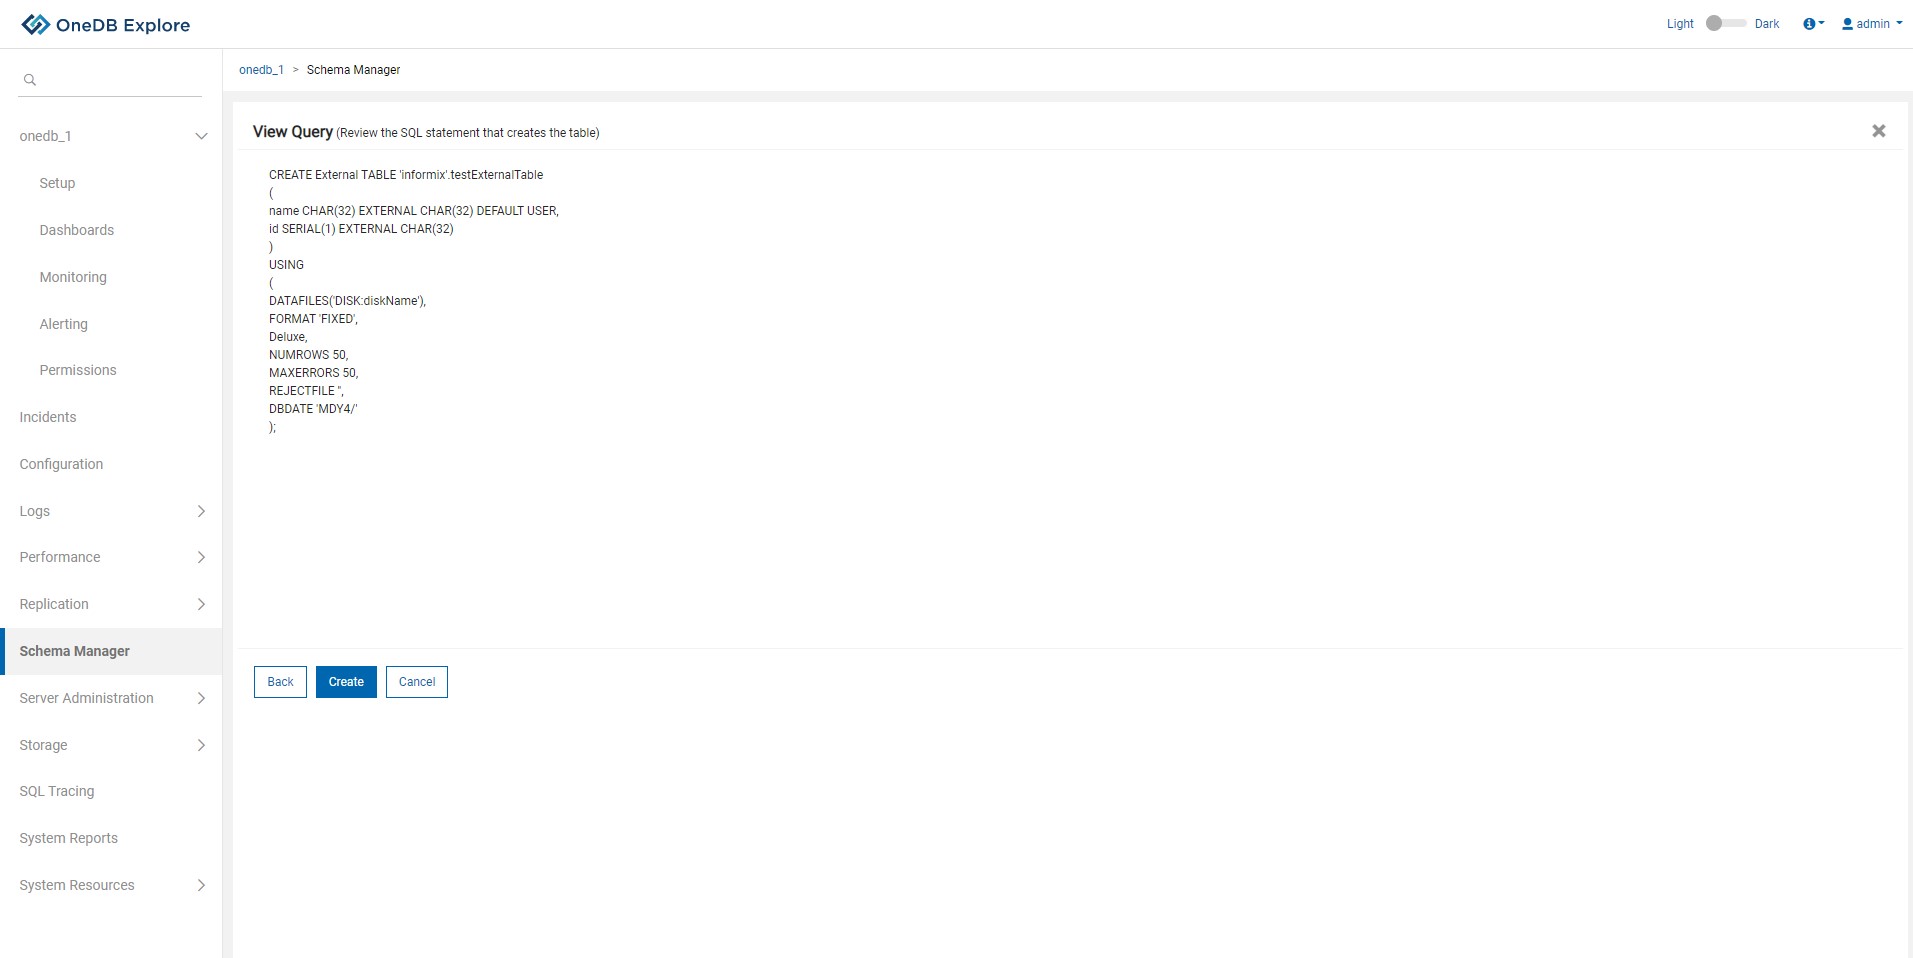
After clicking on View Query & Create button from the external table option,
user will be able to view create table query as shown in the screen below.
-
Click Create button to create the table.
-
If table is created successfully information status message will be shown and user will be
taken back to Schema Manager page.
-
If table creation fails, error status message will be displayed and all the create table
queries will be rolled back.
-
To go back to modify any properties, click Back button and to cancel the operation
of create table click on Cancel button.