Installation of Zookeeper
| Source |
Available as part of BigFix Runbook AI installer package. Follow the following path: Pre-Requisite Software zookeeper-3.9.3.zip |
This section describes the procedure for installation of Zookeeper. Please follow the following steps:
- Download zookeeper-3.9.3.zip file from the path mentioned in the source field of Zookeeper Requirements on all three servers.
- Copy the zookeeper.zip folder in the desired location and extract it.
e.g. - C:\zookeeper-3.9.3
- Ensure that Java version 23 or higher is configured in the system and JAVA_HOME variable
is set. To check the same, open the Command Prompt and type the command below:
Java -versionFigure 1. Installation of ZooKeeper .png)
- Proceed with the installation if the Java version is displayed. If not, please install Java as mentioned in section Java.
- Go to the zookeeper installation directory where the zookeeper was extracted.
- Go to <zookeeper_install_dir>/conf folder, rename the zoo_sample.cfg file to zoo.cfg.
- Create a folder inside zookeeper directory with name dataDir. For doing this, go inside
the zookeeper installation directory, open the Command Prompt as Administrator
and type:
mkdir dataDir - Go to
<zookeeper_install_dir>/conf
folder and open zoo.cfg file. Change the below parameters and add details of
three zookeeper servers. Here you need to select three distinct zookeeper ids for three
distinct servers. (Keep it numeric).
tickTime=2000 initLimit=5 syncLimit=2 dataDir=<zookeeper_install_dir>/dataDir clientPort=<port of zookeeper on which it needs to be configured should be same in all servers where zookeeper is configured> server. <Zookeeper1 Server ID>=<Zookeeper1 IP>: 2888:3888 server. <Zookeeper2 Server ID>=<Zookeeper2 IP>: 2889:3889 server. <Zookeeper3 Server ID>=<Zookeeper3 IP>: 2890:3890 4lw.commands. whitelist=mntr,conf,ruok Example: tickTime=2000 initLimit=5 syncLimit=2 dataDir=C:/zookeeper-3.9.3/dataDir clientPort=7001 server.1=10.1.x.x:2888:3888 server.2=10.1.x.x:2889:3889 server.3=10.1.x.x:2890:3890 4lw.commands. whitelist=mntr,conf,ruok - Enter the same parameter details in zoo.cfg file.
Figure 2. Installation of Zookeeper (cont.) 
For Reference, zookeeper will use these ports (2888, 2889,.) to connect the individual follower nodes to the leader nodes. The other ports (3888, 3889,.) are used for leader elections in the ensemble. Make sure all these ports must be different from each other.
- Go to <zookeeper_install_dir> and open Command Prompt as Administrator
and type the command
below:
(echo<Zookeeper Server ID>)>dataDir/myide.g. – (echo 1)>dataDir/myid
- This command will create a file inside dataDir folder with name myid and add the
server ID. The server ID is a number between 1-255, and it must be unique. Also, it must
correspond with server. ${id} in the zoo.cfg files.
Figure 3. Installation of Zookeeper (cont.) 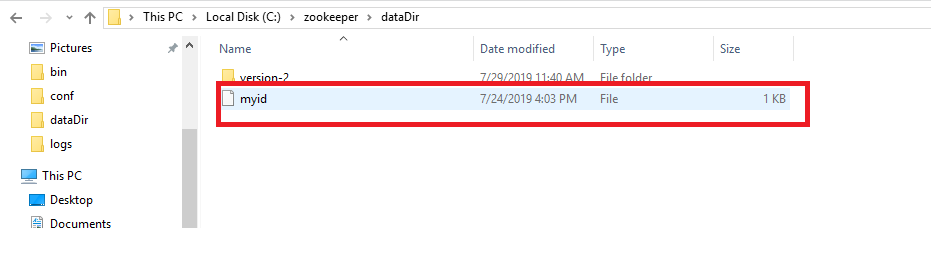
In the above example, there are 3 server IDs 1, 2 and 3. So, for the respective server, it’s zoo.cfg should contain its respective iD.
- Go to the bin folder and open the Command Prompt as Administrator inside <zookeeper_install_dir>.
- Start Zookeeper by executing the following command:
zkServer.cmdNow Zookeper is running at <IP_address>:<port> (User can change the port in the zoo.cfg file with field name i.e., client Port).
- Users may see some error in the terminal, if the other two zookeepers were not started. Ignore this error for now, until all three Zookeeper starts.
- Configuration is ready for the first Zookeeper node.
- Repeat the same for the rest of the two nodes.